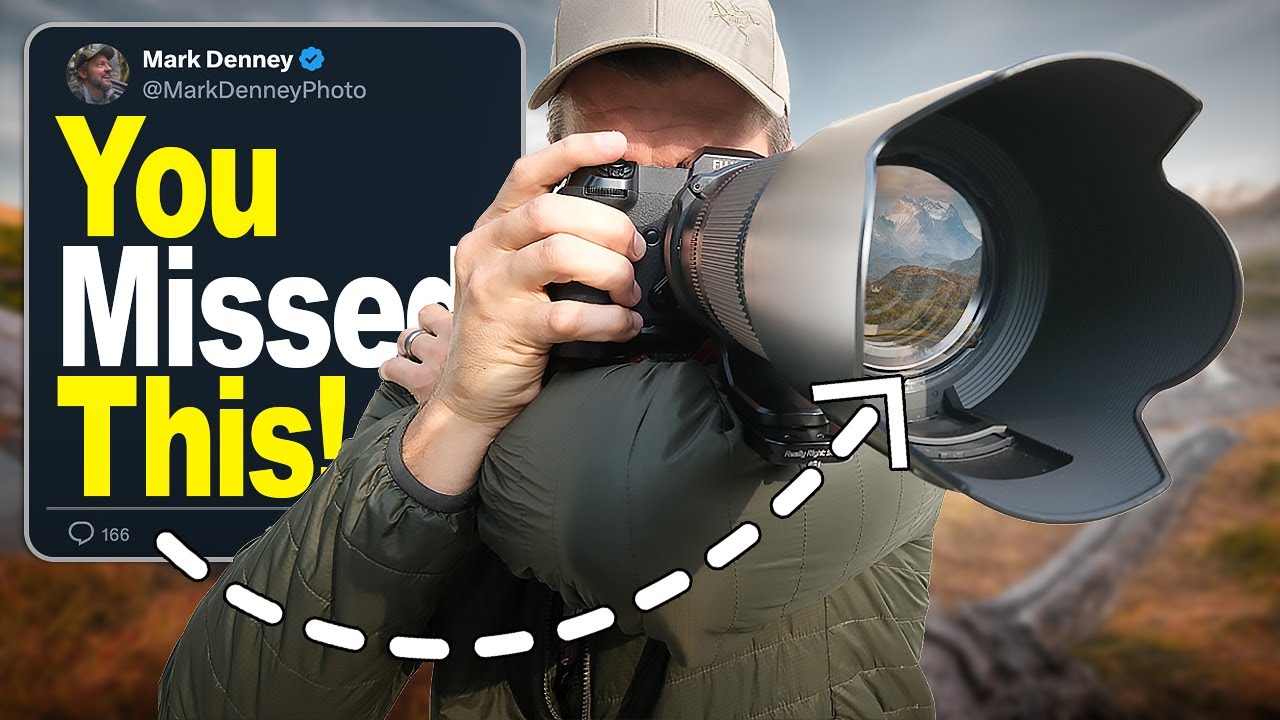
I spent way too long treating my telephoto lens like a specialty item I only reached for when something was far away. Wide angle on, walk around, find a composition, done. The telephoto stayed in the bag unless I spotted a bird or a distant mountain peak I wanted to pull in. Sound familiar? The problem wasn’t the gear. I’ve tested enough budget telephotos to fill a spreadsheet, and even the cheap ones are optically capable of stunning landscape shots. The problem was that I had no framework for seeing with a long focal length. Everything looked cropped and disconnected from the scene I was standing in.
In this Mark Denney tutorial, Watch the full tutorial on YouTube, he breaks down exactly how he rewired his approach to telephoto work in landscape photography. Denney is a landscape photographer whose work leans heavily on mood and compression, and this particular video is one of the most practical things I’ve seen on the subject. It’s not about gear specs. It’s about building a visual vocabulary for a focal length that most photographers underuse. Below is my full breakdown of his method, step by step.
Step 1: Stop Staring at the Scene Barehanded
 Photographer standing in landscape, telephoto raised to eye
The first instinct when you arrive at a location is to just… look around. Eyes wide, taking in the whole vista, hoping something jumps out. That works okay for wide angle work, because wide angle framing is closer to how your naked eye naturally sees. Telephoto framing is not. You cannot pre-visualize a compressed, layered telephoto composition by squinting at a hillside from a hundred yards away.
Photographer standing in landscape, telephoto raised to eye
The first instinct when you arrive at a location is to just… look around. Eyes wide, taking in the whole vista, hoping something jumps out. That works okay for wide angle work, because wide angle framing is closer to how your naked eye naturally sees. Telephoto framing is not. You cannot pre-visualize a compressed, layered telephoto composition by squinting at a hillside from a hundred yards away.
Denney’s fix is simple but it requires a habit change. Raise the camera to your eye immediately on arrival and start using the viewfinder itself as your scouting tool. Not the LCD. The viewfinder. There’s a focus difference between looking at a screen and looking through an optical or electronic finder that genuinely changes how you read a scene.
Step 2: Scan the Landscape in a Grid Pattern
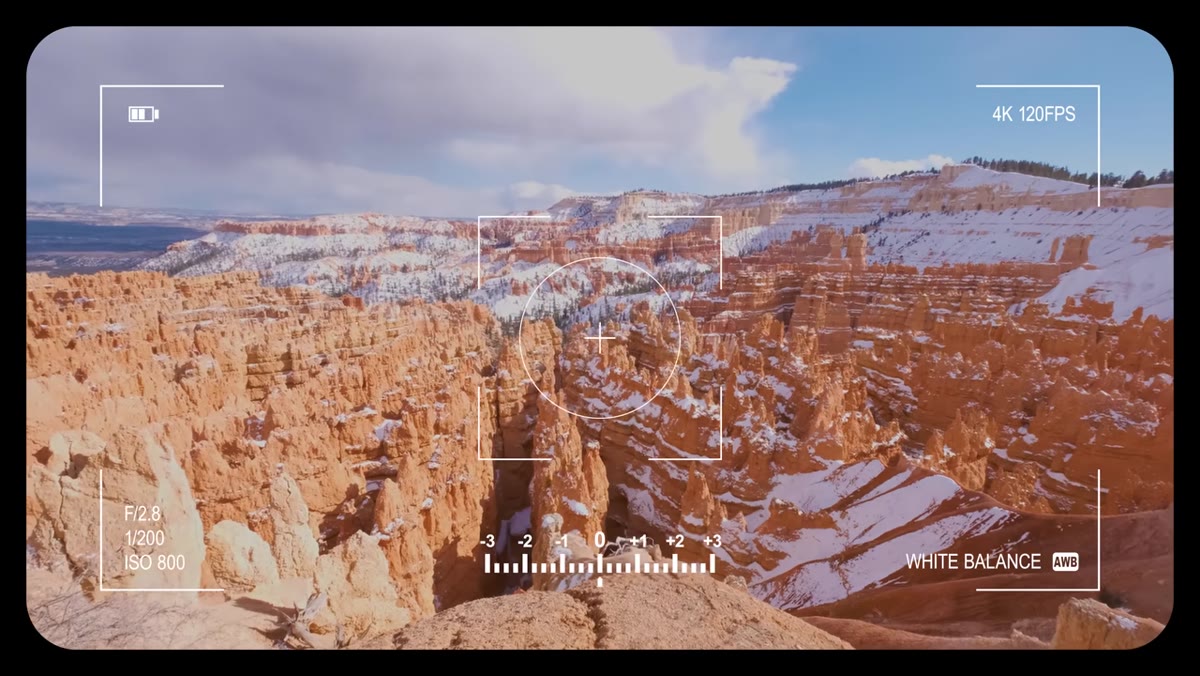 Camera panning slowly across top row of landscape scene
Once the camera is up, Denney uses a grid-based scanning method to systematically work through the scene. Think of the landscape divided into three horizontal rows. Sweep slowly across the top row from left to right, then drop down and sweep the middle row, then the bottom. After that, repeat the whole process in portrait orientation.
Camera panning slowly across top row of landscape scene
Once the camera is up, Denney uses a grid-based scanning method to systematically work through the scene. Think of the landscape divided into three horizontal rows. Sweep slowly across the top row from left to right, then drop down and sweep the middle row, then the bottom. After that, repeat the whole process in portrait orientation.
This sounds almost too simple, but the point is to replace random visual wandering with intentional searching. A telephoto’s narrow field of view means there are dozens of potential compositions hidden inside any scene that you would completely skip over if you were just panning casually. The grid forces you to cover all of it. Handheld is fine for this scouting pass. You’re not shooting yet, you’re prospecting.
Step 3: Set a Longer Shutter Delay Than You Think You Need
 Camera timer menu showing 5 to 10 second delay setting
Quick technical note that belongs before you start shooting anything: when you’re on a tripod with a telephoto extended, the physical weight distribution of the lens creates more vibration from shutter press than you’d get with a standard kit lens. A 2-second delay, which is what most photographers set by default, often isn’t enough to let the camera fully settle.
Camera timer menu showing 5 to 10 second delay setting
Quick technical note that belongs before you start shooting anything: when you’re on a tripod with a telephoto extended, the physical weight distribution of the lens creates more vibration from shutter press than you’d get with a standard kit lens. A 2-second delay, which is what most photographers set by default, often isn’t enough to let the camera fully settle.
Denney recommends bumping that to 5 or 10 seconds when shooting with longer focal lengths. I tested this myself with a budget 70-300mm zoom and the difference in sharpness at the pixel level was real, especially at slower shutter speeds. This is a zero-cost fix that directly improves image quality. Go into your camera’s drive mode or timer settings and change the habit now.
Step 4: Train Your Eye to Look for Layers
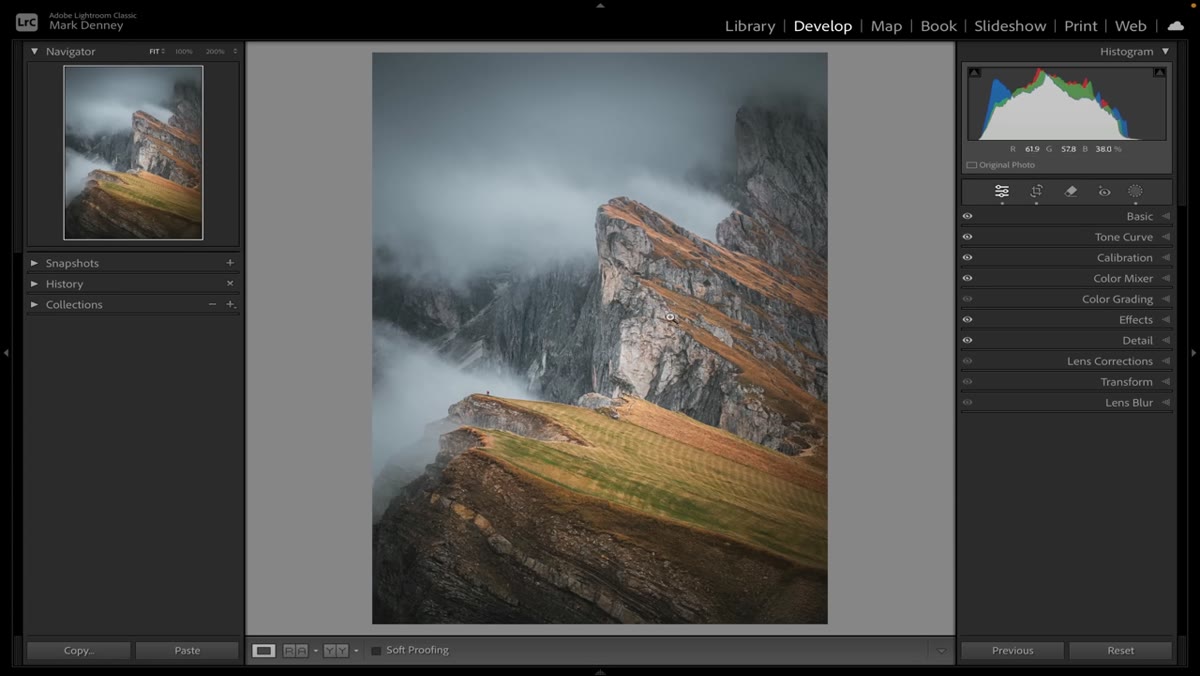 Dolomites landscape showing distinct compressed mountain layers
This is where the actual magic of telephoto landscape photography lives. Denney explains that compression, the way a long focal length appears to stack foreground and background elements closer together, is most powerful when the scene already has distinct layers to work with. The compression doesn’t create layers; it amplifies ones that are already there.
Dolomites landscape showing distinct compressed mountain layers
This is where the actual magic of telephoto landscape photography lives. Denney explains that compression, the way a long focal length appears to stack foreground and background elements closer together, is most powerful when the scene already has distinct layers to work with. The compression doesn’t create layers; it amplifies ones that are already there.
What you’re looking for: ridgelines at different distances, rows of trees at varying depths, fog bands sitting between hills, rock formations at different elevations. When you put a telephoto on a scene that has three or four of these depth layers, they collapse into each other in a way that looks almost graphic, almost painterly. Denney shows Dolomites shots where elements that were miles apart read as sitting right on top of each other. That’s the effect you’re chasing. When you’re scanning with your grid method, this is specifically what you’re hunting for.
Step 5: Use Rolling Terrain to Maximize Compression
 Smoky Mountains ridgelines compressed into layered composition
Flat landscapes can yield telephoto shots, but Denney is clear that rolling or mountainous terrain is where long focal lengths earn their keep. The Smoky Mountains footage he shows demonstrates how successive ridgelines, which in person feel spread across miles of open air, compress into a stacked sequence of tones and textures that reads as a single cohesive image.
Smoky Mountains ridgelines compressed into layered composition
Flat landscapes can yield telephoto shots, but Denney is clear that rolling or mountainous terrain is where long focal lengths earn their keep. The Smoky Mountains footage he shows demonstrates how successive ridgelines, which in person feel spread across miles of open air, compress into a stacked sequence of tones and textures that reads as a single cohesive image.
The practical takeaway: when you’re scouting locations for telephoto work, prioritize places with terrain that has depth and variation in elevation. Check topographic previews on maps before you drive out. A location that looks modest on a wide angle might be incredible through a 200mm or 300mm because of how the hills stack up behind each other.
My Take: Budget Glass Is No Excuse to Skip This
I’ve heard photographers say they’ll experiment with telephoto landscape work once they can afford better glass. I’ve shot this technique with a $179 used 70-300mm consumer zoom and gotten results that made it into client work. The technique Denney is teaching here works with whatever telephoto you currently own. The grid scanning method, the layered composition hunting, the longer shutter delay - none of that costs anything.
If you’re looking for a starting point on affordable telephoto options, the Canon EF 70-300mm IS II and the Tamron 70-300mm Di VC USD both show up on deal trackers regularly in the $150-$250 used range, and both are more than capable for this kind of work. The limiting factor in your telephoto landscapes right now is almost certainly not the glass. It’s the seeing, which is exactly what this tutorial addresses.
The single most important shift Denney is describing is treating the telephoto as a tool for curating rather than capturing. Wide angle lenses let you include a scene. Telephoto lenses let you edit one down to its most powerful elements. Learning to scan intentionally, hunt for layered depth, and let compression do the heavy lifting will change what you come home with.
Watch the full tutorial on YouTube to see Denney’s actual example images alongside his explanation. Seeing the Smokies shots in context makes the layering concept click in a way that text alone can’t fully deliver.
Comments
Leave a Comment