Shooting outdoors in unpredictable conditions is where a lot of photographers lose confidence fast. Not because they don’t know how to compose a shot or read light, but because they’re quietly terrified of what humidity, sand, or a sudden downpour might do to their equipment. I’ve been there. I once stood at the edge of a mountain trail in Colorado, watching storm clouds roll in, and spent more mental energy worrying about my camera than thinking about the shot in front of me. That’s a problem.
In this KelbyOne tutorial, photographer RC walks through his real-world system for protecting gear in cold, humid, rainy, and sandy environments. It’s practical, low-drama advice grounded in actual field use. Watch the full tutorial on YouTube if you want to see him demonstrate everything hands-on. But if you want the distilled version you can act on right now, here’s the full walkthrough.
Step 1: Understand Why Temperature Changes Are Your First Enemy
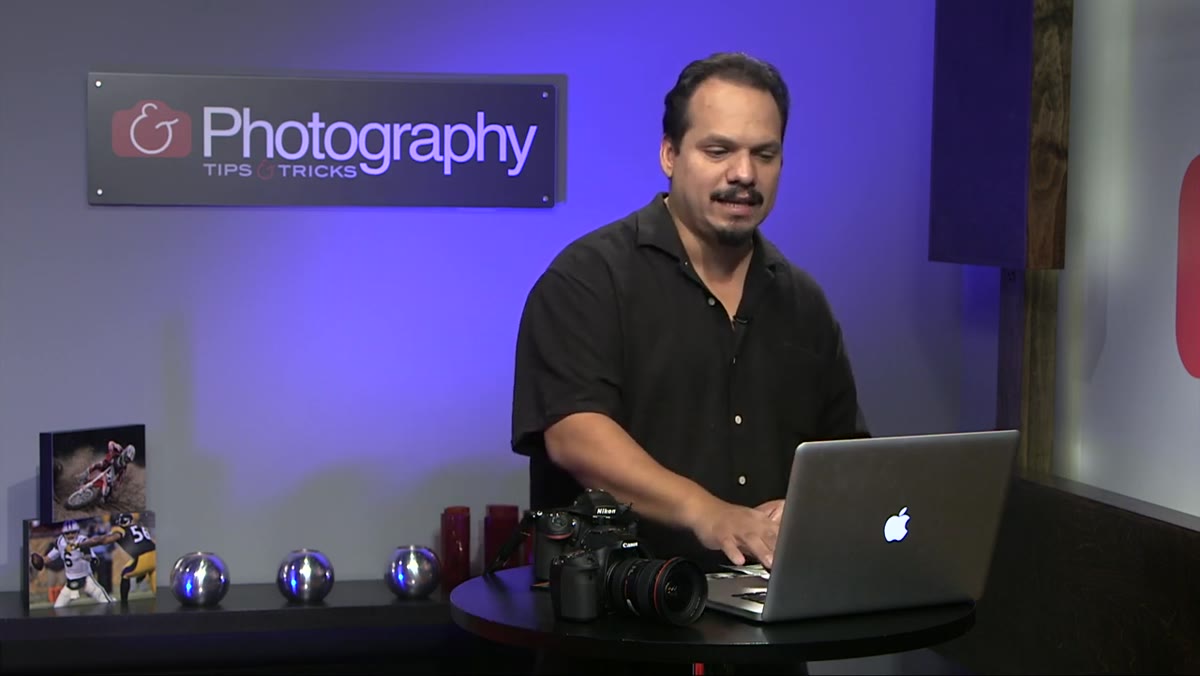
 RC explaining inclement weather challenges to camera gear
Before you even think about rain covers or waterproof bags, you need to respect what rapid temperature changes do to optics and electronics. When you yank a cold camera into a warm, humid environment, or bring a room-temperature body out into freezing air, condensation forms inside the lens and sometimes inside the body itself. That fog can take 20 to 30 minutes to clear, and in some cases it sticks around long enough to ruin a shoot entirely.
RC explaining inclement weather challenges to camera gear
Before you even think about rain covers or waterproof bags, you need to respect what rapid temperature changes do to optics and electronics. When you yank a cold camera into a warm, humid environment, or bring a room-temperature body out into freezing air, condensation forms inside the lens and sometimes inside the body itself. That fog can take 20 to 30 minutes to clear, and in some cases it sticks around long enough to ruin a shoot entirely.
RC’s core advice here is simple: don’t rush the transition. Give your camera time to acclimate to its environment before you start shooting. Plan that buffer into your schedule, especially if you’re a landscape shooter chasing golden hour.
Step 2: Use a Two-Bag System - Rolling Bag for Transport, Shoulder Bag for the Field
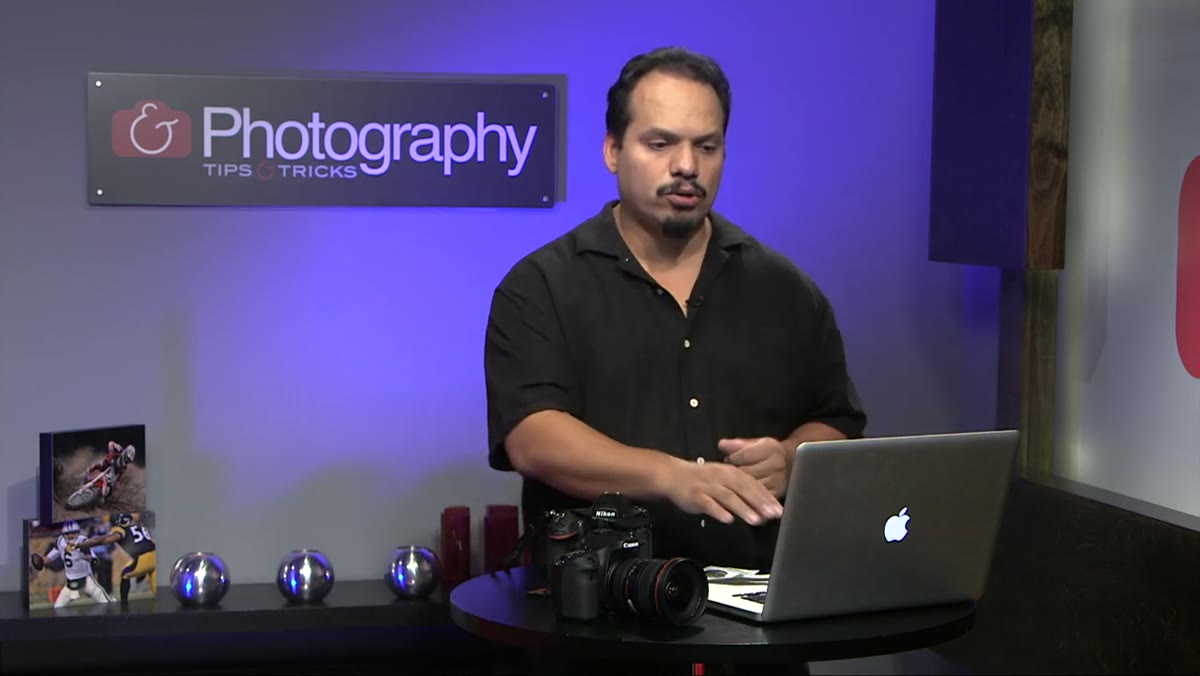 RC showing Think Tank rolling bag and shoulder bag side by side
RC runs a two-bag setup. A rolling bag, specifically the Think Tank Airport series, handles transport - getting gear from the car or hotel to the location. It’s sturdy, organized, and protects equipment during travel. But it stays behind once he’s actually working.
RC showing Think Tank rolling bag and shoulder bag side by side
RC runs a two-bag setup. A rolling bag, specifically the Think Tank Airport series, handles transport - getting gear from the car or hotel to the location. It’s sturdy, organized, and protects equipment during travel. But it stays behind once he’s actually working.
The bag that comes with him into the field is a shoulder bag, the Think Tank Retrospective 10. The logic is simple: shoulder bags let you access gear quickly without setting everything down, and they’re much easier to manage when you’re moving through terrain. If you’re working on a budget, this same principle applies with any quality shoulder bag. You don’t need these specific brands. You need the system.
Step 3: Wrap Your Camera in Clothing Before Acclimation
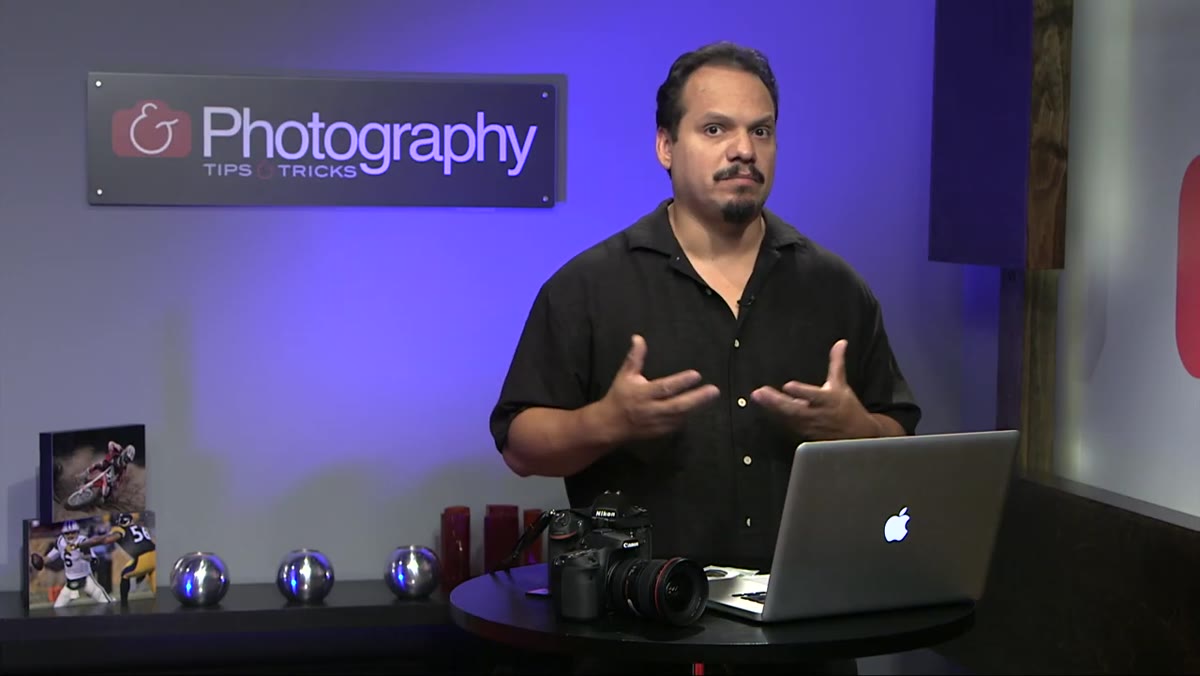 RC wrapping camera body in a shirt inside the shoulder bag
Here’s the tip I wish someone had told me when I started shooting outdoors: wrap your camera in a soft piece of clothing before you set it out to acclimate. RC uses a clean shirt. The fabric acts as a light buffer against temperature shock, keeps the body from getting scuffed in the bag, and absorbs some ambient moisture. He leaves the lens end exposed so the glass can equalize with the surrounding air.
RC wrapping camera body in a shirt inside the shoulder bag
Here’s the tip I wish someone had told me when I started shooting outdoors: wrap your camera in a soft piece of clothing before you set it out to acclimate. RC uses a clean shirt. The fabric acts as a light buffer against temperature shock, keeps the body from getting scuffed in the bag, and absorbs some ambient moisture. He leaves the lens end exposed so the glass can equalize with the surrounding air.
Leave it like that for roughly 20 to 25 minutes before you start shooting. This is not glamorous advice. It’s not a $300 solution. It’s a shirt. But it works, and it’s the kind of thing that separates photographers who rarely have gear problems from photographers who constantly do.
Step 4: Use a Rain Cover Sized to Your Specific Lens
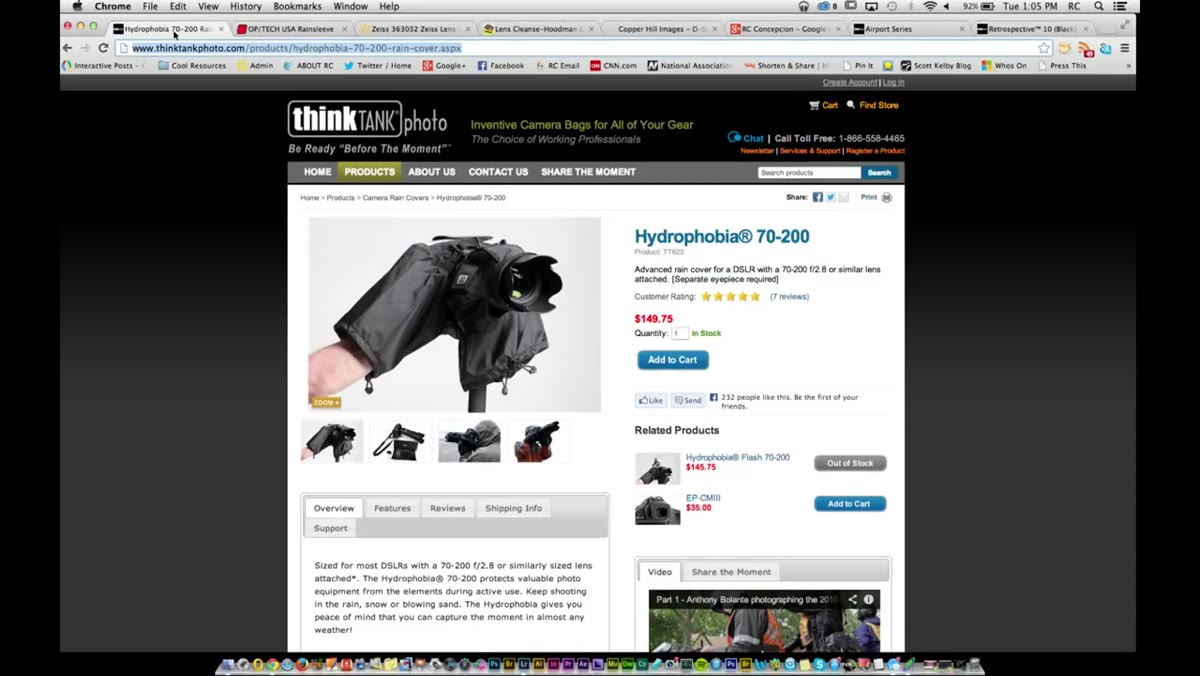 RC demonstrating Think Tank Hydrophobia rain cover on a lens
For actual rain, RC reaches for the Think Tank Hydrophobia. The important detail he emphasizes: these covers are sized by lens, not by camera body. You have to match the cover to the specific glass you’re running. Grab the wrong size and it either won’t stay in place or won’t seal properly, which defeats the entire purpose.
RC demonstrating Think Tank Hydrophobia rain cover on a lens
For actual rain, RC reaches for the Think Tank Hydrophobia. The important detail he emphasizes: these covers are sized by lens, not by camera body. You have to match the cover to the specific glass you’re running. Grab the wrong size and it either won’t stay in place or won’t seal properly, which defeats the entire purpose.
A properly fitted rain cover keeps water off the front element and out of the zoom ring and focus ring. If you’re buying one of these, do your research before you click purchase. Know your lens dimensions and cross-reference them with the product specs. This is exactly the kind of thing I’d put in my comparison spreadsheet before buying anything.
Step 5: Budget Option - Use an Op/Tech Rain Sleeve
 RC holding Op/Tech rain sleeve as a lower-cost alternative
If a dedicated rain cover is outside your budget right now, RC shows a legitimate alternative: the Op/Tech rain sleeve. He describes it honestly as essentially a fitted plastic sleeve for your camera and lens. It’s not going to survive a typhoon, but for a standard rainy-day shoot, it does the job.
RC holding Op/Tech rain sleeve as a lower-cost alternative
If a dedicated rain cover is outside your budget right now, RC shows a legitimate alternative: the Op/Tech rain sleeve. He describes it honestly as essentially a fitted plastic sleeve for your camera and lens. It’s not going to survive a typhoon, but for a standard rainy-day shoot, it does the job.
These run a fraction of the cost of a branded rain cover, and they’re widely available. They’re not pretty, and they’re not precise, but they keep moisture off your gear when the sky opens up unexpectedly. I’ve tested a couple of these and honestly, for casual outdoor shooting they’re more than adequate. If you’re not shooting professionally in the rain every week, start here.
My Take: The Cheapest Protection Is the Habit You Build Before You Leave the House
I’ll be direct about something the tutorial doesn’t say explicitly: most gear damage in tough conditions happens because photographers are reactive instead of proactive. They don’t think about the weather until they’re standing in it.
The habit I’ve built is simple. Before any outdoor shoot, I check the forecast the night before and the morning of. If there’s any chance of rain, a rain sleeve goes in the bag automatically. If I’m shooting in cold conditions, I pull the camera out of my bag at least 20 minutes before I want to shoot and let it sit, wrapped, in the ambient environment. None of this costs money. It costs five minutes of planning. And over the years, that habit has done more for my gear than any specific product I’ve bought.
That said, if you’re going to invest in one piece of weather protection, make it a properly fitted rain cover for your primary shooting lens. It’s the one scenario where improvising tends to go wrong fast.
Temperature management, a smart two-bag system, and knowing your rain cover options are the three things that will protect your gear across almost every tough environment you’ll encounter. RC’s approach is straightforward and proven, and it scales whether you’re shooting with a $500 crop body or a full-frame flagship. The gear in your bag is only as safe as the habits you build around it.
Watch the full tutorial on YouTube to see RC demonstrate all of this with the actual gear in hand.
Comments (3)
Bookmarked. Coming back to this one for sure.
I've watched a dozen tutorials on this and yours is the clearest by far.
Shared this with my photography group. Everyone loved it.
Leave a Comment