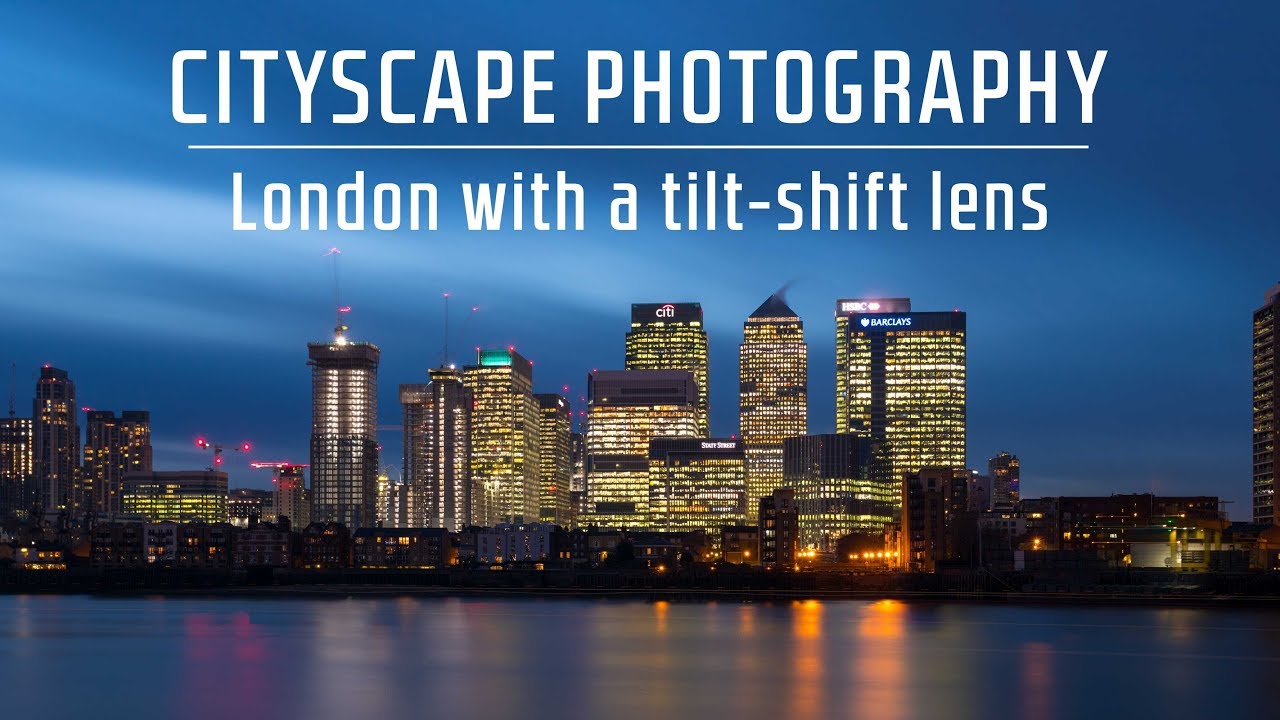
I got into deals content because I was spending more time researching prices than actually shooting. That habit made me a pretty good gear analyst, but it also meant I was sometimes using the wrong tool for the job because I’d never sat down and learned why certain tools exist. Tilt-shift lenses are a perfect example. I’d seen them on spec sheets, wondered if they were worth the money, and moved on. Then I watched this First Man Photography tutorial on cityscape shooting in London with the Canon TS-E 24mm f/3.5L II, and everything clicked.
Watch the full tutorial on YouTube
The core problem this video solves is one that every architecture and cityscape shooter runs into eventually: converging verticals. When you point a standard wide-angle lens up at a building, the structure appears to lean inward toward the center of the frame. Your brain compensates for this in real life, but the camera records it faithfully and it looks wrong. A tilt-shift lens corrects this in-camera, without any post-processing tricks that degrade image quality. This tutorial walks through exactly how to use that correction in a real shooting environment, across multiple challenging London locations.
Step 1: Understand Why Tilt-Shift Corrects Perspective
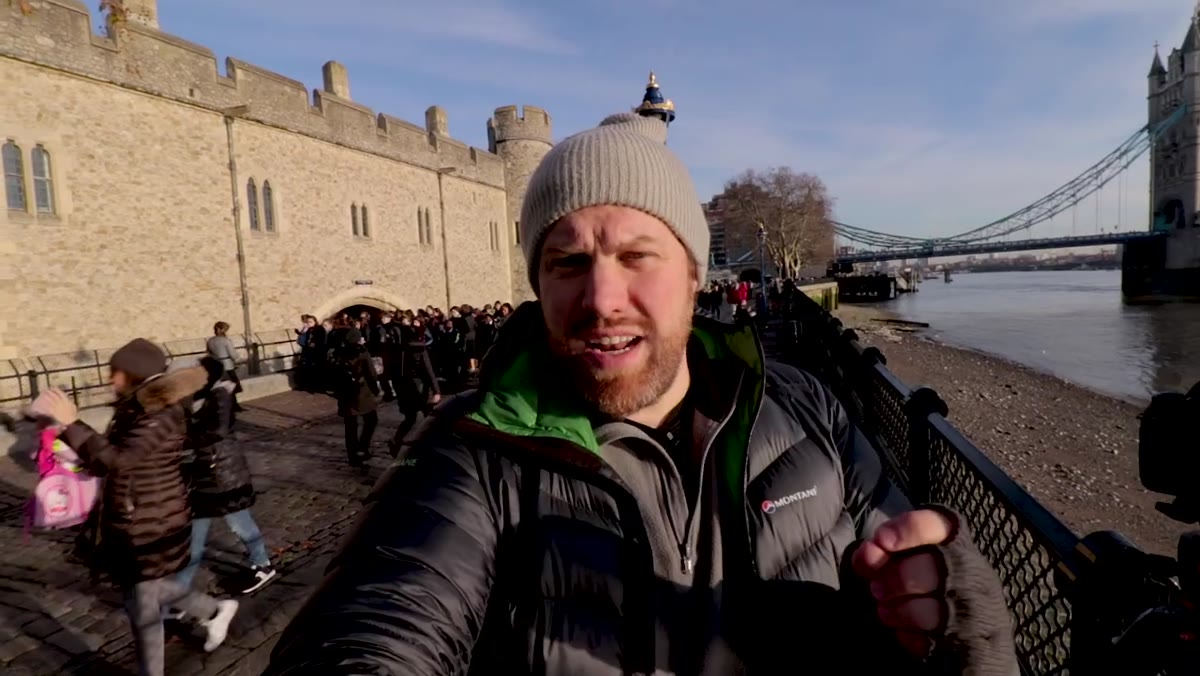 Photographer explaining why wide-angle lenses distort buildings
When you use a standard wide-angle lens on buildings, the lens captures exactly what the sensor sees, which is a perspective projection that makes vertical lines converge. The shift function on a tilt-shift lens moves the optical axis relative to the sensor without physically tilting the camera body. That means you can keep the camera perfectly level and still include the top of a tall building in frame. No converging lines, no perspective warp, no Lightroom keystone slider needed. Understanding this is not just academic. It changes how you set up the shot from the start: level camera, shift the lens upward, compose from there.
Photographer explaining why wide-angle lenses distort buildings
When you use a standard wide-angle lens on buildings, the lens captures exactly what the sensor sees, which is a perspective projection that makes vertical lines converge. The shift function on a tilt-shift lens moves the optical axis relative to the sensor without physically tilting the camera body. That means you can keep the camera perfectly level and still include the top of a tall building in frame. No converging lines, no perspective warp, no Lightroom keystone slider needed. Understanding this is not just academic. It changes how you set up the shot from the start: level camera, shift the lens upward, compose from there.
Step 2: Scout for Light Direction Before You Commit to a Spot
 Photographer noting the sun is too bright and repositioning
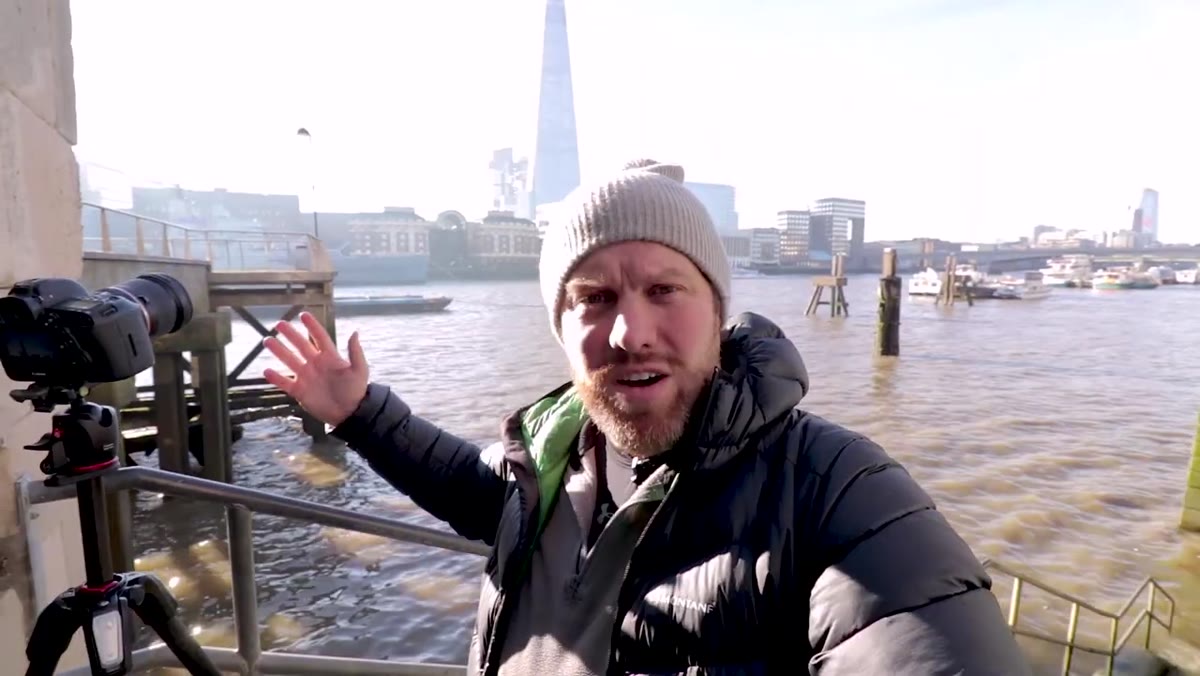
On a very sunny day, the tutorial’s creator found himself working around harsh, flat light rather than into it. Instead of abandoning a location, he repositioned to use a wall as a natural gobo, shielding the lens from direct sun while still maintaining a southward view across the Thames toward the Shard. This is practical location scouting in action. Before you lock down your tripod, walk the area and figure out where the light is punishing and where it’s workable. A slightly shifted position can be the difference between a blown-out mess and a clean shot.
Photographer noting the sun is too bright and repositioning
On a very sunny day, the tutorial’s creator found himself working around harsh, flat light rather than into it. Instead of abandoning a location, he repositioned to use a wall as a natural gobo, shielding the lens from direct sun while still maintaining a southward view across the Thames toward the Shard. This is practical location scouting in action. Before you lock down your tripod, walk the area and figure out where the light is punishing and where it’s workable. A slightly shifted position can be the difference between a blown-out mess and a clean shot.
Step 3: Stack Filters for Long Exposure in Bright Conditions
 Camera on tripod with polarizer and 16-stop ND filter attached
For the first shot of the day, the setup included both a polarizing filter and a 16-stop neutral density filter. The polarizer addressed the atmospheric haze hanging over the river, cutting through it and adding contrast to the sky. The 16-stop ND then reduced the light enough to allow a shutter speed of roughly six minutes in broad daylight. That extended exposure smoothed out the choppy Thames water completely and eliminated the boats moving through the scene. The math here matters: stack your polarizer first (closest to the lens), then your ND on top, and dial in your aperture before calculating the exposure time.
Camera on tripod with polarizer and 16-stop ND filter attached
For the first shot of the day, the setup included both a polarizing filter and a 16-stop neutral density filter. The polarizer addressed the atmospheric haze hanging over the river, cutting through it and adding contrast to the sky. The 16-stop ND then reduced the light enough to allow a shutter speed of roughly six minutes in broad daylight. That extended exposure smoothed out the choppy Thames water completely and eliminated the boats moving through the scene. The math here matters: stack your polarizer first (closest to the lens), then your ND on top, and dial in your aperture before calculating the exposure time.
Step 4: Set Aperture for the Depth of Field You Actually Need
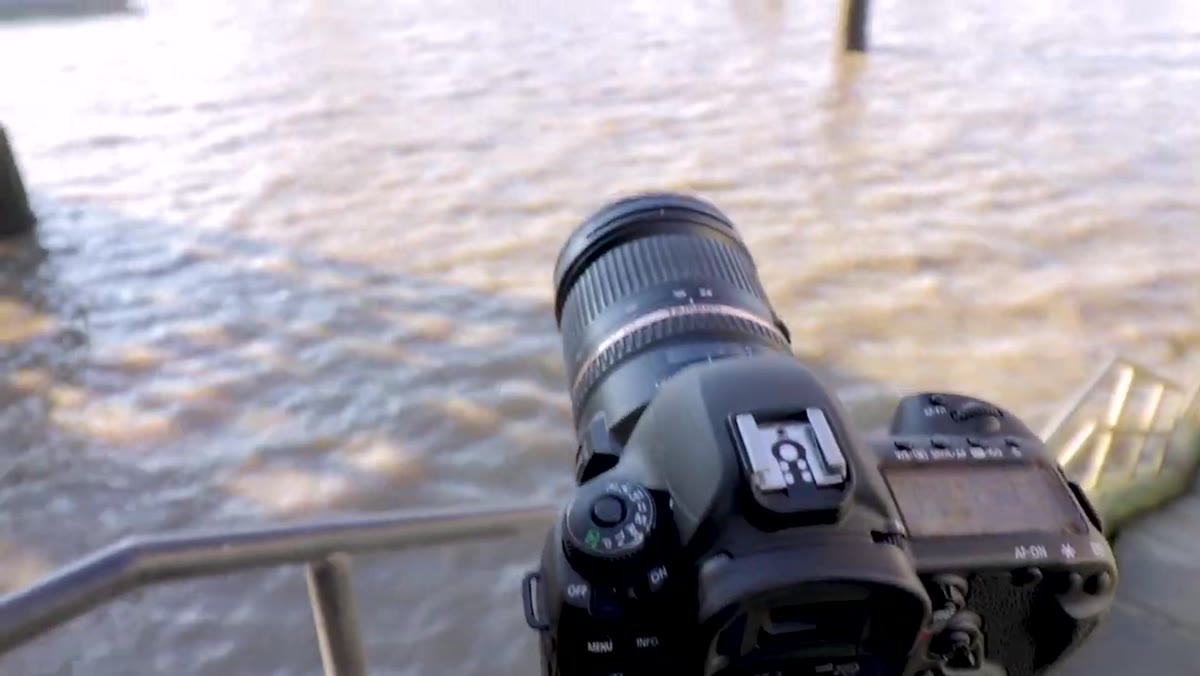 Photographer setting aperture to f/6.3 in bulb mode
For a scene where everything is at a similar distance, like a wide river view with a skyline on the far bank, you do not need f/11 or f/16. In the tutorial, f/6.3 was enough to keep the entire scene sharp because nothing was close to the lens. Stopping down further would have introduced diffraction and required an even longer exposure time. Use the depth of field your scene demands, not the deepest aperture by default. With a 6-minute exposure in bulb mode, every decision compounds, so keeping aperture at a sensible middle ground keeps image quality high.
Photographer setting aperture to f/6.3 in bulb mode
For a scene where everything is at a similar distance, like a wide river view with a skyline on the far bank, you do not need f/11 or f/16. In the tutorial, f/6.3 was enough to keep the entire scene sharp because nothing was close to the lens. Stopping down further would have introduced diffraction and required an even longer exposure time. Use the depth of field your scene demands, not the deepest aperture by default. With a 6-minute exposure in bulb mode, every decision compounds, so keeping aperture at a sensible middle ground keeps image quality high.
Step 5: Plan an Ambitious Panorama Using the Shift Function
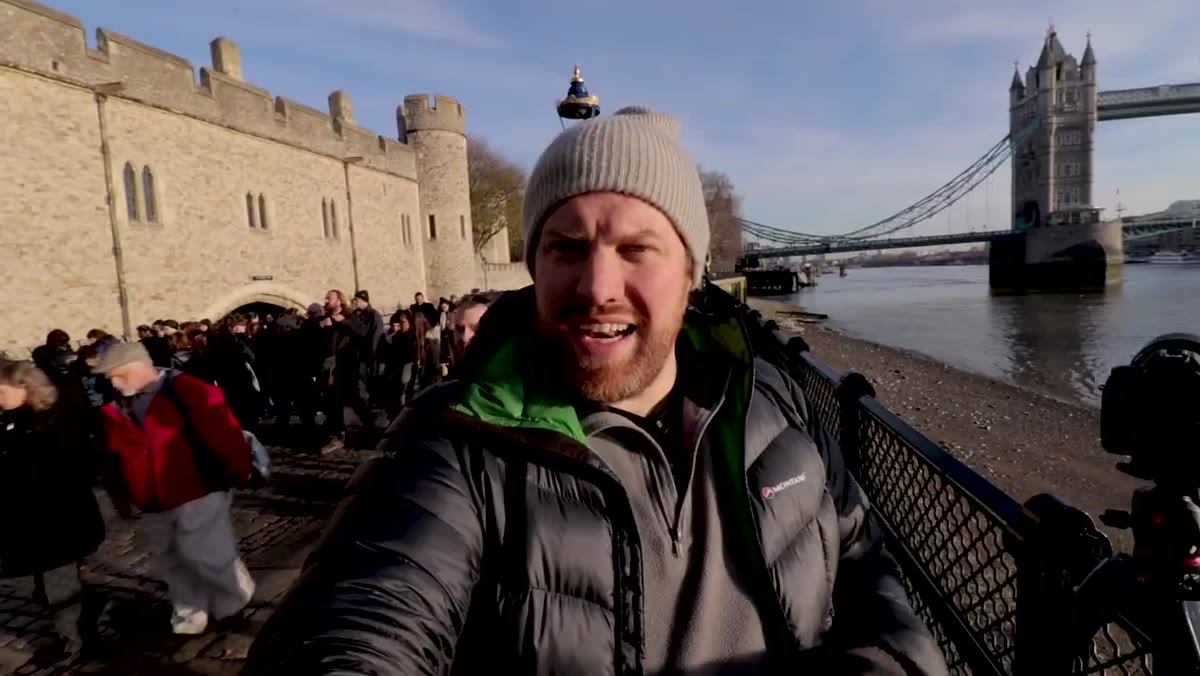
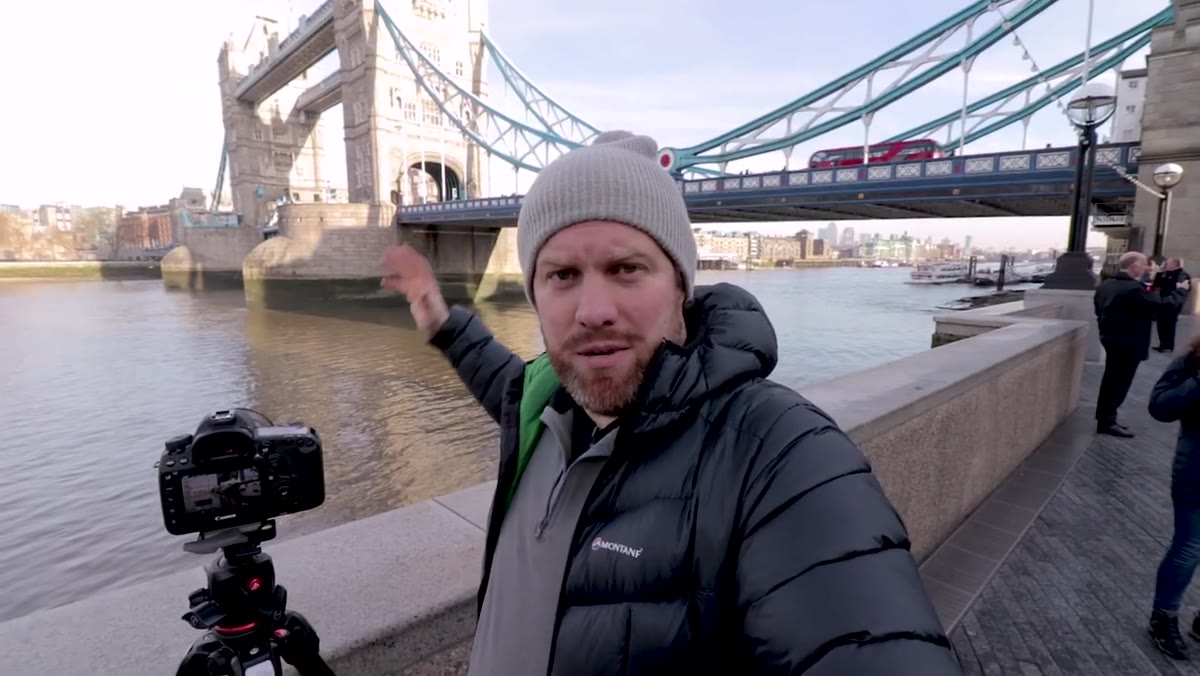 Photographer describing panorama plan combining Tower Bridge and Tower of London
At Tower Bridge, the approach became more complex. Rather than a single frame, the plan was to use the shift function to capture multiple images and stitch them into a panorama. This is where tilt-shift lenses earn their keep for architecture work. By shifting the lens left, center, and right (or up and down), you can capture a wide field of view while maintaining parallel verticals throughout every frame. The resulting stitched image has no distortion at the edges, which is exactly what you cannot achieve by rotating the camera on a standard panorama head. For stitching, keep your tripod level and use a remote shutter release to avoid any vibration between frames.
Photographer describing panorama plan combining Tower Bridge and Tower of London
At Tower Bridge, the approach became more complex. Rather than a single frame, the plan was to use the shift function to capture multiple images and stitch them into a panorama. This is where tilt-shift lenses earn their keep for architecture work. By shifting the lens left, center, and right (or up and down), you can capture a wide field of view while maintaining parallel verticals throughout every frame. The resulting stitched image has no distortion at the edges, which is exactly what you cannot achieve by rotating the camera on a standard panorama head. For stitching, keep your tripod level and use a remote shutter release to avoid any vibration between frames.
Step 6: Combine Long Exposure Stitching for Maximum Impact
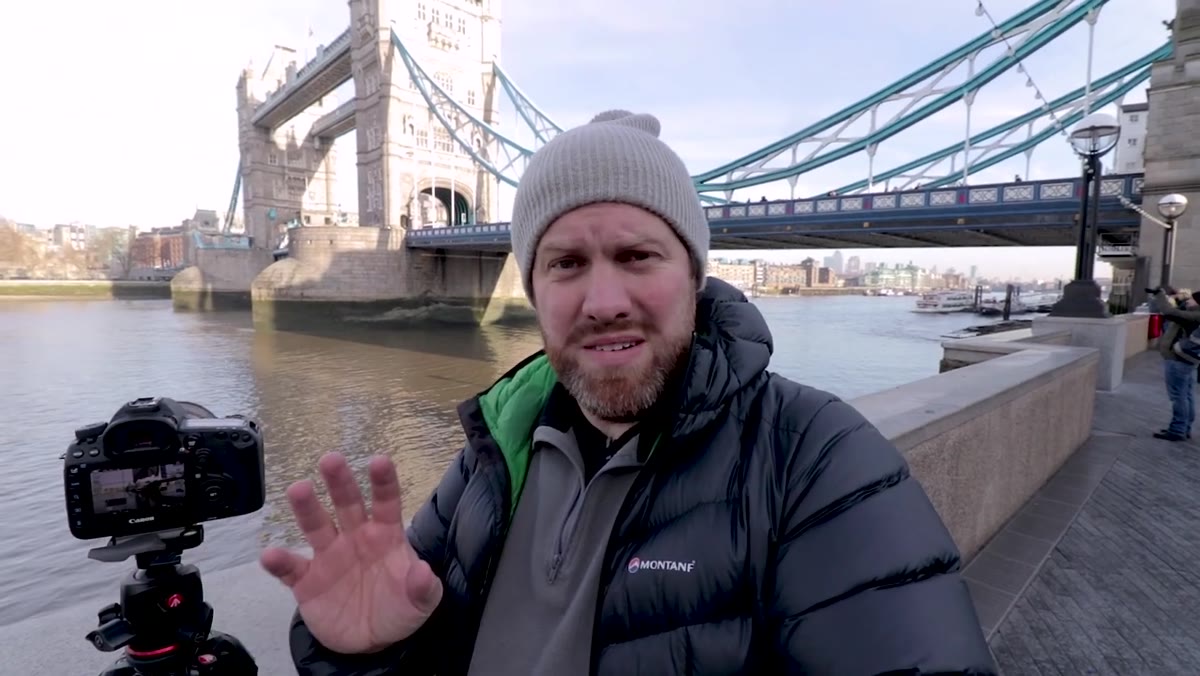 Photographer planning to combine two long exposure images into one panorama
The most technically demanding shot in the tutorial involved combining multiple long-exposure frames into a single panorama at Tower Bridge. Each panel of the panorama needed its own extended exposure to smooth water and sky, then all panels get stitched in post. This requires consistent settings locked down across every frame: same aperture, same ISO, same white balance, same ND filter stack. Any variation between frames will show up as banding or color shifts in the final stitch. Set everything to manual before you start, including manual focus, and do not touch anything between frames except the shift position on the lens.
Photographer planning to combine two long exposure images into one panorama
The most technically demanding shot in the tutorial involved combining multiple long-exposure frames into a single panorama at Tower Bridge. Each panel of the panorama needed its own extended exposure to smooth water and sky, then all panels get stitched in post. This requires consistent settings locked down across every frame: same aperture, same ISO, same white balance, same ND filter stack. Any variation between frames will show up as banding or color shifts in the final stitch. Set everything to manual before you start, including manual focus, and do not touch anything between frames except the shift position on the lens.
What I’d Add: The Budget Path to Tilt-Shift Results
I have tested a lot of glass and I will be honest with you, the Canon TS-E 24mm II used in this tutorial is a premium piece of kit that costs serious money new. But there are two realistic paths if you are not ready to drop that kind of cash. First, many camera rental shops stock tilt-shift lenses and renting for a specific city trip costs a fraction of the purchase price. Second, if you shoot Sony, Fuji, or another mirrorless system, the adapted options from Samyang and Venus Optics (Laowa) have come down significantly and are worth a look. I keep a running comparison of these in my lens testing spreadsheet, and the gap between budget and premium tilt-shift is narrowing faster than most people realize.
The single most important takeaway from this tutorial is not the gear, it is the philosophy: correct perspective at the point of capture rather than in post. Software corrections always involve cropping away pixels and guessing at geometry. A properly shifted tilt-shift lens gives you straight verticals with no quality loss and no interpolation. If you shoot buildings, bridges, or any architecture regularly, this technique will change how your images look at the fundamental level.
Watch the full tutorial on YouTube to see every location and shot from the session, including the final stitched results straight out of the camera.
Comments
Leave a Comment