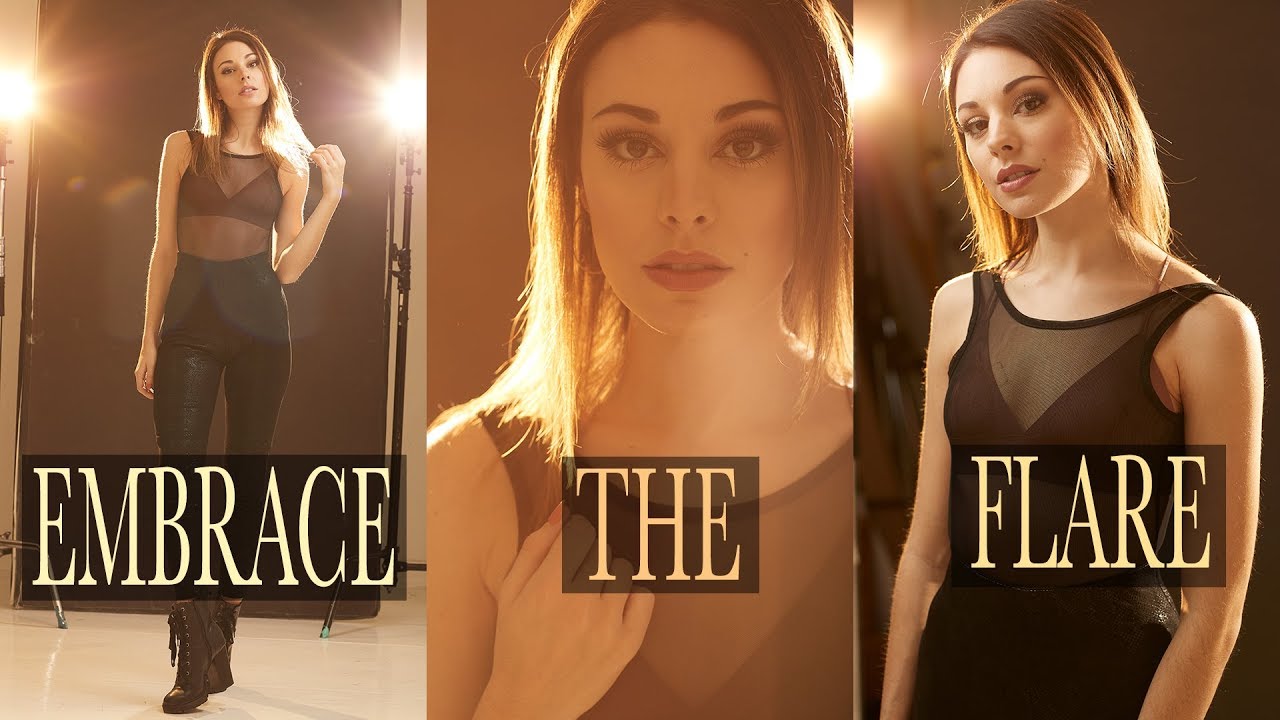
Most of the lens flare you see in portraits is faked in post. A few clicks in Lightroom, a flare overlay from some preset pack, and suddenly everything looks like a J.J. Abrams fever dream. I get it. It’s fast. But there’s a problem: fake flare looks flat. It sits on top of the image instead of living inside it, and anyone who shoots seriously can spot it. Real, in-camera flare has a quality to it that you just can’t replicate with a slider.
In this Daniel Norton Photographer tutorial, Watch the full tutorial on YouTube, Daniel shoots a full-length portrait session in his studio and creates genuine lens flare by putting his lights directly in the frame and blasting them straight back toward the camera. The setup is surprisingly minimal. Two lights, a white studio, and a willingness to let go of technical perfection in favor of style. That last part is what I think most tutorials skip over, so I want to make sure I come back to it.
What I like about this approach is that it’s not precious. Daniel didn’t plan this shot out in advance. He was messing around with his subject Erica, she had a great rock-and-roll energy going, and they built the look together. That kind of organic process produces images that feel alive. The technique serves the mood, not the other way around.
Step 1: Choose Your Lighting Setup and Lock In the Mood
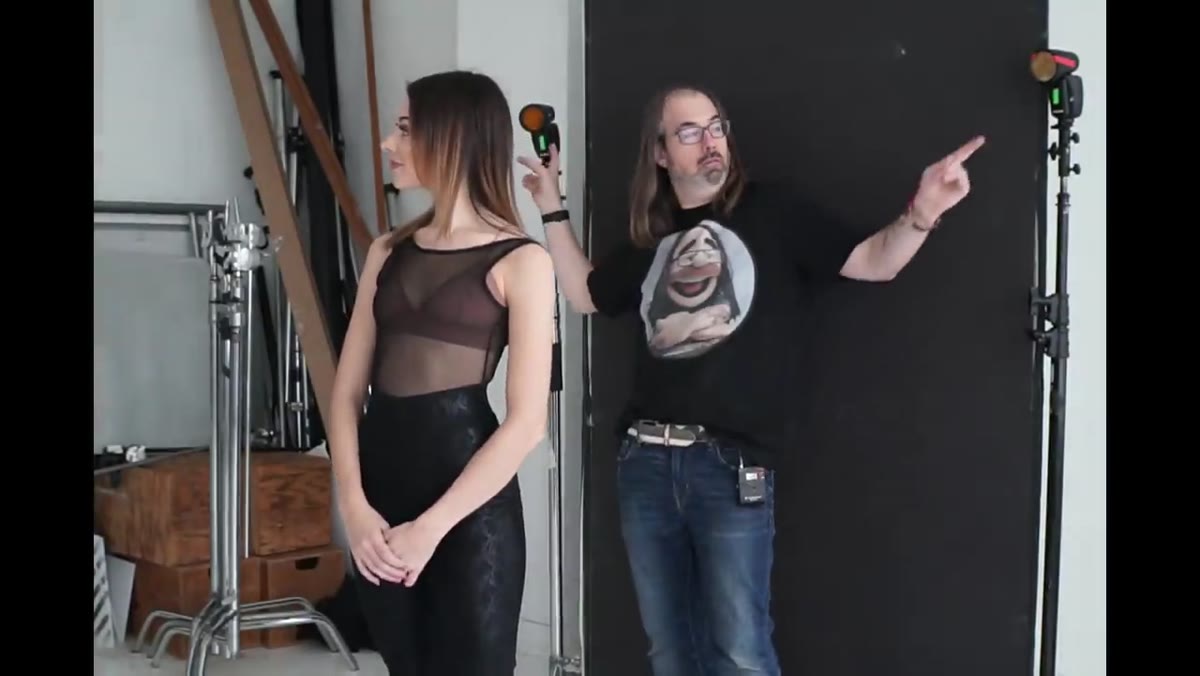 Two Profoto A1 flashes positioned as heavy backlights
Daniel uses two Profoto A1 strobes positioned on either side of the subject, angled back across her body to create heavy, aggressive backlighting. The key decision here is placing the lights so they fire directly toward the camera, not at the subject’s face. Because he’s working in a white studio, that backlight bounces off the walls and ceiling and wraps back around to softly fill her face. You get dramatic rim lighting AND a flattering fill, all from the same two lights.
Two Profoto A1 flashes positioned as heavy backlights
Daniel uses two Profoto A1 strobes positioned on either side of the subject, angled back across her body to create heavy, aggressive backlighting. The key decision here is placing the lights so they fire directly toward the camera, not at the subject’s face. Because he’s working in a white studio, that backlight bounces off the walls and ceiling and wraps back around to softly fill her face. You get dramatic rim lighting AND a flattering fill, all from the same two lights.
He also adds warming gels to both strobes. This is worth understanding, not just copying. When your only light source is coming from behind the subject, whatever color those lights are is what hits the skin. Warm amber gels are safe because they read as golden-hour light. Put green or purple back there and you’ll have a subject lit with an unflattering color cast you can’t fully correct in post without destroying the effect.
Step 2: Eliminate Ambient Light with Your Exposure Settings
 Camera settings: f/5.6, 1/250s, ISO 100, no flash firing
Before you fire a single strobe, you need to make sure ambient light isn’t contributing to the exposure. Daniel shoots at f/5.6, 1/250th of a second, ISO 100, and confirms the studio goes almost completely black without the flash. This is your baseline.
Camera settings: f/5.6, 1/250s, ISO 100, no flash firing
Before you fire a single strobe, you need to make sure ambient light isn’t contributing to the exposure. Daniel shoots at f/5.6, 1/250th of a second, ISO 100, and confirms the studio goes almost completely black without the flash. This is your baseline.
This step matters more than people realize. If ambient light is leaking into the shot, you lose control over the drama. The contrast between the lit subject and the dark background is what makes this style work. Dial your settings until a no-flash test frame gives you close to a black frame, then you know every photon in the final image is coming from your strobes.
Step 3: Fire at Full Power and Include the Lights in the Frame
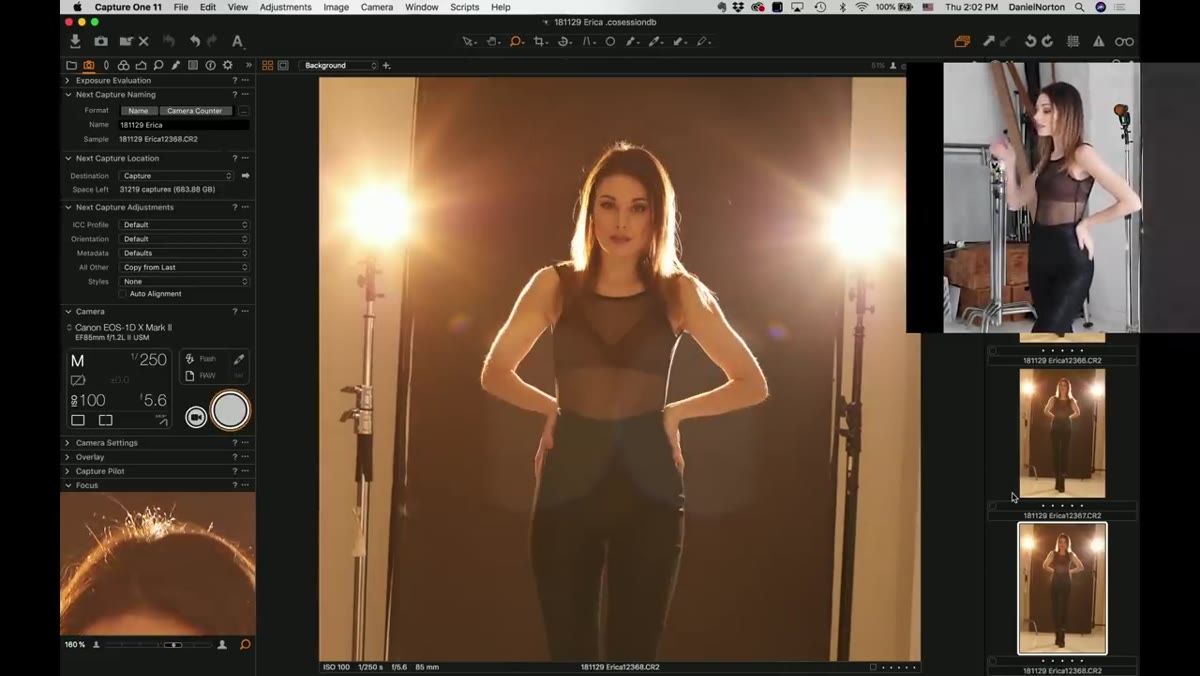 Full-length frame showing strobes visible in shot, flare across image
Here’s where the technique gets interesting. Daniel deliberately frames the shot so the strobes are visible in the image. You can see the flash burst itself bleeding into the frame. That’s not an accident and it’s not a mistake he’s leaving in. It’s the whole point.
Full-length frame showing strobes visible in shot, flare across image
Here’s where the technique gets interesting. Daniel deliberately frames the shot so the strobes are visible in the image. You can see the flash burst itself bleeding into the frame. That’s not an accident and it’s not a mistake he’s leaving in. It’s the whole point.
Set your lights to full power. This is what creates the intense flare that blows across the lens and affects sharpness, contrast, and color in that raw, unpolished way. Daniel is straightforward about the trade-off: shooting into hot lights hurts sharpness. The shot isn’t about sharpness. It’s about style. If you’re the kind of photographer who can’t let go of pixel-peeping, this technique will feel uncomfortable. That discomfort is useful feedback.
Step 4: Shoot a Series with Subtle Movements
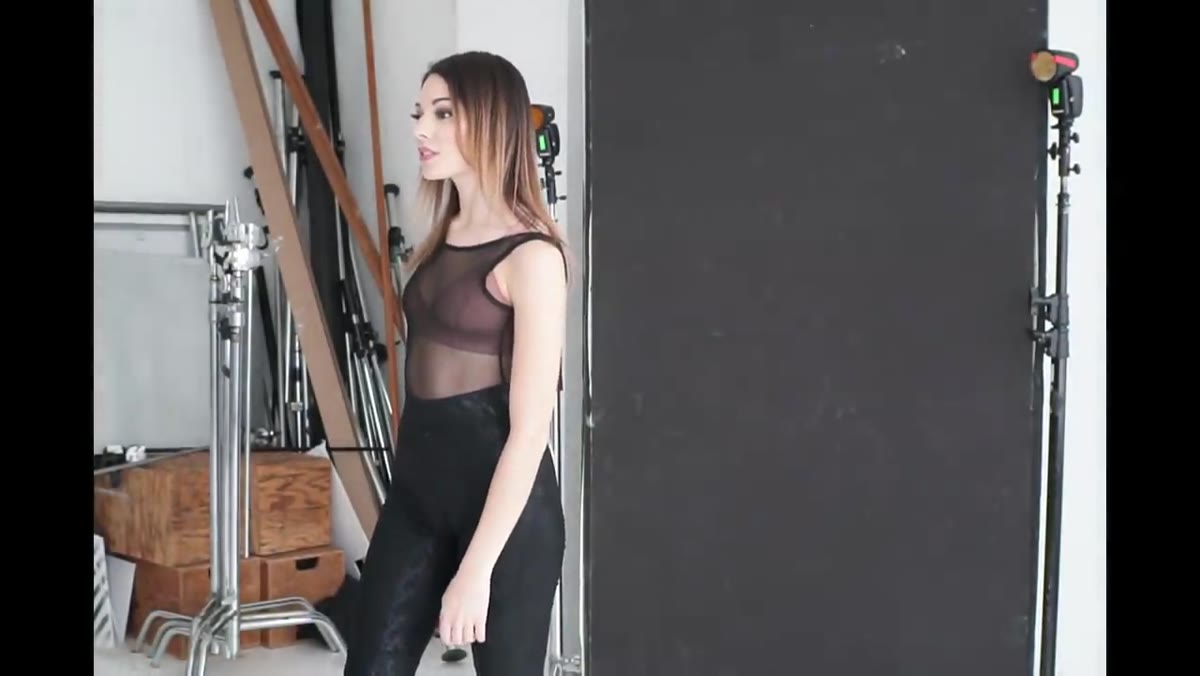
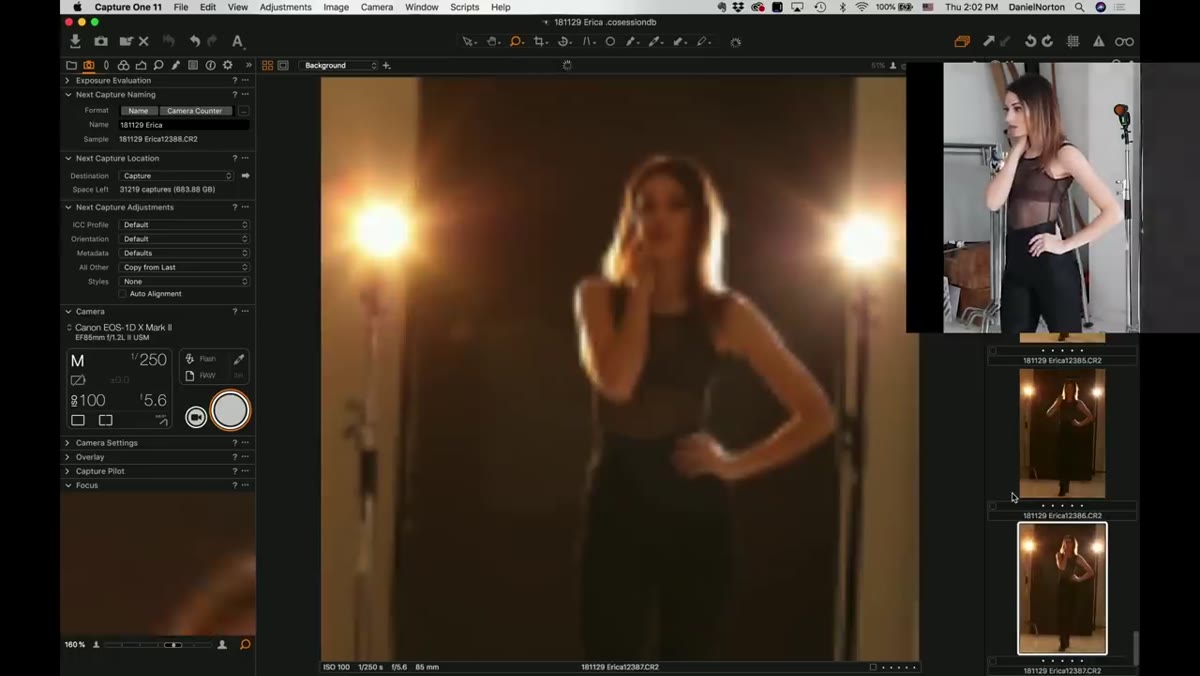 Photographer stepping through a sequence of frames from far position
Daniel starts from far back to get a full-length shot, shooting a series of frames with small, intentional adjustments each time. He’s not machine-gunning the shutter. He paces himself because the Profoto A1s need time to recycle at full power, and if you fire too fast, you’ll catch them mid-charge and get dramatically underexposed frames.
Photographer stepping through a sequence of frames from far position
Daniel starts from far back to get a full-length shot, shooting a series of frames with small, intentional adjustments each time. He’s not machine-gunning the shutter. He paces himself because the Profoto A1s need time to recycle at full power, and if you fire too fast, you’ll catch them mid-charge and get dramatically underexposed frames.
This is actually a useful reminder even if you’re shooting with faster strobes. Working in deliberate series lets you make small pose adjustments between shots and evaluate what’s changing. Daniel and Erica are refining the stance, finding where the legs work, where the energy reads best. The technical side and the creative side are running simultaneously.
Step 5: Move Closer and Work Off the Tripod
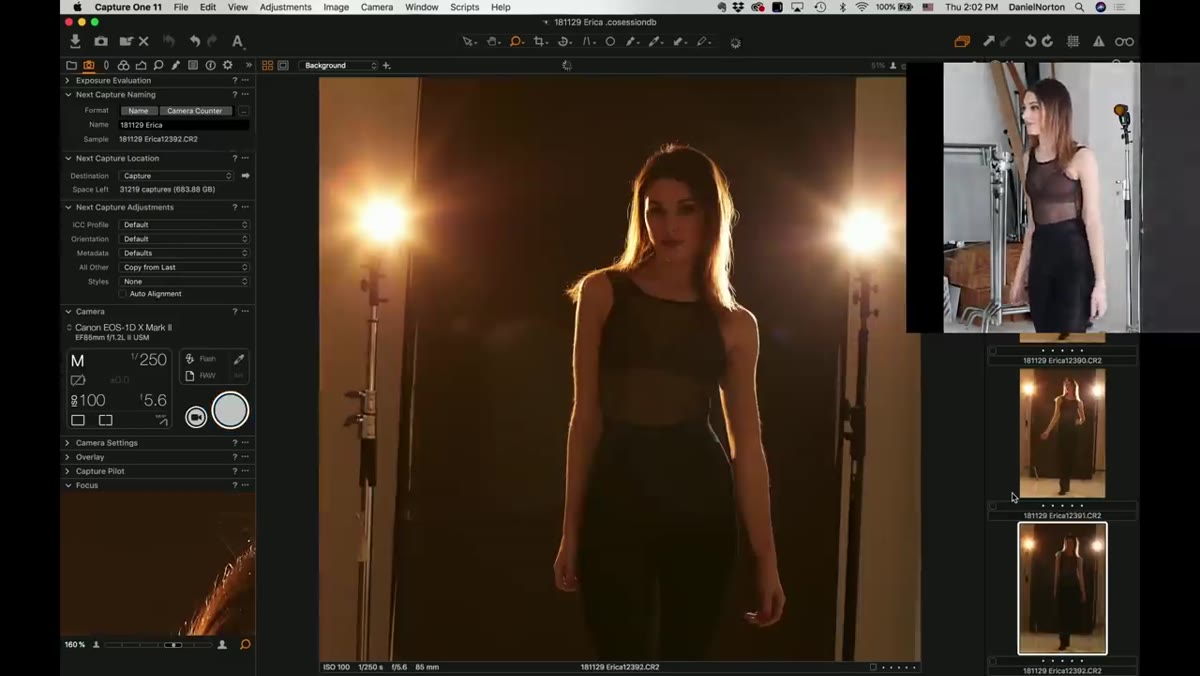 Photographer moving closer, switching to handheld for tighter frames
After establishing the full-length look, Daniel steps off the tripod and moves closer to get tighter shots. This is a natural progression in any portrait session, and it’s worth building into your own workflow. The wide shot defines the story, the close shot delivers the emotion.
Photographer moving closer, switching to handheld for tighter frames
After establishing the full-length look, Daniel steps off the tripod and moves closer to get tighter shots. This is a natural progression in any portrait session, and it’s worth building into your own workflow. The wide shot defines the story, the close shot delivers the emotion.
One thing he flags when moving in for closer portraits: watch the nose. When you’re tight on a face and the light is coming from behind, any stray light that skims across the nose can create an unflattering shadow or highlight. Keep the subject’s face as square to the camera as possible to minimize that problem.
Step 6: Review for Silhouette vs. Lit Frames and Adjust Pacing
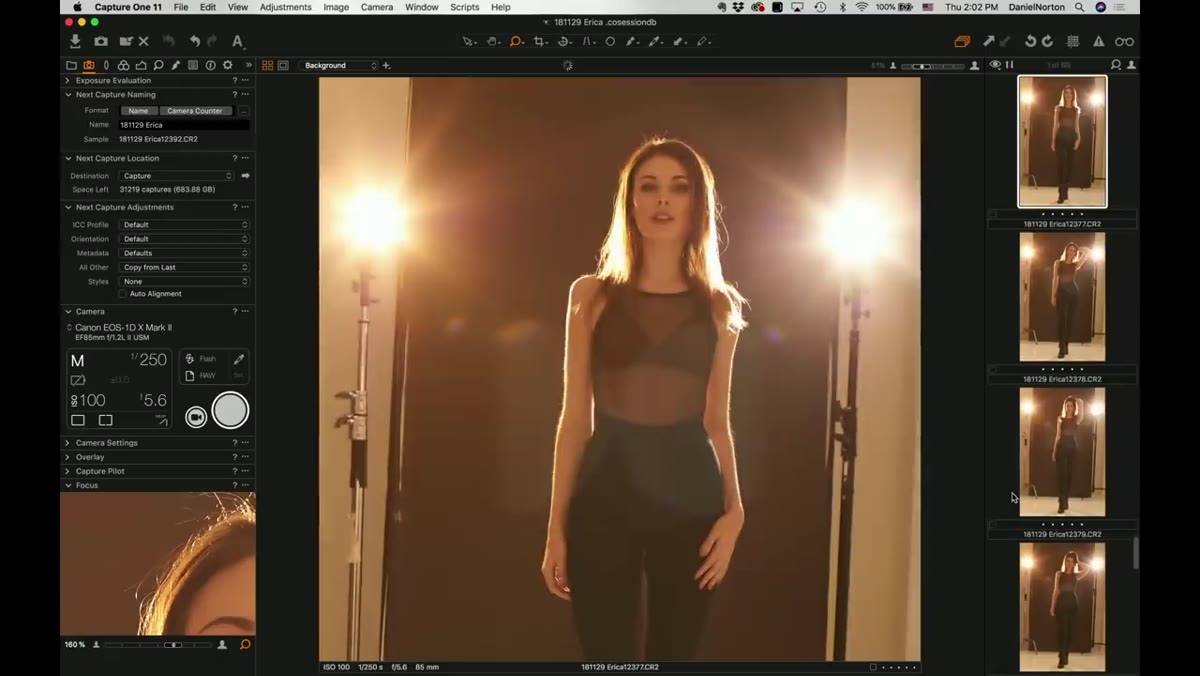 Reviewing shots on camera, noticing silhouette frames from fast shooting
When Daniel reviews the sequence, he notices some frames are much more silhouette-heavy than he intended. The culprit was shooting faster than the strobes could recycle. Some frames caught the lights at partial power, which dropped the fill significantly and pushed the image toward pure backlit silhouette.
Reviewing shots on camera, noticing silhouette frames from fast shooting
When Daniel reviews the sequence, he notices some frames are much more silhouette-heavy than he intended. The culprit was shooting faster than the strobes could recycle. Some frames caught the lights at partial power, which dropped the fill significantly and pushed the image toward pure backlit silhouette.
This is not necessarily a failure. Some of those silhouette frames are genuinely striking. The lesson is to know what you’re getting and why. If you want consistent, lit frames, slow down between shots and listen for the recycle beep. If you want to introduce some variation and unpredictability, push the pace and let the strobe cycle do some creative work for you.
What I’d Test With Budget Gear
I don’t have Profoto A1s. My flash kit runs on Godox, and honestly, this whole technique is highly repeatable with speedlights or entry-level monolights. The core requirement is that your lights can handle full power output and that you’re willing to let them into the frame. A couple of Godox V860IIIs or even cheaper AD100 Pros can create legitimate flare effects at a fraction of the cost.
The one real limitation I’d flag is recycle time. Cheaper flash units at full power will recycle slower than the Profoto A1s Daniel is already noting as slower than his big studio strobes. Budget accordingly by pacing your shots further apart, or by accepting that some frames will be underexposed and using that variation intentionally.
The technique itself costs you nothing to try. Point your lights at your lens, dial out the ambient, and stop worrying about sharpness for one session. Some of the most compelling portraits I’ve seen were never technically clean, and that was exactly the point.
The biggest thing Daniel Norton’s tutorial clarified for me is this: in-camera flare is a commitment to style over technical precision, and you have to make that decision before you press the shutter. Make it consciously, and the results can be genuinely powerful. Watch the full tutorial on YouTube to see the actual frames and lighting positions in context.
Comments
Leave a Comment