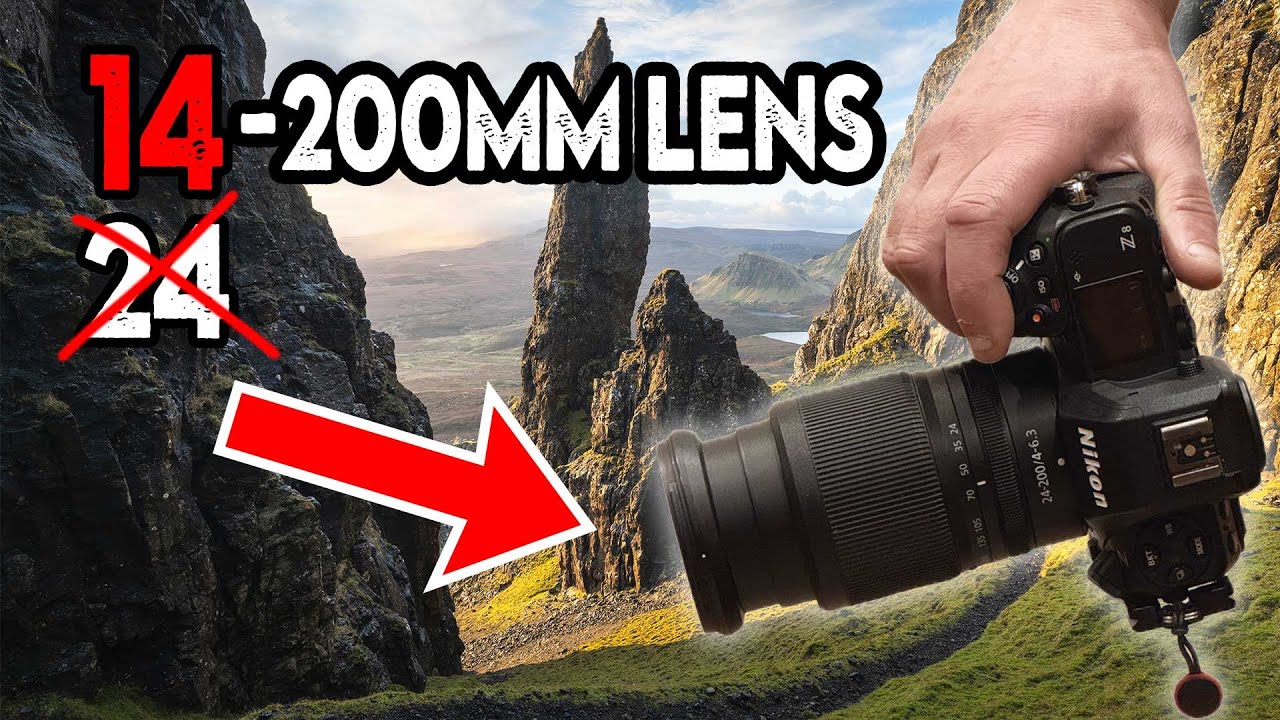
If you shoot landscapes, you’ve probably had this argument with yourself: pack light and move fast, or haul the full kit and get the shot. I’ve landed on the “pack light” side more times than I can count, mostly because I’ve seen what happens when fatigue kills creativity. Carrying three lenses and a full bag up a steep trail means you’re thinking about your back, not the light. That tension is exactly what makes this Nigel Danson tutorial so worth your time.
Watch the full tutorial on YouTube
In this Nigel Danson tutorial, he takes a Sony 24-200mm lens on a solo hike through the Quiraing on the Isle of Skye with no camera bag, a sore neck, and a backup wide lens stuffed in his jacket pocket that he barely touches. What unfolds is a real-world stress test of a do-it-all zoom lens in dramatic, fast-changing light. This isn’t a lab review. It’s a working photographer adapting on the fly, and the specific techniques he demos are things you can take straight to the field.
What grabbed me is the framing problem he solves along the way. A 24-200mm zoom sounds versatile on paper, but most people default to the middle of the range and leave performance on the table at both ends. Danson systematically works the full focal length range, and he explains a stitching trick for getting beyond 24mm without switching glass. That’s the kind of practical hack that belongs in your regular workflow.
Step 1: Choose the Location First, Gear Second
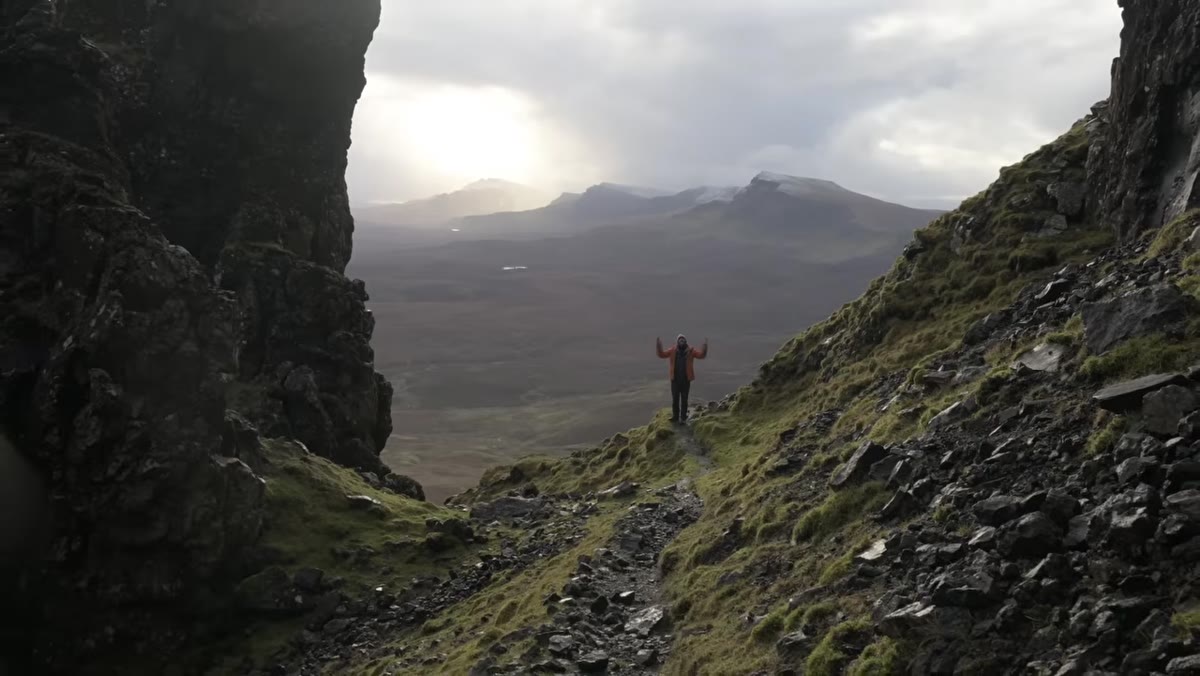 Aerial or ground view of Quiraing cliffs on Isle of Skye
Danson starts by letting the terrain dictate his lens choice, not the other way around. The Quiraing offers sweeping panoramas, intimate rock formations, and distant water patterns - all within the same hour-long walk. That range of subjects is exactly why a 24-200mm makes sense here. Before you grab your bag, ask what focal lengths the location will actually demand. If the answer is “everything,” a wide-to-tele zoom beats a prime every single day.
Aerial or ground view of Quiraing cliffs on Isle of Skye
Danson starts by letting the terrain dictate his lens choice, not the other way around. The Quiraing offers sweeping panoramas, intimate rock formations, and distant water patterns - all within the same hour-long walk. That range of subjects is exactly why a 24-200mm makes sense here. Before you grab your bag, ask what focal lengths the location will actually demand. If the answer is “everything,” a wide-to-tele zoom beats a prime every single day.
The practical takeaway: scout the range of your subject matter mentally before you leave the car. If your location has both wide foreground interest and distant compression opportunities, a versatile zoom removes the decision pressure mid-shoot.
Step 2: Go Light Intentionally, Not by Accident
 Danson hiking steep trail with minimal gear visible
Physical limitations forced Danson’s hand here, but the insight is universal. He mentions that leaving the bag behind isn’t a compromise - it’s what gets him to harder-to-reach viewpoints that bag-heavy photographers skip. He frames traveling light as a creative advantage, not a sacrifice. Steep, unstable terrain becomes manageable when you’re not fighting 15 pounds of gear on your shoulders.
Danson hiking steep trail with minimal gear visible
Physical limitations forced Danson’s hand here, but the insight is universal. He mentions that leaving the bag behind isn’t a compromise - it’s what gets him to harder-to-reach viewpoints that bag-heavy photographers skip. He frames traveling light as a creative advantage, not a sacrifice. Steep, unstable terrain becomes manageable when you’re not fighting 15 pounds of gear on your shoulders.
If your location involves serious elevation gain or slippery conditions, audit your bag before you go. Ask what you will actually use versus what you’re carrying “just in case.” One capable zoom, a few filters in a shirt pocket, and a fully charged battery can cover a surprising amount of ground. Danson sneaks a 14-24mm into his jacket as a true emergency backup, but he barely mentions it after that.
Step 3: Work the Telephoto End for Patterns and Compression
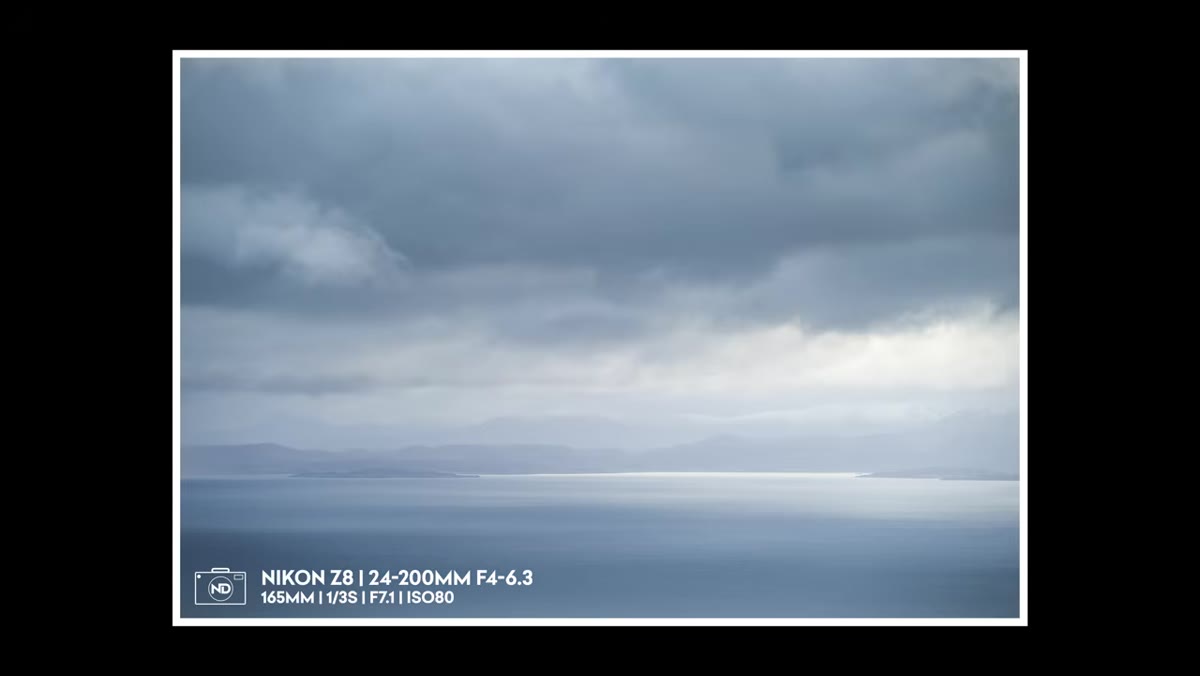
 Telephoto shot showing light patterns on water in the distance
On the climb up, before he even reaches the main viewpoint, Danson stops to shoot compressed telephoto frames of light patterns on the loch below. This is something a lot of landscape photographers miss: the shot isn’t always at the summit. Changing light hits distant water, fields, or hills in ways that only a longer focal length can isolate. He pulls the zoom out toward 200mm and picks out minimalist, almost abstract frames.
Telephoto shot showing light patterns on water in the distance
On the climb up, before he even reaches the main viewpoint, Danson stops to shoot compressed telephoto frames of light patterns on the loch below. This is something a lot of landscape photographers miss: the shot isn’t always at the summit. Changing light hits distant water, fields, or hills in ways that only a longer focal length can isolate. He pulls the zoom out toward 200mm and picks out minimalist, almost abstract frames.
The technique here is straightforward. Look back and down as you climb. Longer focal lengths flatten distance and stack layers in a way that reads beautifully in a single frame. Identify where the light is actively doing something interesting - a rain shaft, a sunlit patch on dark water, moving cloud shadow - and use compression to fill the frame with just that moment. No foreground rock required.
Step 4: Shoot Panoramic Stitches to Beat Your Widest Focal Length
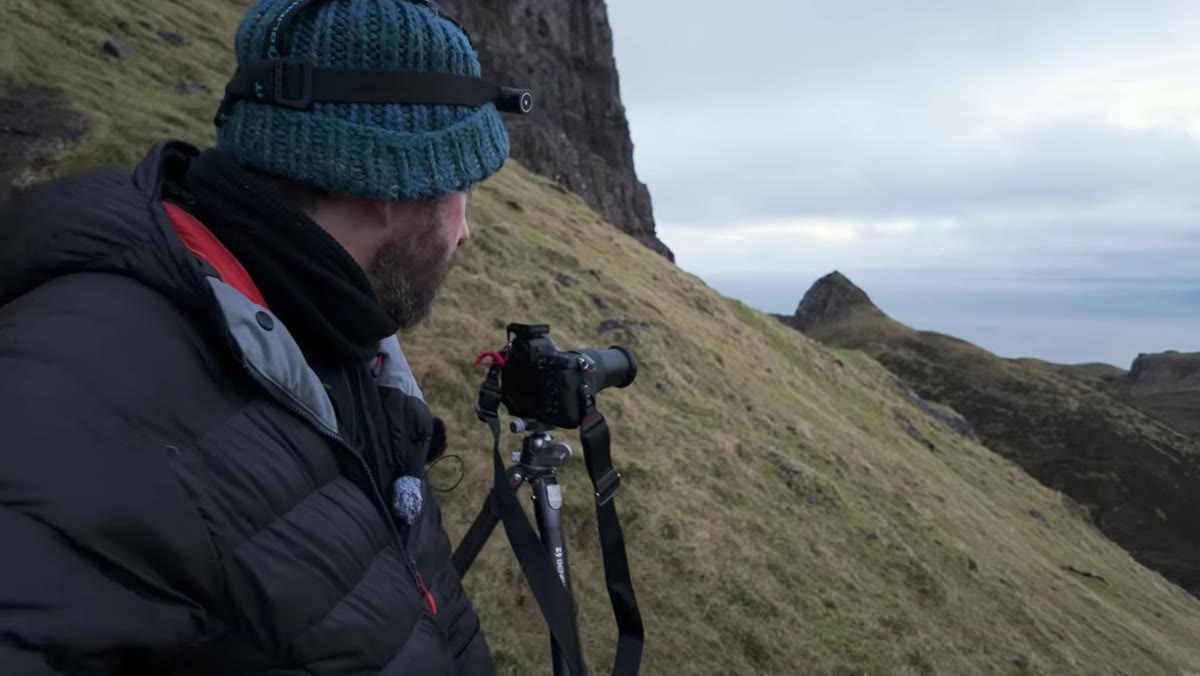 Danson explaining the stitching technique while gesturing at landscape
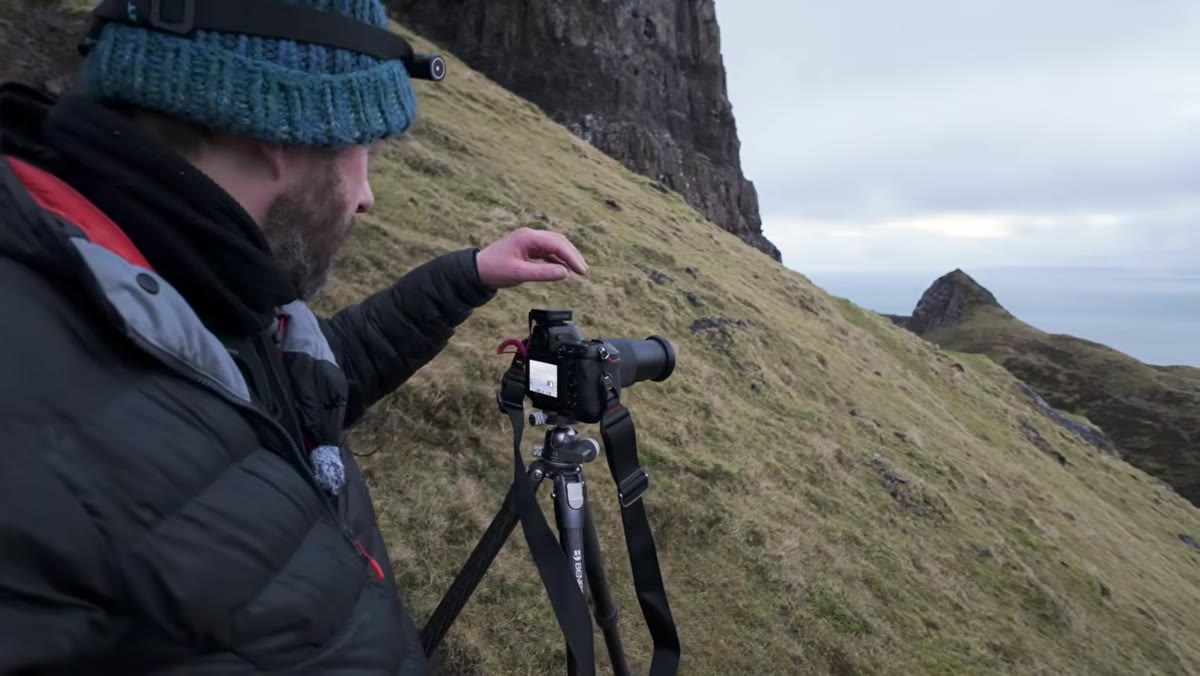
This is the technique I’ve seen underused constantly, including in my own work. Danson explains that by shooting a horizontal series of overlapping frames at 24mm and stitching them in post, you can produce an image with a field of view wider than your lens can physically deliver in a single shot. More importantly, because you’re using the center of the lens for each frame, you also get sharper corners and better edge quality than you’d get shooting a single ultra-wide frame.
Danson explaining the stitching technique while gesturing at landscape
This is the technique I’ve seen underused constantly, including in my own work. Danson explains that by shooting a horizontal series of overlapping frames at 24mm and stitching them in post, you can produce an image with a field of view wider than your lens can physically deliver in a single shot. More importantly, because you’re using the center of the lens for each frame, you also get sharper corners and better edge quality than you’d get shooting a single ultra-wide frame.
The execution: set your zoom to 24mm, shoot in portrait orientation to maximize vertical coverage, overlap each frame by at least 30 percent, and keep your exposure locked in manual so the tones match across frames. Shoot from a consistent pivot point (ideally a tripod, but Danson does this handheld). In Lightroom or Photoshop, use Photo Merge and select the Perspective or Spherical projection depending on how curved your horizon is. The result can rival what a dedicated 14mm prime produces, with no extra glass in the bag.
Step 5: Adapt When Conditions Change Mid-Shoot
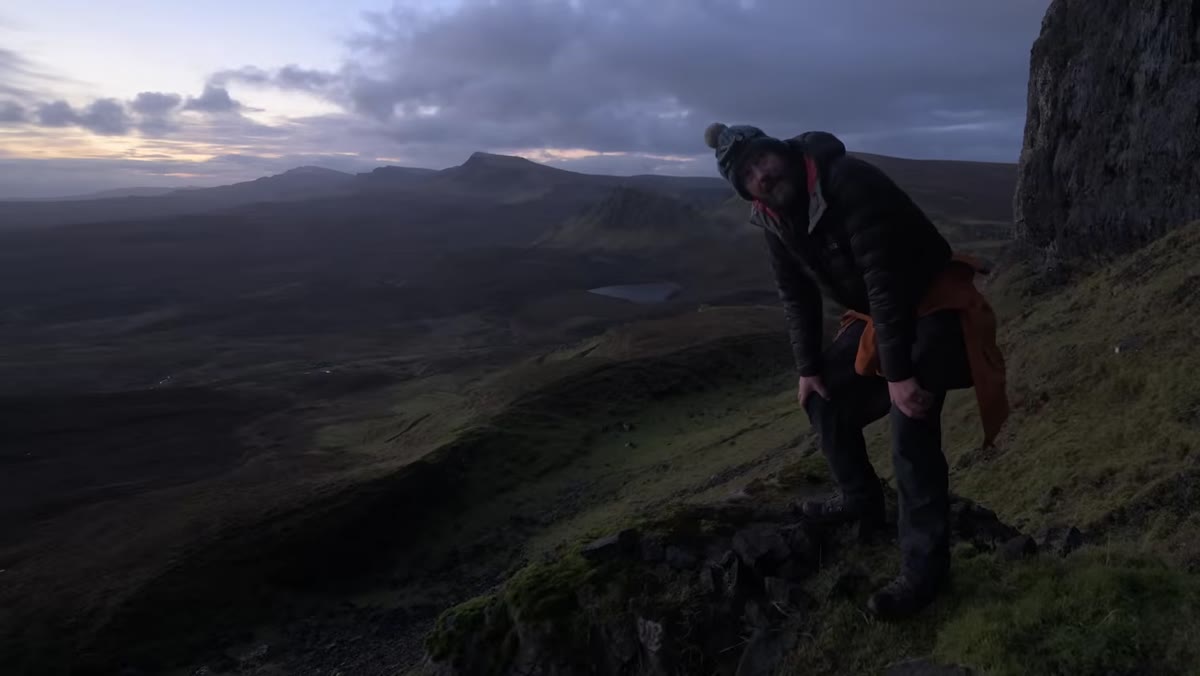 Danson turning back from rockslide area, reassessing route
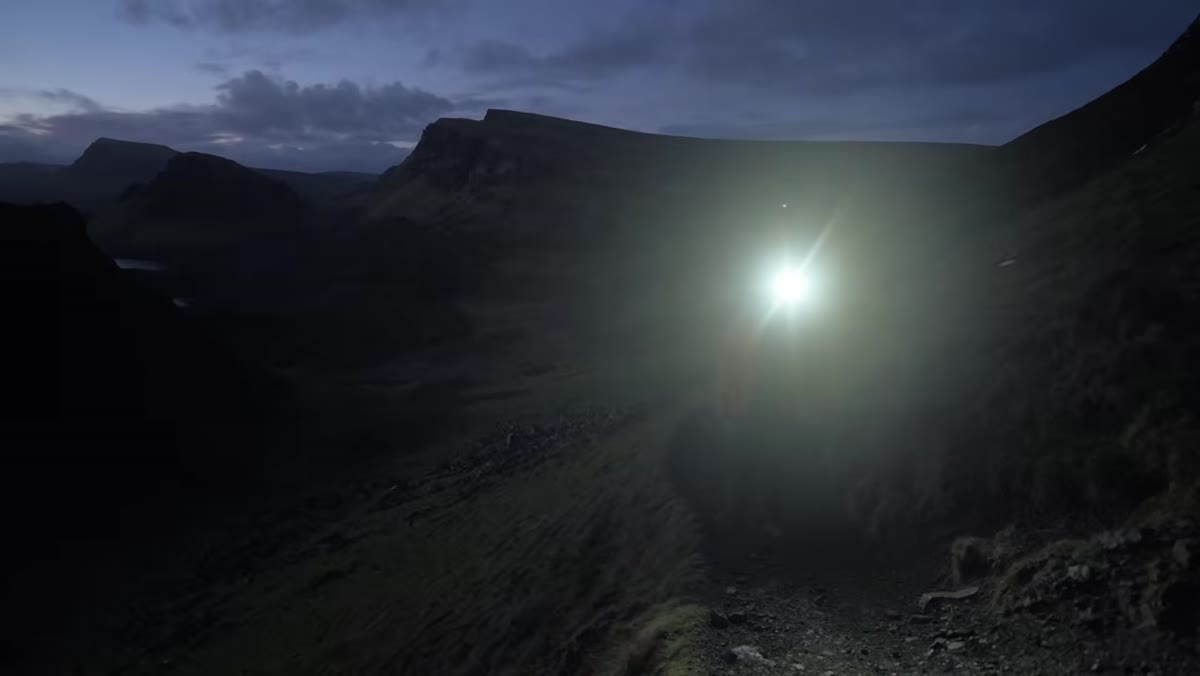
One of the most instructive moments in the video has nothing to do with camera settings. Danson starts climbing toward his target viewpoint, encounters fresh rockslides from snowmelt, and turns back. No drama, no forcing it. He then realizes he was headed the wrong direction entirely and reroutes to the correct stack. He misses sunrise. He adjusts his expectations and keeps shooting.
Danson turning back from rockslide area, reassessing route
One of the most instructive moments in the video has nothing to do with camera settings. Danson starts climbing toward his target viewpoint, encounters fresh rockslides from snowmelt, and turns back. No drama, no forcing it. He then realizes he was headed the wrong direction entirely and reroutes to the correct stack. He misses sunrise. He adjusts his expectations and keeps shooting.
The lesson for your own workflow: conditions in the field are never what you planned. Sunrise shoots get blown out by cloud banks, trails close, light shifts 20 minutes early. The photographers who come back with usable images are the ones who pivot instead of sulk. Danson arrives late to his main viewpoint and still finds interesting cloud movement and rainstorm patterns to work with. The shot list changes; the commitment doesn’t.
Step 6: Let the Middle Focal Lengths Earn Their Keep Too
 Danson composing a mid-range shot near the Needle formation
Near the needle formation, Danson works in the 50-100mm range, which most zoom shooters treat as dead space between “wide” and “telephoto.” This middle range is ideal for isolating a single geological feature, like a rock stack, against a layered sky without the extreme compression of 200mm flattening everything into a postcard. Think of it as portrait focal length for landscapes: subject separation without distortion.
Danson composing a mid-range shot near the Needle formation
Near the needle formation, Danson works in the 50-100mm range, which most zoom shooters treat as dead space between “wide” and “telephoto.” This middle range is ideal for isolating a single geological feature, like a rock stack, against a layered sky without the extreme compression of 200mm flattening everything into a postcard. Think of it as portrait focal length for landscapes: subject separation without distortion.
Try deliberately stopping at a mid-range focal length before defaulting to either extreme. Frame the primary subject, then ask whether you want more context (go wider) or more compression (go longer). The answer teaches you more about composition than any preset rule.
What I’d Add From My Own Shooting
The panoramic stitch technique Danson describes is genuinely powerful, but it needs one extra step if you’re shooting in variable light: shoot the full sequence twice. Fast-moving clouds can change dramatically between your first and last frame, and mismatched sky tones are the number one reason stitches fall apart in post. On a bright, consistent day you can skip this. In Scotland, with rainstorms rolling through every 20 minutes, shoot the sequence, wait 60 seconds, then shoot it again. Pick the most consistent set to merge.
Also, if you’re evaluating the 24-200mm range on a budget, the Sony 24-200mm Danson uses is a premium option. Third-party alternatives from Tamron and Sigma cover similar ranges at significantly lower price points, and based on my own side-by-side tests, the real-world sharpness difference in field conditions like these is marginal at best.
The core principle Danson demonstrates is this: constraints, whether a bad neck, a steep trail, or a single lens, force better decisions. Your most creative shoot might be the one where you leave half your gear in the car. Watch the full tutorial on YouTube to see how every technique above plays out across a full Scottish morning in the field.
Comments
Leave a Comment