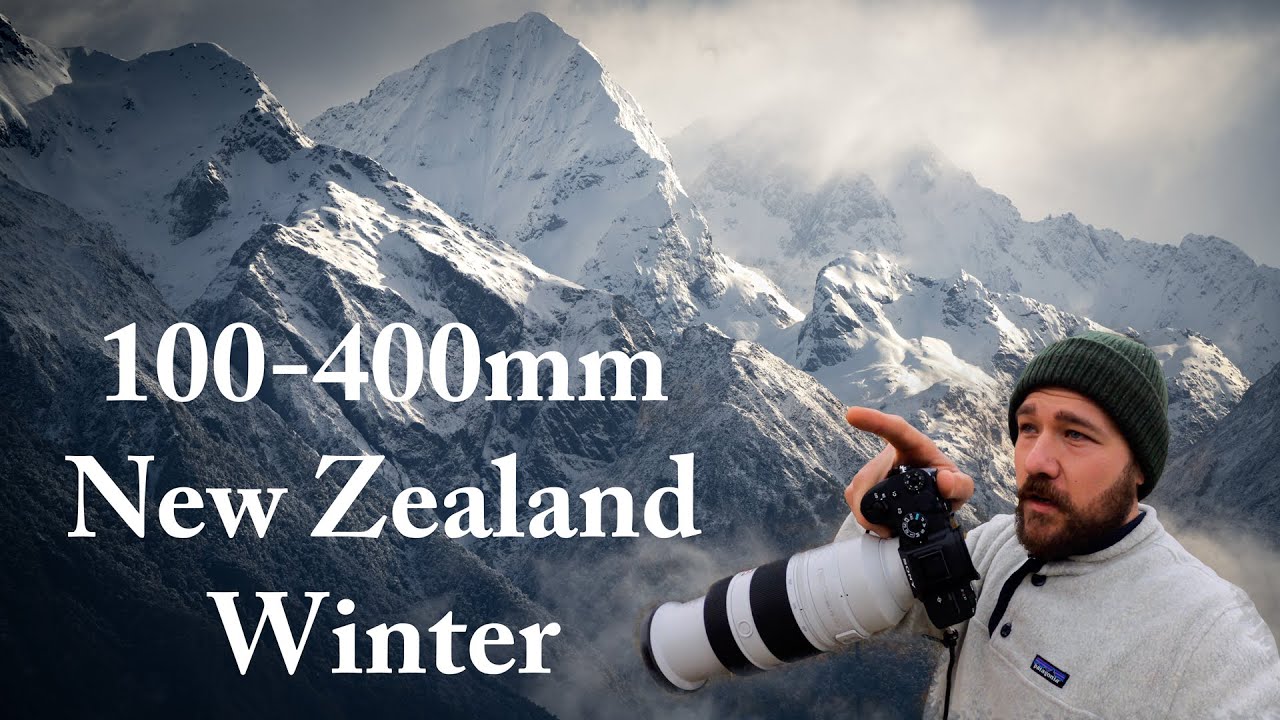
Most landscape photographers reach for their widest lens by default. I did the same thing for years. Wide angle felt “epic,” and telephoto felt like something you pulled out for wildlife or sports. Then I started paying closer attention to photographers who were coming back from the same locations I’d shot a dozen times with images that looked completely different from mine. They weren’t finding better light. They were using a longer lens and finding smaller, tighter stories inside the big scene I’d been trying to capture in one frame.
In this William Patino tutorial, he takes the Sony 100-400mm into Fiordland, New Zealand during a winter snowstorm and camps overnight waiting for snow to drop to a usable level. The results he gets the next morning with that telephoto are exactly the kind of shots I’d been failing to get with my wide glass. Watch the full tutorial on YouTube - it’s worth your time even if you’re not shooting Sony. The lens is just the vehicle. The thinking applies to any telephoto you own or are considering.
What I want to do here is break down his actual process step by step so you can apply it on your next shoot, even if you’re working with something much cheaper than the Sony 100-400mm.
Step 1: Reframe Your Expectations Before You Even Leave Camp
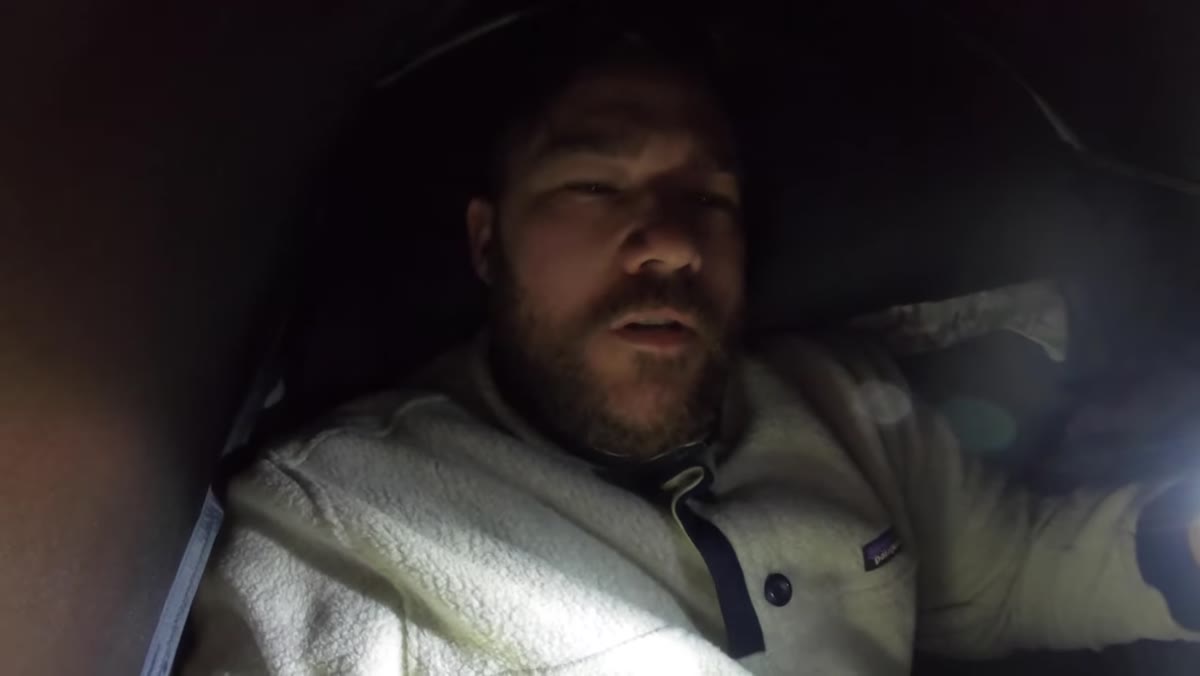 Will looking out of tent at morning light in Fiordland
The first decision Patino makes isn’t about aperture or focal length. He wakes up at 6am, checks the conditions, and pivots his plan. The snow hasn’t dropped as low as he hoped, so instead of staying put, he packs up and drives to higher elevation. That flexibility is the real first step. Telephoto landscape photography rewards patience and movement. You’re not planting a tripod in front of a waterfall and going wide. You’re scanning, evaluating, and repositioning until something in the mid-distance or far distance snaps into a composition.
Will looking out of tent at morning light in Fiordland
The first decision Patino makes isn’t about aperture or focal length. He wakes up at 6am, checks the conditions, and pivots his plan. The snow hasn’t dropped as low as he hoped, so instead of staying put, he packs up and drives to higher elevation. That flexibility is the real first step. Telephoto landscape photography rewards patience and movement. You’re not planting a tripod in front of a waterfall and going wide. You’re scanning, evaluating, and repositioning until something in the mid-distance or far distance snaps into a composition.
Before you start shooting, spend five minutes just looking. Where are the layers? Where is fog or atmosphere creating separation between elements? What specific tree, ridge line, or patch of snow would make a strong isolated subject? You’re essentially pre-visualizing before you raise the camera.
Step 2: Look for “The Scene Within the Scene”
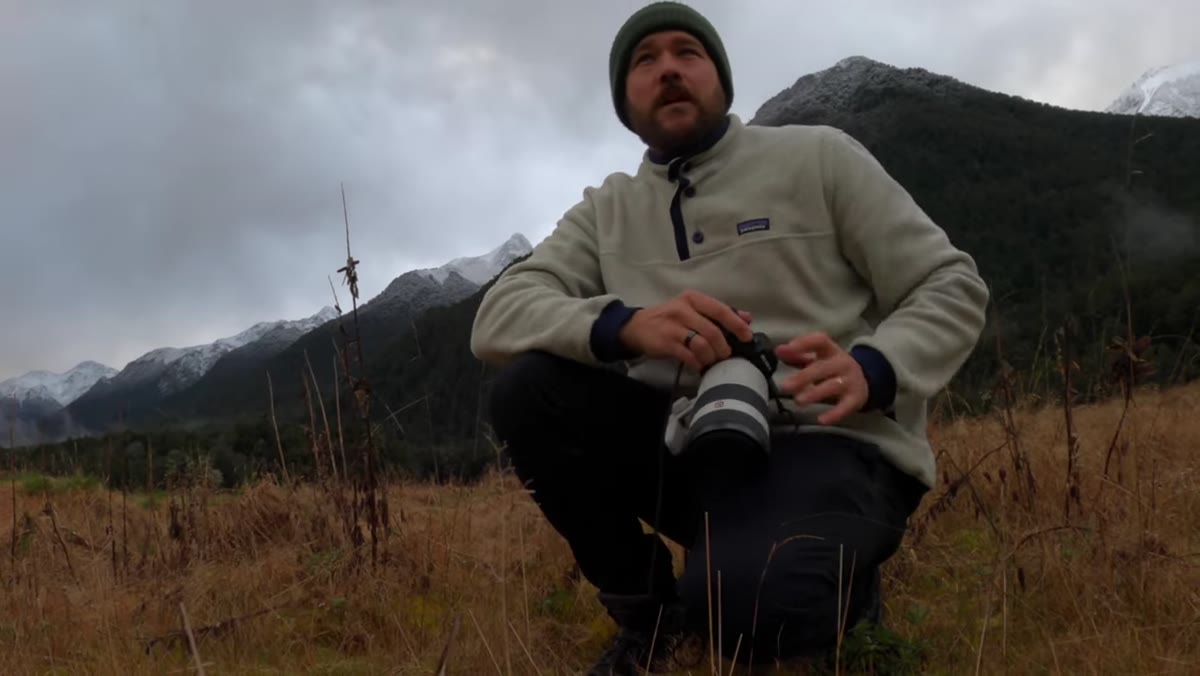
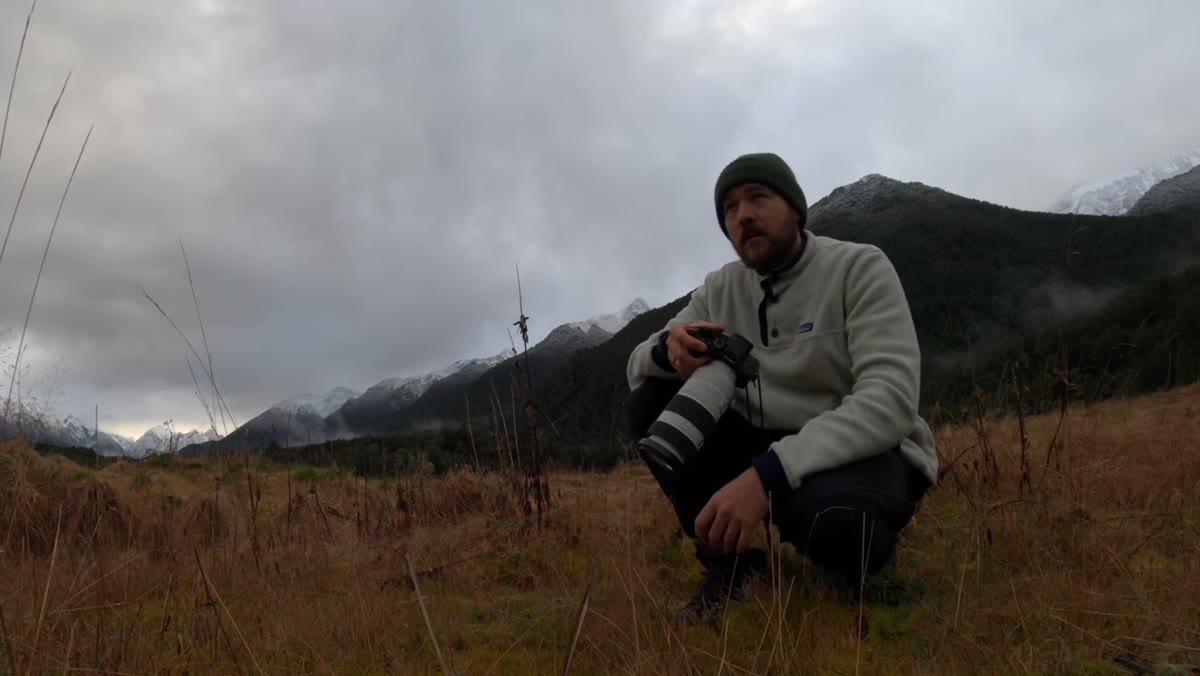
 Patino scanning the valley landscape for telephoto compositions
This is the core concept Patino keeps coming back to, and it’s the most useful mental shift you can make. With a wide lens, you’re capturing context. With a telephoto, you’re editing out context. The grand landscape in front of you contains dozens of smaller photographs. Your job is to find them.
Patino scanning the valley landscape for telephoto compositions
This is the core concept Patino keeps coming back to, and it’s the most useful mental shift you can make. With a wide lens, you’re capturing context. With a telephoto, you’re editing out context. The grand landscape in front of you contains dozens of smaller photographs. Your job is to find them.
Patino specifically mentions looking for fine details, contours in the landscape, mist creating separation between layers, and individual trees that stand out. If you’re not used to thinking this way, he suggests a practical trick: put the camera to your eye at your target focal length and use the viewfinder as a compositional scanning tool before you commit to a shot. You’re not chimping. You’re framing. The longer focal length physically narrows your field of view and forces you to isolate, which is the entire point.
Step 3: Use Atmosphere and Separation as Compositional Tools
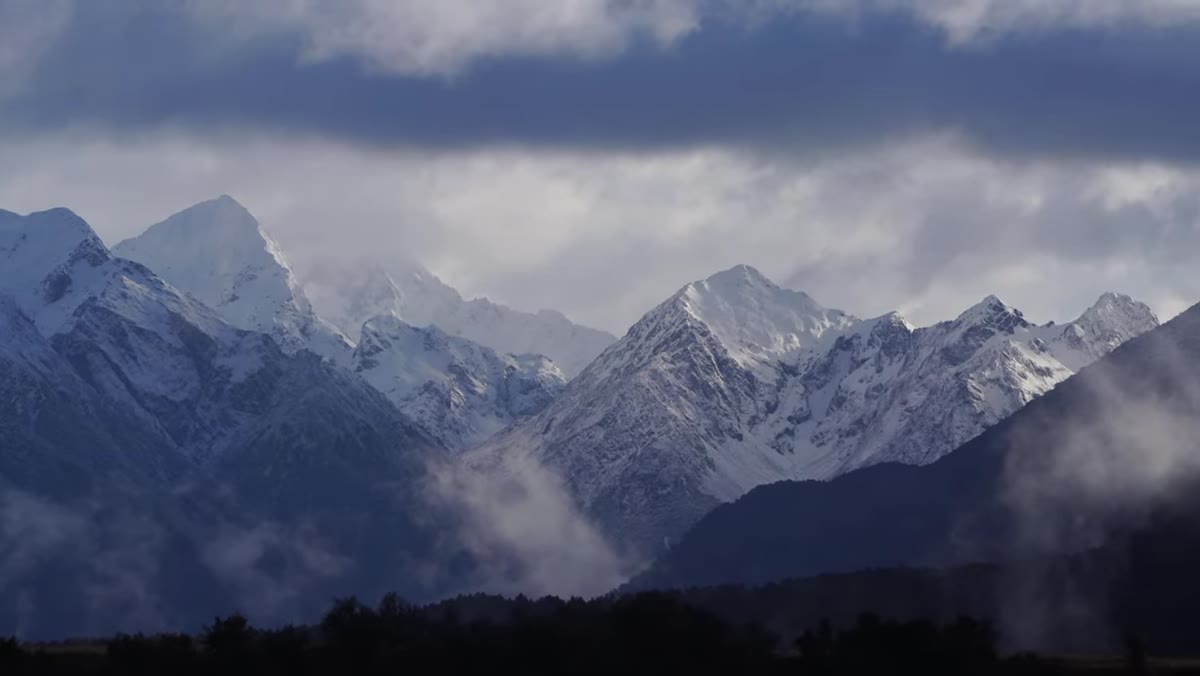
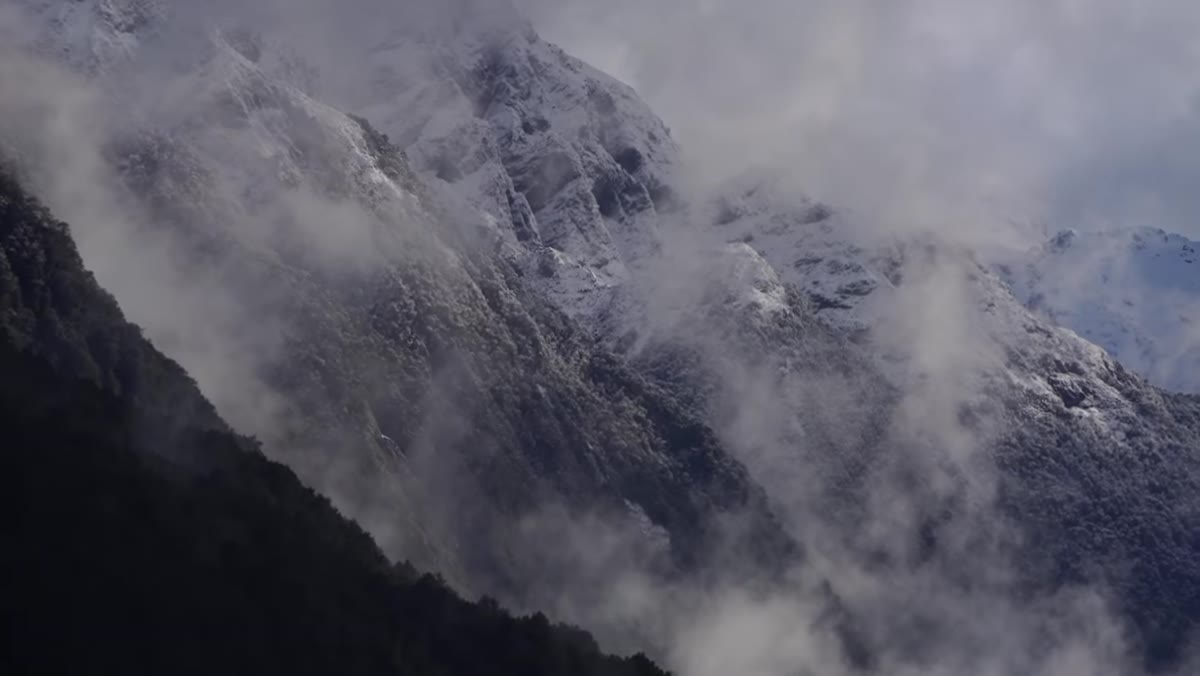
 Snow-covered valley with mist moving through layers of trees
In the shots Patino captures this morning, atmosphere does a lot of the heavy lifting. The mist moving through the valley creates natural depth. Elements at different distances appear lighter or darker depending on how much atmosphere sits between them and the lens. This is aerial perspective, and telephoto lenses compress it in a way that makes it more dramatic, not less.
Snow-covered valley with mist moving through layers of trees
In the shots Patino captures this morning, atmosphere does a lot of the heavy lifting. The mist moving through the valley creates natural depth. Elements at different distances appear lighter or darker depending on how much atmosphere sits between them and the lens. This is aerial perspective, and telephoto lenses compress it in a way that makes it more dramatic, not less.
When you’re scouting with a long lens, actively look for scenes where there are at least two or three distinct depth planes, a foreground subject, a mid-ground layer, and a background. The telephoto compression will stack them closer together visually, which can make an already moody landscape look cinematic. Fresh snow and morning fog are ideal, but you can find the same effect with haze in summer or rain moving across a valley.
Step 4: Set Your Shutter Speed Using the Focal Length Rule
 Patino handheld shooting with the Sony 100-400mm telephoto lens
Here’s where a lot of people trip up with their first telephoto shoot. Camera shake at 300mm is not the same as camera shake at 28mm. It gets amplified in proportion to your focal length, and the results look like blur you’d blame on bad focus.
Patino handheld shooting with the Sony 100-400mm telephoto lens
Here’s where a lot of people trip up with their first telephoto shoot. Camera shake at 300mm is not the same as camera shake at 28mm. It gets amplified in proportion to your focal length, and the results look like blur you’d blame on bad focus.
The working rule Patino uses is simple: match your minimum shutter speed to your focal length. At 100mm, shoot no slower than 1/100s. At 300mm, no slower than 1/300s. That said, he’s quick to point out this is a loose starting point. If your lens has optical stabilization and your camera body has in-body image stabilization, you have more room to push slower. He mentions getting sharp frames at 300mm around 1/80s in this shoot because of that combined stabilization. Test your own setup at home before you’re in the field and know your personal limit.
Step 5: Rethink Your Aperture Strategy for Long-Distance Landscapes
 Wide valley landscape with no foreground subjects, shot on telephoto
With wide angle landscape photography, depth of field is everything. You’re typically trying to keep a foreground rock and a background mountain both sharp, which means stopping down to f/11 or f/16. Telephoto landscapes require a different mindset entirely.
Wide valley landscape with no foreground subjects, shot on telephoto
With wide angle landscape photography, depth of field is everything. You’re typically trying to keep a foreground rock and a background mountain both sharp, which means stopping down to f/11 or f/16. Telephoto landscapes require a different mindset entirely.
When everything in your frame is far away, the lens sees it all as essentially the same distance. You don’t have a nearby foreground element competing with a distant background. That means you don’t need to chase deep depth of field. Patino shoots these scenes at more open apertures, which has two practical benefits: faster shutter speeds (important for handheld telephoto work) and slightly smoother rendering of distant background elements. You’re not going wide open at f/5.6 on purpose for bokeh, but you’re not reflexively stopping down to f/16 either. Let the scene and your light levels guide it.
What I’d Add From My Own Testing
I don’t shoot Sony. My telephoto comparison spreadsheet runs from the Tamron 100-400 for Canon down to a $149 third-party 70-300 I picked up used. The technique Patino demonstrates in this video works on all of them, but there’s one thing budget telephoto shooters need to account for that he doesn’t mention because his lens handles it cleanly: focus hunting in low contrast conditions.
Misty, overcast mountain scenes with low contrast are exactly where cheaper autofocus systems struggle. If your lens is hunching or missing on these kinds of shots, switch to single-point AF and manually place it on the highest-contrast edge in your frame, a treeline against sky, a snow line against rock. Lock focus there, recompose slightly if needed, and you’ll get more keepers than letting the AF roam. It’s a small adjustment, but it makes a real difference when the conditions look exactly like Fiordland at 6am in a snowstorm.
The single biggest thing I took from this tutorial is the “scene within the scene” idea. Your wide angle lens shows people where you were. Your telephoto lens shows them what you were actually looking at. Those are two completely different photographs, and one of them usually has more to say.
Watch the full tutorial on YouTube - Patino also mentions you can download the raw files from this shoot if you want to practice processing the images yourself, which is a genuinely useful offer if you’re stuck inside and want to work with real long-lens landscape files.
Comments (2)
I keep coming back to this article. It's that useful.
Couldn't agree more. I've seen this make a huge difference in compositing work specifically.
Leave a Comment