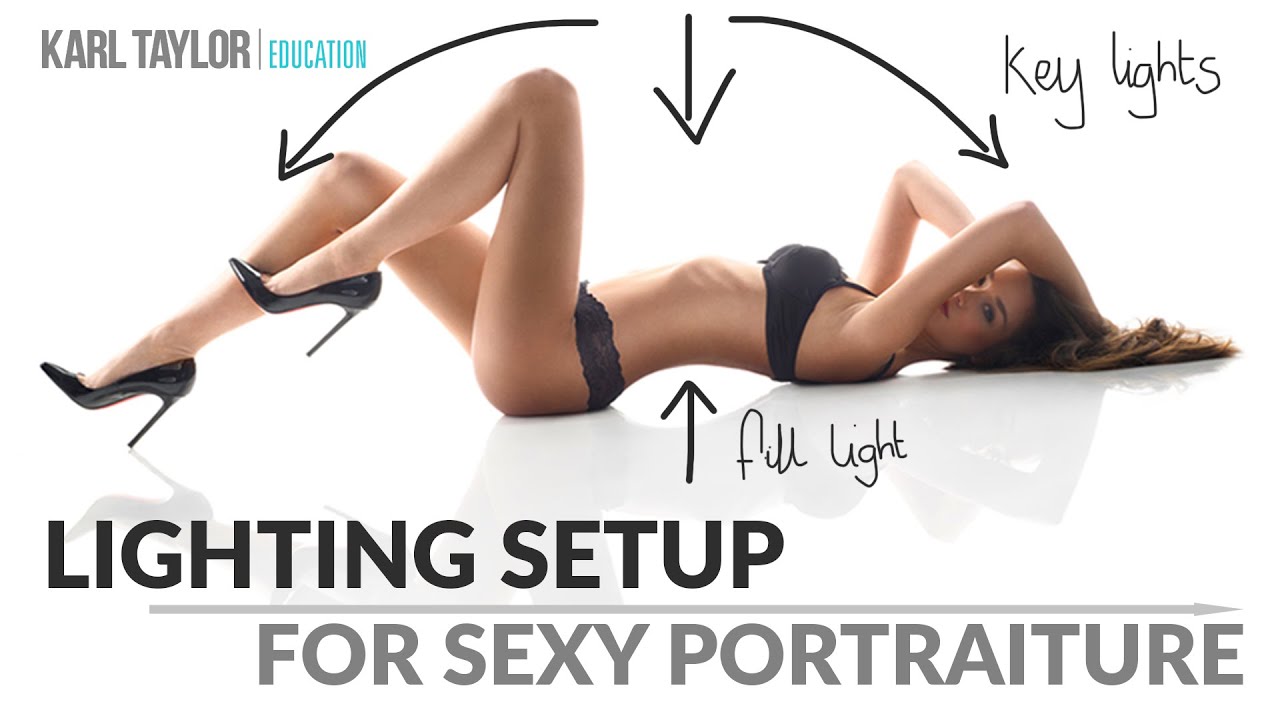
Most portrait photographers I know treat lens flare like a mistake to avoid. And honestly, for a long time I did too. When you’re shooting on a budget and you can’t afford to reshoot, flare feels like a liability. But there’s a version of intentional flare that looks nothing like an accident. It looks cinematic, controlled, almost otherworldly. The kind of light that wraps over a subject’s skin like they’re glowing from the inside.
In this Visual Education tutorial on sexy portraiture lighting, the photographer breaks down exactly how to achieve that effect. Watch the full tutorial on YouTube before or after reading this. The setup is more accessible than it looks, and understanding the logic behind each light placement is what makes it replicable without a massive studio budget.
What struck me watching this was how deliberate every decision was. The flare, the reflection, the blown-out white background. None of it is happy accident. It’s a system, and once you see how the pieces connect, you can adapt it to your own space and gear.
Step 1: Understand Why Flare is the Creative Goal Here
 Photographer explaining intentional flare wrapping over model’s skin
Normally flare is the enemy. It kills contrast, washes out saturation, and makes your image look like you forgot to use a lens hood. But flare can also do something beautiful when it’s pointed at a subject rather than the lens directly. In this setup, the goal is to let light bleed over the edges of the model, creating a soft, bleached glow across the skin and arms that feels angelic rather than blown out. That distinction matters. You’re not overexposing the subject. You’re letting the background light spill and wrap, which softens the transition between subject and background in a way that no softbox alone can replicate.
Photographer explaining intentional flare wrapping over model’s skin
Normally flare is the enemy. It kills contrast, washes out saturation, and makes your image look like you forgot to use a lens hood. But flare can also do something beautiful when it’s pointed at a subject rather than the lens directly. In this setup, the goal is to let light bleed over the edges of the model, creating a soft, bleached glow across the skin and arms that feels angelic rather than blown out. That distinction matters. You’re not overexposing the subject. You’re letting the background light spill and wrap, which softens the transition between subject and background in a way that no softbox alone can replicate.
This reframe changes how you think about the whole setup. Every lighting decision that follows is in service of that controlled flare effect, which means you have to start by committing to the look before you place a single light.
Step 2: Set Up a Pure White Background and Shoot for Overexposure on It
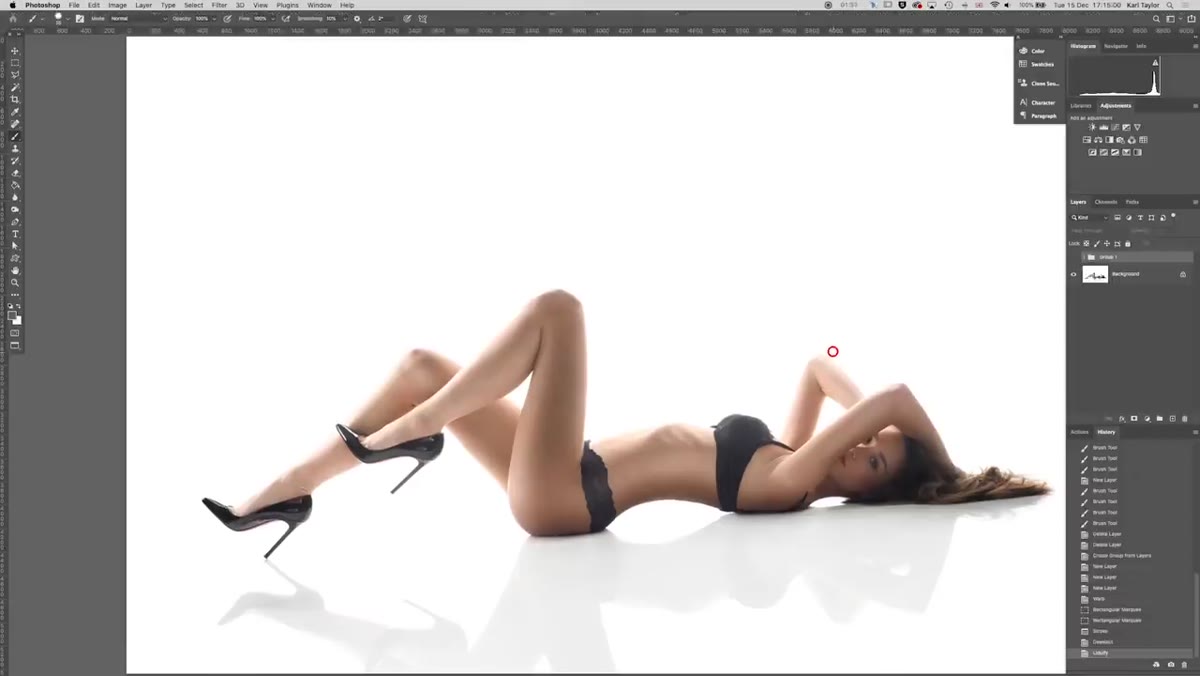 Diagram showing white paper background behind and below the model
The background needs to be white paper, and it needs to be genuinely overexposed. Not just bright white, but blown to the point where it has no detail. Two studio lights aimed directly at the background from behind the model handle this. Position one on each side of the background at roughly equal power to get even, flat illumination across the entire surface. The goal is to eliminate any gradient or shadow on that paper so the background reads as pure white in camera.
Diagram showing white paper background behind and below the model
The background needs to be white paper, and it needs to be genuinely overexposed. Not just bright white, but blown to the point where it has no detail. Two studio lights aimed directly at the background from behind the model handle this. Position one on each side of the background at roughly equal power to get even, flat illumination across the entire surface. The goal is to eliminate any gradient or shadow on that paper so the background reads as pure white in camera.
This is also where the acrylic floor surface comes in. In the US you’d call it Plexiglas or Macrolon. In the UK it’s perspex or acrylic. A large sheet of gloss white acrylic laid on the floor gives you that soft, subdued reflection of the model beneath them. The key word is subdued. It’s not a mirror reflection, it’s more like a washed-out echo of the subject, which adds depth without competing with the main image. The back edge of the acrylic blends into the white paper background naturally, so you don’t need to mask it in post.
Step 3: Add a High Backlight Aimed at the Floor Area
 Lighting diagram showing overhead backlight striking the white floor
The white paper background curves down and becomes the floor your subject is lying on. That floor section needs its own light source aimed at it from above and behind the model, angled downward. Without this, the floor area of the background will fall off and go grey or shadow, which breaks the seamless white environment you’re building. This light works in tandem with the background lights, but it’s positioned higher and angled more steeply to reach the floor zone specifically.
Lighting diagram showing overhead backlight striking the white floor
The white paper background curves down and becomes the floor your subject is lying on. That floor section needs its own light source aimed at it from above and behind the model, angled downward. Without this, the floor area of the background will fall off and go grey or shadow, which breaks the seamless white environment you’re building. This light works in tandem with the background lights, but it’s positioned higher and angled more steeply to reach the floor zone specifically.
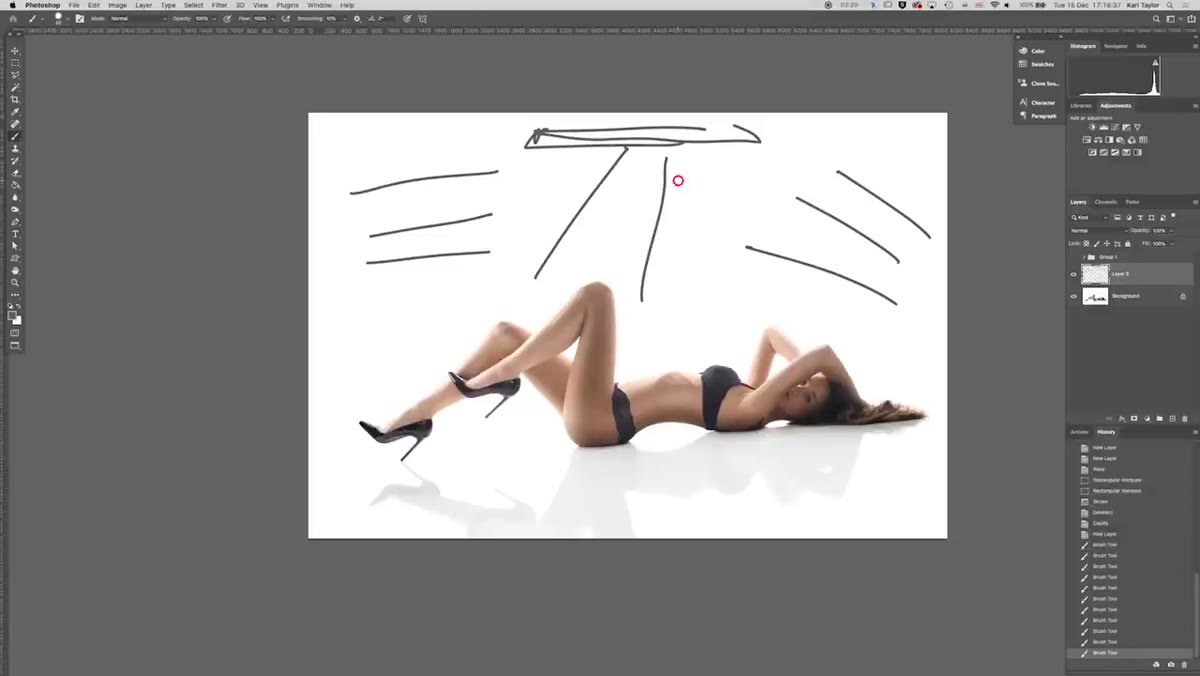
Think of it as a three-zone background system. The vertical paper behind the model, the curved transition, and the horizontal floor. Each zone needs enough light to read as white, and they each need slightly different light placement to achieve that.
Step 4: Place the Key Light Overhead, Angled Back Toward Camera
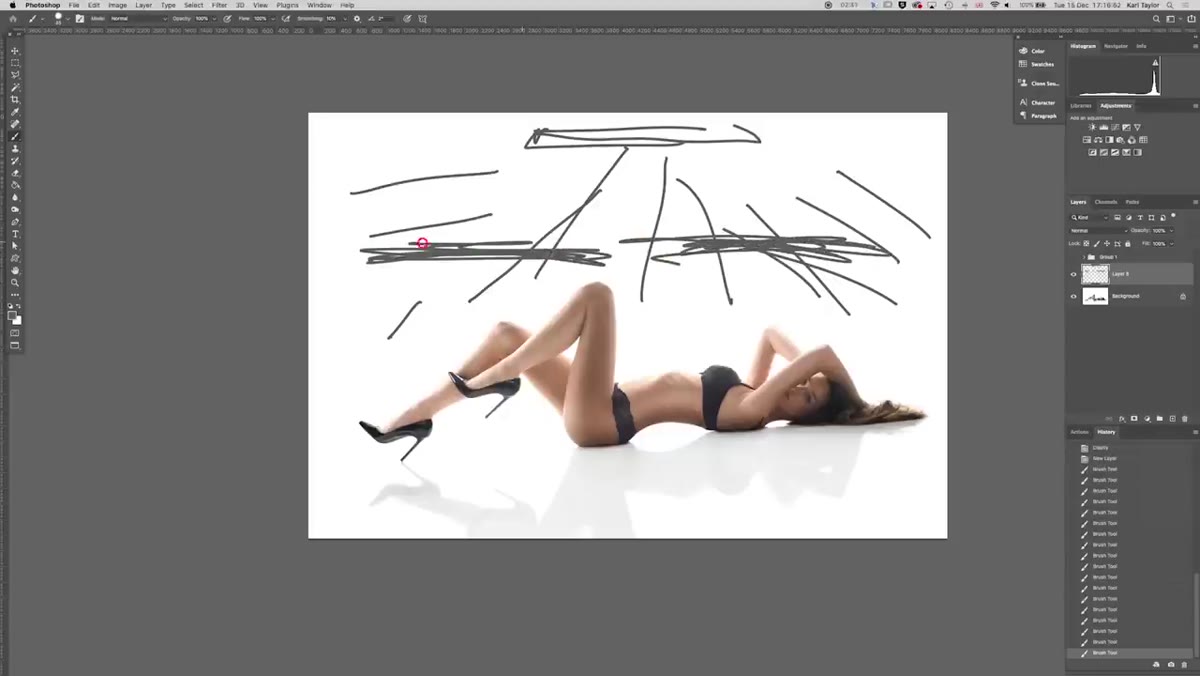 Diagram showing overhead light angled back toward camera position
This is the light that creates the flare effect. Position a studio light directly above the model, but tilt it so it’s pointing back toward the camera rather than straight down. The camera is positioned very low, around thigh height of the model, which serves two purposes. It captures the floor reflection more effectively, and it puts the lens closer to the light spill coming from behind and above the subject. That geometry is what creates the wrap-around glow. The light is technically backlighting the model from above, but because the camera is low and the light is angled toward it, you get that flare bleeding into the frame along the model’s edges.
Diagram showing overhead light angled back toward camera position
This is the light that creates the flare effect. Position a studio light directly above the model, but tilt it so it’s pointing back toward the camera rather than straight down. The camera is positioned very low, around thigh height of the model, which serves two purposes. It captures the floor reflection more effectively, and it puts the lens closer to the light spill coming from behind and above the subject. That geometry is what creates the wrap-around glow. The light is technically backlighting the model from above, but because the camera is low and the light is angled toward it, you get that flare bleeding into the frame along the model’s edges.
If you aim that same light straight down, you get a rim-lit look without the flare. The angle toward the camera is the critical variable.
Step 5: Add a Large Fill Light from the Front to Prevent Silhouetting
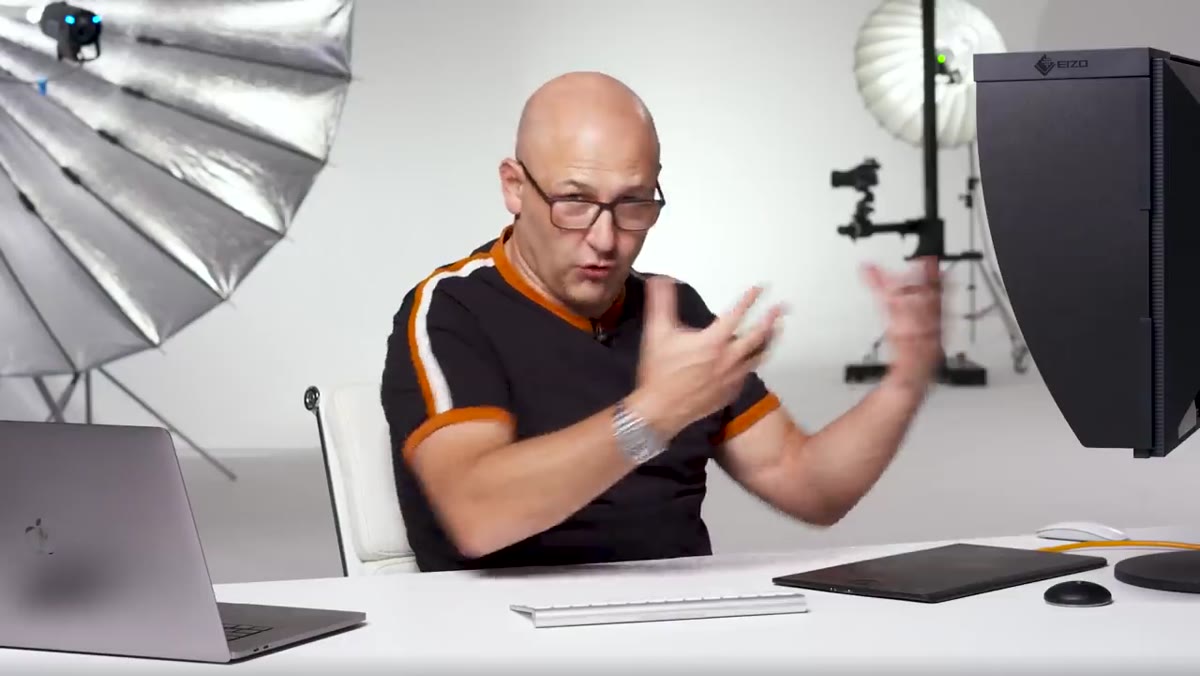 Diagram showing large para modifier fill light from front side
With all that backlighting, the front-facing side of the model would go completely dark without a fill. The tutorial uses a large parabolic modifier for this, positioned in front of and to the side of the camera. The size of the modifier matters because a large source produces soft, even fill that doesn’t fight with the backlight. You want shadow detail, not a second key light. Keep this fill noticeably dimmer than the background and overhead lights, maybe two stops under, so it opens up the shadows without flattening the image.
Diagram showing large para modifier fill light from front side
With all that backlighting, the front-facing side of the model would go completely dark without a fill. The tutorial uses a large parabolic modifier for this, positioned in front of and to the side of the camera. The size of the modifier matters because a large source produces soft, even fill that doesn’t fight with the backlight. You want shadow detail, not a second key light. Keep this fill noticeably dimmer than the background and overhead lights, maybe two stops under, so it opens up the shadows without flattening the image.
You can actually see the effect of this fill light as a gloss reflection on the model’s shoe in the original image. That specular highlight tells you the fill was coming from camera-left, and it confirms the light was doing its job of adding dimension to the shadow side.
Step 6: Lock Your Camera Low and Frame for the Reflection
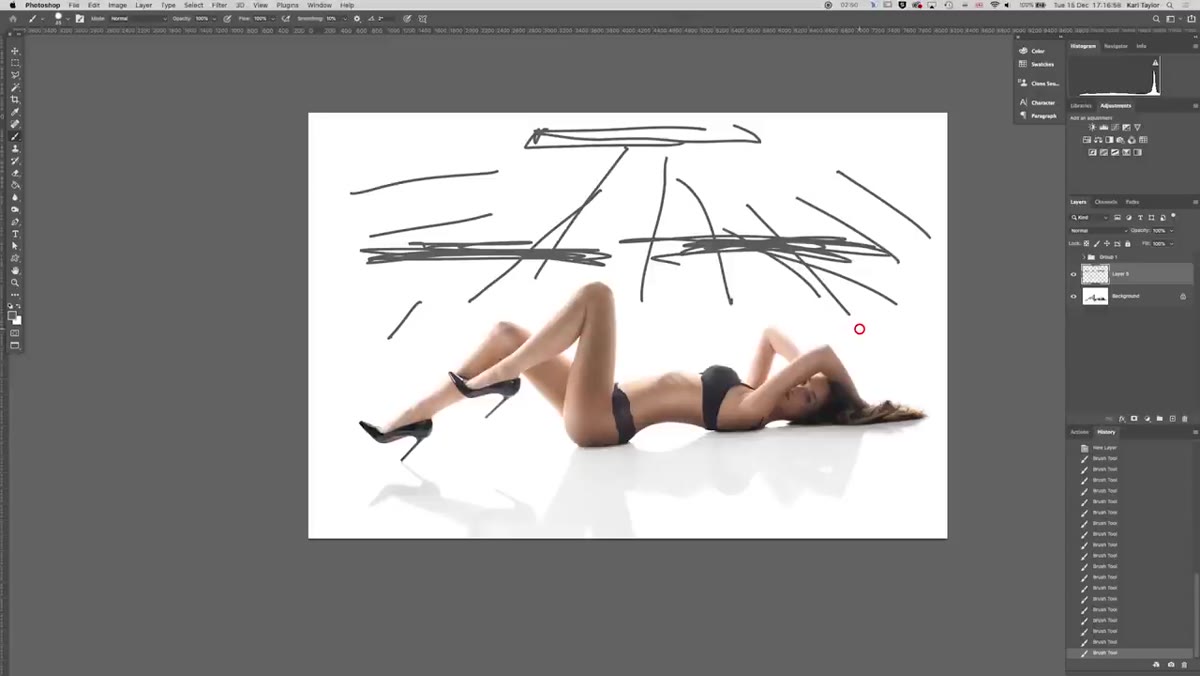 Camera positioned low showing model reflection in acrylic surface
Camera position is doing a lot of work here. Get it as low as you can without the lens touching the floor. The low angle achieves two things simultaneously. It gives you a more flattering perspective along the length of the model’s body, and it’s the only angle at which the acrylic floor reflection reads properly in frame. If you shoot from eye level or even waist level, the reflection disappears. Shoot from the model’s thigh height or lower and the reflection stretches out beautifully in the foreground.
Camera positioned low showing model reflection in acrylic surface
Camera position is doing a lot of work here. Get it as low as you can without the lens touching the floor. The low angle achieves two things simultaneously. It gives you a more flattering perspective along the length of the model’s body, and it’s the only angle at which the acrylic floor reflection reads properly in frame. If you shoot from eye level or even waist level, the reflection disappears. Shoot from the model’s thigh height or lower and the reflection stretches out beautifully in the foreground.
This is also why you need to think about camera position before you finalize your light placement. The overhead backlight only creates flare because the camera is low enough to see the light source’s spill. Change the camera height and you’d need to reposition everything else.
What I’d Do Differently on a Budget Setup
I don’t have a para modifier sitting around, and most of you probably don’t either. For the fill light, a large rectangular softbox does the job fine, especially if you’re working with a smaller subject. The key is surface area, not the modifier brand. A cheap 90x120cm softbox from any of the budget strobe brands gives you plenty of soft fill. I’ve tested a few of these against name-brand modifiers in blind comparisons and the difference at fill-light ratios is essentially nothing.
For the acrylic floor, check local plastic supply shops rather than Amazon. You’ll pay a fraction of the price for a much larger sheet, and you can usually get it cut to the size you need. In Denver I found a supplier that cut me a 4x6 foot sheet for under $40. That same sheet has been in my kit for three years.
The single most important idea from this tutorial is that flare is a tool, not a flaw. When you understand the geometry that creates it, you can dial it in exactly as far as you want and stop there. The whole setup is about stacking backlights until the light wraps, then filling just enough to hold the shadow detail. Everything else is positioning.
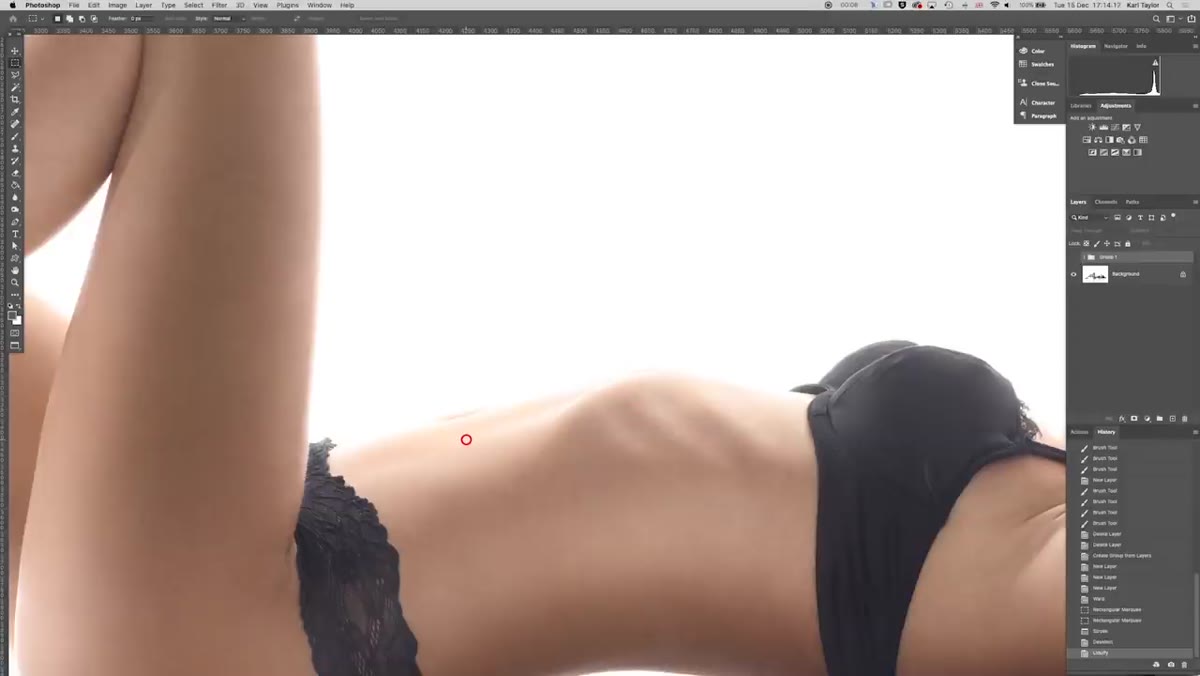
Watch the full tutorial on YouTube to see the original image and the hand-drawn lighting diagram the photographer walks through. Seeing the diagram alongside the final photo is worth the watch on its own.
Comments (1)
Solid advice. Especially the part about taking your time with it.
Leave a Comment