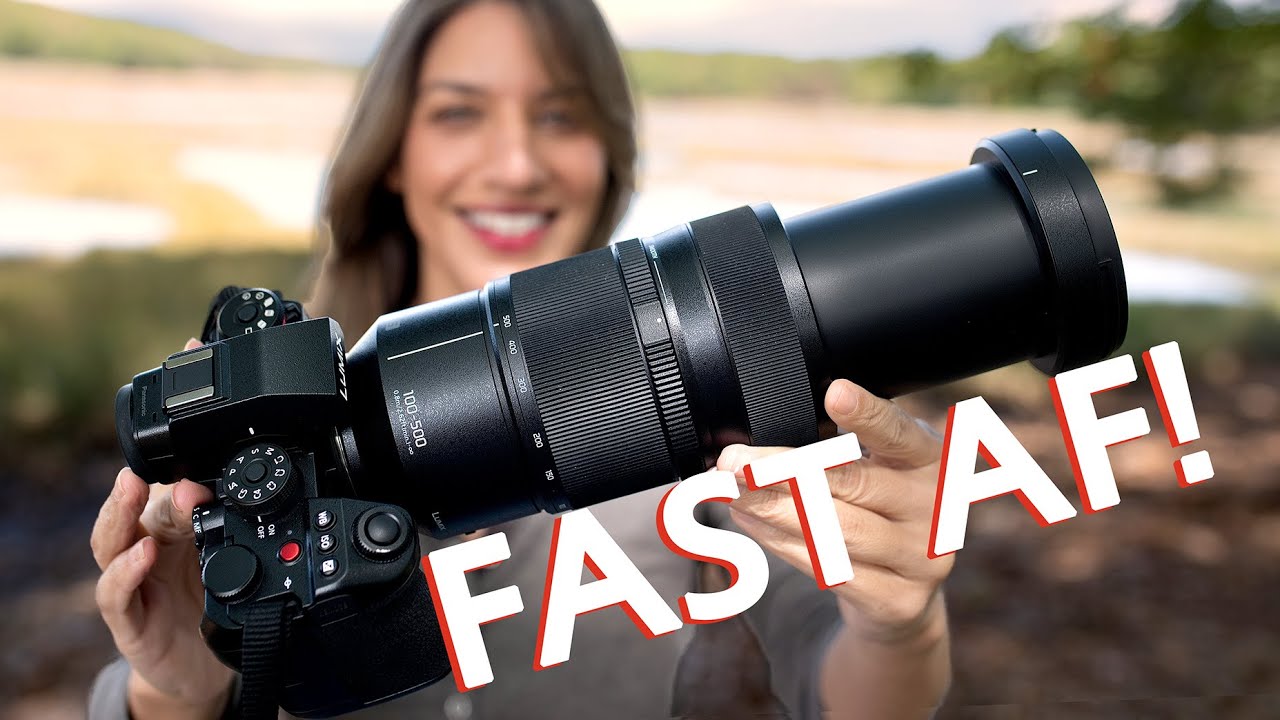
Finding a wildlife lens that won’t destroy your bank account while still delivering usable results is genuinely hard. The sweet spot everyone is hunting for - enough reach, fast enough autofocus, light enough to actually carry - keeps moving just out of reach depending on your budget. I’ve been tracking telephoto options in my lens comparison spreadsheet for a while now, and the $2,100 Panasonic Lumix 100-500mm F5-7.1 recently jumped to the top of my “keep watching” list. In this Tony & Chelsea Northrup tutorial, Tony runs the lens through real-world wildlife and sports scenarios, and the results are worth breaking down step by step.
Watch the full tutorial on YouTube
What caught my attention isn’t that this lens is cheap - $2,100 is not cheap. It’s that for a 500mm zoom with autofocus performance and weather resistance, $2,100 can actually be a reasonable entry point compared to what the major camera brands charge for similar reach. The question is whether “reasonable entry point” translates to real-world usability in the field. Tony’s hands-on breakdown answers that in a way spec sheets never do.
Step 1: Assess the Build Before You Buy Into the Hype
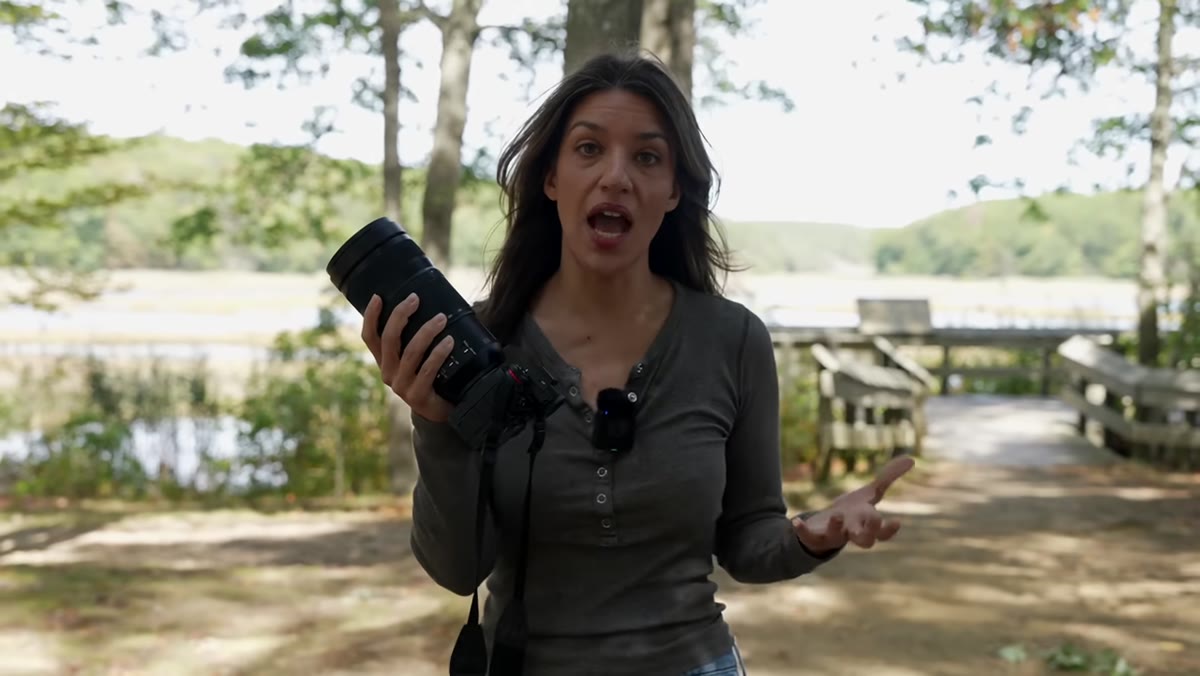
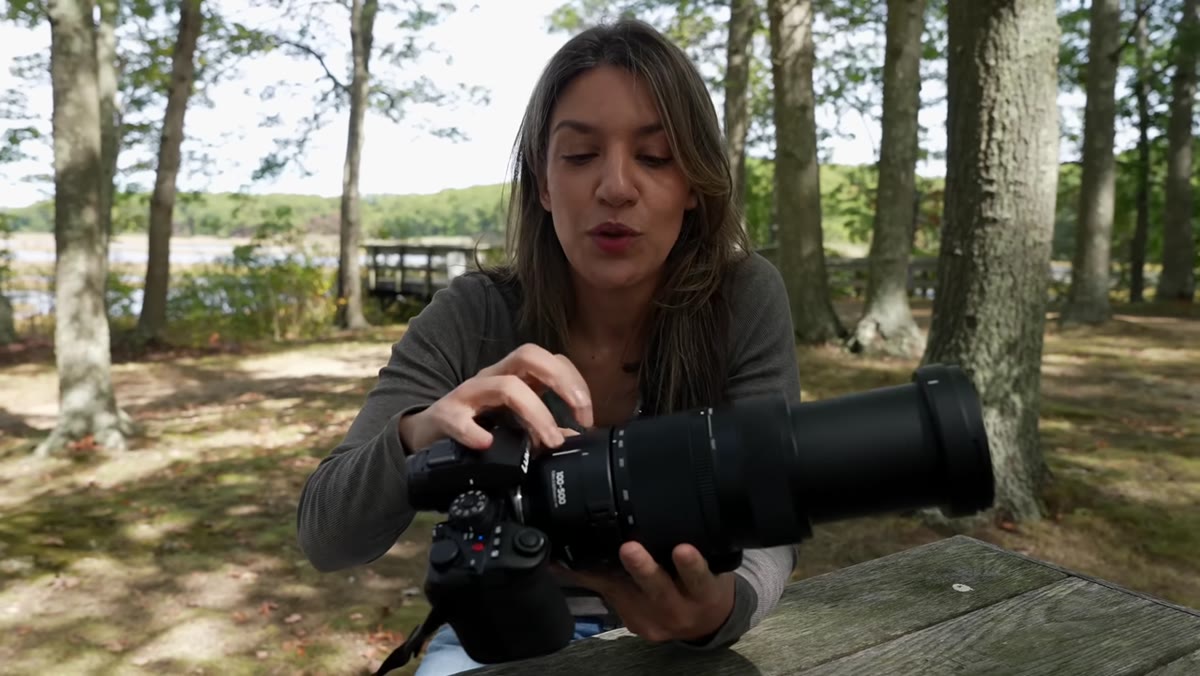 Tony holding the Lumix 100-500mm lens, demonstrating its heft
Start by understanding what you’re actually getting in your hands. Tony notes the lens feels substantial and well-built, not like the hollow plastic that shows up on cheaper alternatives. It weighs around 3.2 pounds with the included tripod collar attached. That collar is removable, and Tony pulls it off during the review because it was interfering with his zoom motion. Worth noting: at that weight, it’s roughly comparable to a 70-200mm F2.8, which most working photographers already carry without complaint. If you’re debating whether to rent before buying, hold a 70-200 F2.8 for a full day first. If that feels manageable, so will this.
Tony holding the Lumix 100-500mm lens, demonstrating its heft
Start by understanding what you’re actually getting in your hands. Tony notes the lens feels substantial and well-built, not like the hollow plastic that shows up on cheaper alternatives. It weighs around 3.2 pounds with the included tripod collar attached. That collar is removable, and Tony pulls it off during the review because it was interfering with his zoom motion. Worth noting: at that weight, it’s roughly comparable to a 70-200mm F2.8, which most working photographers already carry without complaint. If you’re debating whether to rent before buying, hold a 70-200 F2.8 for a full day first. If that feels manageable, so will this.
Step 2: Learn the Zoom Limiter and Focus Limiter Switches
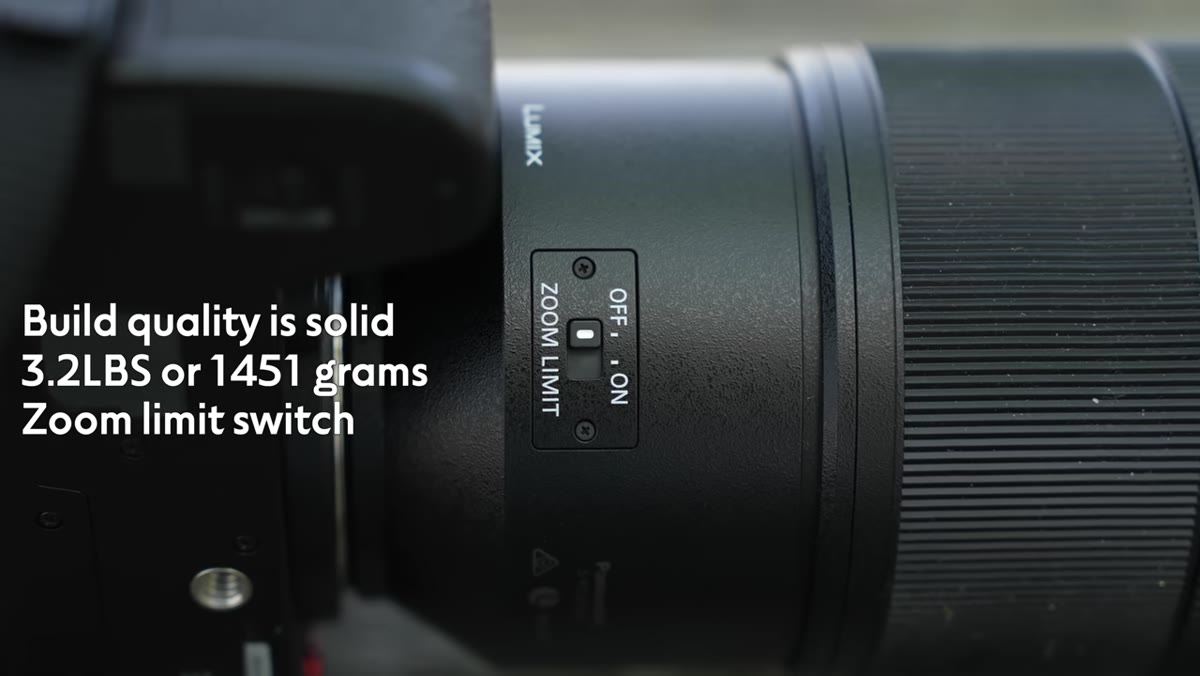 Close-up of the zoom limiter and focus limiter switches on the lens barrel
This lens has two physical switches that directly affect performance, and skipping over them is a mistake. The zoom limiter locks the focal range so it won’t drop below 150mm - useful if you’re shooting birds in flight and don’t want to accidentally zoom out to 100mm while tracking a subject. The focus limiter narrows the range the autofocus system has to search through, which speeds up acquisition in situations where you already know roughly how far your subject is. For wildlife work, engaging the focus limiter when your subject is at a predictable distance, say 20 to 50 feet out, can make a real difference in how quickly the lens locks on. These aren’t gimmicks. Use them deliberately.
Close-up of the zoom limiter and focus limiter switches on the lens barrel
This lens has two physical switches that directly affect performance, and skipping over them is a mistake. The zoom limiter locks the focal range so it won’t drop below 150mm - useful if you’re shooting birds in flight and don’t want to accidentally zoom out to 100mm while tracking a subject. The focus limiter narrows the range the autofocus system has to search through, which speeds up acquisition in situations where you already know roughly how far your subject is. For wildlife work, engaging the focus limiter when your subject is at a predictable distance, say 20 to 50 feet out, can make a real difference in how quickly the lens locks on. These aren’t gimmicks. Use them deliberately.
Step 3: Configure the Programmable Button for Subject Switching
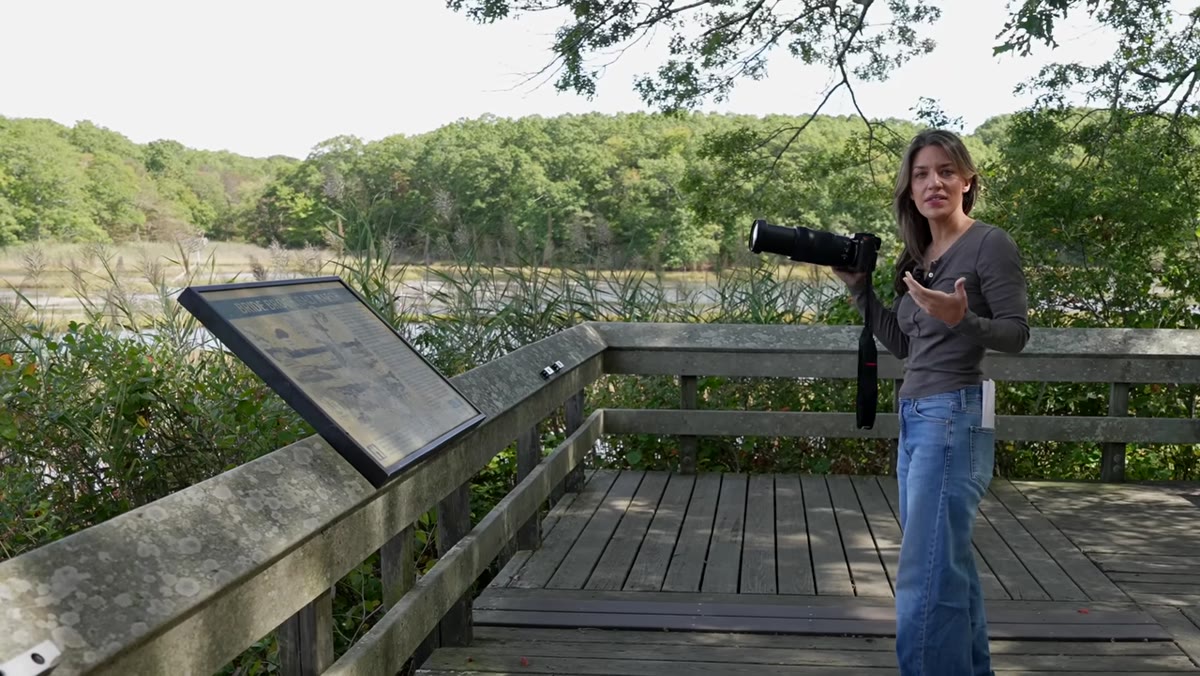
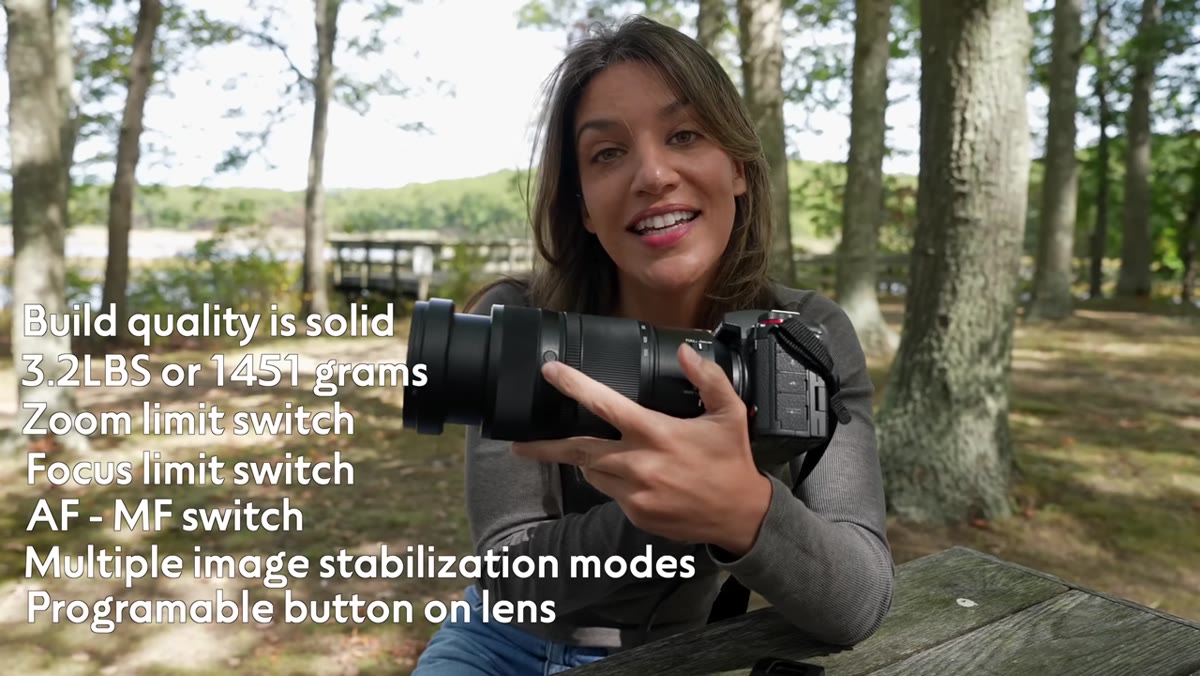 Tony pointing to the programmable button on the lens body
The lens includes a programmable button on the barrel, and according to Tony, you can map it to switch autofocus subject detection modes - for example, toggling between tracking a person and tracking an animal. If you’re shooting at an event where kids and dogs are both running around (a scenario I know intimately from doing event work on the cheap), being able to flip subject detection without diving into a menu is a real time-saver. Set this up before you head into the field. Figure out which two modes you switch between most frequently and assign accordingly. Don’t leave it on its default if the default doesn’t match your actual shooting.
Tony pointing to the programmable button on the lens body
The lens includes a programmable button on the barrel, and according to Tony, you can map it to switch autofocus subject detection modes - for example, toggling between tracking a person and tracking an animal. If you’re shooting at an event where kids and dogs are both running around (a scenario I know intimately from doing event work on the cheap), being able to flip subject detection without diving into a menu is a real time-saver. Set this up before you head into the field. Figure out which two modes you switch between most frequently and assign accordingly. Don’t leave it on its default if the default doesn’t match your actual shooting.
Step 4: Match the Image Stabilization Mode to Your Shot Type
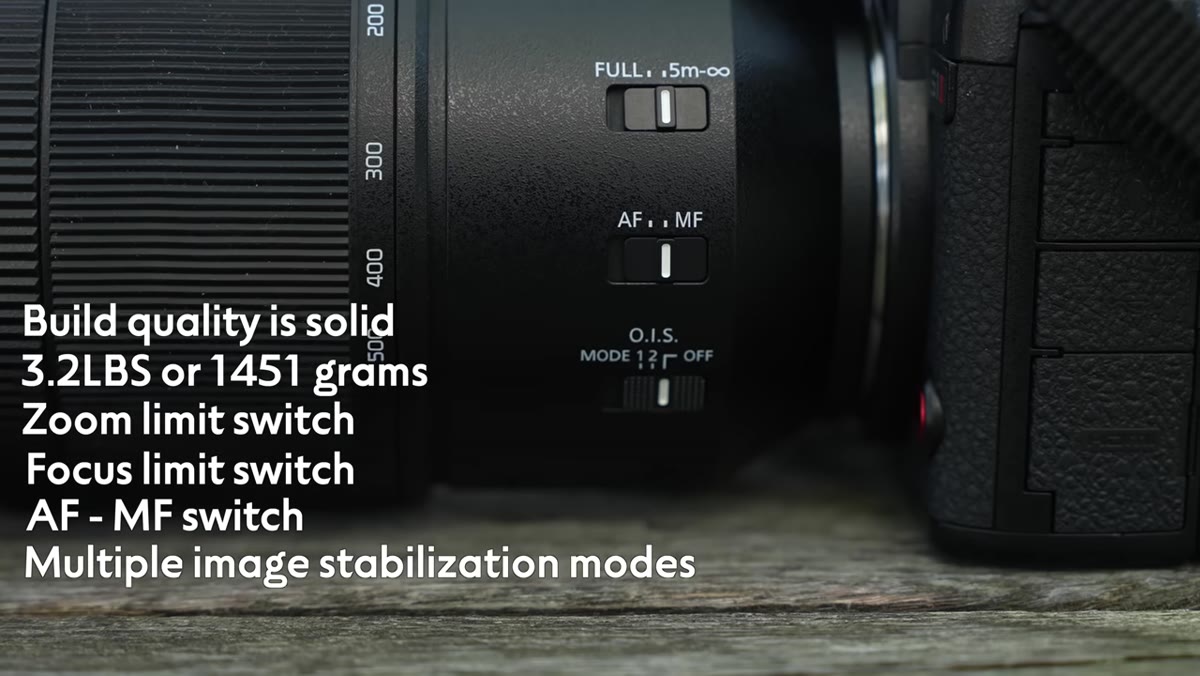 Tony demonstrating image stabilization mode switch on the lens
The Lumix 100-500mm offers multiple stabilization modes - one optimized for static subjects and one for panning. This distinction matters more than people give it credit for. If you’re shooting a bird perched in a tree, you want the standard stabilization mode working to counteract your own hand movement in all directions. If you’re panning to track a bird flying horizontally across the frame, switch to panning mode, which stabilizes vertically while letting your horizontal motion flow naturally. Using the wrong mode actively hurts your keeper rate. Check which mode you’re in every time you switch from stationary to moving subjects. It takes one second and saves a lot of frustration during culling.
Tony demonstrating image stabilization mode switch on the lens
The Lumix 100-500mm offers multiple stabilization modes - one optimized for static subjects and one for panning. This distinction matters more than people give it credit for. If you’re shooting a bird perched in a tree, you want the standard stabilization mode working to counteract your own hand movement in all directions. If you’re panning to track a bird flying horizontally across the frame, switch to panning mode, which stabilizes vertically while letting your horizontal motion flow naturally. Using the wrong mode actively hurts your keeper rate. Check which mode you’re in every time you switch from stationary to moving subjects. It takes one second and saves a lot of frustration during culling.
Step 5: Test Autofocus Performance Before Committing to a Shoot
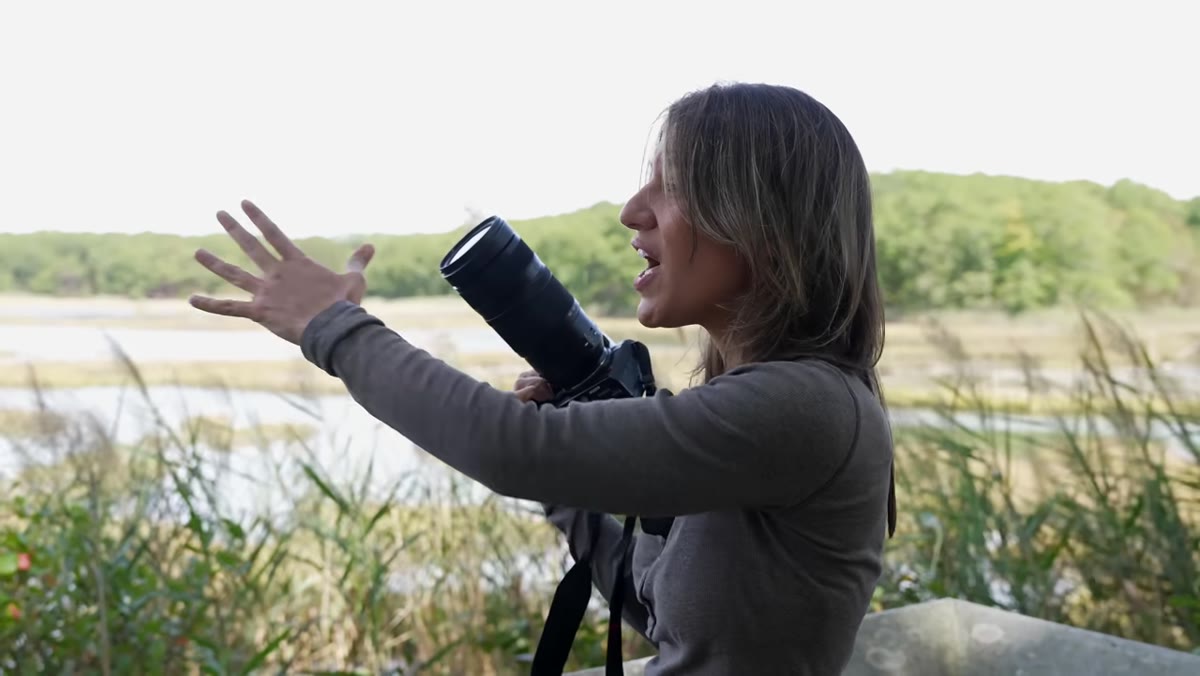 Tony tracking a duck in flight with the lens
Tony ran the lens in a real-world tracking scenario - a duck flying directly toward him - and found the linear focusing motor kept up. That’s not nothing. Linear motors are built for speed and quiet operation, which matters when you’re photographing skittish wildlife. Before using any new telephoto lens on an important shoot, run it through a tracking stress test yourself. Use fast-moving birds, cyclists, or even a dog playing fetch. Check your keeper rate at the actual distances you’ll be shooting. A lens that locks on at 30 feet may hunt at 150 feet. Know your effective range before you rely on it.
Tony tracking a duck in flight with the lens
Tony ran the lens in a real-world tracking scenario - a duck flying directly toward him - and found the linear focusing motor kept up. That’s not nothing. Linear motors are built for speed and quiet operation, which matters when you’re photographing skittish wildlife. Before using any new telephoto lens on an important shoot, run it through a tracking stress test yourself. Use fast-moving birds, cyclists, or even a dog playing fetch. Check your keeper rate at the actual distances you’ll be shooting. A lens that locks on at 30 feet may hunt at 150 feet. Know your effective range before you rely on it.
Step 6: Evaluate Whether F7.1 at 500mm Works for Your Lighting Conditions
 Sample egret photos taken at F7.1 showing subject separation and detail
This is the honest conversation every reviewer needs to have and most skip. F7.1 at the long end is the trade-off you make for the price and the portability. In good light, Tony’s egret shots show real subject separation and usable detail - the images hold up. In lower light, like golden hour or overcast days in a forest, you’re going to be pushing ISO higher than you’d like or slowing your shutter below what moving subjects need. Tony also mentions 1.4x and 2x teleconverters are available if you need more reach, but they cost you one and two stops of light respectively, which means an already-narrow aperture gets even narrower. Budget for good light, or budget for a body with strong high-ISO performance to compensate.
Sample egret photos taken at F7.1 showing subject separation and detail
This is the honest conversation every reviewer needs to have and most skip. F7.1 at the long end is the trade-off you make for the price and the portability. In good light, Tony’s egret shots show real subject separation and usable detail - the images hold up. In lower light, like golden hour or overcast days in a forest, you’re going to be pushing ISO higher than you’d like or slowing your shutter below what moving subjects need. Tony also mentions 1.4x and 2x teleconverters are available if you need more reach, but they cost you one and two stops of light respectively, which means an already-narrow aperture gets even narrower. Budget for good light, or budget for a body with strong high-ISO performance to compensate.
Step 7: Explore the Close Focusing Distance as a Hidden Bonus
 Tony demonstrating the close minimum focusing distance at 500mm
Here’s the feature that genuinely surprised me watching this. At 500mm, the lens can focus close enough to fill the frame with a single leaf. That opens up a use case most people don’t associate with super-telephoto zooms: close-up and near-macro work in the field. If you’re out photographing wildlife and come across interesting plants, insects, or texture shots, you don’t need to swap lenses. This won’t replace a dedicated macro lens, but for a wildlife photographer who wants to keep their kit lean, it’s a legitimate bonus.
Tony demonstrating the close minimum focusing distance at 500mm
Here’s the feature that genuinely surprised me watching this. At 500mm, the lens can focus close enough to fill the frame with a single leaf. That opens up a use case most people don’t associate with super-telephoto zooms: close-up and near-macro work in the field. If you’re out photographing wildlife and come across interesting plants, insects, or texture shots, you don’t need to swap lenses. This won’t replace a dedicated macro lens, but for a wildlife photographer who wants to keep their kit lean, it’s a legitimate bonus.
What I’d Add From My Own Testing
I haven’t personally run this lens through a full review yet, but based on specs and the patterns I’ve seen across budget-adjacent telephoto options, my caution would be about consistency across zoom ranges. A lot of lenses in this category perform well at their longest focal length but show corner softness or increased distortion at the wider end. Tony mentioned portrait use at 100-200mm, which is worth testing independently if that’s part of your plan. Pull up a resolution chart and shoot it at 100mm, 200mm, and 500mm before you’re fully committed. Knowing where your lens is weakest lets you work around it instead of being surprised by it mid-job.
The single most important takeaway from this tutorial is straightforward: at $2,100, the Lumix 100-500mm is a serious option for wildlife and sports shooters who need reach without renting a truck to carry their kit. F7.1 is a real limitation in low light, but the autofocus speed, build quality, and flexible zoom range make a strong case for the price. Do your own light testing before you decide, but don’t dismiss it on aperture alone.
Watch the full tutorial on YouTube
Comments
Leave a Comment