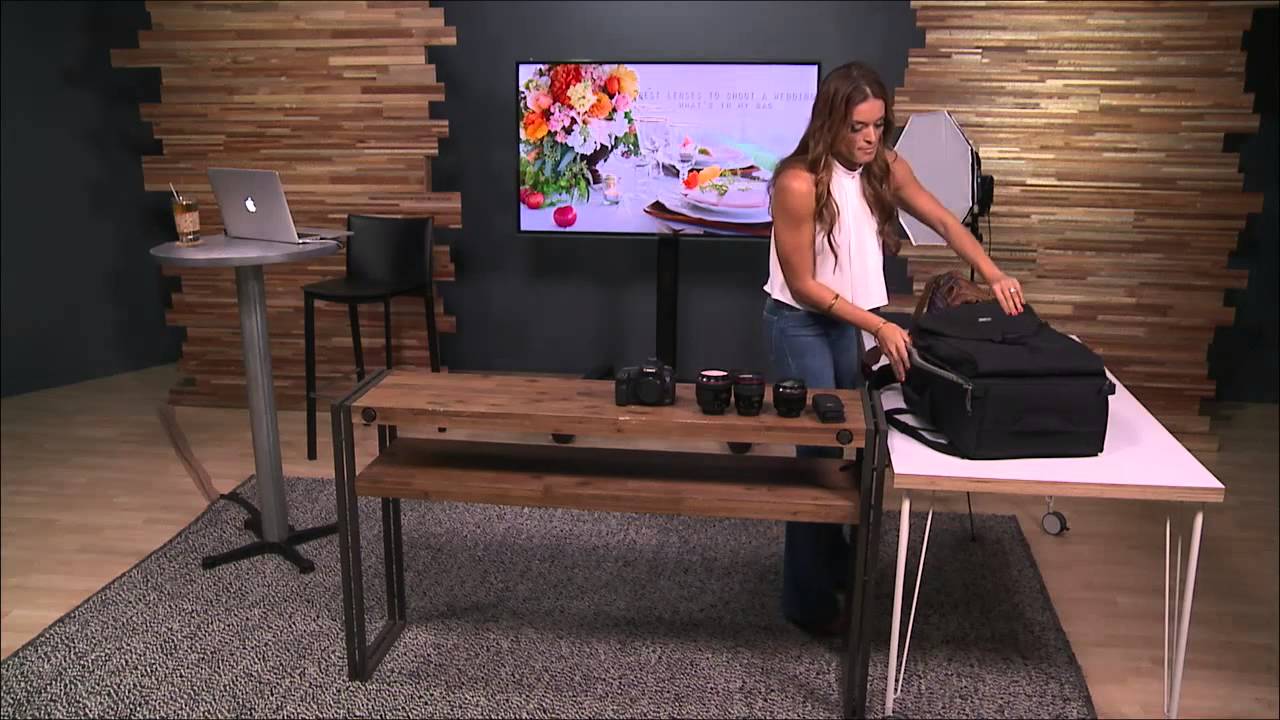
Most photographers I talk to are buying lenses in the wrong order. They chase the exotic glass first because it looks impressive in a kit list, then they realize six months later that their workhorse lens is something far simpler. I fell into that trap myself early on, and it cost me real money I didn’t have to spend.
That’s why I kept coming back to this CreativeLive tutorial featuring wedding photographer Jasmine Star. Watch the full tutorial on YouTube. She walks through her actual ranked lens kit in order of how much she reaches for each one, and the logic behind each choice is refreshingly practical. This isn’t a sponsored gear dump. It’s a working photographer explaining why she uses what she uses, including the stuff she admits she barely touches.
What struck me most is how her reasoning maps directly onto real shooting conditions. Dark church ceremony. Bride getting ready in a dim hotel room. Couples portraits in open light. Each lens has a job, and she’s honest when a lens is only earning its weight for 20 minutes of a 10-hour wedding day.
Step 1: Start With the 50mm 1.2 as Your Foundation Lens
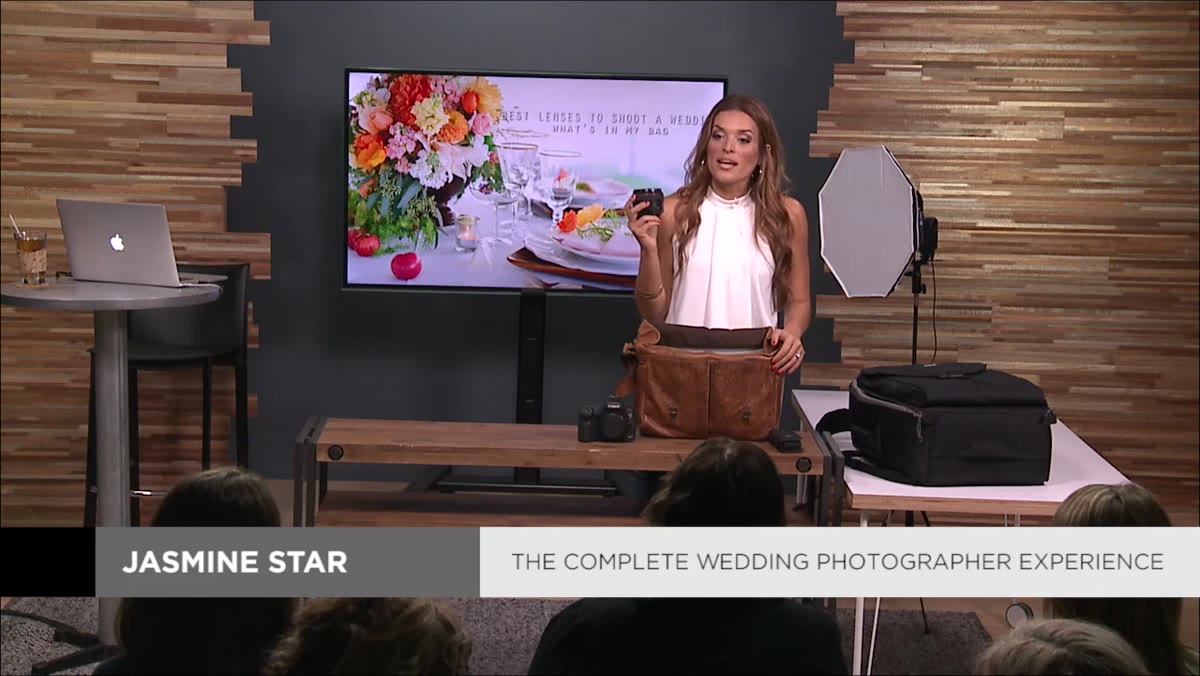 Canon 50mm 1.2 lens held up to camera
The first thing Jasmine establishes is that her most-used lens is the Canon 50mm f/1.2, and the reason is versatility across lighting conditions. If you’re shooting on a full-frame Canon body, this focal length sits in a sweet spot where it’s wide enough to capture context but tight enough to flatten backgrounds and separate your subject. She’ll shoot it wide open at f/1.2 in low-light prep situations, pairing it with a moderate ISO around 800, and still walk away with images she’s proud of. No flash. No drama.
Canon 50mm 1.2 lens held up to camera
The first thing Jasmine establishes is that her most-used lens is the Canon 50mm f/1.2, and the reason is versatility across lighting conditions. If you’re shooting on a full-frame Canon body, this focal length sits in a sweet spot where it’s wide enough to capture context but tight enough to flatten backgrounds and separate your subject. She’ll shoot it wide open at f/1.2 in low-light prep situations, pairing it with a moderate ISO around 800, and still walk away with images she’s proud of. No flash. No drama.
The practical lesson here is to treat the 50mm as your all-day lens before you even think about buying anything else. If you’re on a tighter budget, the Canon 50mm f/1.4 or even the nifty fifty f/1.8 gets you most of the way there at a fraction of the cost. The f/1.2 is exceptional, but don’t let its price tag convince you that you need it on day one.
Step 2: Add the 35mm 1.4 for Environmental and Lifestyle Shots
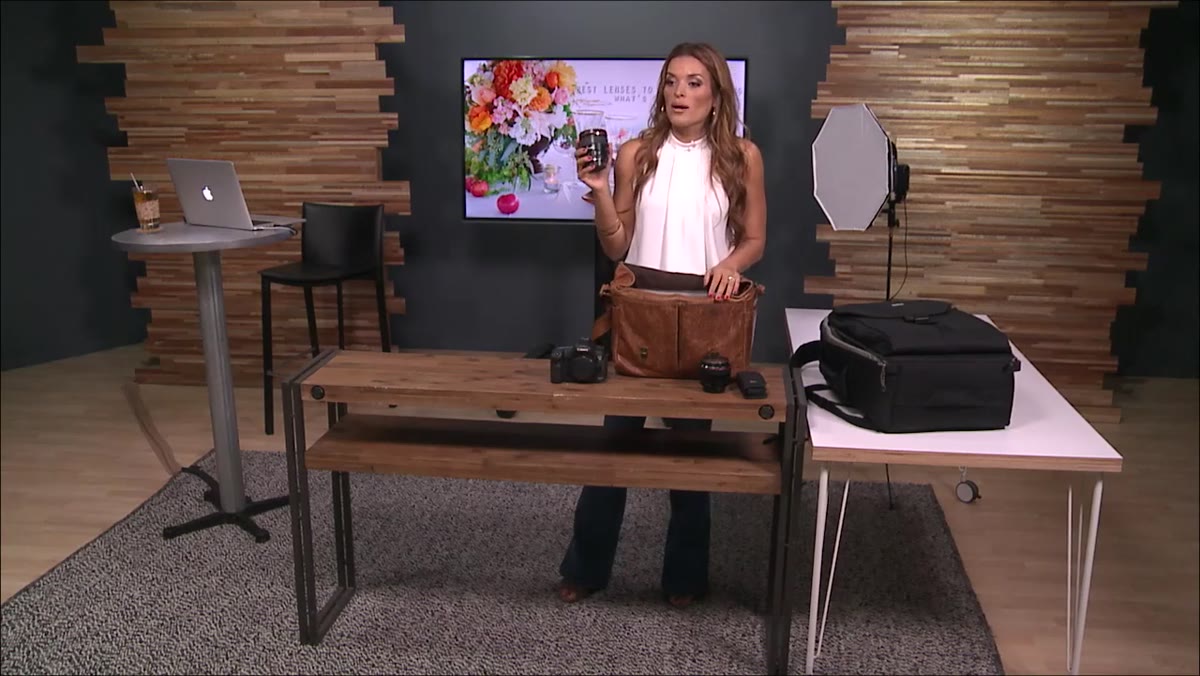 Canon 35mm 1.4 lens discussed during tutorial
Jasmine describes the 35mm f/1.4 as the lens she wishes she had picked up earlier in her career. The reason she gravitates toward it over something wider like a 24mm or a 16-35mm zoom is control. As a lifestyle photographer, she wants to include environment without including everything. Wider lenses pulled in so much of the frame that she couldn’t shape the story the way she wanted.
Canon 35mm 1.4 lens discussed during tutorial
Jasmine describes the 35mm f/1.4 as the lens she wishes she had picked up earlier in her career. The reason she gravitates toward it over something wider like a 24mm or a 16-35mm zoom is control. As a lifestyle photographer, she wants to include environment without including everything. Wider lenses pulled in so much of the frame that she couldn’t shape the story the way she wanted.
The 35mm on a full-frame camera is often described as close to natural human peripheral vision, which means your couple portraits and venue details look organic rather than dramatically compressed or stretched. Use this lens when you want the scene to feel lived-in and real. Shoot it at f/2 or f/2.8 if you want sharper backgrounds for context, or drop to f/1.4 when the light gets difficult.
Step 3: Use the 85mm 1.2 for Portraits With Serious Compression
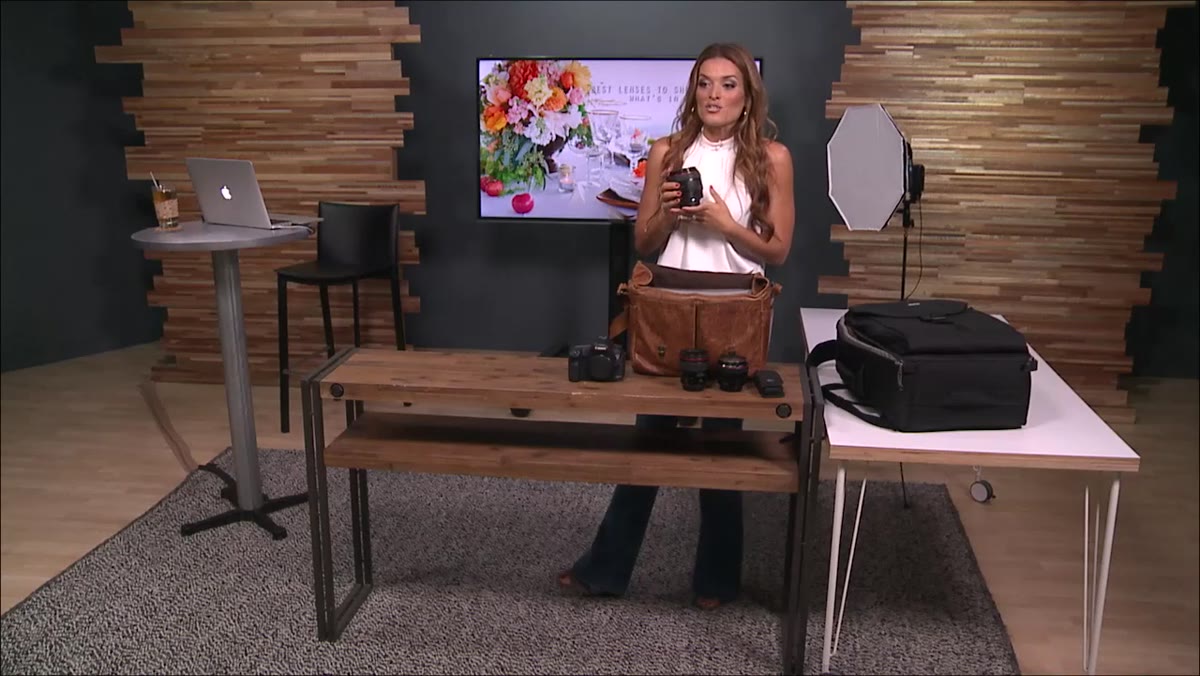 Canon 85mm 1.2 described for bridal portraits
The 85mm f/1.2 is Jasmine’s third-most-used lens, and she’s upfront about its trade-offs. It’s heavy. Autofocus is slower than the 85mm f/1.8. But the compression it produces at distance, especially on skin tones, is something that’s genuinely hard to replicate with another focal length. She specifically calls out the way backgrounds render when you’re locked onto a bride’s eye with light filtering through trees behind her.
Canon 85mm 1.2 described for bridal portraits
The 85mm f/1.2 is Jasmine’s third-most-used lens, and she’s upfront about its trade-offs. It’s heavy. Autofocus is slower than the 85mm f/1.8. But the compression it produces at distance, especially on skin tones, is something that’s genuinely hard to replicate with another focal length. She specifically calls out the way backgrounds render when you’re locked onto a bride’s eye with light filtering through trees behind her.
If autofocus speed is a concern for your shooting style, or if your budget is tighter, the 85mm f/1.8 is worth serious consideration. Jasmine herself used both and notes the difference is real but marginal depending on the situation. For posed portraits where you control the moment, the f/1.2 earns its price. For faster-moving documentary coverage, the f/1.8 is more reliable.
Step 4: Rent the 70-200mm f/2.8 for Every Ceremony
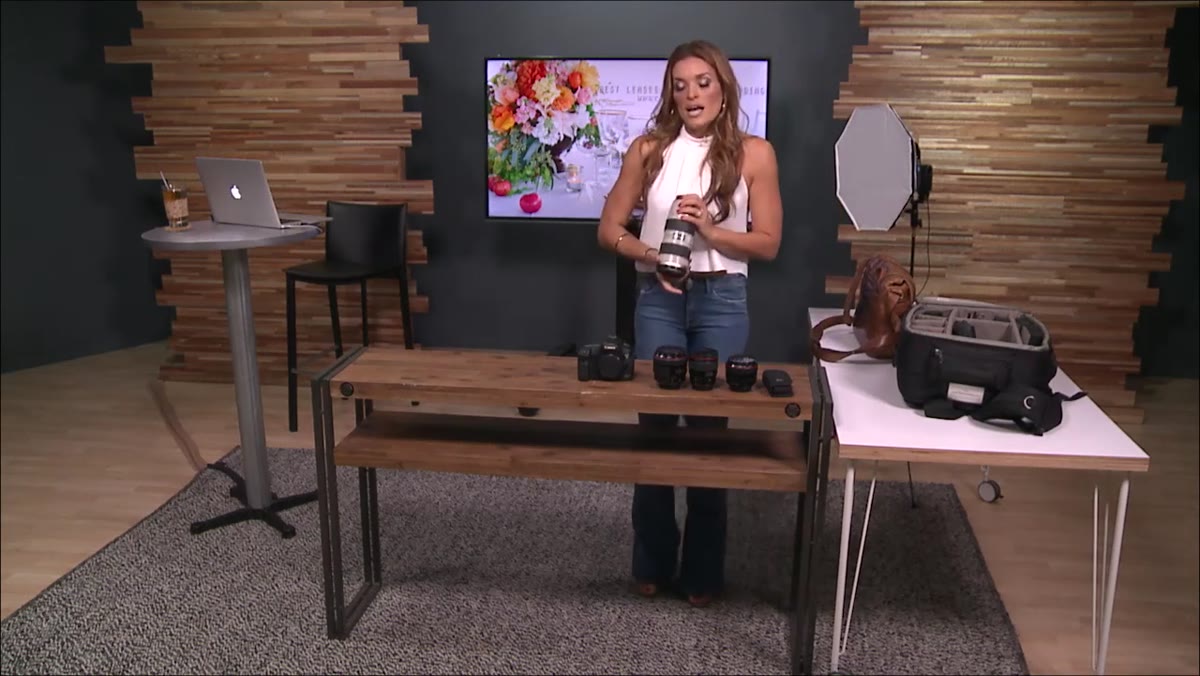 Canon 70-200mm f/2.8 zoom lens introduced
Here’s the most useful piece of advice in the entire tutorial, and it applies whether you’re a beginner or an intermediate shooter: Jasmine says flat out that every wedding photographer needs the 70-200mm f/2.8, and then immediately follows that by saying she’d recommend renting it rather than buying it right away.
Canon 70-200mm f/2.8 zoom lens introduced
Here’s the most useful piece of advice in the entire tutorial, and it applies whether you’re a beginner or an intermediate shooter: Jasmine says flat out that every wedding photographer needs the 70-200mm f/2.8, and then immediately follows that by saying she’d recommend renting it rather than buying it right away.
The reason is narrow. She uses this lens almost exclusively during ceremonies, specifically because officiants, priests, or family members frequently restrict where photographers can stand. When you’re shooting from the back of a church in mixed artificial light with no ability to move closer, the 70-200 f/2.8 with image stabilization is the only tool that gets you a clean, properly exposed frame. Outside of that scenario, she barely picks it up. Renting it for each wedding until it’s clearly earning a permanent spot in your bag is genuinely smart financial planning.
Step 5: Use the 100mm Macro Only for Detail Shots
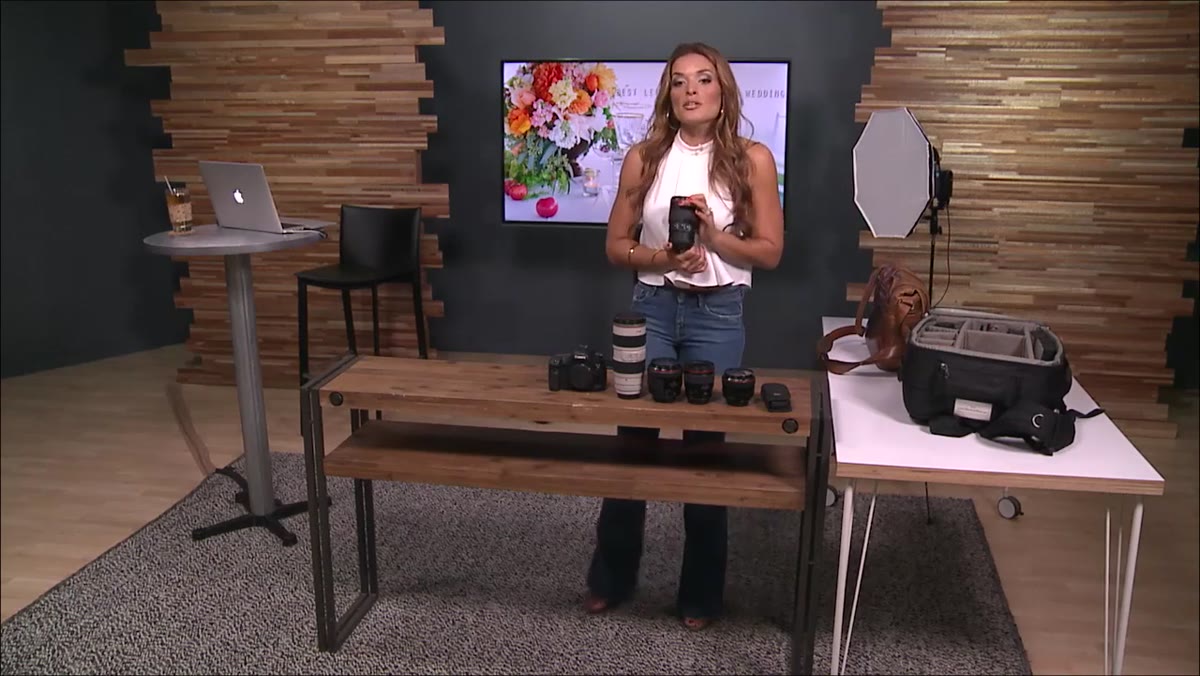 Canon 100mm macro lens used for ring detail shots
The 100mm macro rounds out Jasmine’s kit, and she’s refreshingly candid about how little she uses it. Rings. Beaded bodices. Dangling earrings or jewelry at the reception. That’s essentially the full scope of its wedding day duty.
Canon 100mm macro lens used for ring detail shots
The 100mm macro rounds out Jasmine’s kit, and she’s refreshingly candid about how little she uses it. Rings. Beaded bodices. Dangling earrings or jewelry at the reception. That’s essentially the full scope of its wedding day duty.
If you’re building your kit from scratch, this is the last lens you should buy. A macro lens solves one specific problem beautifully and doesn’t do much else in a wedding context. If you want those ring shots, plenty of photographers get them with a close-focusing 50mm or 100mm telephoto and a cheap macro extension tube, which runs about $15 to $20 on Amazon. I’ve tested this approach myself and the results hold up in print.
What I’d Do Differently on a Budget
Jasmine is shooting Canon L-series glass across the board, and that’s the right call for a full-time professional booking high-end weddings. But her logic translates perfectly to budget glass if you’re willing to do the homework.
The priority order she lays out is what matters most. Get your 50mm equivalent first. Add a 35mm when you need more environmental coverage. Pick up an 85mm when your portrait work demands better subject separation. Rent the telephoto when you book a ceremony that requires distance. That order holds whether you’re spending $300 per lens or $1,500.
I’ve been running a comparison spreadsheet of every budget prime I’ve tested against these focal lengths, and there are third-party options from Sigma and Tamron that hit 85 to 90 percent of the optical performance at 40 to 50 percent of the price. The Canon 50mm f/1.8 in particular has almost no budget competition worth recommending over it. It’s one of the best values in photography, period.
The single most important takeaway from Jasmine’s breakdown is this: lens priority should follow shooting frequency, not prestige. The 70-200 looks impressive in a bag, but if you’re only pulling it out for one hour of a ten-hour day, it doesn’t earn first place in your budget. Build toward the lens you’ll use constantly, then fill in the gaps.
Watch the full tutorial on YouTube to hear Jasmine walk through her full reasoning and see how she talks about these lenses in the context of actual shoots.
Comments (2)
Solid advice. Especially the part about taking your time with it.
Wow, I had no idea you could do this. Mind blown.
Leave a Comment