
I’ve spent more hours than I want to admit arguing with people on forums about whether to upgrade a camera body. Usually those arguments go nowhere because people are comparing specs instead of asking the right question: what actually moves the needle on image quality? That’s why I keep coming back to Aaron Nace’s content over at PHLEARN. He doesn’t chase hype. He gives practical answers, and they tend to hold up in the real world.
In this Aaron Nace (PHLEARN) Q&A tutorial, he covers four separate questions from his audience, ranging from web export sharpening to gear investment strategy to using reflectors. Each answer is short but dense. I watched it to pull out the workflow logic behind each tip, because that’s the part that’s easy to miss if you’re just half-listening while you scroll. Watch the full tutorial on YouTube
What I appreciate most is that this isn’t a tutorial built around selling you something. It’s built around correcting bad habits. And I have had basically every bad habit he describes here.
Step 1: Resize Your Image Before You Sharpen for Web
 Nace explaining the resize-before-sharpen workflow order
This is one of those things that sounds obvious once someone explains it, but almost nobody does it correctly the first time. The order is: resize first, sharpen second. If you sharpen a full-resolution image and then scale it down for the web, that sharpening effect gets compressed along with everything else. The result looks over-cooked, crunchy, or just wrong.
Pick your target output size, something like 1200 pixels wide for a personal website or social post, resize the image to that dimension, and then apply your sharpening at that size. What you see is what the viewer gets.
Step 2: Use a Lightroom Export Preset to Automate the Whole Thing
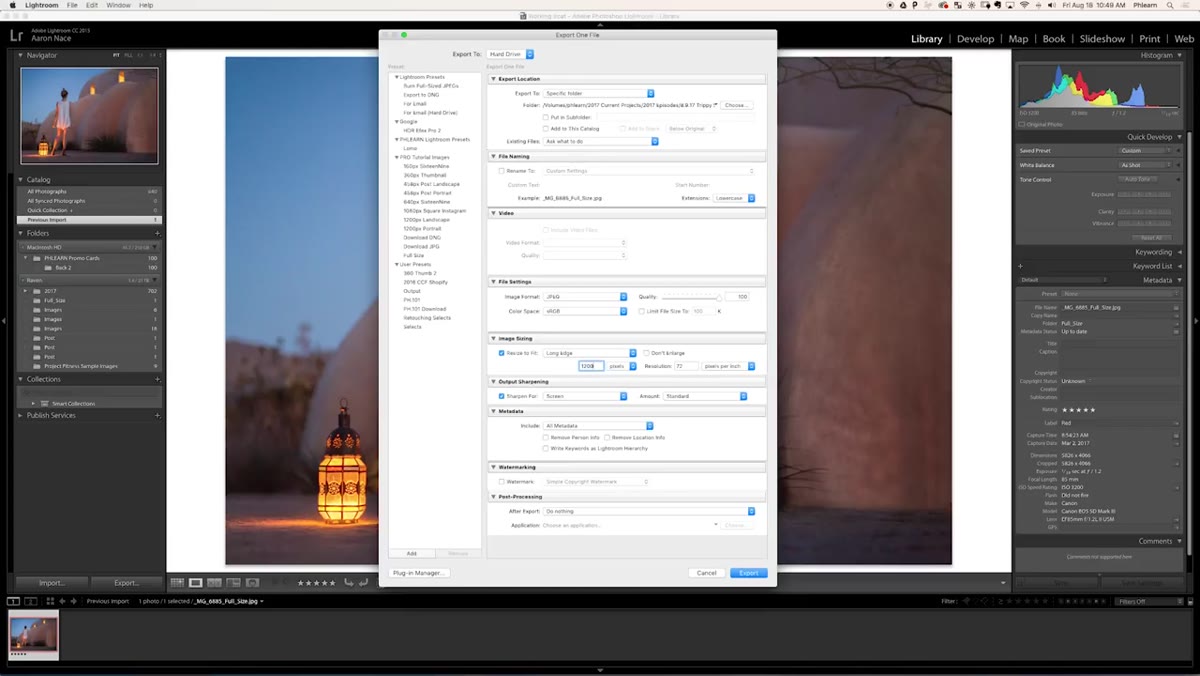 Lightroom export preset panel with output size and sharpening settings
The manual resize-then-sharpen process works, but you’re going to forget the order eventually. Nace’s fix is to set up an export preset in Lightroom that handles both steps automatically. Inside the export dialog, you can specify the final pixel dimensions and choose a sharpening level for that output size. Lightroom resizes first, then applies the sharpening as part of the export, every single time, without you having to think about it.
Set up one preset for web, one for social, and one for client delivery. Spend twenty minutes doing this once, and you’ll never output a badly sharpened image again. I run three presets myself and I don’t even remember the last time I manually sharpened for export.
Step 3: Spend More on Glass Than on the Camera Body
 Nace comparing lens longevity versus camera body obsolescence
Here’s the core of the gear debate, and Nace gets it exactly right. Camera bodies are essentially computers with a sensor. Computers go obsolete. The body you buy today will fall behind in ISO performance, autofocus speed, and connectivity features within a few years. That’s not a flaw, it’s just how technology works.
Lenses don’t have that problem. A well-built lens is a collection of glass elements, a motor, and a housing. The optics don’t become less sharp because a newer lens came out. Resale value holds better, the shelf life is longer, and the lenses you buy now can mount to whatever body you upgrade to later. If I had followed this advice from the beginning instead of learning it the hard way, I’d have a much better collection right now.
Step 4: Prioritize Wide Maximum Aperture When Choosing a Lens
 Nace referencing specific lens focal lengths and aperture values
When Nace talks about what to look for in a lens, he points to wide maximum apertures as the single biggest quality-of-life upgrade. He mentions something like a 35mm f/1.4 or an 85mm f/1.8 as examples of lenses that are affordable, sharp, and genuinely useful across a lot of situations.
A wide aperture does two things that expensive camera bodies can’t replicate: it lets in more light, which keeps your ISO lower and your noise down, and it gives you subject separation that changes the entire feel of a portrait. Neither of those benefits comes from buying a more expensive body. They come from glass. I have a spreadsheet comparing every budget prime I’ve tested under $400, and the pattern is consistent: a fast prime on a cheap body beats a slow kit lens on an expensive body almost every time.
Step 5: Use Photoshop Actions for Repeatable Effects, But Stay Flexible
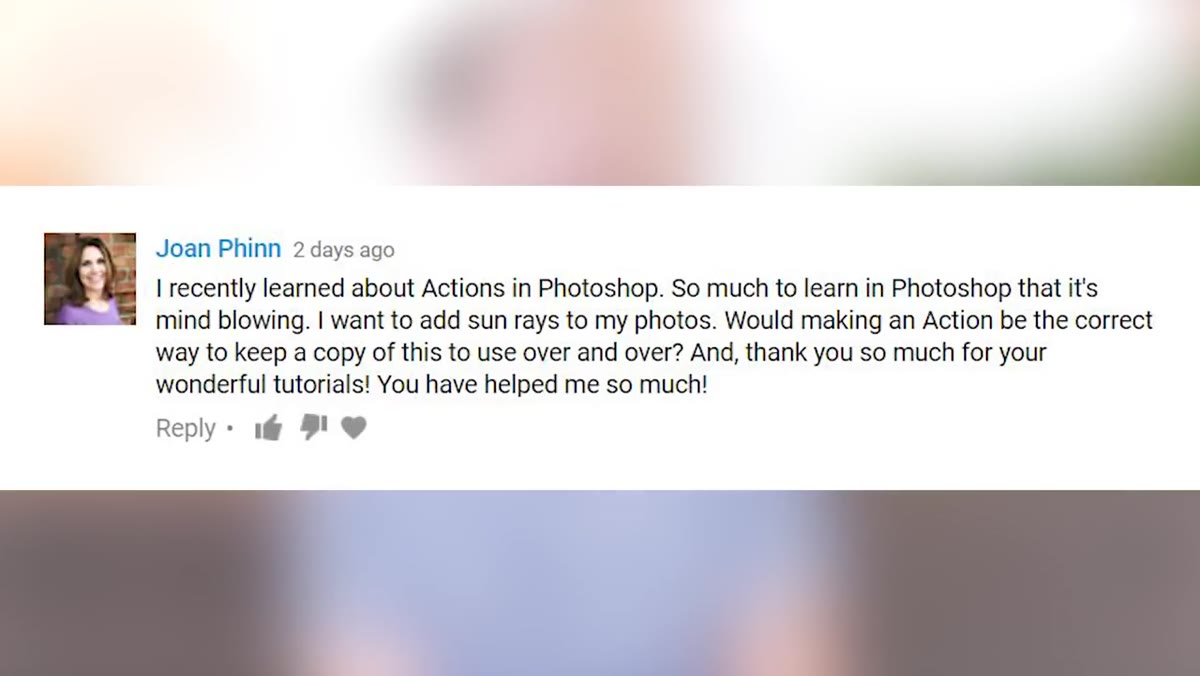 Nace discussing Photoshop actions for sun ray effects
If you’re doing the same multi-step edit repeatedly, like adding sun rays or a specific color grade, recording a Photoshop action is the right call. You build the effect once, save it, and run it with one click on any image. Nace’s point here is specifically about sun ray overlays, but the logic applies to anything repetitive.
The caveat he raises is worth keeping in mind: the same action will need small adjustments depending on the image. The direction of the light changes, the intensity needs to shift, the blend mode might need tweaking. Actions are a starting point, not a finish line. Build them for the repetitive steps, then do your fine-tuning manually at the end.
Step 6: Use a Reflector to Shape Light Without Spending Much
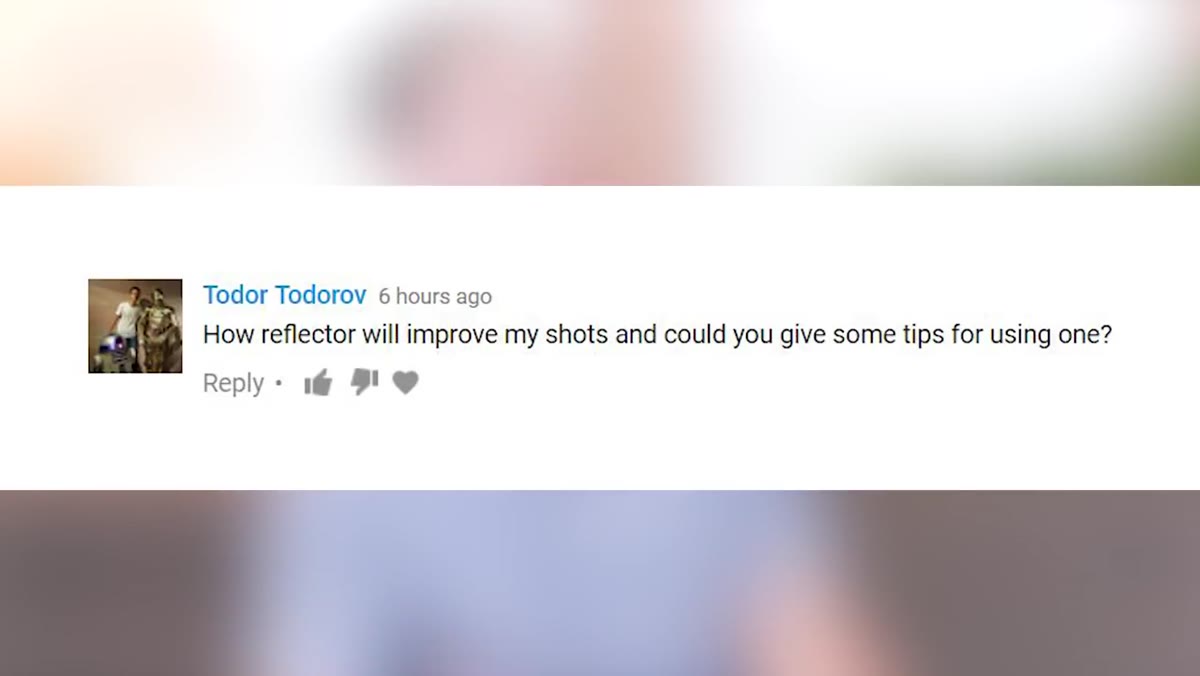 Nace describing reflector sizes and use cases
Reflectors are one of those tools that experienced photographers mention constantly and beginners overlook completely because they don’t have a motor or a menu. They come in multiple sizes and surface types, silver for punchy directional fill, white for soft diffused bounce, gold for warm fill that flatters skin tones. You can use a reflector to fill shadows in natural light, to redirect harsh sunlight into something usable, or to add a subtle kick of light to a face that would otherwise go flat.
For anyone shooting portraits on a budget, a collapsible reflector in the $25 to $40 range is more immediately useful than most accessories under $100. It doesn’t require power, it doesn’t need a trigger, and it forces you to understand how light actually moves rather than just throwing flash at a problem.
My Take: The Body Upgrade Trap Is Real
I got into this gear review space partly because I fell into the upgrade trap myself. I was convinced for about two years that a better body was what stood between me and better photos. Then I did a blind test at a local meetup where I printed identical sized photos from a $500 crop sensor body and a $2,000 full-frame. Nobody in the room could reliably tell which was which. That was the moment I stopped chasing bodies and started buying glass.
Nace’s advice in this video lines up exactly with what that test showed me. The lens changes what the camera sees. The body just records it. Get the glass right first, and you’ll thank yourself every time you upgrade to a new body and your lenses come right along with you.
The single most important thing to take from this tutorial is the gear investment principle: buy the best lens you can afford, buy a body that gets the job done, and flip that priority when you’re ready to upgrade. Everything else, the sharpening order, the Lightroom presets, the actions workflow, is good process, but the lens-first mindset will shape every buying decision you make going forward.
Watch the full tutorial on YouTube to hear Nace walk through each of these answers in his own words. It’s a short watch, and the reflector section alone is worth your time if you’re still on the fence about picking one up.
Comments (1)
The before and after really sells it. Incredible difference.
Leave a Comment