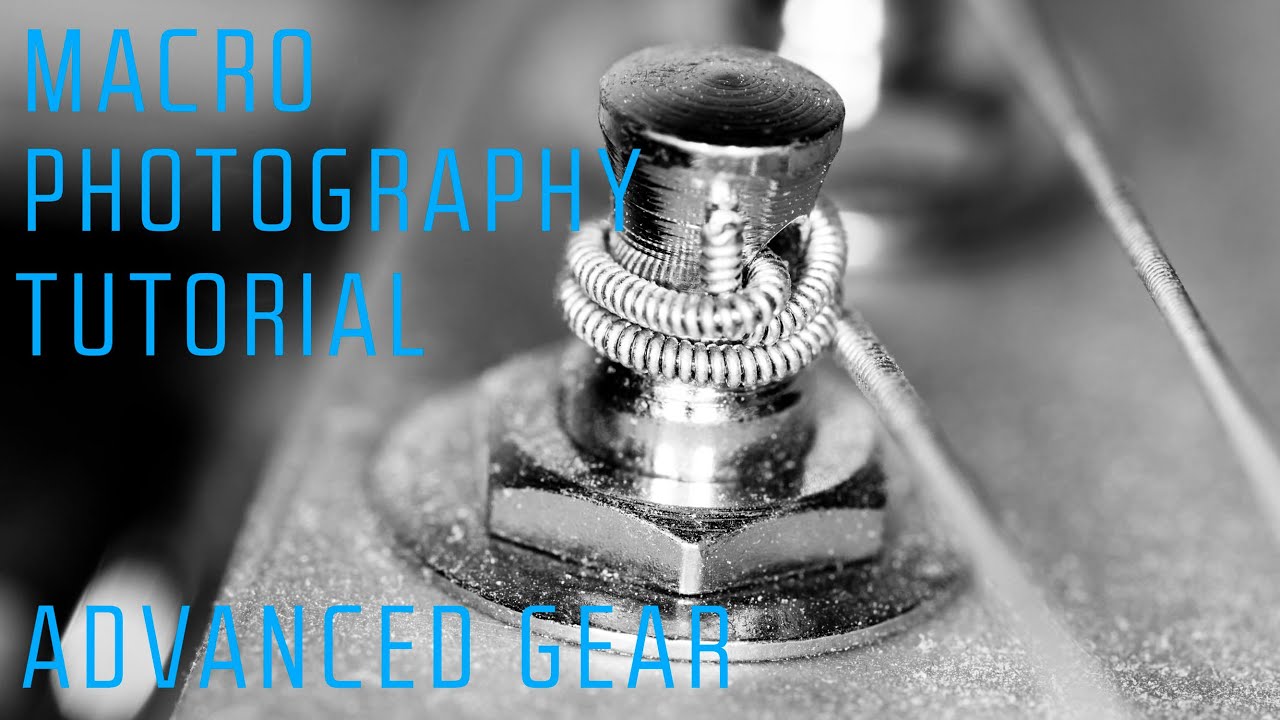
Macro photography has a reputation for being fussy, and honestly, it earns that reputation. Getting sharp, well-lit images of tiny subjects is genuinely hard, and most beginner tutorials gloss over the part where everything falls apart in practice: the depth of field becomes razor thin, your on-camera flash is physically blocked by your own lens, and your autofocus just gives up entirely. I ran into every one of those walls before I started digging into tutorials that actually addressed the gear side of the problem directly.
In this First Man Photography tutorial by Adam, the focus is on what changes when you move beyond improvised macro setups and start using tools built specifically for the job. Watch the full tutorial on YouTube. The concepts here aren’t just theory. Adam shoots through real examples, including a lily and a screw, and shows before-and-after results that make the lighting and aperture decisions feel concrete and repeatable. If you’ve been getting soft, dark macro shots and don’t know which variable is killing you, this walkthrough is worth your full attention.
Step 1: Understand What “True Macro” Actually Means
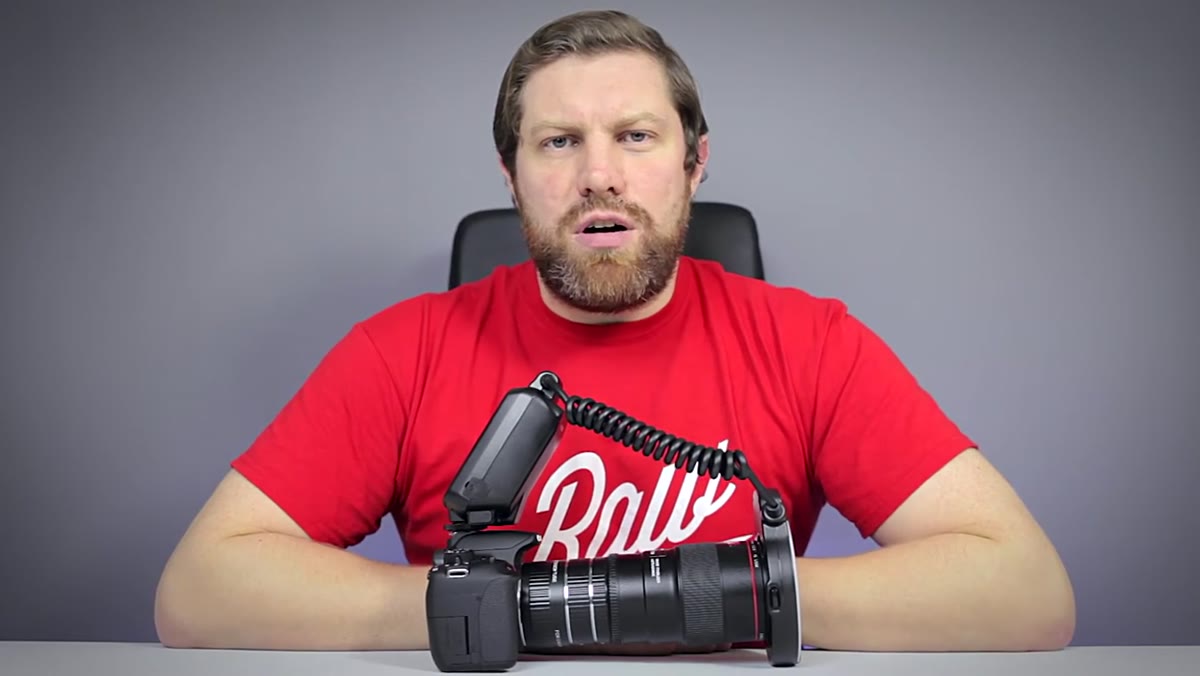 Adam explaining one-to-one magnification ratio on camera
Before touching any gear, get this locked in: true macro photography means a 1:1 magnification ratio. The physical size of your subject projects at the same size onto your camera sensor. A coin the size of a penny fills the sensor as if it were life-size. That distinction matters because a lot of lenses marketed as “macro” don’t actually hit 1:1. If you’re shopping for a dedicated macro lens and the spec sheet says something like 0.5x maximum magnification, that’s half-macro. It looks close, but it’s not the same thing. Always check the max magnification spec before buying.
Adam explaining one-to-one magnification ratio on camera
Before touching any gear, get this locked in: true macro photography means a 1:1 magnification ratio. The physical size of your subject projects at the same size onto your camera sensor. A coin the size of a penny fills the sensor as if it were life-size. That distinction matters because a lot of lenses marketed as “macro” don’t actually hit 1:1. If you’re shopping for a dedicated macro lens and the spec sheet says something like 0.5x maximum magnification, that’s half-macro. It looks close, but it’s not the same thing. Always check the max magnification spec before buying.
Step 2: Respect the Depth of Field Problem at Close Distances
 Close-up shot of lily showing shallow depth of field on stamen
This is the part that surprises people who are coming from portrait or landscape work. When you’re shooting at macro distances, your depth of field collapses to almost nothing, even at apertures you’d normally consider reasonable. Shooting wide open at f/2.8 in macro range gives you a sliver of focus so thin it can miss the front of an insect’s eye when you meant to hit it. Adam uses a lily shot to show this directly. The stamen at the front is sharp, and just a short distance back into the flower, things go soft fast.
Close-up shot of lily showing shallow depth of field on stamen
This is the part that surprises people who are coming from portrait or landscape work. When you’re shooting at macro distances, your depth of field collapses to almost nothing, even at apertures you’d normally consider reasonable. Shooting wide open at f/2.8 in macro range gives you a sliver of focus so thin it can miss the front of an insect’s eye when you meant to hit it. Adam uses a lily shot to show this directly. The stamen at the front is sharp, and just a short distance back into the flower, things go soft fast.
The fix is stopping down your aperture, often to f/8, f/11, or even further depending on your subject. Yes, that cuts your light, which creates a chain reaction you’ll solve with flash. But don’t try to fight the depth of field problem by shooting wide open and hoping autofocus bails you out. Stop down and add light intentionally.
Step 3: Use a Dedicated Macro Lens as Your Foundation
 Canon 100mm f/2.8L macro lens shown on camera body
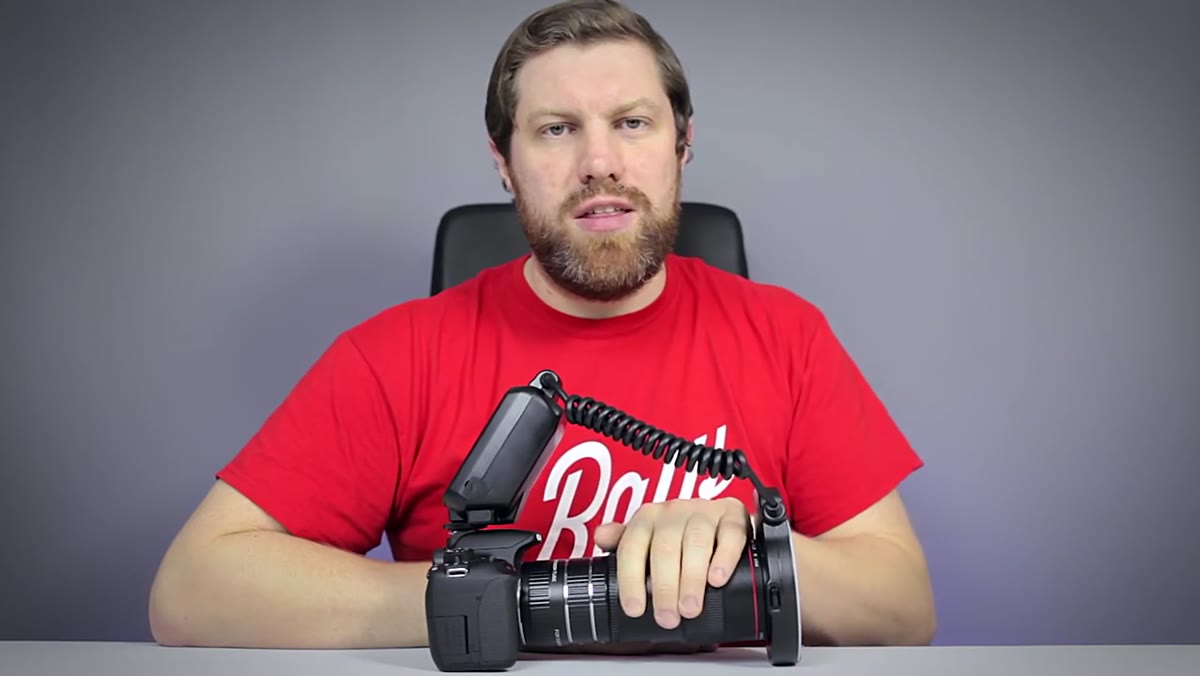
Adam shoots with the Canon 100mm f/2.8L macro lens, which is one of the benchmarks in this category. A dedicated macro lens is designed to focus at the extremely short distances required for 1:1 work, something a standard 50mm or 85mm prime simply cannot do without add-on adapters. The focal length matters too. A 100mm macro gives you more working distance between the front of the lens and your subject compared to a 50mm macro, which means you’re less likely to cast a shadow on tiny subjects or startle insects outdoors.
Canon 100mm f/2.8L macro lens shown on camera body
Adam shoots with the Canon 100mm f/2.8L macro lens, which is one of the benchmarks in this category. A dedicated macro lens is designed to focus at the extremely short distances required for 1:1 work, something a standard 50mm or 85mm prime simply cannot do without add-on adapters. The focal length matters too. A 100mm macro gives you more working distance between the front of the lens and your subject compared to a 50mm macro, which means you’re less likely to cast a shadow on tiny subjects or startle insects outdoors.
If the Canon L version is outside your budget right now, there are solid alternatives. The Tokina 100mm f/2.8 macro and the Tamron 90mm f/2.8 Di macro both punch well above their price tags and achieve true 1:1. I’ve run both through my lens comparison spreadsheet and the sharpness difference at macro distances between those and the Canon L is smaller than most people expect.
Step 4: Add Macro Extension Tubes for Even Greater Magnification
 Extension tubes attached between lens and camera body
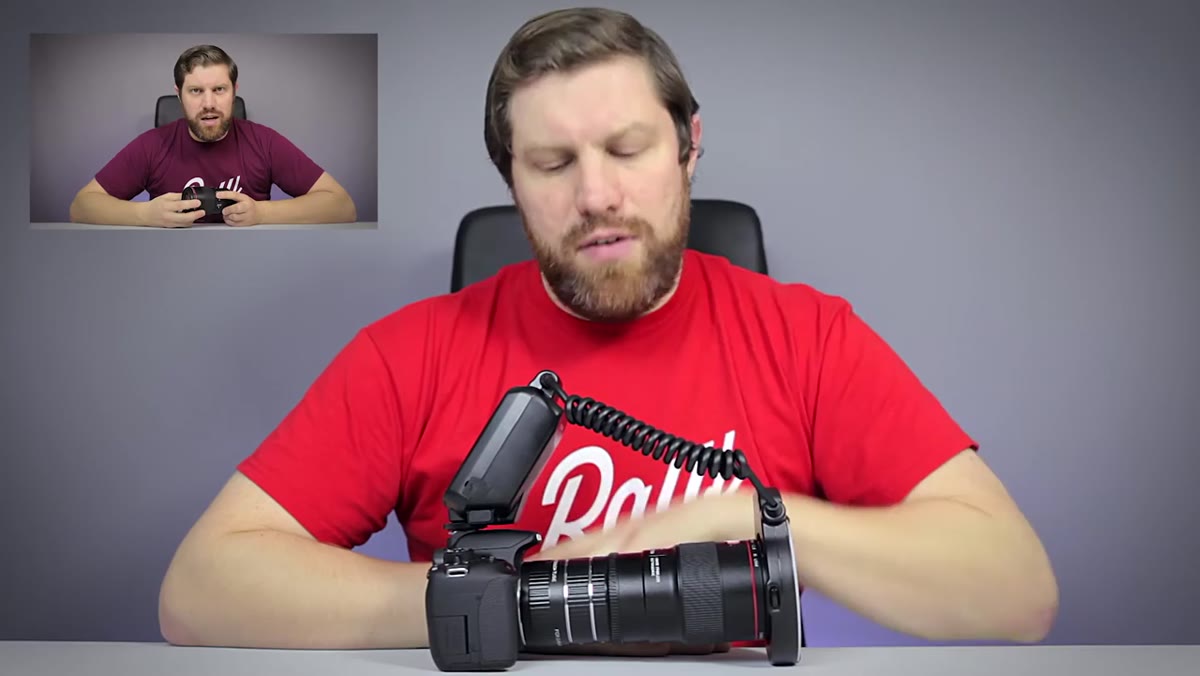
Adam adds macro extension tubes to the lens to push magnification beyond what the lens alone achieves. Extension tubes fit between the camera body and the lens, physically moving the lens farther from the sensor, which lets you focus even closer. They contain no glass, so they don’t degrade image quality. The trade-off is that you lose the ability to focus at normal distances while they’re attached, and autofocus can slow down or stop working depending on the tube set and camera combination.
Extension tubes attached between lens and camera body
Adam adds macro extension tubes to the lens to push magnification beyond what the lens alone achieves. Extension tubes fit between the camera body and the lens, physically moving the lens farther from the sensor, which lets you focus even closer. They contain no glass, so they don’t degrade image quality. The trade-off is that you lose the ability to focus at normal distances while they’re attached, and autofocus can slow down or stop working depending on the tube set and camera combination.
For pure budget value, extension tubes are one of the best investments in macro gear. A quality set with electronic contacts that preserve autofocus and EXIF data runs anywhere from $25 to $60 for third-party options, versus hundreds for OEM versions. The results are genuinely comparable for most shooting situations.
Step 5: Ditch the On-Camera Flash, It Won’t Reach Your Subject
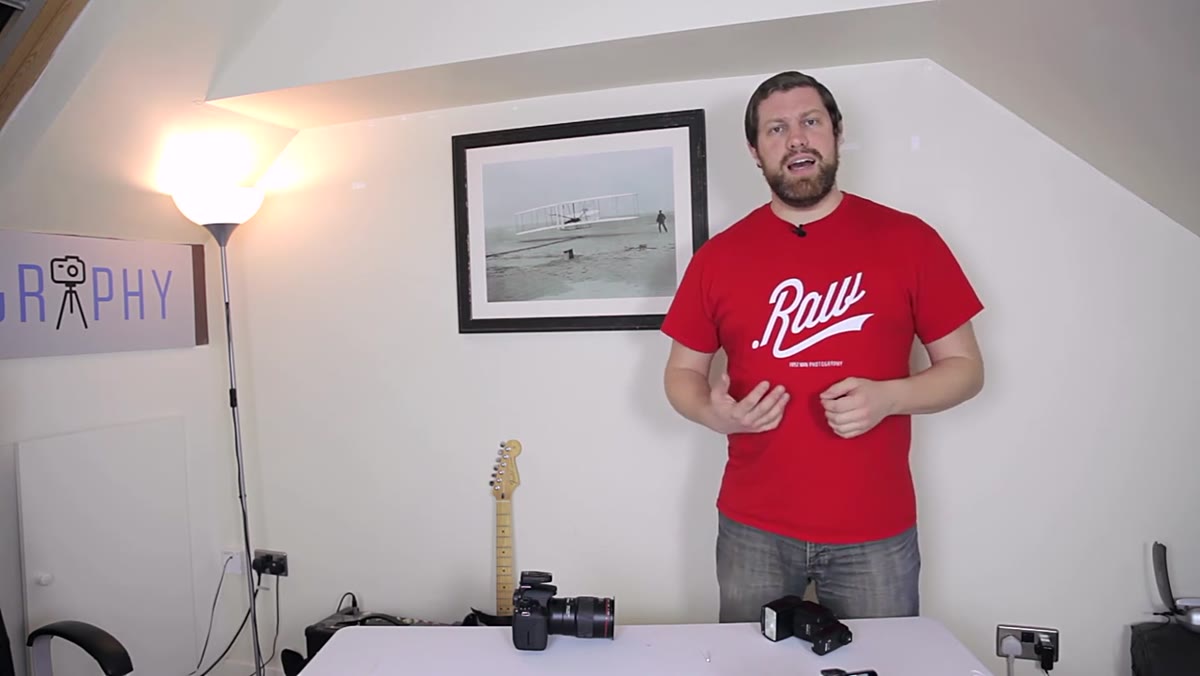 Diagram showing flash blocked by lens barrel at close focus distance
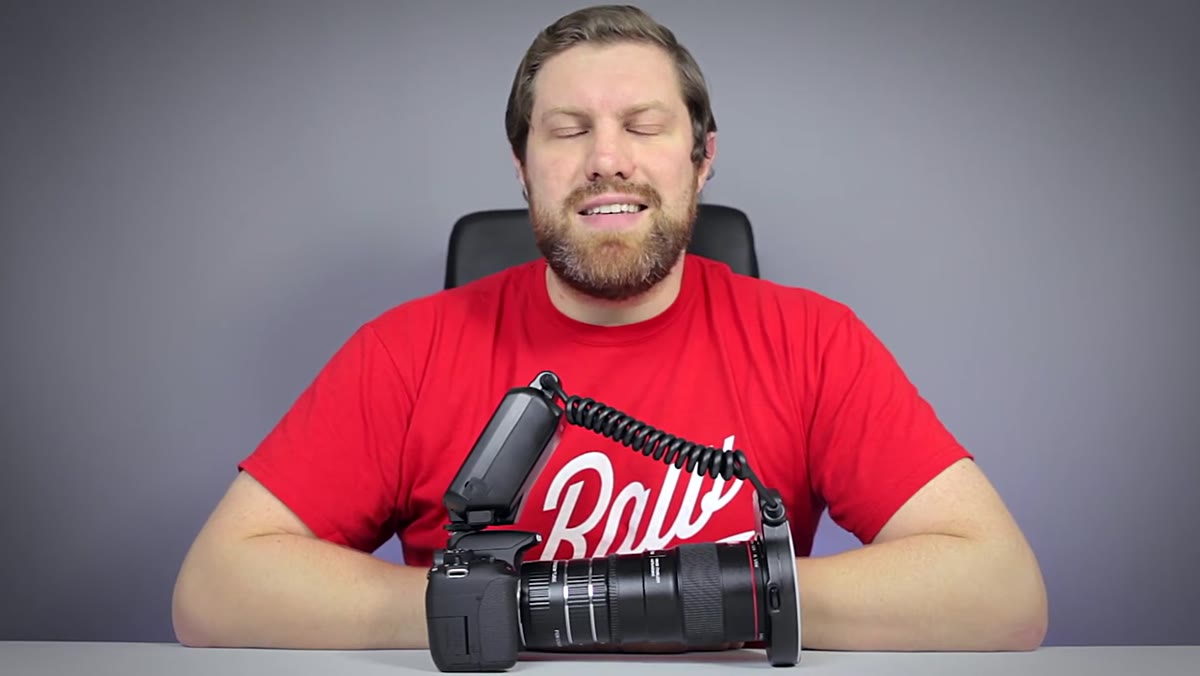
Here’s the physics problem Adam addresses head-on. When you’re shooting at macro distances, the lens barrel extends forward significantly. If your flash is sitting on top of the camera or built into the body, the light fires out at an angle that gets physically blocked by the lens before it can reach your subject. You end up with an underlit shot or a hard shadow directly on the thing you’re trying to photograph.
Diagram showing flash blocked by lens barrel at close focus distance
Here’s the physics problem Adam addresses head-on. When you’re shooting at macro distances, the lens barrel extends forward significantly. If your flash is sitting on top of the camera or built into the body, the light fires out at an angle that gets physically blocked by the lens before it can reach your subject. You end up with an underlit shot or a hard shadow directly on the thing you’re trying to photograph.
The solution is either off-camera flash positioned to the side of the subject, or a dedicated macro flash (also called a ring flash or twin flash) that mounts directly to the front of the lens. Adam demonstrates both. Off-camera flash gives you more control over shadow direction and contrast. A macro flash gives you more even, wraparound light that’s easier to work with for beginners. Either way, moving the light source away from the camera axis is the move.
Step 6: Compare Shots With and Without Controlled Light
 Side-by-side screw macro shot, no flash vs. controlled flash lighting
Adam does something genuinely useful here: he shoots the same screw at high ISO and wide aperture with no flash, then compares it to the controlled-flash version. The no-flash image is flat, noisy, and the surface texture of the screw is barely readable. The flash version reveals threading detail, metallic reflections, and actual dimension. It’s not a subtle difference. This kind of mundane subject works perfectly as a test case because there’s no beauty carrying the shot. The lighting either does its job or it doesn’t.
Side-by-side screw macro shot, no flash vs. controlled flash lighting
Adam does something genuinely useful here: he shoots the same screw at high ISO and wide aperture with no flash, then compares it to the controlled-flash version. The no-flash image is flat, noisy, and the surface texture of the screw is barely readable. The flash version reveals threading detail, metallic reflections, and actual dimension. It’s not a subtle difference. This kind of mundane subject works perfectly as a test case because there’s no beauty carrying the shot. The lighting either does its job or it doesn’t.
Run this same test yourself before a real shoot. Pick something small and boring, shoot it both ways, and use that as your calibration for how your specific flash setup behaves at macro distances.
What I’d Add From My Own Testing
The one thing this tutorial doesn’t dig into is manual focus technique for macro work, and it matters more than most people realize. At 1:1 magnification, even a slight camera rock forward or backward shifts your focus plane entirely. The technique I’ve found most reliable is setting your focus point, then rocking your body or moving the camera forward on a focusing rail rather than turning the focus ring. A cheap focusing rail from Amazon in the $30 range gives you far more precise control over your focus position than hunting with the ring. It sounds fussy until you start consistently nailing shots you were missing before.
The single biggest takeaway from Adam’s tutorial is that macro photography problems are almost always lighting problems in disguise. Once you accept that stopping down for depth of field is non-negotiable, everything else becomes a question of how to put enough light on a tiny subject without the camera getting in its own way. Dedicated gear, whether that’s a true macro lens, extension tubes, or an off-camera flash, exists specifically to solve that problem.
Watch the full tutorial on YouTube to see Adam walk through each of these setups with actual results on screen.
Comments (2)
Finally someone explains this in a way that actually makes sense.
I've been looking for exactly this kind of tutorial. Perfect timing.
Leave a Comment