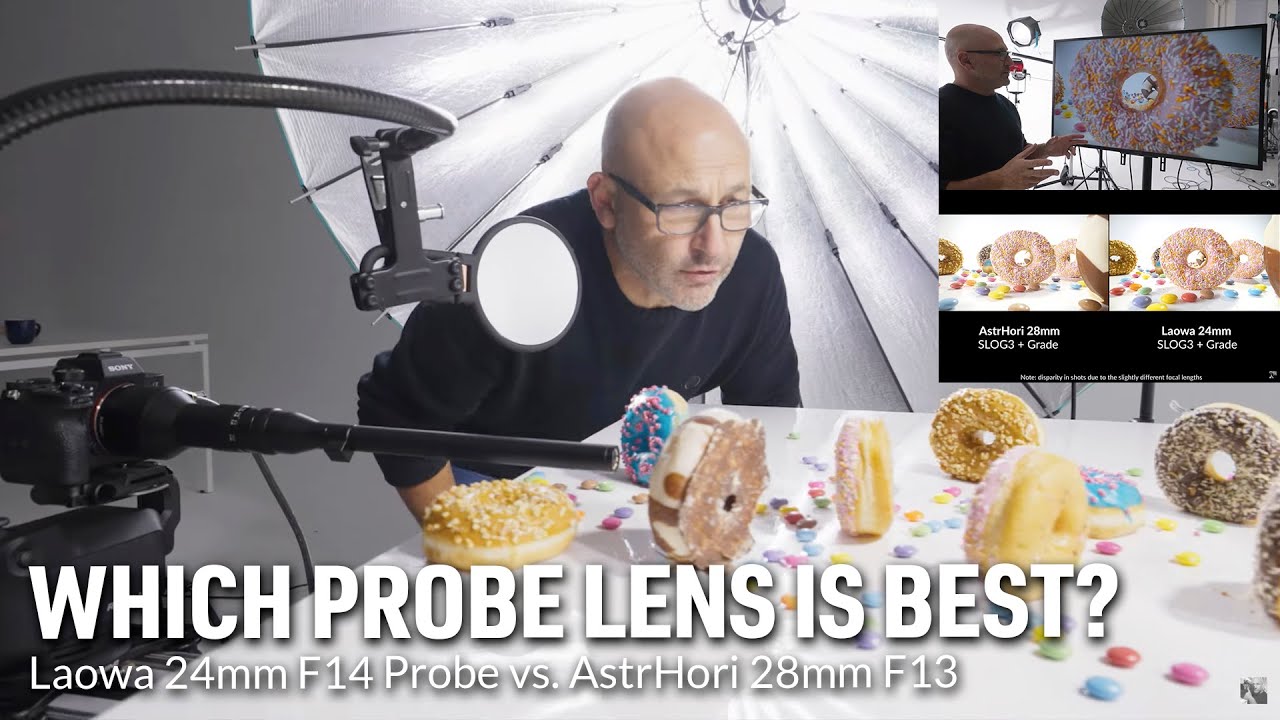
If you’ve ever wanted to send a camera lens crawling through a pile of coffee beans or diving into a donut like some kind of cinematic insect, a macro probe lens is the tool that makes it happen. These weird, elongated lenses are niche by design, but they produce shots that stop people mid-scroll. The problem has always been the price. The Laowa 24mm f/14 is the benchmark, and it’s priced like one. So when AstrHori dropped a 28mm f/13 probe lens at a noticeably lower price point, I immediately wanted to know: is this the budget alternative the macro world has been waiting for, or does it cut too many corners to be usable?
In this Visual Education tutorial, creator Carl runs both lenses through a series of real-world tests using a Rhino motorized slider. Watch the full tutorial on YouTube before or after reading this breakdown. What follows is a step-by-step look at how each test was set up, what the results showed, and what it all means if you’re deciding which lens to actually buy.
Step 1: Set Up a Repeatable Motion Test Rig
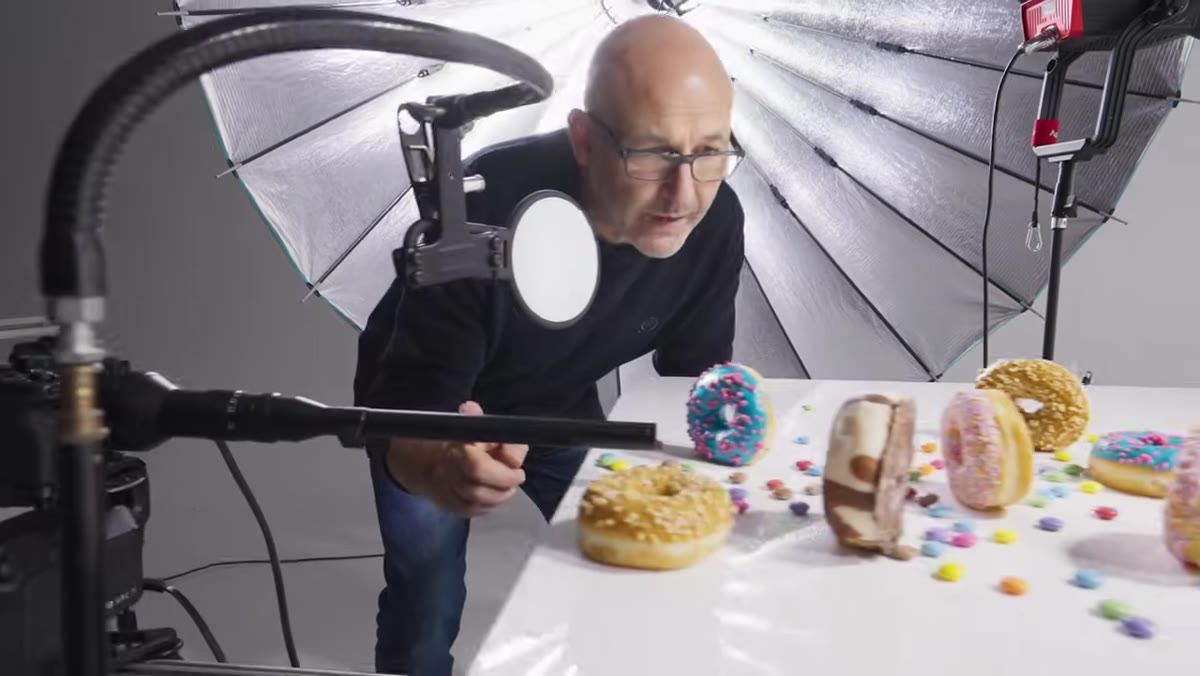 Probe lens mounted on Rhino slider running loop
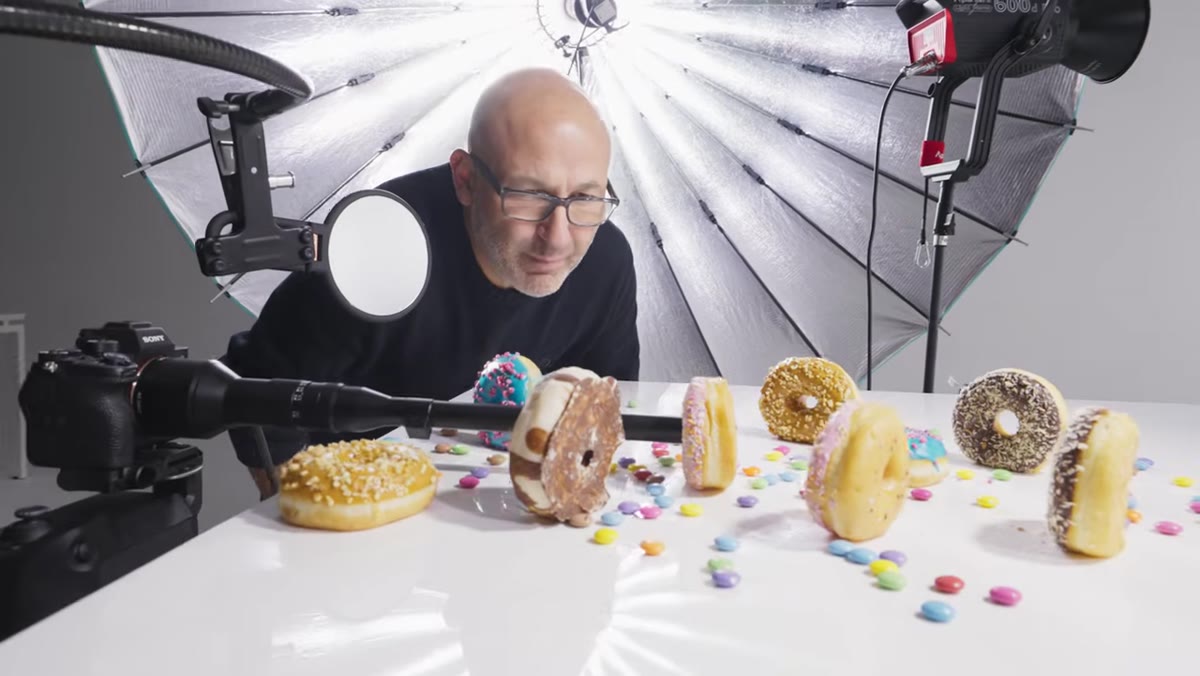
Before you can compare two lenses fairly, you need to eliminate camera movement as a variable. Carl mounts each probe lens on a Rhino motorized slider with a pre-programmed start point and end point. The slider loops the same push-and-pull move continuously, so both lenses travel the exact same path over the same subject. The test subject here is a donut, which sounds silly but actually works perfectly because it has texture, detail, and a hole you can push the lens through.
Probe lens mounted on Rhino slider running loop
Before you can compare two lenses fairly, you need to eliminate camera movement as a variable. Carl mounts each probe lens on a Rhino motorized slider with a pre-programmed start point and end point. The slider loops the same push-and-pull move continuously, so both lenses travel the exact same path over the same subject. The test subject here is a donut, which sounds silly but actually works perfectly because it has texture, detail, and a hole you can push the lens through.
The key takeaway here is the methodology. If you’re doing your own lens comparisons at home, consistency matters more than the subject. Lock down your motion, lock down your lighting, and change only the lens. Otherwise you’re not testing the glass, you’re testing your own inconsistency.
Step 2: Run a Basic Exposure Test with a Standard LUT
 Side-by-side footage on television monitor showing both lenses
Carl shoots in a standard color profile first and applies a basic LUT to both clips. Right away, two things stand out. The AstrHori lens renders with slightly lower contrast compared to the Laowa. More noticeably, when light shines directly into the AstrHori’s front element, it flares significantly more than the Laowa does.
Side-by-side footage on television monitor showing both lenses
Carl shoots in a standard color profile first and applies a basic LUT to both clips. Right away, two things stand out. The AstrHori lens renders with slightly lower contrast compared to the Laowa. More noticeably, when light shines directly into the AstrHori’s front element, it flares significantly more than the Laowa does.
This is a practical concern. Probe lenses are often used close to small light sources like candles, LED strips, or product lighting rigs. If your lens flares every time a light source gets near the front element, you’re going to spend a lot of time repositioning lights or pulling flare in post. The Laowa handles direct light more gracefully here, and that matters in real shooting conditions.
Step 3: Repeat the Test in S-Log 3
 S-Log 3 footage comparison with LUT applied to both lenses
Switching to S-Log 3 and then applying a LUT is the second round of the same test, and it actually makes the contrast difference more visible, not less. Log footage is flat by design, and when you grade it back up, any weaknesses in the optical rendering tend to get amplified.
S-Log 3 footage comparison with LUT applied to both lenses
Switching to S-Log 3 and then applying a LUT is the second round of the same test, and it actually makes the contrast difference more visible, not less. Log footage is flat by design, and when you grade it back up, any weaknesses in the optical rendering tend to get amplified.
The AstrHori’s flare problem becomes even more obvious in this format. If you’re shooting log because you want maximum flexibility in the grade, be aware that you might also be maximizing the visibility of your lens’s weaknesses. For shooters who work in log regularly, this is a real consideration, not a minor footnote.
Step 4: Test with Non-Direct Lighting (Coffee Beans)
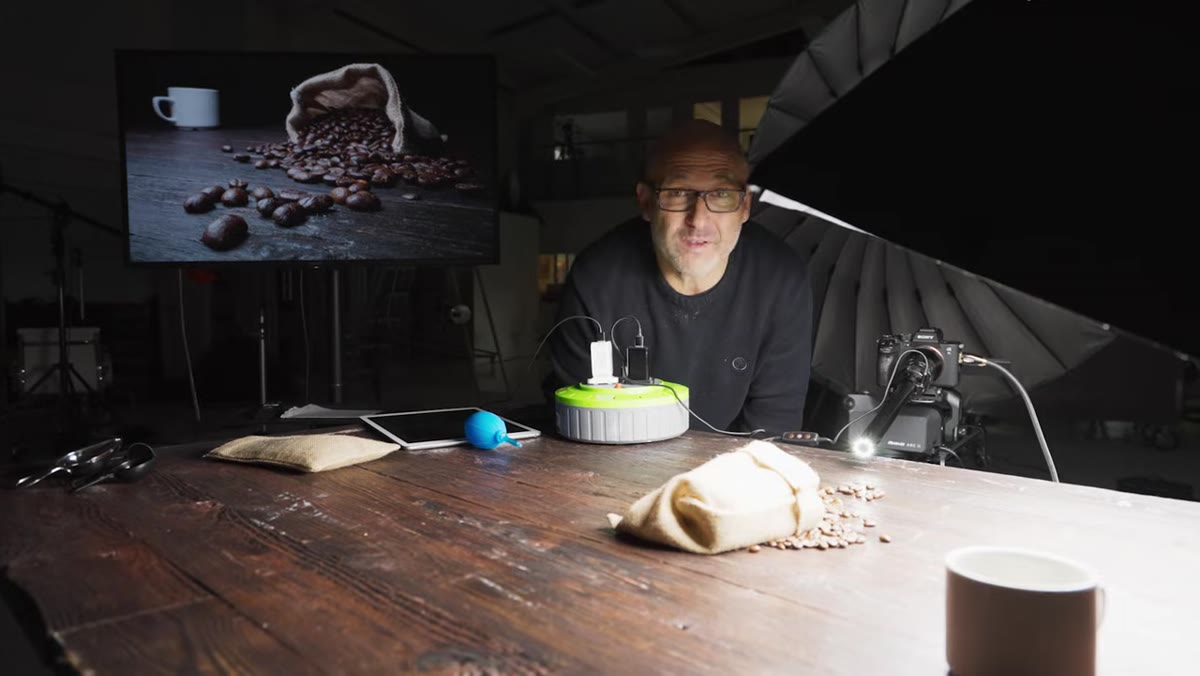 Probe lens pushing through bag of coffee beans
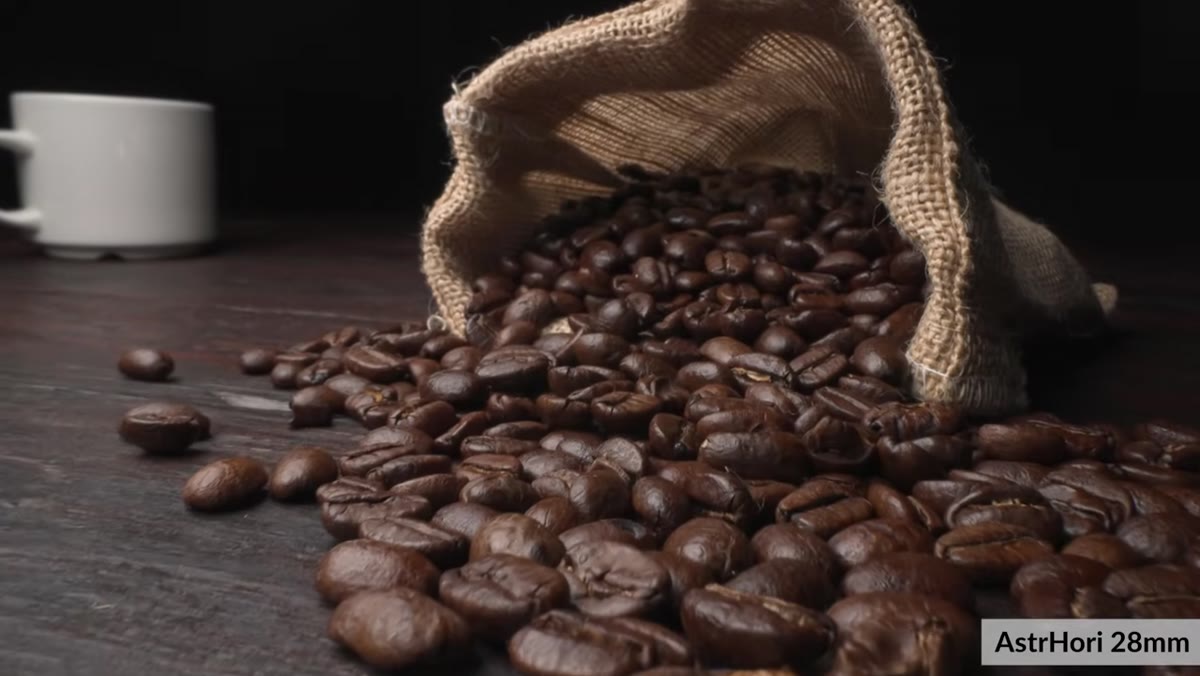
Here’s where the story gets more nuanced. Carl runs both lenses through a bag of coffee beans with the lighting positioned so it isn’t aimed directly into the front element. The results are noticeably closer. The AstrHori still skews slightly blue compared to the more neutral Laowa, but the contrast gap closes considerably and image clarity looks comparable between the two.
Probe lens pushing through bag of coffee beans
Here’s where the story gets more nuanced. Carl runs both lenses through a bag of coffee beans with the lighting positioned so it isn’t aimed directly into the front element. The results are noticeably closer. The AstrHori still skews slightly blue compared to the more neutral Laowa, but the contrast gap closes considerably and image clarity looks comparable between the two.
This is an important finding. The AstrHori’s weakness isn’t the glass itself, it’s the flare resistance. In a controlled setup where you’re managing your light direction, this lens can punch close to the Laowa’s weight. A blue color cast is correctable in post or in-camera with a white balance tweak. Chronic flare is much harder to fix.
Step 5: Use the Built-In LED Fill Light
 LED light on probe lens tip toggled on and off manually
Both lenses have a small LED light built into the tip of the probe. Carl demonstrates toggling it on and off by hand to show how it functions as a shadow fill when shooting inside enclosed or dark spaces. The trick is to run the LED at very low intensity, not as a primary source, but just enough to lift the shadows inside something like a cup, a flower, or a product package.
LED light on probe lens tip toggled on and off manually
Both lenses have a small LED light built into the tip of the probe. Carl demonstrates toggling it on and off by hand to show how it functions as a shadow fill when shooting inside enclosed or dark spaces. The trick is to run the LED at very low intensity, not as a primary source, but just enough to lift the shadows inside something like a cup, a flower, or a product package.
At full power the LED is too harsh and creates an unnatural hotspot. Dialed way down, it’s genuinely useful. If you’re shooting products or food and you want that “camera traveling into another world” look, this light is what separates a probe lens from just a regular macro lens on an extension tube. Both lenses have it, so it’s a tie on this feature.
Step 6: Compare Aperture Range and Optical Sharpness
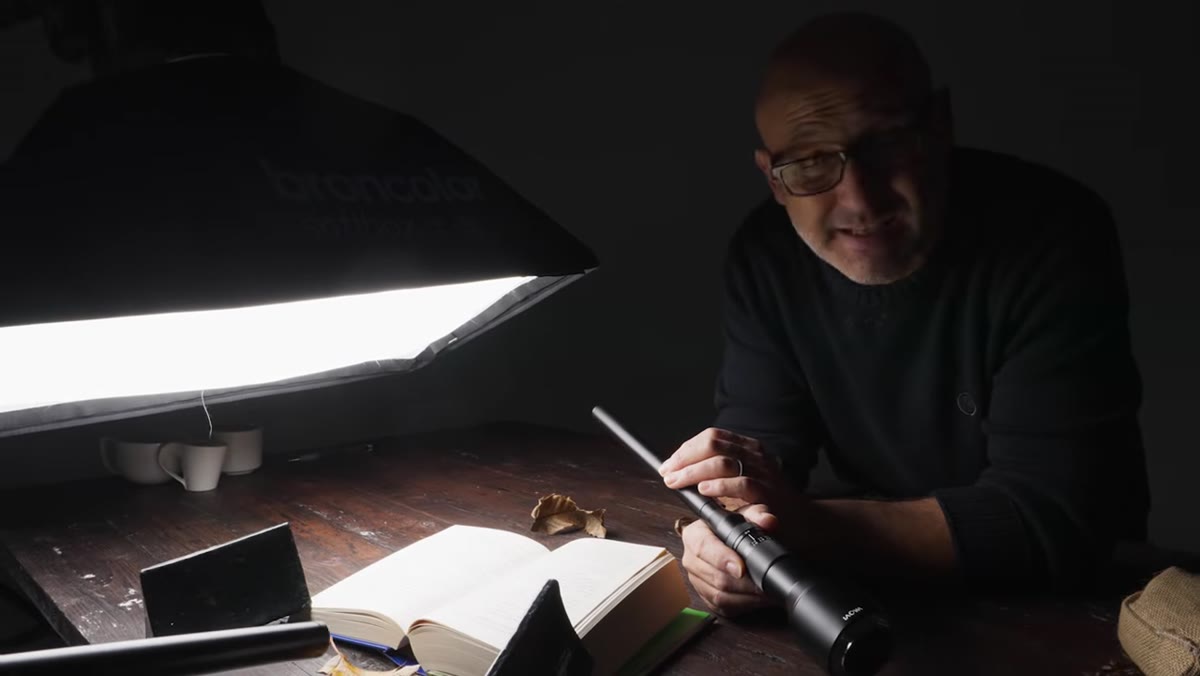 Setup showing probe lens scanning across open book for sharpness test
For the final test, Carl shoots both lenses at their widest and narrowest apertures across a page of text. This gives a clear read on depth of field differences and optical sharpness across the frame. The Laowa is 24mm at f/14 wide open, and the AstrHori is 28mm at f/13. Both close down to f/40 at minimum aperture.
Setup showing probe lens scanning across open book for sharpness test
For the final test, Carl shoots both lenses at their widest and narrowest apertures across a page of text. This gives a clear read on depth of field differences and optical sharpness across the frame. The Laowa is 24mm at f/14 wide open, and the AstrHori is 28mm at f/13. Both close down to f/40 at minimum aperture.
At f/40, the Laowa appears sharper across the full image area, not just in the center. At maximum aperture, the difference is smaller, but still present. The 4mm focal length gap also produces a visible difference in how wide the field of view is, which affects the kind of shots each lens is suited for. The Laowa simply gives you more scene in the frame.
My Take: Budget Doesn’t Always Mean “Buy It”
I run a spreadsheet on every budget lens I test, and the AstrHori earns a complicated row. On paper it looks like a win: lower price, f/13 maximum aperture, built-in LED, and optical quality that holds up when the lighting is controlled. But that flare problem is the kind of thing that bites you on a paid shoot, not in your living room test setup.
My rule with budget alternatives is simple: the limitation has to be manageable. A slightly blue color cast is manageable. Losing contrast and detail every time a light source gets near the front element is a workflow tax. If you’re shooting in a studio with full control over every light, the AstrHori is a legitimate option and the savings are real. If you’re shooting events, food, or anything with unpredictable lighting, the Laowa’s flare resistance is worth the premium.
The single most important thing this comparison proves is that probe lenses aren’t interchangeable based on specs alone. Flare handling, focal length, and color rendering all affect your final image in ways that don’t show up in a spec sheet. Watch Carl run both lenses through every test himself here: Watch the full tutorial on YouTube
Comments
Leave a Comment