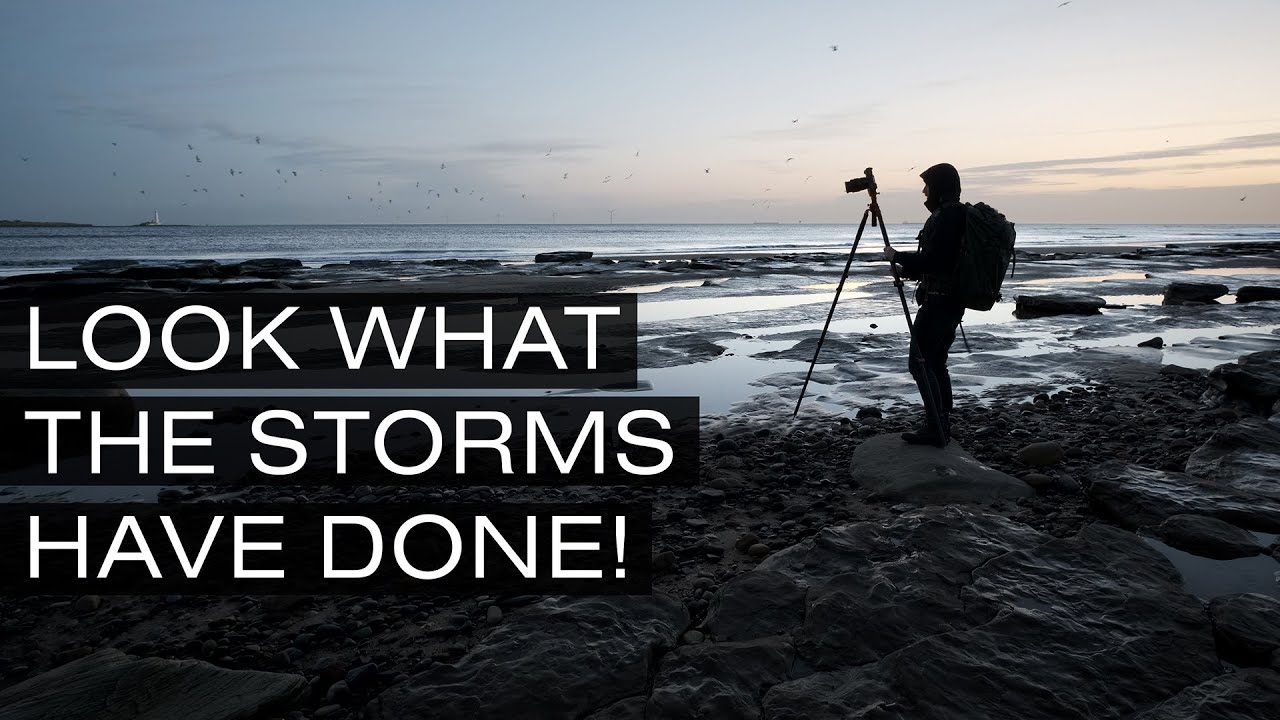
There’s a specific problem I run into every time I shoot somewhere new: too many options, not enough discipline. A fresh location pulls you in ten directions at once and you end up with a memory card full of mediocre frames because you never slowed down to think about what you were actually doing. What I’ve found is that watching photographers with real field experience work through unfamiliar locations in real time teaches you more than any studio breakdown. In this Thomas Heaton tutorial, he shows up to his local beach after a series of storms have stripped away all the sand and exposed an entirely different landscape underneath, and he’s got a brand new lens on his Fujifilm GFX 50R to boot. Two unknowns at once.
Watch the full tutorial on YouTube
What makes this video worth breaking down isn’t the gear or even the location. It’s the decision-making. Heaton narrates his thought process openly, including when the light is bad and when he knows a shot is average. That honesty is more useful than a polished highlight reel. Here’s how the session actually unfolds, step by step.
Step 1: Read the Location Before You Shoot Anything
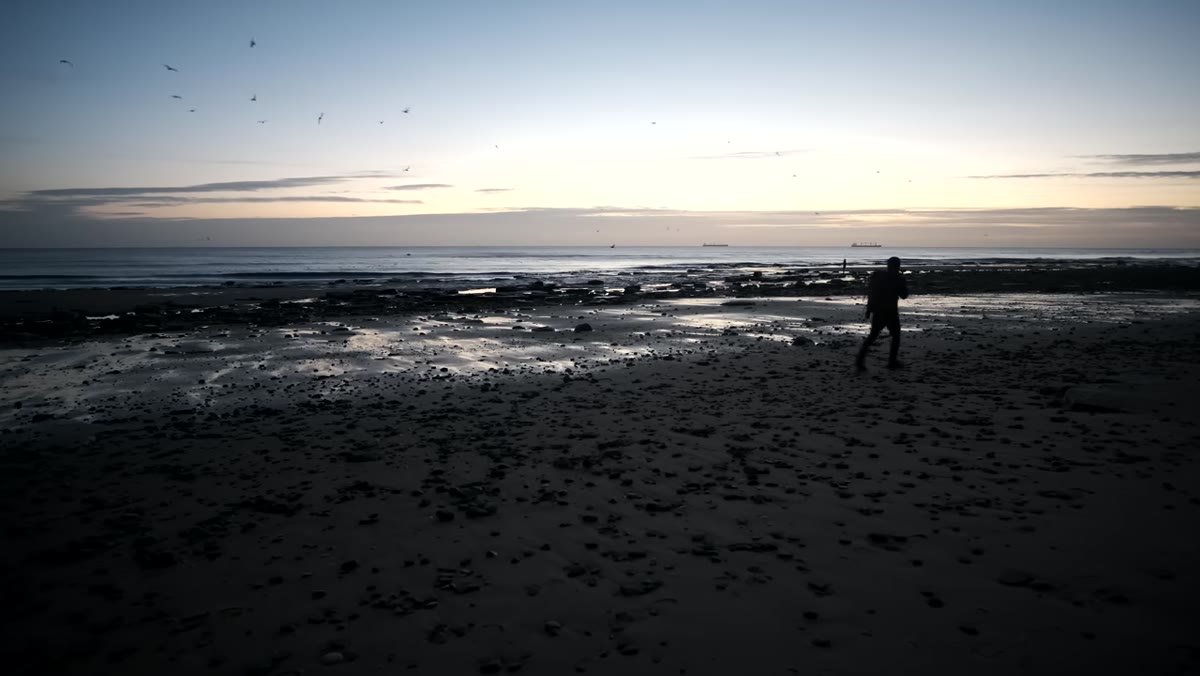 Thomas Heaton standing on a rocky, sand-stripped beach at dawn
Before Heaton fires a single frame, he walks the beach and takes stock of what the storms have changed. The sand is gone. Rocky formations that were buried for most of the year are now fully exposed. His first instinct isn’t to start shooting. It’s to understand what he’s working with. He notes the cloud cover, identifies which direction the usable light is coming from, and sets a constraint: almost everything he shoots today will face north, away from the blocked sunrise.
Thomas Heaton standing on a rocky, sand-stripped beach at dawn
Before Heaton fires a single frame, he walks the beach and takes stock of what the storms have changed. The sand is gone. Rocky formations that were buried for most of the year are now fully exposed. His first instinct isn’t to start shooting. It’s to understand what he’s working with. He notes the cloud cover, identifies which direction the usable light is coming from, and sets a constraint: almost everything he shoots today will face north, away from the blocked sunrise.
This is a habit worth building into your own sessions. Spend five to ten minutes just walking before you put the camera to your eye. Identify one or two anchor subjects. Note where the light is flattering and where it’s flat or blocked. Heaton knows immediately that facing east is a waste of time today because clouds are killing the sunrise. That’s not pessimism, it’s editing your options before you waste exposures on directions that won’t pay off.
Step 2: Acknowledge Difficult Light and Adjust Your Direction
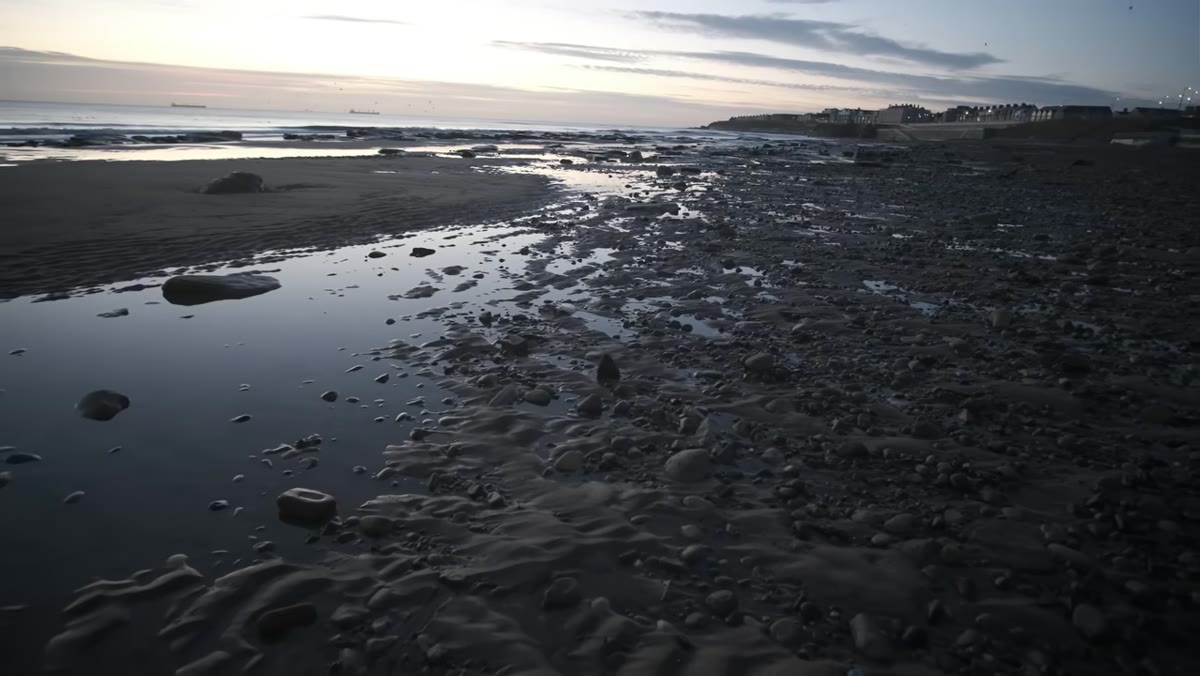 Heavy cloud bank blocking eastern horizon at sunrise
Heaton is direct about the light being poor. There’s heavy cloud cover blocking the east, which is where sunrise light would normally come from. Rather than forcing compositions in that direction and hoping for a break, he pivots. He decides the north-facing views offer better potential because the sky there has a subdued, even quality that works well for rocky landscapes with a lot of texture.
Heavy cloud bank blocking eastern horizon at sunrise
Heaton is direct about the light being poor. There’s heavy cloud cover blocking the east, which is where sunrise light would normally come from. Rather than forcing compositions in that direction and hoping for a break, he pivots. He decides the north-facing views offer better potential because the sky there has a subdued, even quality that works well for rocky landscapes with a lot of texture.
This is a mindset shift that took me longer than it should have to learn. Bad light in one direction doesn’t mean bad light everywhere. Overcast or diffused light from one side of the sky can actually be ideal for high-texture subjects like rocks, wet sand, and tide pools because it prevents blown highlights and holds shadow detail. When you hit a location with difficult conditions, don’t pack up. Rotate 90 or 180 degrees and reassess.
Step 3: Understand Your Lens Coverage and Accept the Gaps
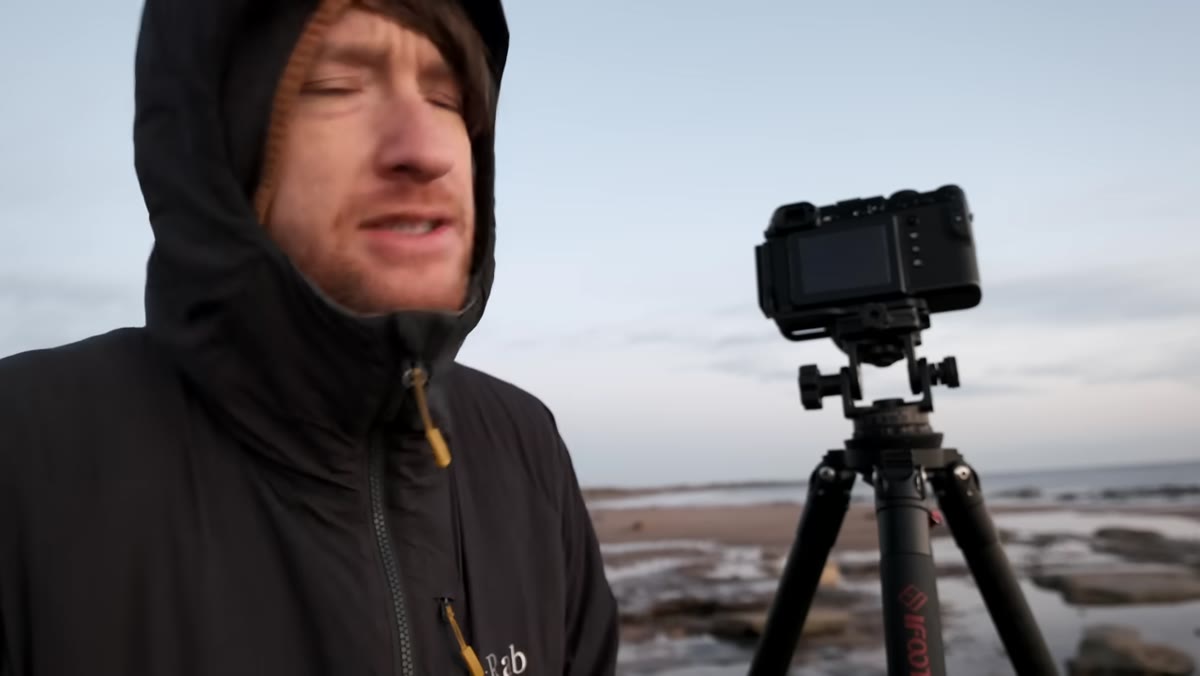 Heaton describing focal length range of new GFX zoom lens
Heaton breaks down his current two-lens setup for the GFX system. The new lens is a 32-64mm, which translates to roughly 25-50mm in full frame terms. His other lens covers the 100-200mm range, equivalent to about 80-150mm full frame. He flags the obvious gap between 50mm and 80mm equivalent and then moves on, deciding the two lenses will cover 95% of what he actually needs.
Heaton describing focal length range of new GFX zoom lens
Heaton breaks down his current two-lens setup for the GFX system. The new lens is a 32-64mm, which translates to roughly 25-50mm in full frame terms. His other lens covers the 100-200mm range, equivalent to about 80-150mm full frame. He flags the obvious gap between 50mm and 80mm equivalent and then moves on, deciding the two lenses will cover 95% of what he actually needs.
This is practical thinking that gets buried under gear anxiety in a lot of photography communities. You don’t need seamless coverage across every focal length. Figure out what you shoot most often, make sure your lenses cover those ranges well, and accept that edge cases exist. If the gap causes a real problem in the field, that’s data. Until then, it’s just a number on a spec sheet. I’ve tested enough lens lineups to know that most photographers use maybe two focal lengths 80% of the time anyway.
Step 4: Set Your Aperture for System-Appropriate Depth of Field
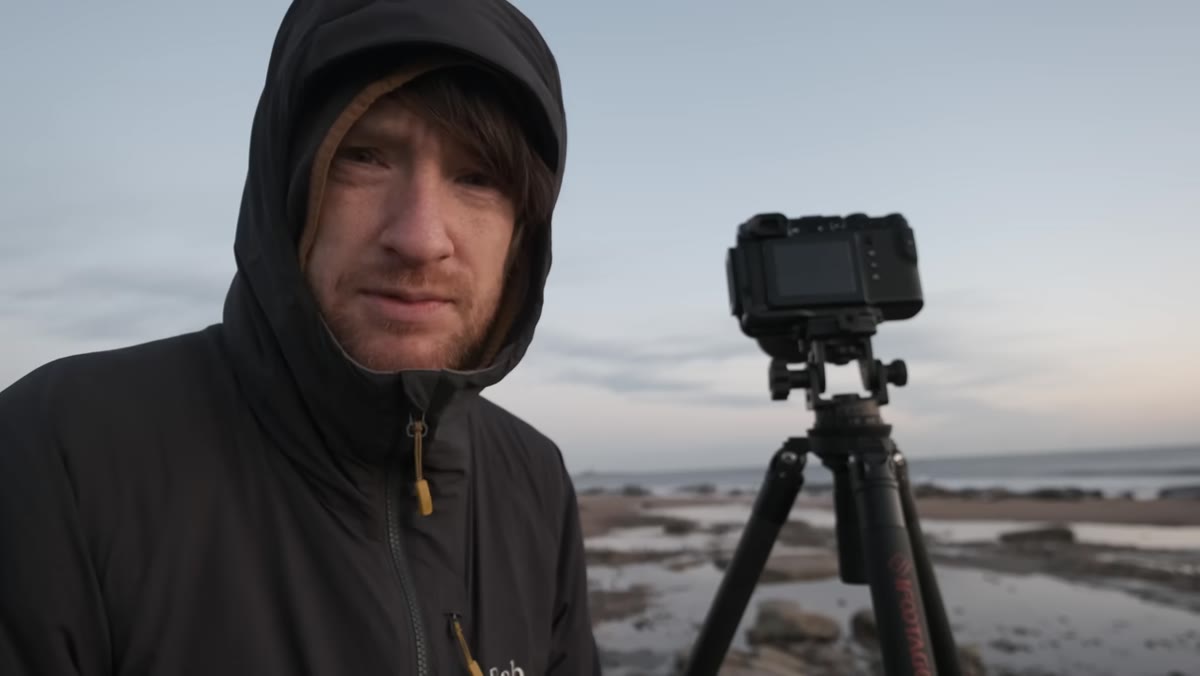 Heaton selecting f/16 aperture setting on GFX 50R in the field
Here’s the most technically useful moment in the video. Heaton explains that his default aperture on his Canon setup used to be f/11 focused to infinity. With the GFX medium format system, he’s adjusting that default to f/16. The reason is sensor size. Medium format has a shallower depth of field at any given aperture compared to full frame, so to get the same front-to-back sharpness across a wide landscape scene, you need to stop down further.
Heaton selecting f/16 aperture setting on GFX 50R in the field
Here’s the most technically useful moment in the video. Heaton explains that his default aperture on his Canon setup used to be f/11 focused to infinity. With the GFX medium format system, he’s adjusting that default to f/16. The reason is sensor size. Medium format has a shallower depth of field at any given aperture compared to full frame, so to get the same front-to-back sharpness across a wide landscape scene, you need to stop down further.
If you’re moving to a larger sensor system, this is the setting that will trip you up first. The images you got at f/11 on full frame won’t look the same at f/11 on medium format, especially when you have foreground interest close to the lens. Bump to f/16 as your new baseline for wide landscape work and then test from there. Heaton is still focusing to infinity for his first shot, betting that f/16 will give him enough depth to keep close rocks acceptably sharp.
Step 5: Build Simple Compositions Out of Chaotic Scenes
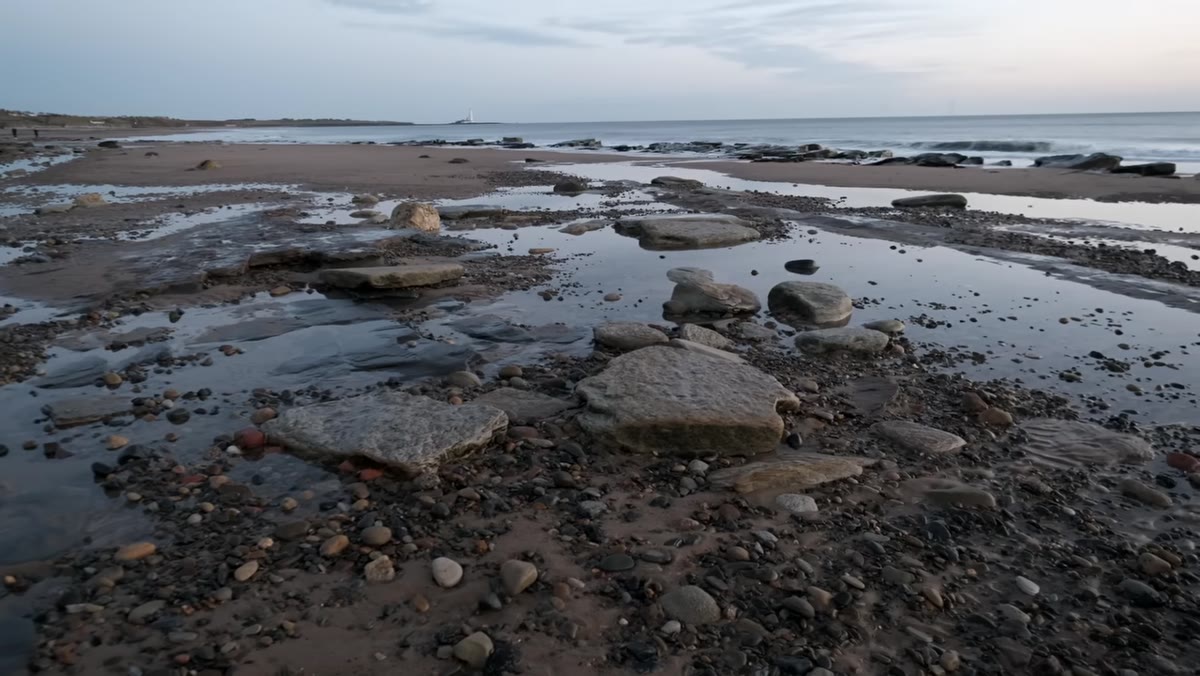 Wide rocky beach scene with boulders arranged in sweeping foreground
Faced with an overwhelming amount of rocks and visual noise, Heaton simplifies. For his first shot, he finds a sweeping arrangement of a few key boulders and uses their natural curve to lead the eye through the frame. He’s not trying to include everything the beach is showing him. He’s choosing three or four elements and organizing them deliberately.
Wide rocky beach scene with boulders arranged in sweeping foreground
Faced with an overwhelming amount of rocks and visual noise, Heaton simplifies. For his first shot, he finds a sweeping arrangement of a few key boulders and uses their natural curve to lead the eye through the frame. He’s not trying to include everything the beach is showing him. He’s choosing three or four elements and organizing them deliberately.
For his second composition, he goes even simpler: a single large boulder sitting in a calm pool of water, with a faint pink sky overhead. The cleaner the center of the frame, the more the subject commands attention. When a location gives you chaos, your job is to impose order. Pick one anchor subject. Find lines that direct attention toward it. Cut everything else.
Step 6: Adjust Focus Point When Your Subject Is Close
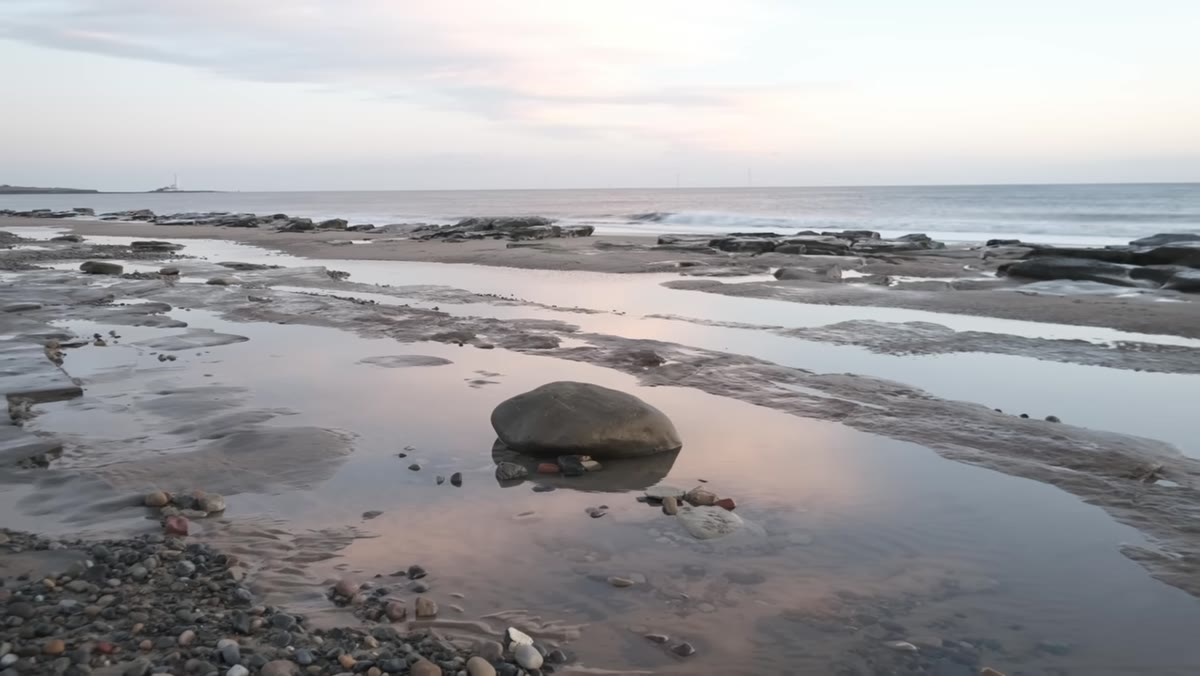 Heaton focusing directly on boulder subject rather than infinity
On the second shot, Heaton changes his focus strategy. Instead of locking to infinity, he focuses directly on the boulder in the foreground. At f/16, he’s trusting the depth of field to carry the background, but he wants the subject itself to be critically sharp rather than relying on hyperfocal distance to do the work.
Heaton focusing directly on boulder subject rather than infinity
On the second shot, Heaton changes his focus strategy. Instead of locking to infinity, he focuses directly on the boulder in the foreground. At f/16, he’s trusting the depth of field to carry the background, but he wants the subject itself to be critically sharp rather than relying on hyperfocal distance to do the work.
This is a small adjustment with a real impact. If your primary subject is a specific object rather than a distant horizon, focus on it. Don’t assume infinity focus will give you everything. Use a depth of field calculator for your specific sensor size and focal length if you’re unsure, but in practice, stopping down to f/16 on medium format and focusing on a mid-ground subject will usually hold the background cleanly enough for landscape work.
What I’d Add: Test Your Aperture Sweet Spot Before the Session, Not During
Heaton is testing f/16 live in the field with a new lens he’s never shot before. That works if you’re experienced enough to trust the system, but for most people, I’d recommend running a quick sharpness test at home before you head out. Shoot a flat textured surface at f/8, f/11, f/16, and f/22 and compare at 100% on your monitor. Medium format lenses can start showing diffraction at f/16 depending on the specific glass, so it’s worth knowing exactly where your sweet spot is before you’re standing on a cold beach at 6am making decisions under pressure. I keep a simple log of aperture test results for every lens I use. Takes 15 minutes and saves a lot of guessing later.
The single biggest takeaway from watching Heaton work this session is that difficult conditions are an invitation to be more deliberate, not a reason to leave. Bad light, unfamiliar gear, a transformed landscape – he treats all of it as information rather than obstacles. Constraints sharpen your decisions. Let them.
Watch the full tutorial on YouTube
Comments (1)
Tried this technique this morning. Game changer for real.
Leave a Comment