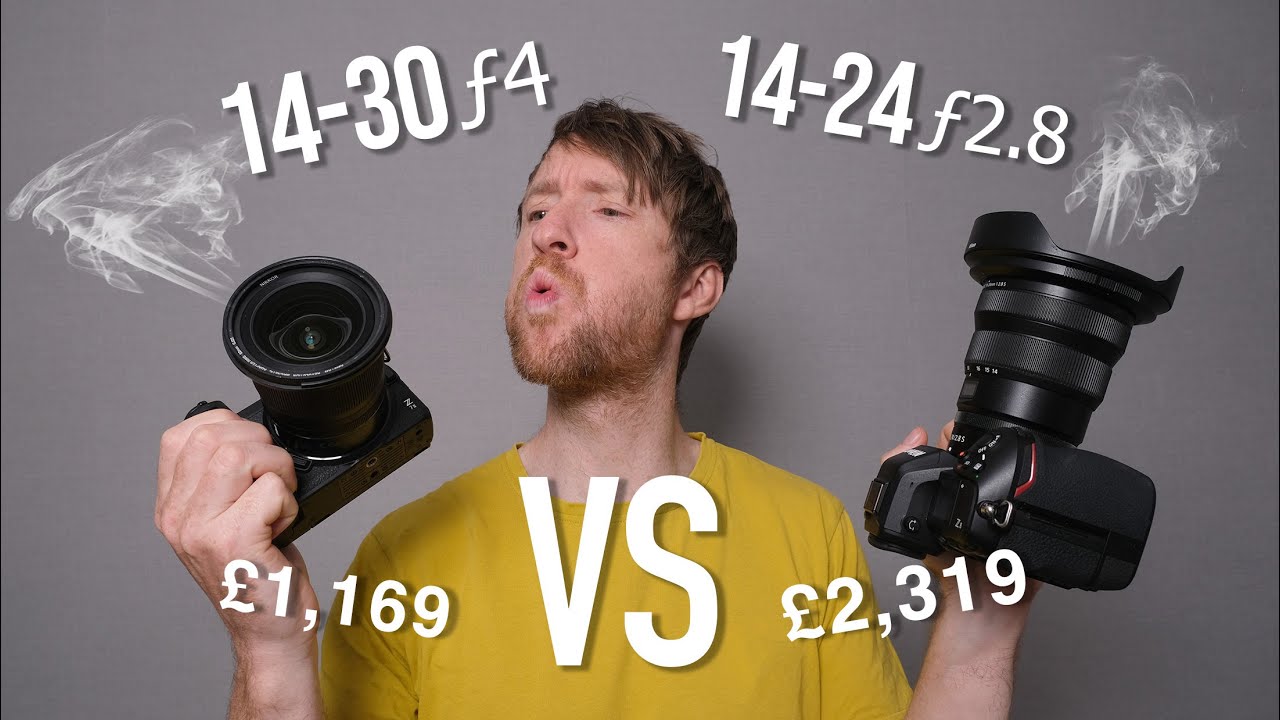
The question I get more than almost any other from landscape photographers is some version of: “Do I really need the expensive one?” Usually I’m the guy screaming “no” from the rooftops. I built this whole corner of the internet on proving that cheaper gear gets the job done. But wide-angle lenses are one of those categories where I’ve had to eat my words more than once, because the image quality gap between budget and premium glass at the ultra-wide end is real in ways it simply isn’t with, say, a nifty fifty.
So when Thomas Heaton posted a hands-on field comparison between the Nikon Z 14-24mm f/2.8 and the Nikon Z 14-30mm f/4, I watched it three times. Watch the full tutorial on YouTube. Heaton is a working landscape photographer, not a lab tester, which means his findings come from actual shooting conditions rather than brick-wall charts. He had access to both lenses through loans from fellow photographers, which gave him rare back-to-back field time with each. What he discovered matters whether you’re building a Nikon Z system from scratch or trying to figure out where to trim weight and cost.
The core question he’s trying to answer is a sharp one: if you’re shooting stopped down to f/11 anyway, as most landscape photographers do for maximum depth of field, does the f/2.8 aperture advantage of the pricier lens actually justify paying twice as much? That framing is exactly the kind of value-first thinking I apply to every gear decision, and it’s why this video is worth breaking down step by step.
Step 1: Define the Real Decision Before You Touch Either Lens
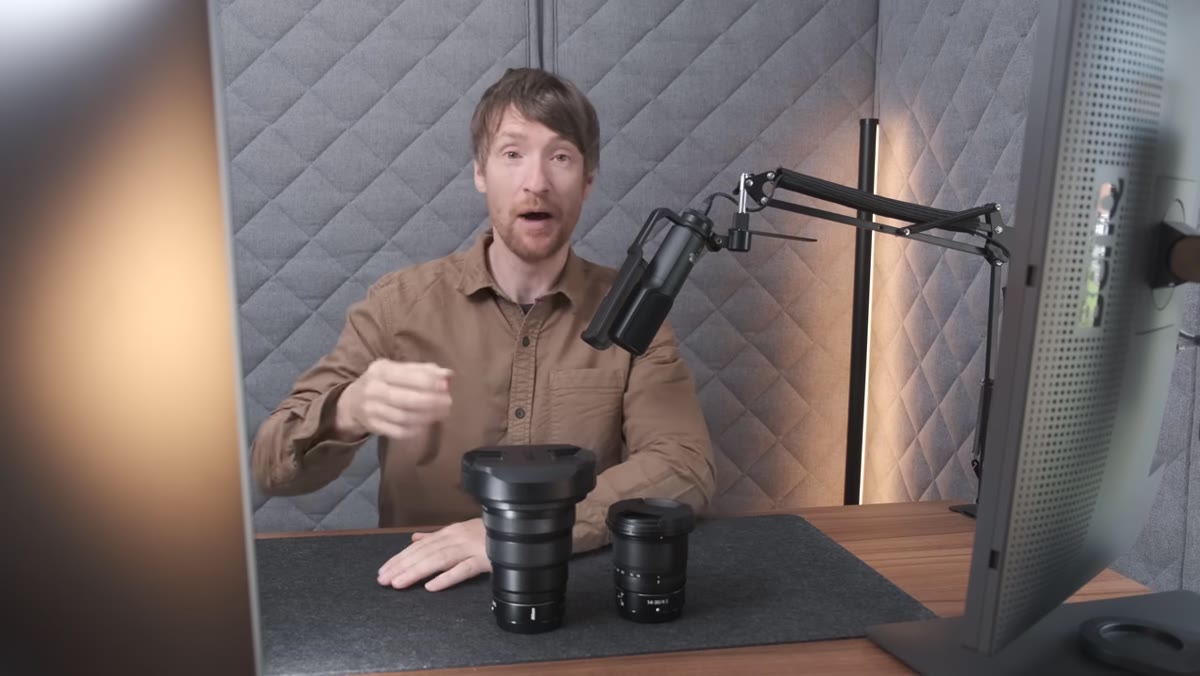 Thomas outlining his full Nikon Z system lens plan
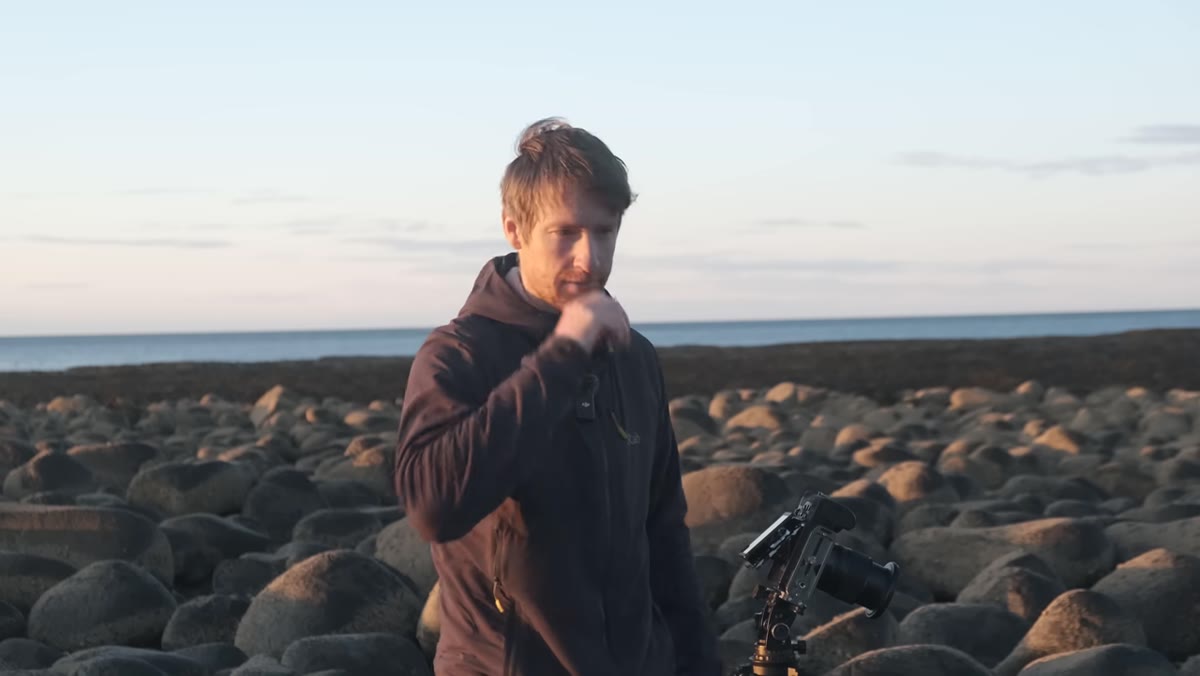
Before Heaton picks up either lens, he lays out the broader system context. He’s already committed to the Nikon Z8, a 24-70mm f/4, and a 100-400mm. The wide-angle slot is the last piece. That framing matters because it changes the calculus entirely. If you already carry a heavy telephoto zoom, saving 255 grams on your wide-angle lens is not a trivial consideration. Think about your full bag weight, not just individual lens specs in isolation.
Thomas outlining his full Nikon Z system lens plan
Before Heaton picks up either lens, he lays out the broader system context. He’s already committed to the Nikon Z8, a 24-70mm f/4, and a 100-400mm. The wide-angle slot is the last piece. That framing matters because it changes the calculus entirely. If you already carry a heavy telephoto zoom, saving 255 grams on your wide-angle lens is not a trivial consideration. Think about your full bag weight, not just individual lens specs in isolation.
Write down every lens you plan to carry on a typical shoot. Then add the camera body. If that total pushes past a comfortable carry weight for a multi-hour hike, the lighter option deserves serious consideration regardless of the spec sheet. I keep a spreadsheet for exactly this, and more than once the “inferior” lens won purely on weight math.
Step 2: Compare the Specs That Actually Affect Field Use
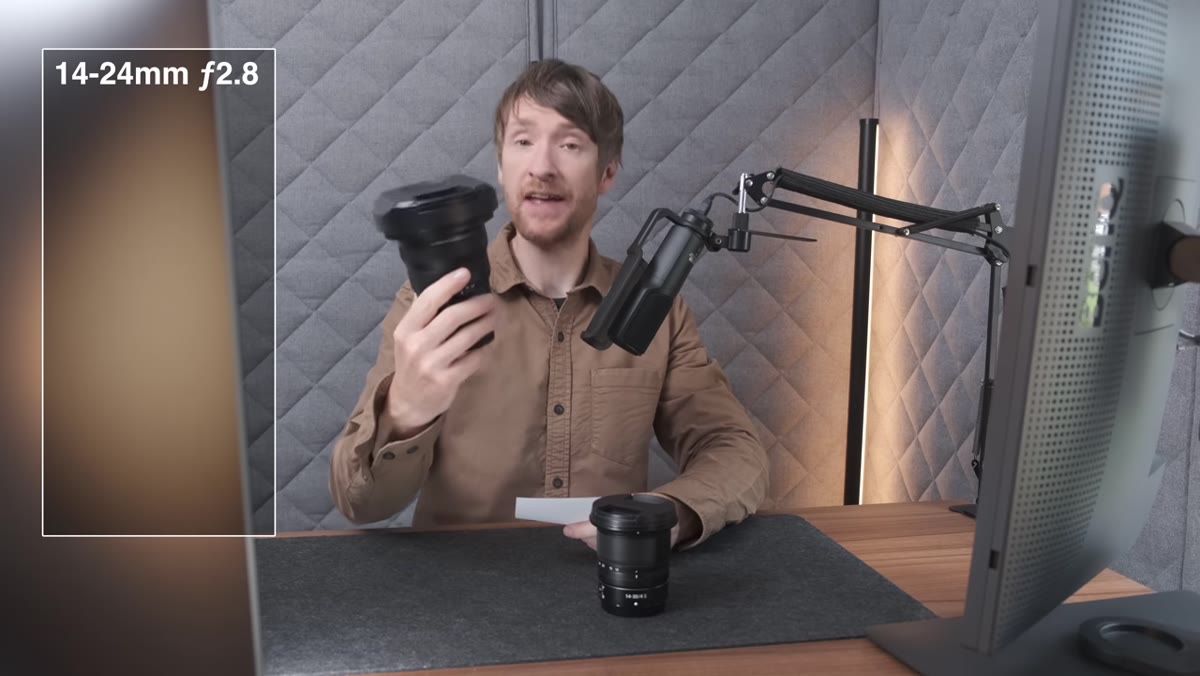 Side-by-side physical comparison of both lenses on a surface
The 14-24mm f/2.8 comes in at 780 grams and costs around 2,319 pounds. The 14-30mm f/4 is 525 grams and runs roughly 1,169 pounds. That’s a 255-gram weight difference and a 1,150-pound price difference. Heaton also notes that the 14-30mm gives you slightly more reach at the long end, which is a small but real bonus for flexible composition.
Side-by-side physical comparison of both lenses on a surface
The 14-24mm f/2.8 comes in at 780 grams and costs around 2,319 pounds. The 14-30mm f/4 is 525 grams and runs roughly 1,169 pounds. That’s a 255-gram weight difference and a 1,150-pound price difference. Heaton also notes that the 14-30mm gives you slightly more reach at the long end, which is a small but real bonus for flexible composition.
The two numbers that matter most for landscape work are weight and maximum aperture. If you shoot handheld in low light, that extra stop and a third from f/2.8 is significant. If you’re on a tripod at golden hour and shooting f/11, it is almost entirely irrelevant to final image quality. Know which photographer you actually are before you let aperture specs make the decision for you.
Step 3: Scout for Shadow Direction Before Setting Up a Wide-Angle Shot
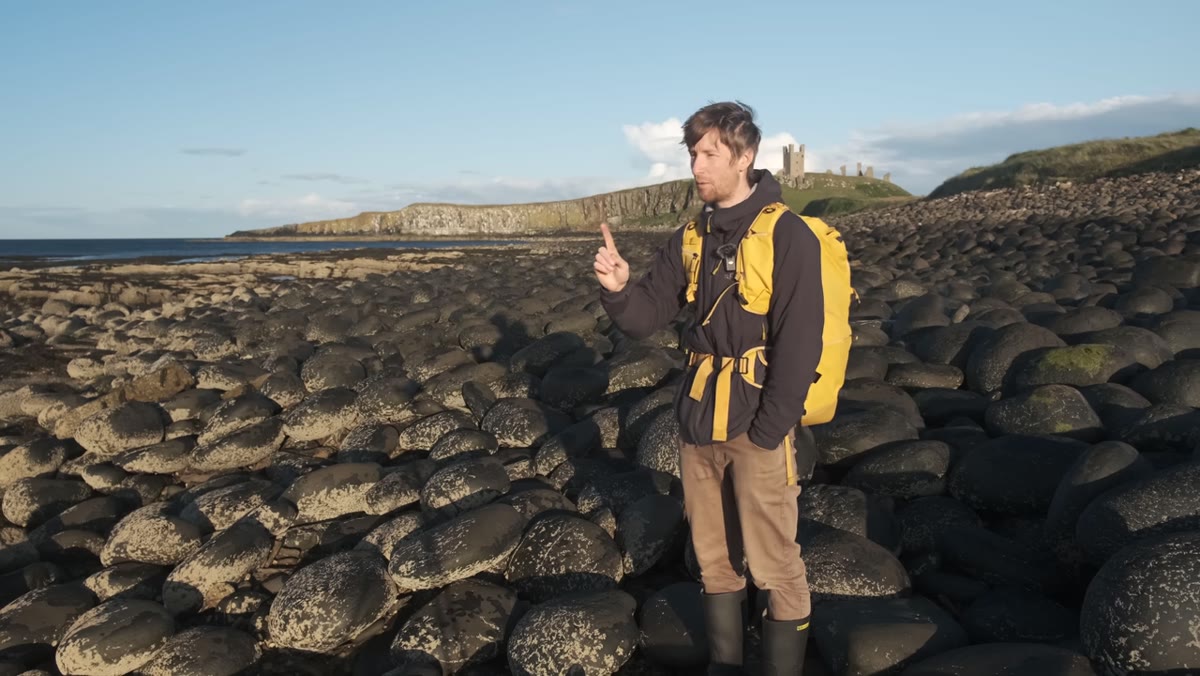 Thomas’s shadow falling across the boulder foreground
This is the part of the video that made me laugh because I’ve done the exact same thing. Heaton arrives at a stunning coastal location near Dunstanburgh Castle, conditions are perfect, and then he realizes the sun is directly behind him. With a wide-angle lens and a rocky foreground, his own shadow is baked into the frame. The location becomes unusable until the light shifts.
Thomas’s shadow falling across the boulder foreground
This is the part of the video that made me laugh because I’ve done the exact same thing. Heaton arrives at a stunning coastal location near Dunstanburgh Castle, conditions are perfect, and then he realizes the sun is directly behind him. With a wide-angle lens and a rocky foreground, his own shadow is baked into the frame. The location becomes unusable until the light shifts.
When shooting ultra-wide, you are capturing so much of the scene around you that your own body becomes a compositional hazard. Before you set up your tripod, stand behind where your camera will be and look at the ground in front of you. If your shadow falls into your foreground, either wait for the sun to move, reframe to exclude the shadow, or reposition your shooting angle entirely. This is especially critical with low sun angles at golden hour, which is precisely when wide-angle landscape work looks its best.
Step 4: Be Deliberate About Tripod Leg Placement at Ultra-Wide Focal Lengths
 Tripod legs visible in the corner of a wide-angle test frame
Heaton catches his own tripod legs in the shot while composing the test images. It’s an easy mistake and one that wide-angle shooters make constantly, including experienced ones. The field of view at 14mm is so expansive that the legs of a standard tripod spread will clip the bottom corners of your frame if you’re not paying attention.
Tripod legs visible in the corner of a wide-angle test frame
Heaton catches his own tripod legs in the shot while composing the test images. It’s an easy mistake and one that wide-angle shooters make constantly, including experienced ones. The field of view at 14mm is so expansive that the legs of a standard tripod spread will clip the bottom corners of your frame if you’re not paying attention.
Before triggering the shutter, physically scan all four corners of your live view or viewfinder. Look specifically at the bottom corners where tripod legs are most likely to intrude. Some photographers splay two legs forward and one back to push the front legs just outside the frame edges. Experiment with your specific tripod to find the spread angle that keeps legs clear at your widest focal length.
Step 5: Treat Every Inch of Camera Movement as a Composition Decision at 14mm
 Thomas micro-adjusting camera position over the boulder foreground
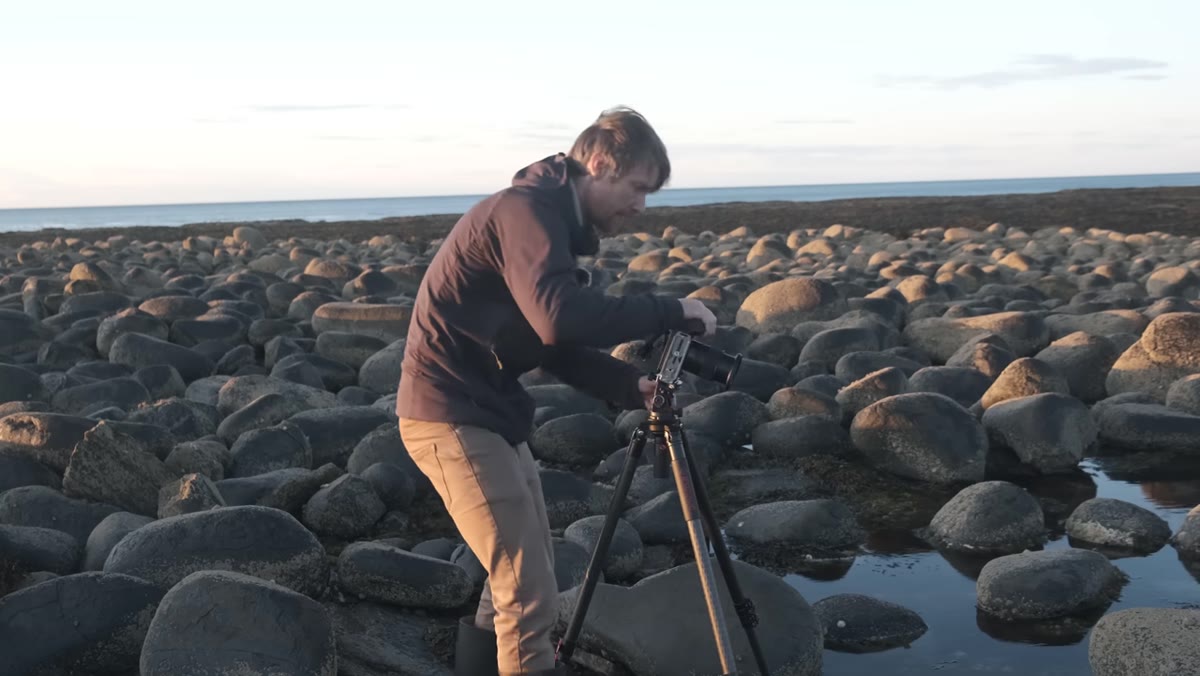
Heaton makes a point that I think gets underestimated by photographers coming from longer focal lengths. At 14mm, moving your camera even one inch changes the entire relationship between foreground elements and the background. A rock that was centered becomes edge-weighted. A leading line that worked now points somewhere irrelevant.
Thomas micro-adjusting camera position over the boulder foreground
Heaton makes a point that I think gets underestimated by photographers coming from longer focal lengths. At 14mm, moving your camera even one inch changes the entire relationship between foreground elements and the background. A rock that was centered becomes edge-weighted. A leading line that worked now points somewhere irrelevant.
This means you can’t rough-in your composition and fine-tune it with framing adjustments the way you might at 35mm or 50mm. You have to think about your exact camera placement first. Crawl around. Get low. Find the precise position before you ever extend the tripod. Then lock everything down and verify the composition again before shooting. Wide-angle landscape photography rewards patience at the setup stage in a way that makes a real difference in the final image.
What I’d Add From My Own Testing
The f/2.8 versus f/4 debate at the wide-angle end almost always resolves in favor of the slower, lighter lens for anyone who shoots primarily from a tripod in decent light. The one exception I’ve found is astrophotography. If you’re shooting the Milky Way over a landscape, that extra stop and a third at f/2.8 is the difference between a usable shot and a blurry mess trying to compensate with ISO. If night sky work is part of your regular shooting, the premium lens earns its price. If it isn’t, the 14-30mm f/4 is almost certainly the smarter buy.
I’ve run enough comparison tests at f/11 between budget and premium glass to know that stopped-down landscape shots are where the price gap closes fastest. The real-world difference in a properly exposed, tripod-stabilized image at f/11 is smaller than most photographers expect and smaller than most reviewers admit.
The single most valuable takeaway from this Heaton comparison is the weight-based framing. When you’re building a system rather than buying one lens in isolation, the 255-gram saving on the wide-angle slot might be exactly what keeps your bag manageable over a full day of shooting. That’s not settling. That’s smart system design.
Watch the full tutorial on YouTube to see the actual field footage and Heaton’s full reasoning as it unfolded in real shooting conditions.
Comments
Leave a Comment