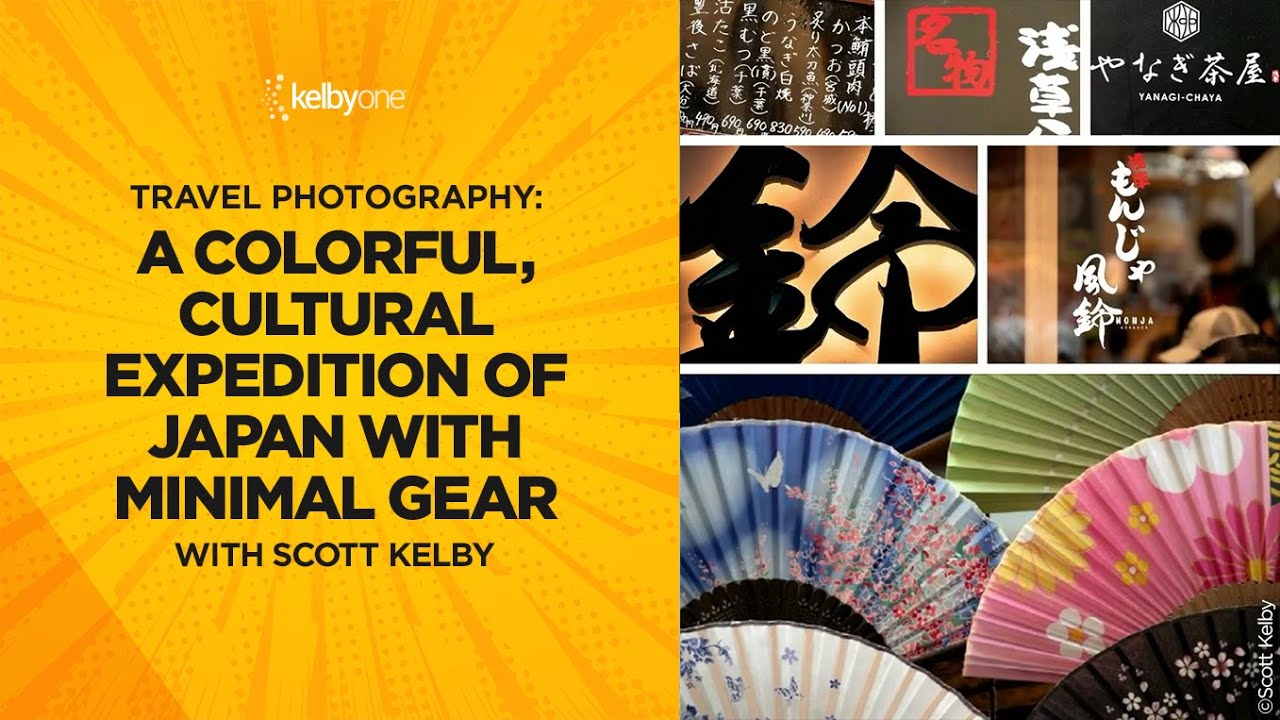
There’s a version of travel photography that requires a rolling carry-on full of bodies, lenses, filters, and backup batteries. I know that version well because I spent about two years convinced it was the only way to come home with serious images. Then I watched photographers I respected keep showing up with one small bag and leaving with better shots than mine. The math stopped adding up.
In this KelbyOne tutorial, Scott Kelby walks through an entire Japan expedition and the gear list is almost offensively short: one mirrorless camera, one lens, and an iPhone. No tripod. No camera bag. What makes the video worth studying isn’t just the gear list itself, it’s the specific decisions behind every shot and why that stripped-down kit didn’t cost him anything creatively. Watch the full tutorial on YouTube
I’ve run a version of this experiment myself. My most-shared article ever was about a $12 accessory that outperformed a $200 name-brand product. The response told me something real: people are hungry for proof that restraint works. Kelby’s Japan trip is a masterclass in that restraint, and the techniques translate directly to wherever you’re shooting next.
Step 1: Commit to One Zoom and Leave the Bag Behind
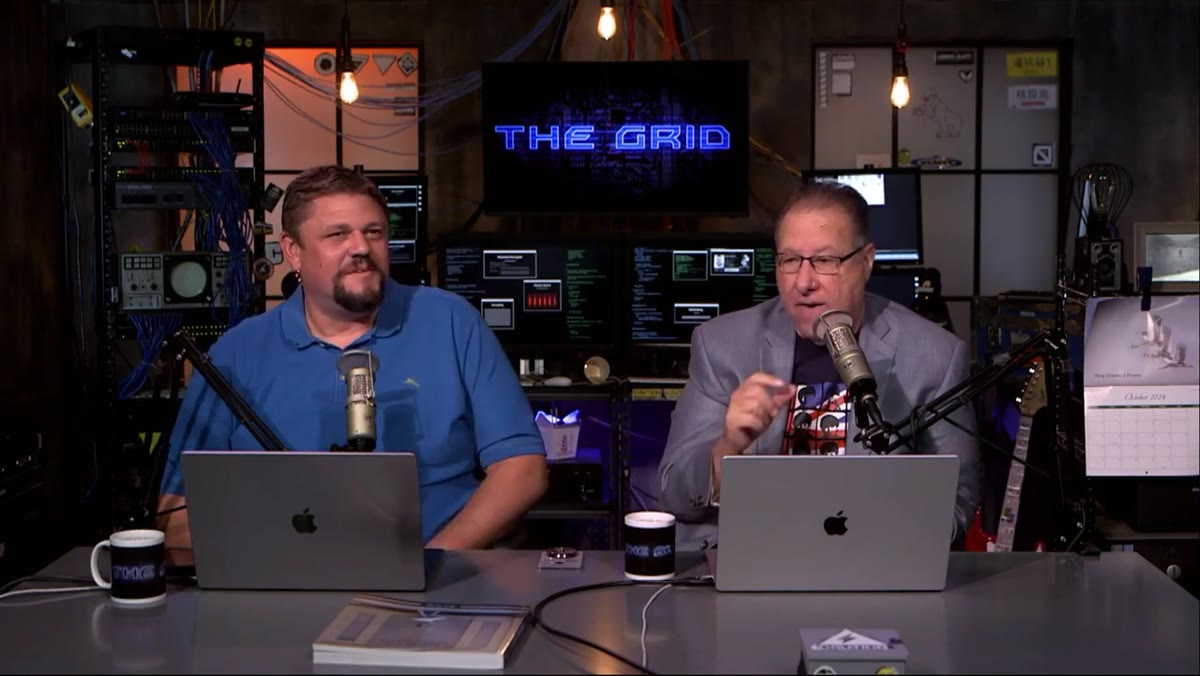
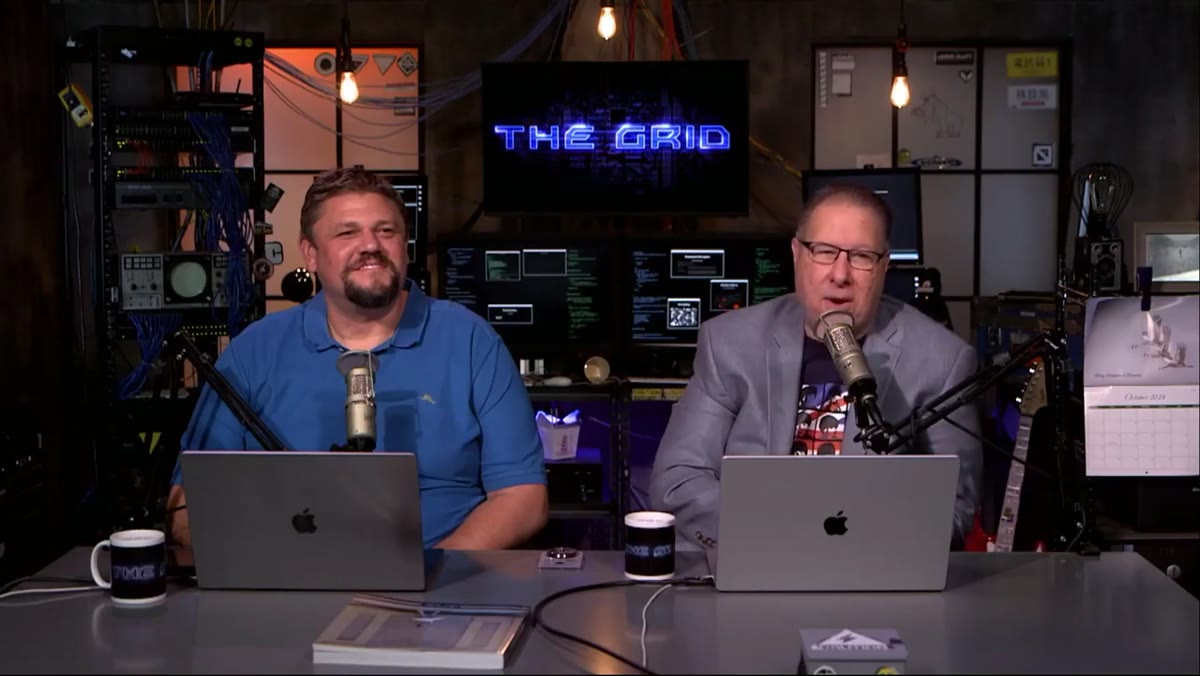 Scott Kelby describing his Canon R6 Mark II and single lens setup
Kelby shot the entire trip on a Canon R6 Mark II paired with a 24-240mm lens, and the choice wasn’t accidental. That single lens covers wide environmental shots, compressed street scenes, and everything in between without a single swap. At $799, it’s not a budget lens, but when you factor in not buying a second or third prime to cover those focal lengths, it’s a reasonable trade. The real payoff is behavioral: when you’re not managing a bag, you move faster, you blend in more, and you actually shoot more.
Scott Kelby describing his Canon R6 Mark II and single lens setup
Kelby shot the entire trip on a Canon R6 Mark II paired with a 24-240mm lens, and the choice wasn’t accidental. That single lens covers wide environmental shots, compressed street scenes, and everything in between without a single swap. At $799, it’s not a budget lens, but when you factor in not buying a second or third prime to cover those focal lengths, it’s a reasonable trade. The real payoff is behavioral: when you’re not managing a bag, you move faster, you blend in more, and you actually shoot more.
He never carried a camera bag on a single outing. Just a strap, the body, and that one lens. If you’re used to hauling gear, this feels irresponsible at first. But most missed shots happen because the camera was buried in a bag or you were too conspicuous to raise it in time. One camera on a strap solves both problems.
Step 2: Use Your Phone as Your Ultra-Wide Lens
 Wide shot captured on iPhone at Shibuya crossing showing escalators and mirrors
Kelby’s second camera was already in his pocket. When a scene called for something wider than 24mm, he went straight to his iPhone’s 13mm equivalent. This is a legitimate two-camera system, and it costs nothing extra if you already own a modern smartphone. The important thing is treating it intentionally, not as a backup for when the real camera is out of battery, but as a deliberate tool for specific focal lengths.
Wide shot captured on iPhone at Shibuya crossing showing escalators and mirrors
Kelby’s second camera was already in his pocket. When a scene called for something wider than 24mm, he went straight to his iPhone’s 13mm equivalent. This is a legitimate two-camera system, and it costs nothing extra if you already own a modern smartphone. The important thing is treating it intentionally, not as a backup for when the real camera is out of battery, but as a deliberate tool for specific focal lengths.
The shots he flagged as “ultra-wide” came exclusively from the phone. The mirrorless handled everything else. Knowing in advance which tool handles which job means you’re not standing in front of a scene fumbling with a decision. That’s the part most people miss when they debate whether phone cameras are “good enough.” The question isn’t quality in isolation, it’s fitness for purpose in the moment.
Step 3: Shoot Graphic and Colorful Details as a Collection
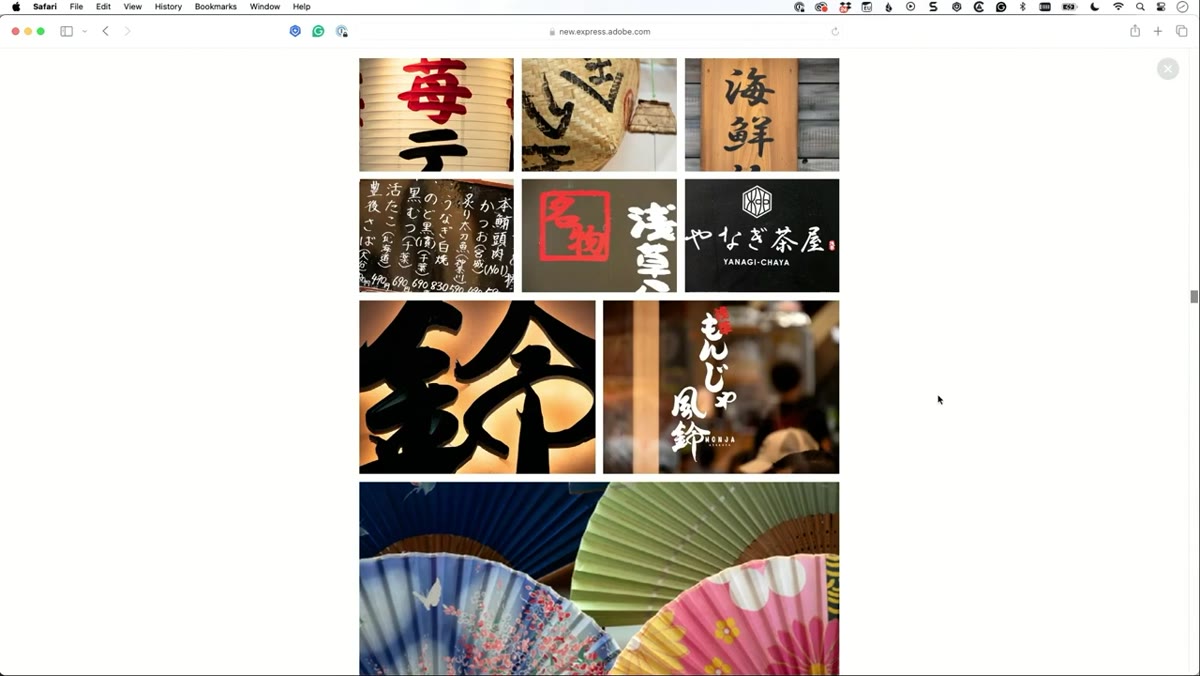 Colorful market goods photographed in graphic, flat style
Not every shot has to be a hero image. Kelby made a deliberate practice of photographing colorful, graphic details throughout a market and grouping them together rather than treating each one as a standalone frame. Colors, patterns, textures, signs. These work as a series in a way they never would individually.
Colorful market goods photographed in graphic, flat style
Not every shot has to be a hero image. Kelby made a deliberate practice of photographing colorful, graphic details throughout a market and grouping them together rather than treating each one as a standalone frame. Colors, patterns, textures, signs. These work as a series in a way they never would individually.
The practical instruction here is to give yourself permission to collect shots rather than hunt for one perfect one. Walk through a market and shoot everything that catches your eye from a color or shape standpoint. Don’t edit in the field. Let the edit happen later when you can see them side by side. What feels like a random assortment while you’re shooting often becomes a coherent visual story when you lay them out together.
Step 4: Wait Out the Crowds Instead of Fighting Them
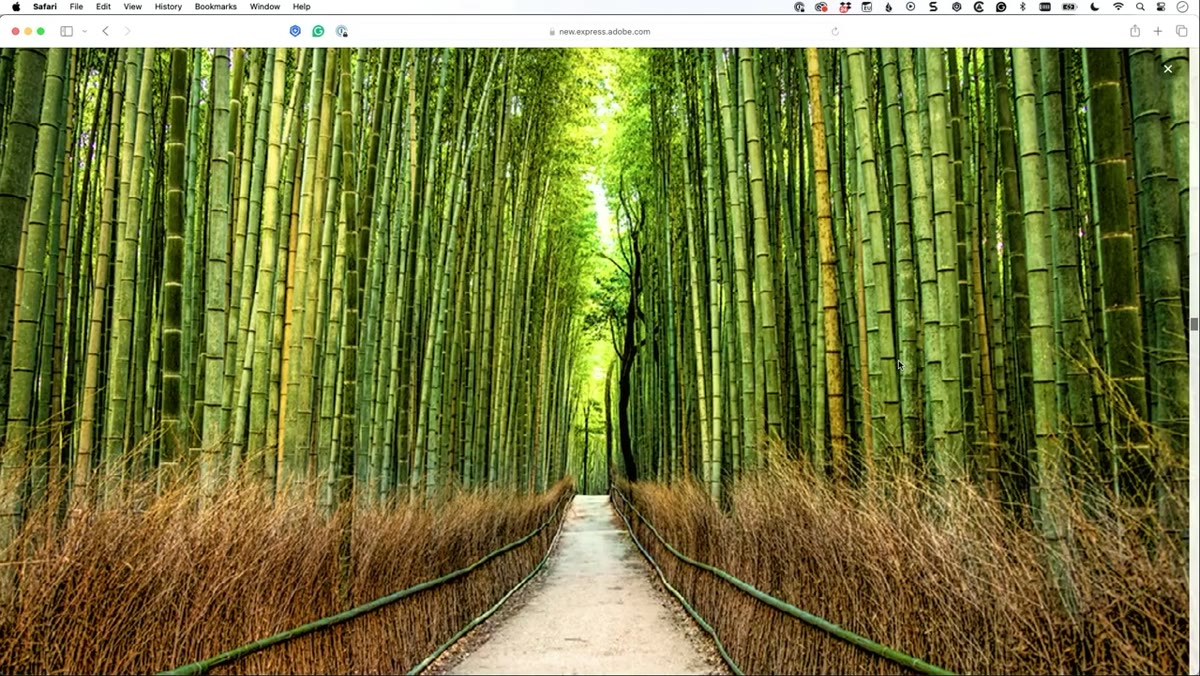 Bamboo forest shot appearing nearly empty despite being packed with tourists
The bamboo forest in Kyoto is one of the most photographed spots in Japan, and it shows. Kelby wanted a clean shot and couldn’t get the path completely empty, so he stood there and waited until the crowd thinned enough that a couple of remaining people could be removed in post. That’s the actual technique: patience first, Photoshop second.
Bamboo forest shot appearing nearly empty despite being packed with tourists
The bamboo forest in Kyoto is one of the most photographed spots in Japan, and it shows. Kelby wanted a clean shot and couldn’t get the path completely empty, so he stood there and waited until the crowd thinned enough that a couple of remaining people could be removed in post. That’s the actual technique: patience first, Photoshop second.
The remove-people-in-post approach works best when you shoot multiple frames from a static position as people move through the frame. Different people are in different spots in each frame, and compositing or content-aware tools can fill in the gaps. The shot that looks effortlessly serene is usually the result of ten minutes of standing very still.
Step 5: Read the Crowd Flow to Find the Empty Side
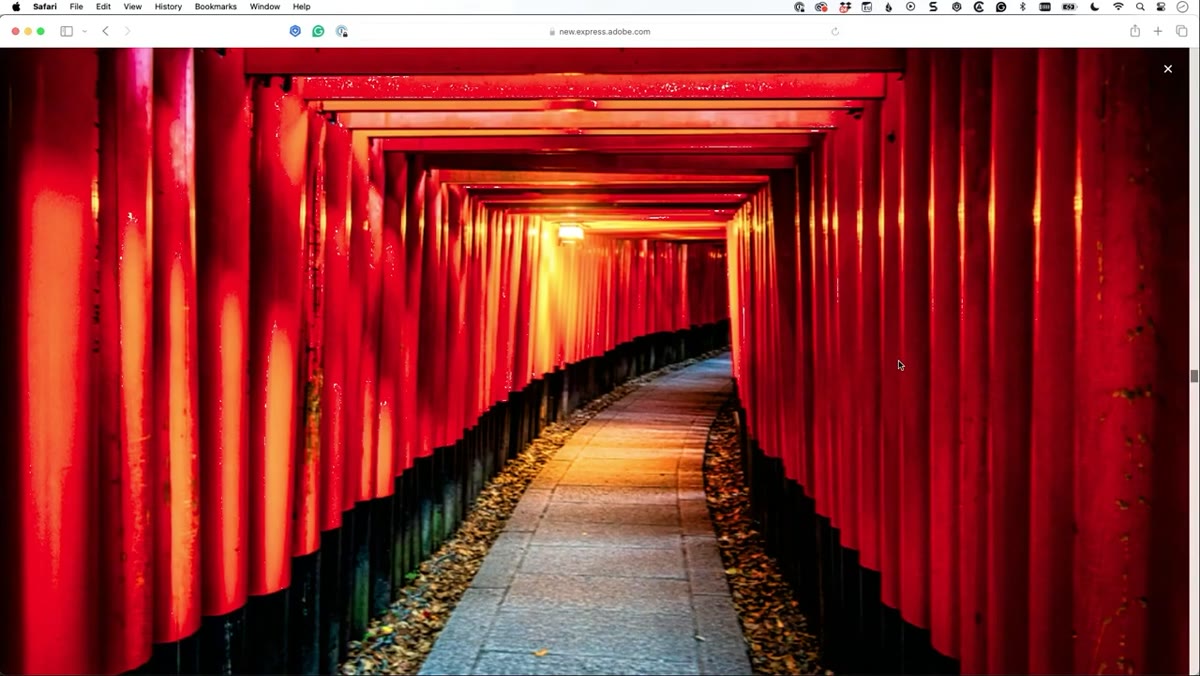 Red torii gate path showing the empty left side versus busy right side
At Fushimi Inari, the famous thousand-torii-gate path, Kelby noticed that crowd control signs pushed everyone to the right. The right side was packed. The left side coming back was nearly empty because most people walk to the end and return without turning around. He positioned himself on the left-side return path and got a clean shot in the middle of a packed tourist day.
Red torii gate path showing the empty left side versus busy right side
At Fushimi Inari, the famous thousand-torii-gate path, Kelby noticed that crowd control signs pushed everyone to the right. The right side was packed. The left side coming back was nearly empty because most people walk to the end and return without turning around. He positioned himself on the left-side return path and got a clean shot in the middle of a packed tourist day.
This is an underused skill: reading how people move through a space and finding the gaps. Every heavily trafficked location has a flow pattern with dead zones. Bus stops, crosswalks, temple paths, train platforms. Study where people aren’t going and set up there. It’s more reliable than arriving at 5 a.m., though that works too.
Step 6: Interact with Your Subject to Create the Moment
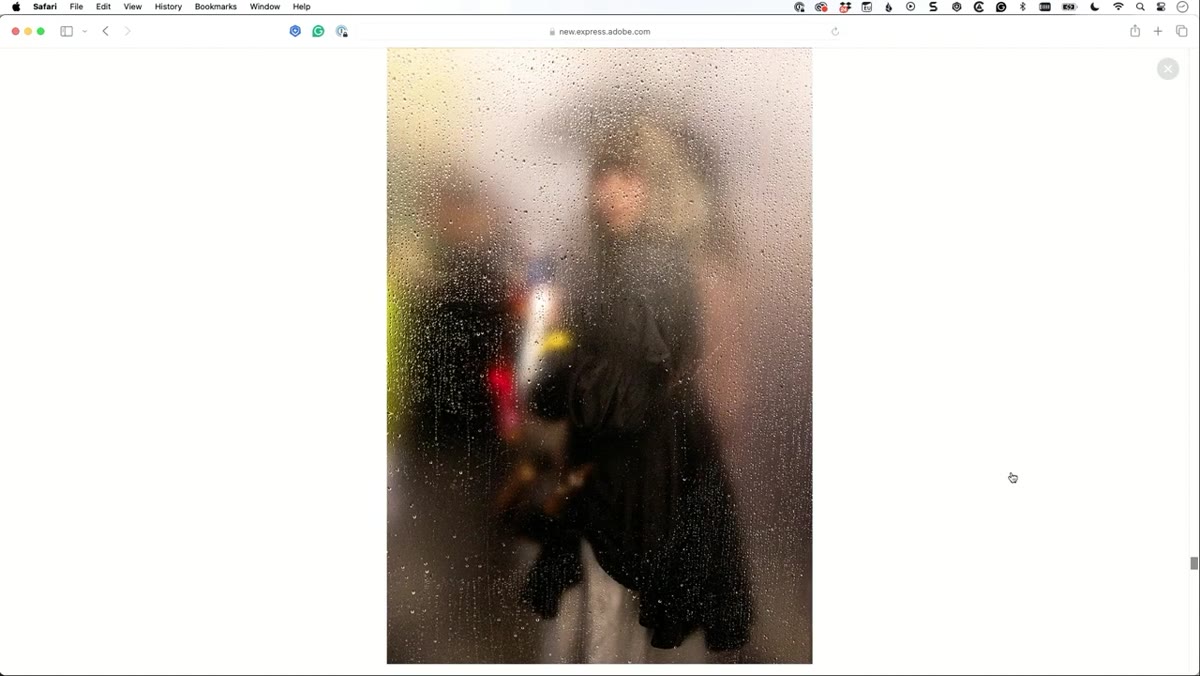 Woman at bus stop turning toward camera after Kelby knocked on the glass
At a bus stop in Shibuya, everyone was facing away from the street. Kelby pre-framed the shot, then knocked on the glass to get one woman to turn around. She did. He fired. The interaction created the image. This only works if you’ve already composed and set exposure before you trigger the moment, because the window is about one second wide.
Woman at bus stop turning toward camera after Kelby knocked on the glass
At a bus stop in Shibuya, everyone was facing away from the street. Kelby pre-framed the shot, then knocked on the glass to get one woman to turn around. She did. He fired. The interaction created the image. This only works if you’ve already composed and set exposure before you trigger the moment, because the window is about one second wide.
The lesson is that street photography doesn’t have to be purely observational. A small, polite interaction can produce a far stronger image than waiting passively for the right expression to appear. Know your frame, know your settings, then act. The camera should be ready before the moment, not during it.
What I’d Add: Know Your Lens’s Limits Before You Travel
I’ve tested a lot of all-in-one superzooms on my lens comparison spreadsheet, and they all share the same trade-off: optical compromises at the extremes, especially wide open at the long end. The 24-240 Kelby used is one of the better ones in that range, but if you’re going to replicate this setup, shoot a few test frames at 200mm and 240mm before your trip to know exactly what you’re working with. Understanding where your specific lens softens or vignettes means you won’t be surprised when you get home and open Lightroom.
The one-lens approach works best when you’ve internalized your tool’s personality. Kelby has shot that lens enough to know its limits without thinking. That fluency is what lets him move fast.
The single most important idea from this video is that creative constraints force better decisions. One lens means you move your feet. No bag means you stay mobile. Knowing your phone handles ultra-wide means you never hesitate. Every limitation Kelby imposed on himself made him a faster, more decisive shooter, and the images show it.
Watch the full tutorial on YouTube and pay attention to how rarely he talks about what he wishes he’d brought. That absence says everything.
Comments
Leave a Comment