
I’ve been on a mission for years to find the lens that makes a case for leaving everything else at home. Not because I’m lazy, but because carrying two or three lenses to a shoot introduces friction, and friction kills spontaneity. Every time you swap glass, you risk missing a moment, introducing dust, or just hesitating when you should be shooting. So when I heard Tony and Chelsea Northrup were putting the Tamron 25-200mm f/2.8-5.6 through its paces, I cleared my morning and watched the whole thing. Watch the full tutorial on YouTube before or after reading this breakdown.
What they found lines up with something I’ve believed since I shot a published wedding on a budget kit most photographers would laugh at: the best gear is the gear that’s actually on you. A $3,000 lens in your bag beats nothing, but a $900 lens on your camera beats both. The Tamron 25-200mm is making a real argument that it could replace a 24-70 and a 70-200 as a single, always-mounted solution, and the case is more compelling than I expected.
Here’s what Tony and Chelsea actually tested, what it means in practice, and where I’d push their findings a step further.
Step 1: Understand What You’re Actually Holding
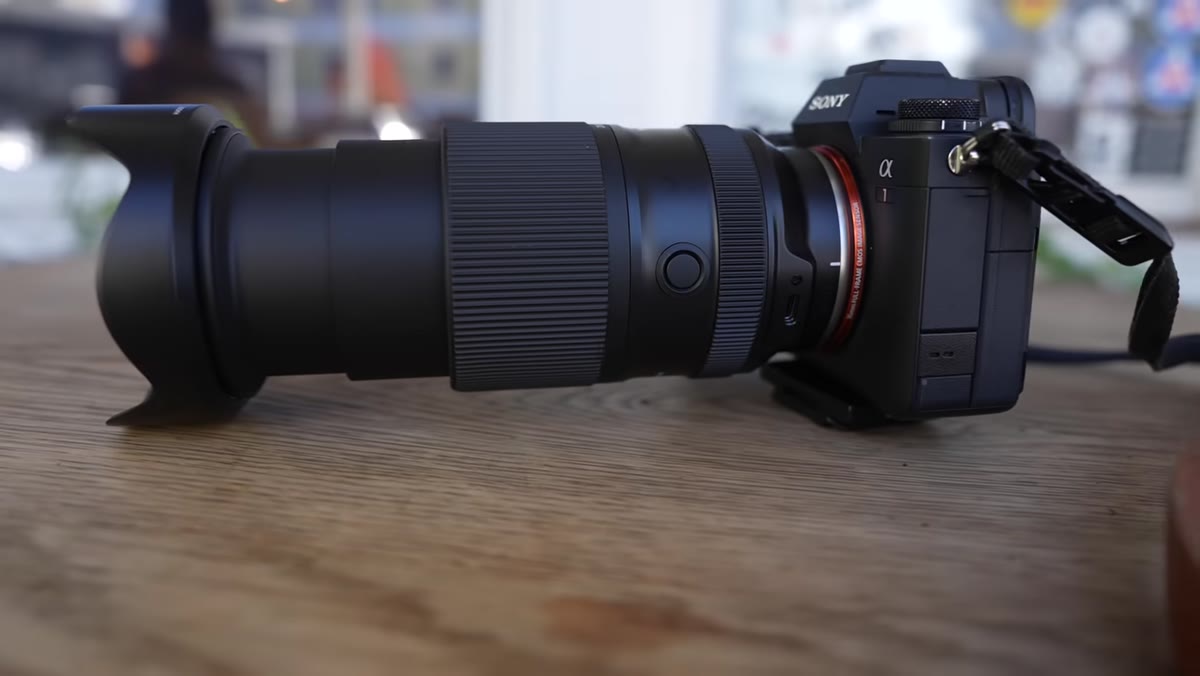 First impression of the lens against Tony’s hand for scale
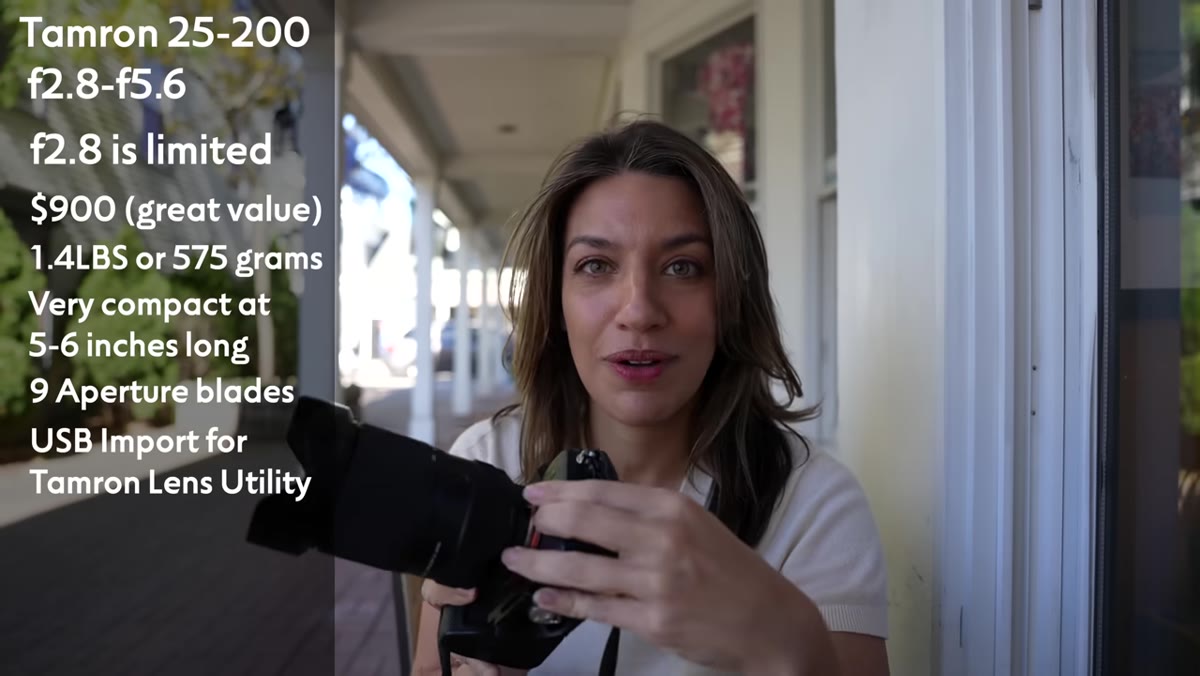
Before you can evaluate a lens, you need to understand its physical proposition. The Tamron 25-200mm weighs just over a pound and measures around five inches long. For a lens that stretches from near-wide-angle to serious telephoto, that’s genuinely compact. Tony notes it doesn’t feel hollow or cheap despite the weight, which matters because light gear that rattles and flexes is a liability. The minimalist design, one programmable button and a zoom lock, means there’s less to go wrong and less to fumble with in the field.
First impression of the lens against Tony’s hand for scale
Before you can evaluate a lens, you need to understand its physical proposition. The Tamron 25-200mm weighs just over a pound and measures around five inches long. For a lens that stretches from near-wide-angle to serious telephoto, that’s genuinely compact. Tony notes it doesn’t feel hollow or cheap despite the weight, which matters because light gear that rattles and flexes is a liability. The minimalist design, one programmable button and a zoom lock, means there’s less to go wrong and less to fumble with in the field.
The grip texture on the zoom ring is aggressive enough that you can operate it confidently even in bad conditions. That’s not a small detail. If you’ve ever tried to zoom a slippery barrel while wearing gloves or shooting in light rain, you know how much a well-designed grip actually matters to your keepers-per-session ratio.
Step 2: Know the Real Aperture Story
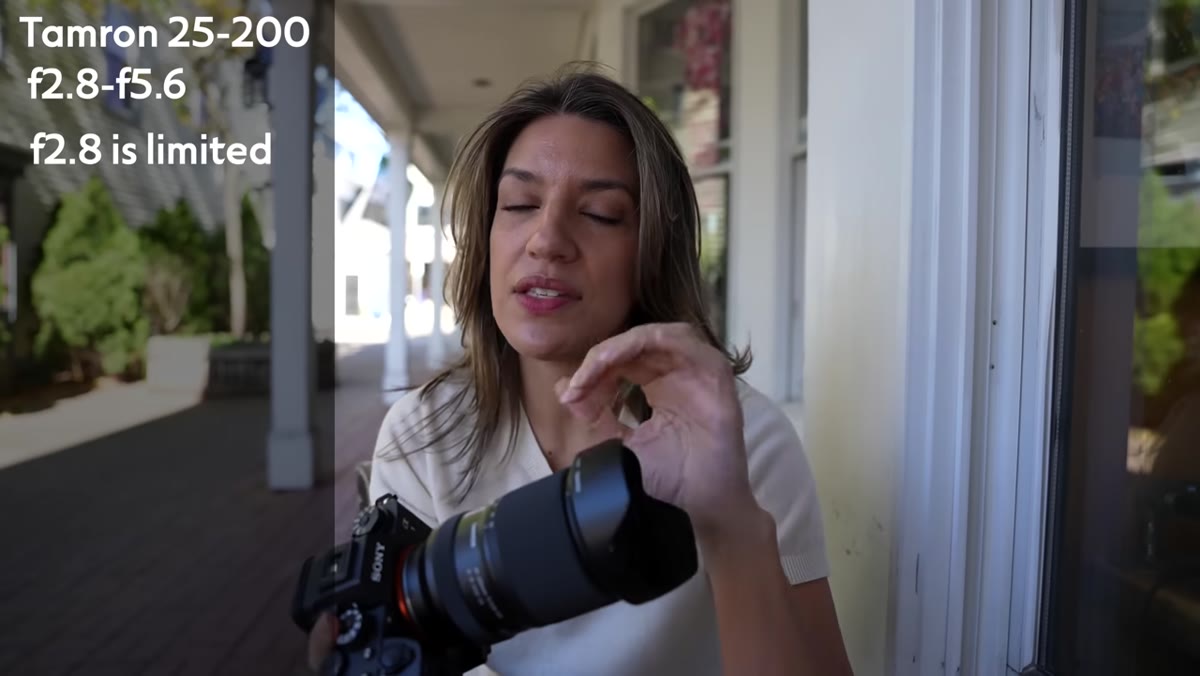 Lens specs displayed showing f/2.8 to f/5.6 range
The lens is marketed as f/2.8 to f/5.6, and you need to understand what that actually means before you build your workflow around it. You only get f/2.8 in the 25-35mm range. Push past roughly 35mm and the maximum aperture steps down, reaching f/5.6 by the time you’re at the long end. This is standard variable-aperture zoom behavior, not a flaw, but it’s worth internalizing before you try to shoot a dimly lit reception at 150mm expecting f/2.8.
Lens specs displayed showing f/2.8 to f/5.6 range
The lens is marketed as f/2.8 to f/5.6, and you need to understand what that actually means before you build your workflow around it. You only get f/2.8 in the 25-35mm range. Push past roughly 35mm and the maximum aperture steps down, reaching f/5.6 by the time you’re at the long end. This is standard variable-aperture zoom behavior, not a flaw, but it’s worth internalizing before you try to shoot a dimly lit reception at 150mm expecting f/2.8.
The practical takeaway is this: plan your low-light shots at the wide end, and lean on the telephoto reach for daytime compression and subject isolation where light is plentiful. Nine aperture blades mean the bokeh at longer focal lengths is still smooth and round, so you’re not trading subject separation entirely, just managing your expectations around light gathering.
Step 3: Run an Image Quality Reality Check
 Test chart comparison across focal lengths on screen
Tony tested sharpness from 25mm all the way to 200mm using test charts, and the results held up well across the board. Center sharpness is strong at every focal length. Edge sharpness falls off somewhat, which is common with superzoom designs, but the falloff stays in “usable and looks good in real-world shots” territory rather than falling apart. He also compared it directly to a Sony 70-200mm that costs more than three times as much. The Sony wins on sharpness, but the Tamron is not embarrassed by the comparison.
Test chart comparison across focal lengths on screen
Tony tested sharpness from 25mm all the way to 200mm using test charts, and the results held up well across the board. Center sharpness is strong at every focal length. Edge sharpness falls off somewhat, which is common with superzoom designs, but the falloff stays in “usable and looks good in real-world shots” territory rather than falling apart. He also compared it directly to a Sony 70-200mm that costs more than three times as much. The Sony wins on sharpness, but the Tamron is not embarrassed by the comparison.
He shot high-contrast scenes looking for chromatic aberration, specifically color fringing along backlit edges, and found the lens cleaner than expected. He also tested the starburst rendering at stopped-down apertures using nine-blade geometry, and found the results genuinely attractive. For $900, the optical performance here is not a compromise you’re white-knuckling through. It’s legitimately good.
Step 4: Test the Macro Capability
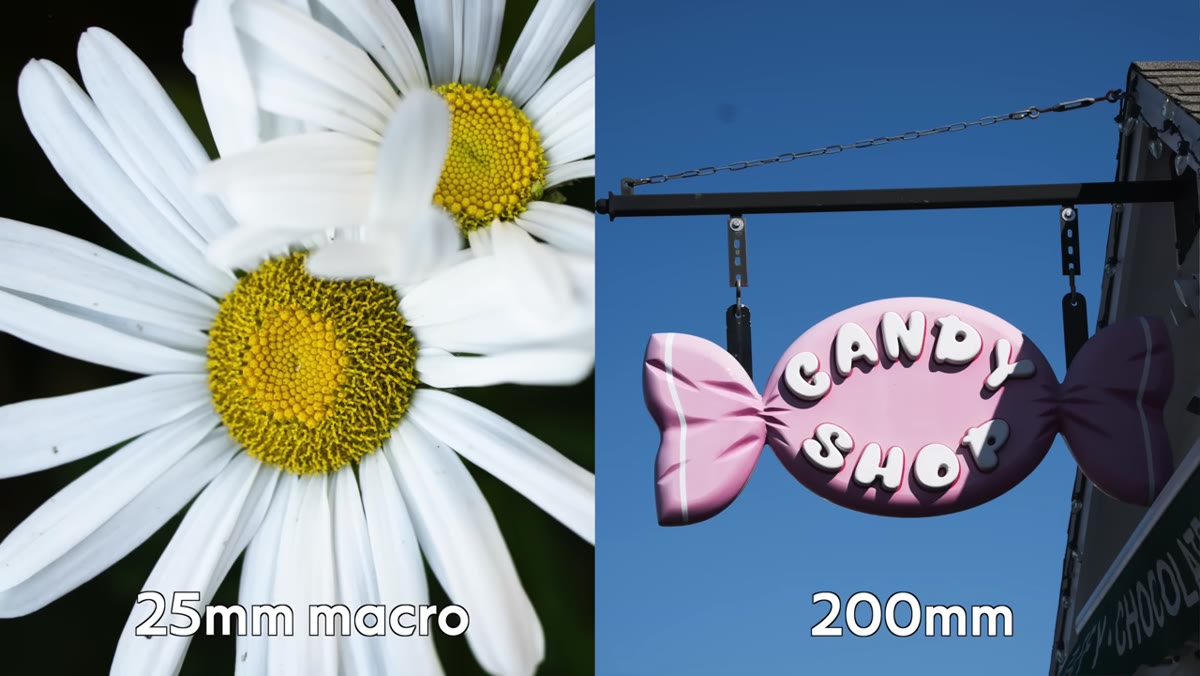
 Close-up macro shots of flowers and bees in the frame
Tamron is calling this a half-macro lens, meaning it achieves roughly 1:2 magnification rather than the 1:1 you’d get from a dedicated macro lens. At 25mm, you can focus from just about six inches away from the front of the lens. That’s close enough to fill your frame with a flower, a product, or an insect without any additional adapters or extension tubes.
Close-up macro shots of flowers and bees in the frame
Tamron is calling this a half-macro lens, meaning it achieves roughly 1:2 magnification rather than the 1:1 you’d get from a dedicated macro lens. At 25mm, you can focus from just about six inches away from the front of the lens. That’s close enough to fill your frame with a flower, a product, or an insect without any additional adapters or extension tubes.
This might be the single most underrated feature for photographers who occasionally want macro capability but don’t want to carry a dedicated lens. The magnification caps out below true macro, yes, but for social media, editorial, or product work, 1:2 is more than enough to tell a compelling close-up story. Build this into your shooting day as a bonus capability, not an afterthought.
Step 5: Use the USB-C Port Correctly
 USB-C port visible on the lens barrel in close-up
There’s a USB-C port on the barrel, and it has nothing to do with charging the autofocus motor or anything like that. It exists solely for firmware updates, allowing you to update the lens directly from a computer without routing anything through the camera body. This is a quality-of-life feature that matters more than it sounds.
USB-C port visible on the lens barrel in close-up
There’s a USB-C port on the barrel, and it has nothing to do with charging the autofocus motor or anything like that. It exists solely for firmware updates, allowing you to update the lens directly from a computer without routing anything through the camera body. This is a quality-of-life feature that matters more than it sounds.
Firmware updates on lenses can improve autofocus behavior, fix edge-case bugs, or add compatibility with new camera bodies. When that port is on the lens, you don’t need to track down a compatible camera or navigate three menus to run the update. Plug it in from your laptop, update in two minutes, and move on. It’s a feature that signals Tamron is building this lens for real working photographers who will actually use and maintain their gear over time.
Step 6: Evaluate Whether It Actually Replaces Two Lenses
 Side-by-side conceptual question framing at video open
The honest answer is: it depends on what you shoot. If your two-lens kit is a 24-70 f/2.8 and a 70-200 f/2.8, both constant aperture, and you shoot events in low light all night, no single variable-aperture superzoom replaces that. But if you’re a travel shooter, a content creator, a portrait photographer who works outdoors, or someone who shoots family events and wants to stop hauling a backpack full of glass, the Tamron 25-200mm absolutely covers the range and delivers quality you can show clients without apology.
Side-by-side conceptual question framing at video open
The honest answer is: it depends on what you shoot. If your two-lens kit is a 24-70 f/2.8 and a 70-200 f/2.8, both constant aperture, and you shoot events in low light all night, no single variable-aperture superzoom replaces that. But if you’re a travel shooter, a content creator, a portrait photographer who works outdoors, or someone who shoots family events and wants to stop hauling a backpack full of glass, the Tamron 25-200mm absolutely covers the range and delivers quality you can show clients without apology.
The weight savings and convenience factor are real and they compound across a full shoot day. Fatigue affects your shooting. Simpler decisions mean more time actually looking through the viewfinder.
My Caveat: What the Review Doesn’t Tell You About Budget Shooters
I keep a running spreadsheet of every budget lens I’ve tested, and one thing it’s taught me is that convenience lenses live and die on autofocus performance in mixed lighting. Tony’s review covers optical quality thoroughly, but if you’re coming from a kit lens background, test the AF on your specific camera body before you commit. Tamron’s autofocus tuning varies by mount, and a lens that tracks beautifully on one Sony body might hunt slightly on another. Use the USB-C port to make sure you’re on the latest firmware before you draw any conclusions, because early builds on budget superzooms often have AF quirks that get ironed out in updates.
At $900, the Tamron 25-200mm is one of the most convincing single-lens arguments I’ve seen in this price range. It won’t replace every specialist tool, but for the shooter who wants to carry less and shoot more, it deserves a serious look.
Watch the full tutorial on YouTube to see Tony and Chelsea’s real-world sample shots and direct comparisons.
Comments
Leave a Comment