
I spend a lot of time thinking about gear in terms of price-to-performance ratios. Spreadsheets, deal alerts, comparison tests. What I don’t spend enough time thinking about is how fast all of that gear can disappear, get left behind, or fall through the cracks of a chaotic shoot day. That blind spot got a reality check when I sat down with this video from Jessica Kobeissi, where she reacts to real horror stories submitted by photographers. Watch the full tutorial on YouTube
These aren’t hypotheticals. These are working photographers losing $20,000 in gear overnight, leaving camera bags on the ground in remote locations, and realizing mid-airport that their camera is sitting in a parking lot. The stories are equal parts painful and instructive. And honestly, some of the lessons here matter a lot more if you’re shooting with budget gear, because replacing a $200 lens hurts a lot less than replacing a $1,500 one.
What I pulled from this video isn’t just sympathy for other photographers’ bad days. It’s a practical checklist I’ve since wired into how I prep for any shoot outside my apartment. Here’s how to build those same habits, step by step.
Step 1: Do a Physical Gear Check Before You Leave Any Location
 Photographer realizing camera bag was left on the ground
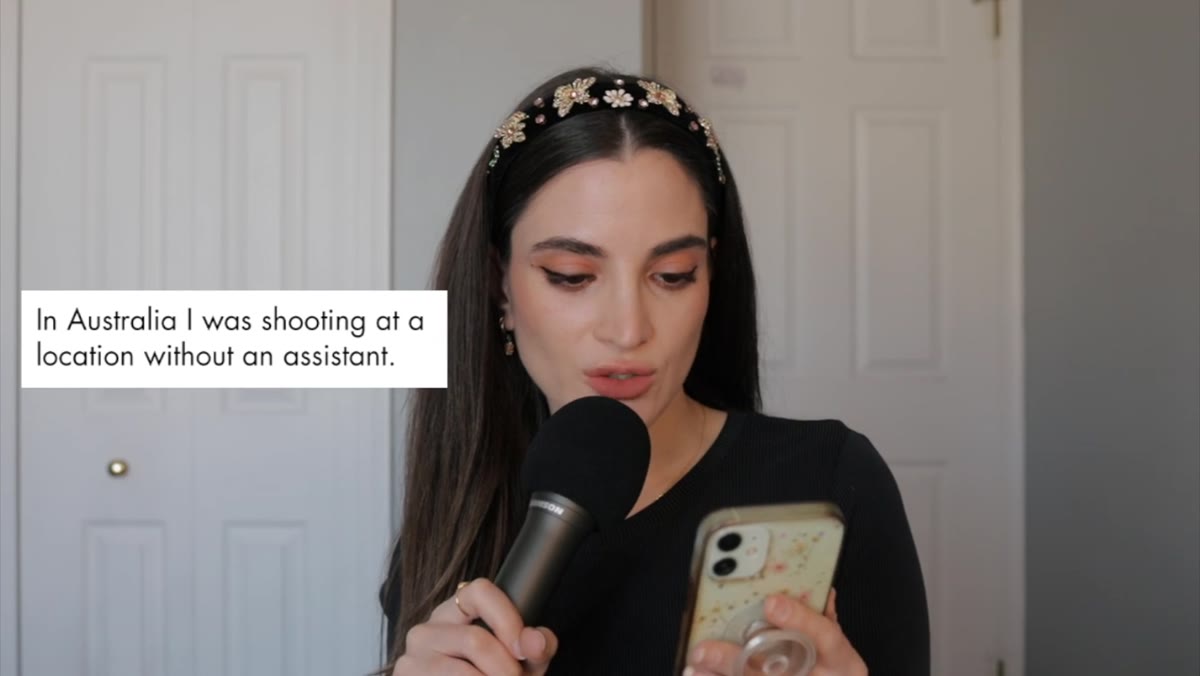
One story in the video describes a photographer in Australia who finished shooting at a location, loaded up the rental car with help from a photo editor and producer, drove 30 minutes to the next spot, and then started unpacking with no camera bag. It had been sitting on the ground at the first location the entire time. They got lucky, it was still there. That kind of luck doesn’t repeat.
Photographer realizing camera bag was left on the ground
One story in the video describes a photographer in Australia who finished shooting at a location, loaded up the rental car with help from a photo editor and producer, drove 30 minutes to the next spot, and then started unpacking with no camera bag. It had been sitting on the ground at the first location the entire time. They got lucky, it was still there. That kind of luck doesn’t repeat.
The fix is stupidly simple but almost nobody does it consistently: before you get in any vehicle to leave a location, physically walk the entire shooting area. Don’t delegate this. Don’t assume someone else grabbed everything. You touch every bag, every light stand, every modifier. I do a verbal checklist out loud like an idiot and I don’t care how I look doing it.
Step 2: Never Leave Gear Unattended in a Hotel Room If You Can Help It
 Hotel room where $20,000 of equipment was stolen overnight
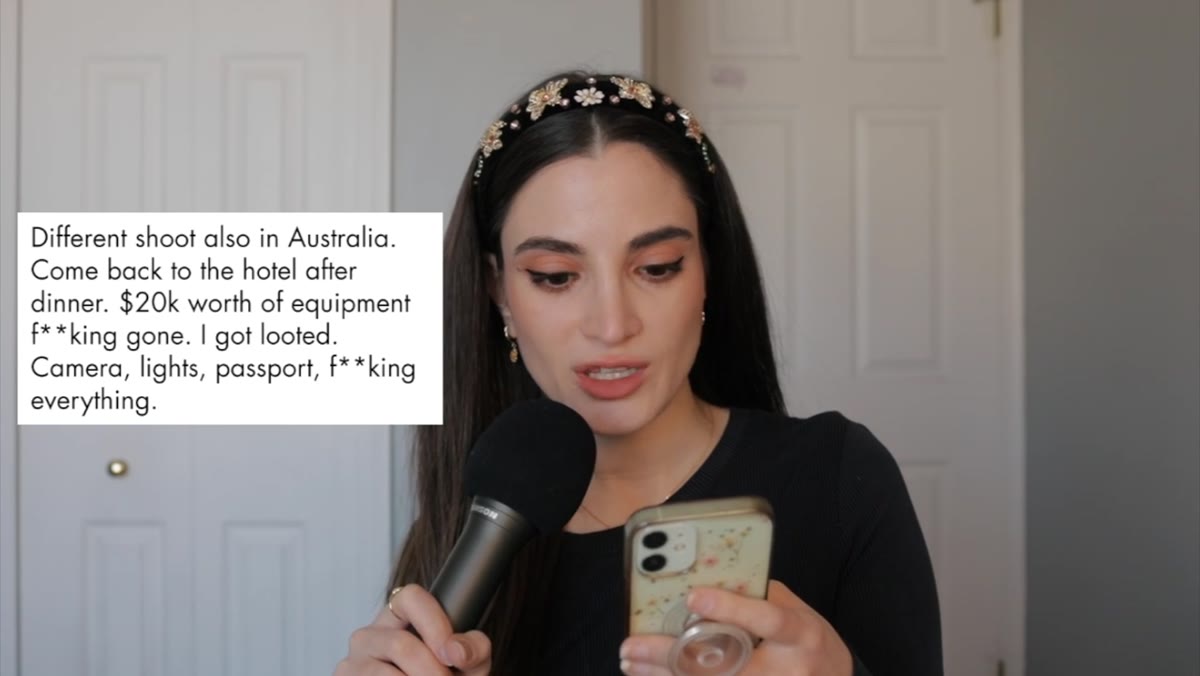
The most serious story in the video involves a photographer whose hotel room in Australia was broken into while they were at dinner. Twenty thousand dollars in camera gear, lights, and even a passport, gone. The thieves accessed a second-floor balcony by climbing to the third floor and dropping down, then pried the sliding glass door off its track using a screwdriver. This wasn’t opportunistic. Someone tipped them off, almost certainly someone who had seen the gear in the room.
Hotel room where $20,000 of equipment was stolen overnight
The most serious story in the video involves a photographer whose hotel room in Australia was broken into while they were at dinner. Twenty thousand dollars in camera gear, lights, and even a passport, gone. The thieves accessed a second-floor balcony by climbing to the third floor and dropping down, then pried the sliding glass door off its track using a screwdriver. This wasn’t opportunistic. Someone tipped them off, almost certainly someone who had seen the gear in the room.
The lesson here is twofold. First, be discreet about what gear you’re bringing into a hotel. Use plain bags when possible. Don’t let housekeeping see you unloading a case full of camera bodies and lights. Second, use the in-room safe for your most critical items, SD cards, passports, and small valuables. For the big stuff, inquire whether the hotel has a secure storage room, many will accommodate working photographers if you ask. If you’re traveling internationally and shooting professionally, renter’s or travel gear insurance is not optional. It’s a line item.
Step 3: Build In Buffer Time When Traveling With Gear
 Photographer rushing through JFK airport with camera gear
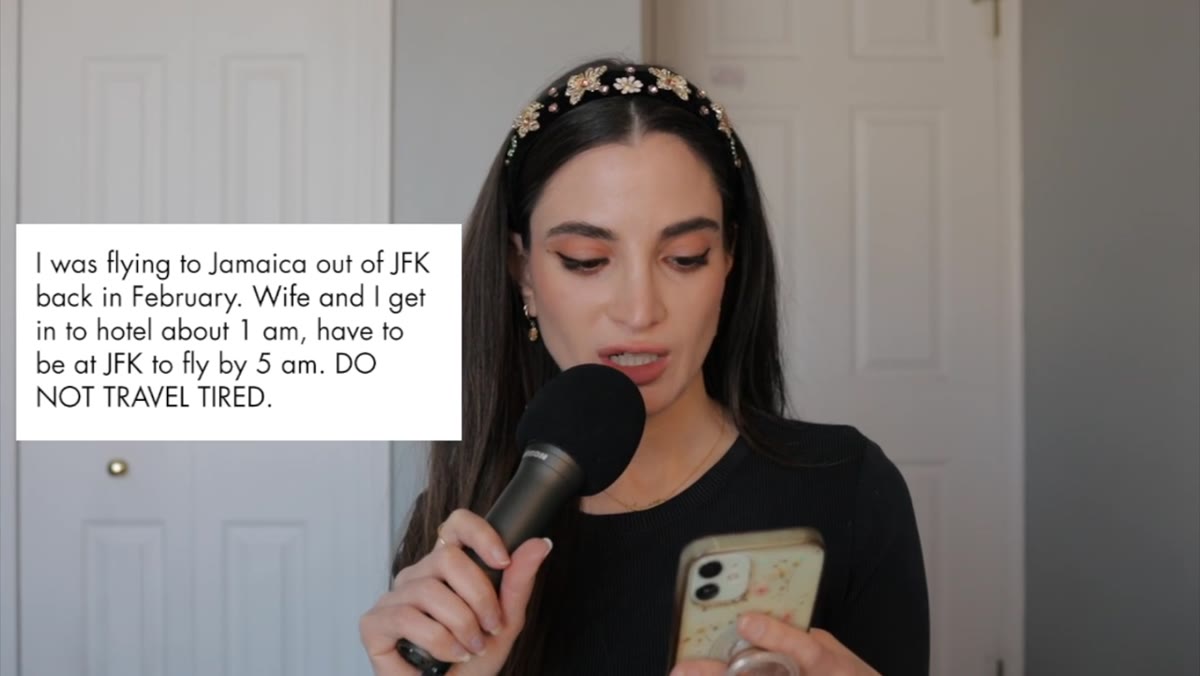
Another story covers a photographer flying out of JFK for a Jamaica trip who missed the first flight by five minutes because of a train connection from the parking area. In the chaos of rescheduling, they almost boarded the second flight without their camera, which had been left in the car in the parking lot. They caught it at the TSA line, ran back, and made the rescheduled flight with the camera. A lucky chain of near-misses.
Photographer rushing through JFK airport with camera gear
Another story covers a photographer flying out of JFK for a Jamaica trip who missed the first flight by five minutes because of a train connection from the parking area. In the chaos of rescheduling, they almost boarded the second flight without their camera, which had been left in the car in the parking lot. They caught it at the TSA line, ran back, and made the rescheduled flight with the camera. A lucky chain of near-misses.
Travel with gear adds real logistical weight to any trip. TSA screening takes longer when you have multiple bags with electronic equipment. Trains and shuttles between parking and terminals chew up time you might not have budgeted. I now add a minimum of 45 extra minutes to my airport arrival estimate any time I’m flying with camera gear. That buffer has saved me twice already.
Step 4: Establish a “Visual Confirmation” Rule Before Moving
 Reacting to camera bag left at shoot location in Australia
Jessica’s reaction to the Australia story makes a point worth repeating: she won’t leave a location unless she can visually confirm her camera bag is accounted for. Not someone else confirming it. Her, with her eyes on the bag. That’s the standard.
Reacting to camera bag left at shoot location in Australia
Jessica’s reaction to the Australia story makes a point worth repeating: she won’t leave a location unless she can visually confirm her camera bag is accounted for. Not someone else confirming it. Her, with her eyes on the bag. That’s the standard.
This matters even more when you’re shooting with a team. Assistants and producers mean well, but diffusion of responsibility is real. Everyone assumes someone else grabbed the Pelican case. Make it explicit: assign one person to be responsible for a specific piece of gear, and have them confirm verbally before the vehicle moves. If you’re a solo shooter like I usually am, the visual confirmation is even easier since it’s just you, but it also means there’s no one else to catch your mistakes.
Step 5: Keep Critical Documents Separate From Gear
 List of stolen items including passport alongside camera equipment
The passport detail in the $20,000 theft story is the one that stings most. Replacing rented equipment is a nightmare. Flying to Sydney to get a replacement passport before you can even go home is a different level of bad. It adds days and cost to an already brutal situation.
List of stolen items including passport alongside camera equipment
The passport detail in the $20,000 theft story is the one that stings most. Replacing rented equipment is a nightmare. Flying to Sydney to get a replacement passport before you can even go home is a different level of bad. It adds days and cost to an already brutal situation.
Keep travel documents in a separate bag from your camera gear. Carry your passport on your body whenever possible, in a neck wallet or a zippered inner jacket pocket. If you’re checking equipment at a hotel, your passport comes with you to dinner. This is not overcaution. This is just travel discipline that photographers specifically need to internalize because we’re often distracted by the shoot itself.
What I’d Add From My Own Experience
Here’s the thing nobody wants to say out loud: the photographers in these stories are not careless people. They’re working professionals under deadline pressure, moving fast between locations, managing teams, and running on short sleep. The mistakes happen precisely because the shoots are going well and momentum takes over.
My personal rule is that fatigue is when protocols matter most, not least. I learned this after I once left a tripod at a trail head in Rocky Mountain National Park because I was tired and excited about the shots I had just gotten. Cheap tripod, no real loss, but it was a warning. If anything, when I feel rushed or tired is exactly when I slow down and do the full walkthrough. The gear doesn’t care how good your photos turned out.
The single biggest takeaway from Jessica’s video is that most of these disasters share one root cause: the photographer trusted memory or momentum instead of a physical, deliberate process. A checklist is not glamorous. It doesn’t make for good content. But it’s the difference between a good shoot and a $20,000 loss.
Watch the full tutorial on YouTube and listen to the full stories. They’re grimly entertaining, but more than that, they’re specific enough to teach you something real.
Comments
Leave a Comment