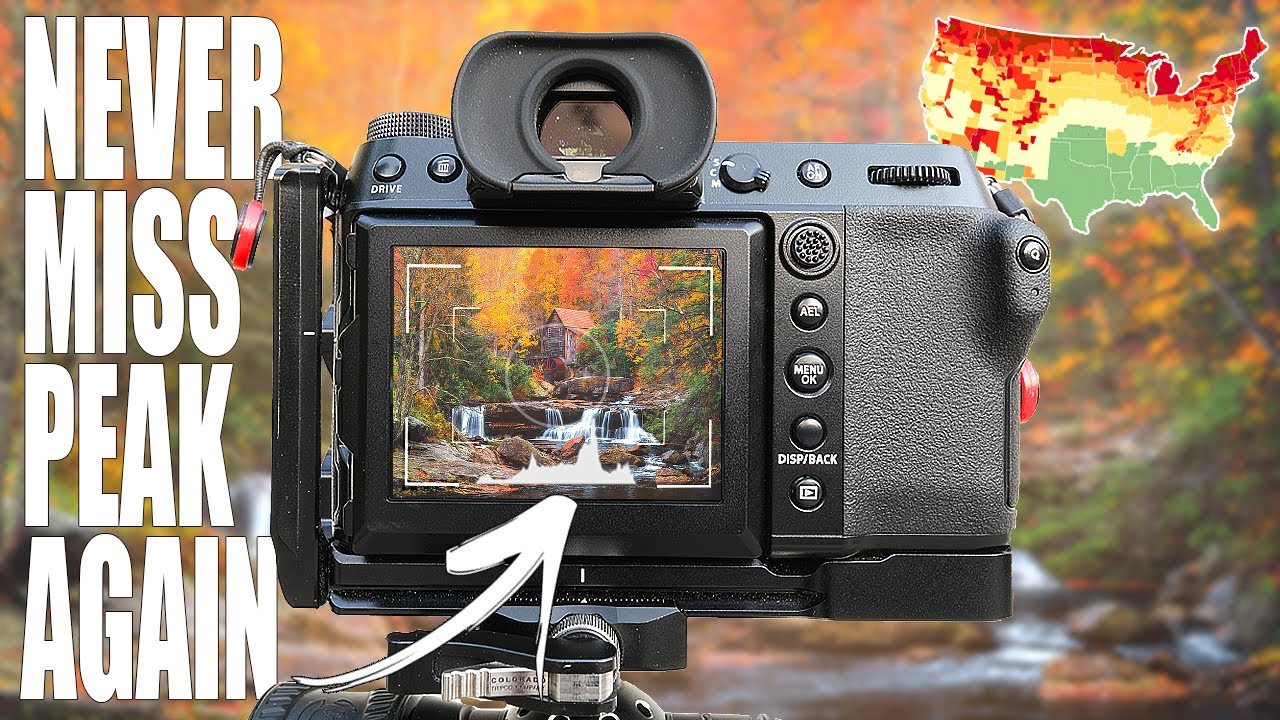
Every September I watch photographers scramble to buy something new before the leaves peak. A new lens, a polarizer upgrade, another filter kit. I get it, I’ve been there. But the shots that actually separate good fall portfolios from great ones almost never come down to gear. They come down to showing up at the right place, on the right morning, under the right sky. That’s a planning and timing problem, not an equipment problem.
I was deep into mapping out my own Colorado fall schedule when I came across Watch the full tutorial on YouTube from Mark Denney. Mark shoots fall landscapes seriously, and this tutorial lays out his full pre-shoot system in a way that’s immediately usable. No fluff. No gear upsell. Just a repeatable process for stacking the odds in your favor before you ever touch a shutter button. Here’s how I’d break it down for someone who wants to follow along step by step.
Step 1: Use a Fall Foliage Forecast Map to Time Your Trip
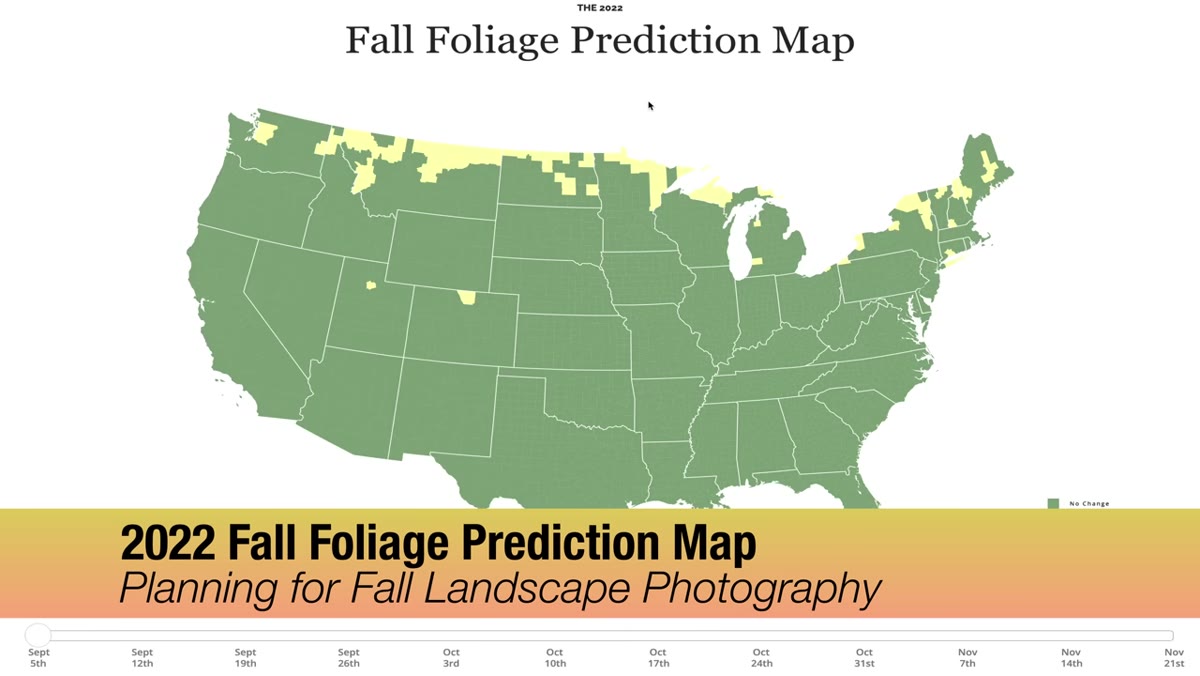 Fall foliage forecast map displayed on screen with color key
Mark’s first move is pulling up a fall foliage forecast map, released annually around the start of September. Think of it like a weather forecast, but for leaf color. The map shows predicted color change status by region and updates as the season progresses. You can slide through dates to see when your target area hits peak, partial, or past-peak color. If you’re planning a trip to the Rockies or the Appalachians, check this before you book anything. Showing up a week late for peak color is the most avoidable mistake in fall photography.
Fall foliage forecast map displayed on screen with color key
Mark’s first move is pulling up a fall foliage forecast map, released annually around the start of September. Think of it like a weather forecast, but for leaf color. The map shows predicted color change status by region and updates as the season progresses. You can slide through dates to see when your target area hits peak, partial, or past-peak color. If you’re planning a trip to the Rockies or the Appalachians, check this before you book anything. Showing up a week late for peak color is the most avoidable mistake in fall photography.
For Colorado specifically, Mark notes that late September through early October tends to hit the sweet spot for the high country aspen groves. For the Eastern U.S., the timing rolls later into October and November as you move south. The map makes that staggered timing visual and easy to plan around.
Step 2: Learn the Dew Point Trick to Predict Morning Fog
 Weather app showing temperature and dew point values close together
This one is worth printing out and taping to your camera bag. Mark calls it the “mist caster,” and it’s a simple weather reading habit. Open any weather app that shows dew point alongside the current temperature. When those two numbers are within two or three degrees of each other, the probability of ground fog that morning is high. Fog and mist can transform a solid fall scene into something otherworldly, and most photographers miss it because they didn’t check the data the night before.
Weather app showing temperature and dew point values close together
This one is worth printing out and taping to your camera bag. Mark calls it the “mist caster,” and it’s a simple weather reading habit. Open any weather app that shows dew point alongside the current temperature. When those two numbers are within two or three degrees of each other, the probability of ground fog that morning is high. Fog and mist can transform a solid fall scene into something otherworldly, and most photographers miss it because they didn’t check the data the night before.
Mark uses an app called Clear Outside, which is free and gives you dew point data alongside cloud cover and humidity. I’ve been using it for landscape planning for about a year now and it’s become the first thing I check when I’m scouting shoot windows. If the gap between temp and dew point is tightening overnight, set an early alarm.
Step 3: Reframe “Bad Weather” as a Creative Asset
 Overcast, moody fall scene from West Virginia with saturated foliage colors
Here’s where Mark challenges the instinct to only go out on bluebird days. Overcast skies act like a giant softbox over your scene. There are no harsh shadows cutting through the forest floor, no blown-out highlights on the leaves, and the colors read as richer and more saturated than they do under direct midday sun. An hour after rain is especially good because wet leaves and wet rocks both pop with color in a way dry surfaces just don’t.
Overcast, moody fall scene from West Virginia with saturated foliage colors
Here’s where Mark challenges the instinct to only go out on bluebird days. Overcast skies act like a giant softbox over your scene. There are no harsh shadows cutting through the forest floor, no blown-out highlights on the leaves, and the colors read as richer and more saturated than they do under direct midday sun. An hour after rain is especially good because wet leaves and wet rocks both pop with color in a way dry surfaces just don’t.
Mark shows a West Virginia scene shot under heavy cloud cover with some light fog and recent rain. It looks dramatic, moody, and the colors are exceptional. That kind of light is completely free and completely repeatable if you’re willing to head out when the weather looks “bad” to everyone else. Make a habit of checking the forecast the night before and committing to grey mornings the way you would for a golden hour sunrise.
Step 4: Dial In Your Camera Settings Before You Arrive
 Camera settings menu or on-screen display showing shooting configuration
Mark transitions into his actual field settings here, and the core principle is to have a starting point locked in before you’re standing in front of a scene you might only have ten minutes to shoot. That means knowing your base ISO, your preferred aperture range for landscapes (typically f/8 to f/11 for depth), and whether you’re going to shoot in a priority mode or manual. Decisions made on-location under time pressure are usually worse than decisions made the night before.
Camera settings menu or on-screen display showing shooting configuration
Mark transitions into his actual field settings here, and the core principle is to have a starting point locked in before you’re standing in front of a scene you might only have ten minutes to shoot. That means knowing your base ISO, your preferred aperture range for landscapes (typically f/8 to f/11 for depth), and whether you’re going to shoot in a priority mode or manual. Decisions made on-location under time pressure are usually worse than decisions made the night before.
The specific settings Mark uses depend on conditions, but the habit he’s building toward is removing guesswork from the field. If you know fog is likely and you’ll be shooting before sunrise in low contrast light, set up accordingly. A slower shutter for motion in the trees, a slightly higher ISO to keep things sharp hand-held if you’re moving around, or a tripod locked in if you’re shooting water.
My Take: The Real Win Is Compounding These Three Habits Together
None of these three elements, the foliage map, the fog prediction, or the weather reframe, are individually groundbreaking. You’ve probably heard versions of each one before. What Mark does well is frame them as a system that you run together before every fall shoot. The foliage map tells you when to go. The dew point check tells you which morning matters most within that window. The weather mindset shift keeps you from staying home when the conditions are actually perfect.
Living in Denver, I’m close enough to the high country that I sometimes treat these trips casually, which is a mistake. Treating each fall shoot window like a small expedition, with actual research and planning behind it, changes the quality of what you come back with. I spent two falls chasing color with nothing but vibes and Google Maps. Last year I used a forecast map and a weather app. The difference in my hit rate on good light was obvious. Mark’s framework would have saved me at least one wasted tank of gas.
The single most important thing to take from Mark’s tutorial is this: the photographers consistently getting great fall images aren’t lucky, they’re prepared. They know when peak color hits their target areas. They know how to read overnight weather data for fog windows. And they’ve made peace with shooting in conditions that look uninviting on paper.
All of that is learnable, and none of it costs anything. Watch the full tutorial on YouTube to see Mark’s full walkthrough, including his processing approach for fall color, which is worth the watch on its own.
Comments (3)
Shared this with my photography group. Everyone loved it.
I tried this on a client project yesterday and the results were way better than expected.
Love this. I referenced a similar technique in one of my recent posts. Always good to see other perspectives.
Leave a Comment