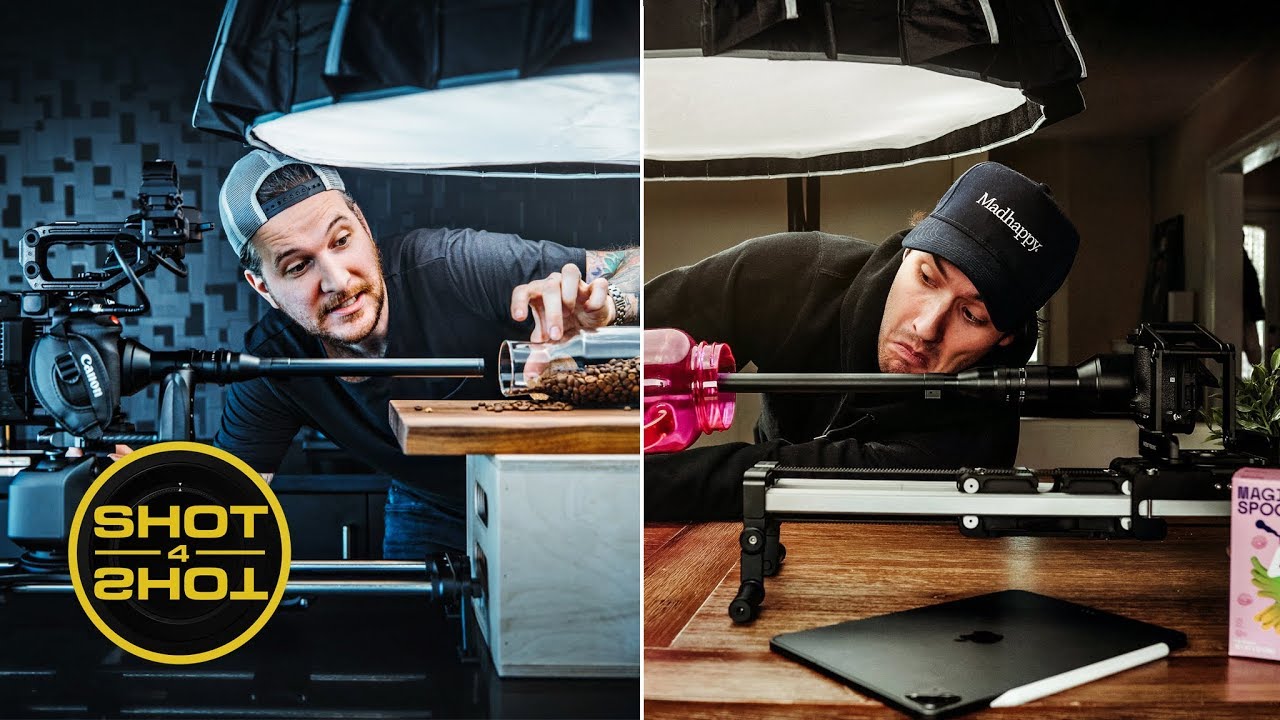
There’s a specific frustration I’ve come back to more times than I can count: two shooters, same location, same subject, wildly different results. Not because one person had better gear, but because they saw the shot differently. Probe lenses are one of those tools that strip that problem down to its bones. Either you understand spatial storytelling or you don’t, and the glass just makes that gap obvious.
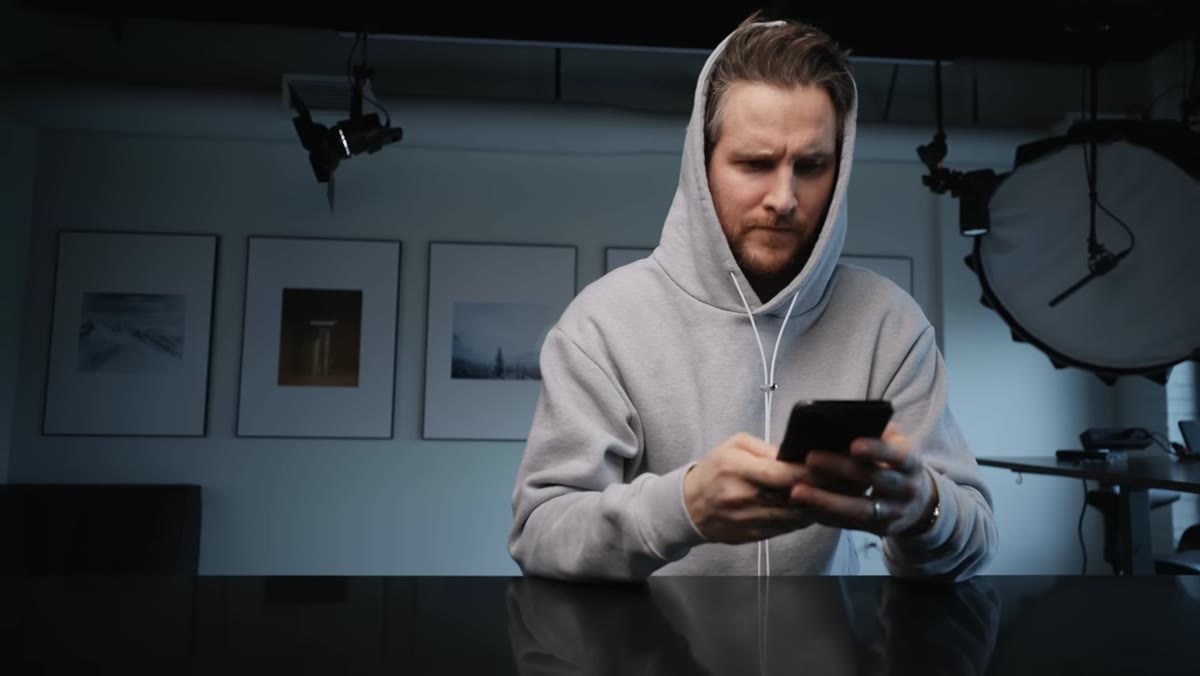
I came across this Peter McKinnon video, a shot-for-shot creative battle with filmmaker Daniel Schiffer, right around the time I was evaluating whether probe lenses were worth the price-per-use for the kind of work I do. Watch the full tutorial on YouTube and you’ll see immediately why it hooked me. It’s less a tutorial in the traditional sense and more a masterclass in creative decision-making disguised as a friendly competition.
What makes this format so useful is that both creators are working with the same constraint and interpreting it completely differently. You get to watch two experienced filmmakers problem-solve in real time, which tells you far more about how to actually use a probe lens than any spec sheet ever could.
Step 1: Understand What a Probe Lens Actually Does to Your Frame
 Extreme close-up macro shot through a probe lens
A probe lens isn’t just a macro tool. It’s a perspective-shifting device. The extended barrel lets you push the front element into, around, and through subjects in ways a standard lens physically cannot. Think through a glass of whiskey, along the edge of a watch, or millimeters above a surface. The compression and field of view you get creates a sense of scale that makes small objects feel cinematic and massive.
Extreme close-up macro shot through a probe lens
A probe lens isn’t just a macro tool. It’s a perspective-shifting device. The extended barrel lets you push the front element into, around, and through subjects in ways a standard lens physically cannot. Think through a glass of whiskey, along the edge of a watch, or millimeters above a surface. The compression and field of view you get creates a sense of scale that makes small objects feel cinematic and massive.
Before you pick up the lens, you need to decide what you’re actually trying to say with that distortion. McKinnon and Schiffer both make strong creative choices here, and you can see in the results that the “better” shot comes down to intentionality, not technical execution.
Step 2: Choose Your Subject With Scale in Mind
 Subject setup with probe lens positioned close to object
Probe lenses reward subjects that have texture, depth, or liquid movement. Flat subjects tend to look gimmicky because the lens’s unique quality, that extreme depth-of-field separation and perspective warp, has nothing interesting to work with. Both filmmakers in this video lean into subjects where the environment around the object is as interesting as the object itself.
Subject setup with probe lens positioned close to object
Probe lenses reward subjects that have texture, depth, or liquid movement. Flat subjects tend to look gimmicky because the lens’s unique quality, that extreme depth-of-field separation and perspective warp, has nothing interesting to work with. Both filmmakers in this video lean into subjects where the environment around the object is as interesting as the object itself.
If you’re testing this at home, start with something that has layers. A coffee cup with steam rising, a mechanical watch, a candle burning down, a product sitting in ice. The goal is to give the lens a reason to be there. If a standard 50mm could tell the same story, you’re not using the tool right.
Step 3: Lock Your Stabilization and Move Slowly
 Camera rig moving through a scene with probe lens attached
Probe lenses amplify every micro-movement. A millimeter of camera shake that would be invisible on a 35mm becomes a jarring jump at this focal distance. Both shooters in the video are working with rigs that give them control over their movement, and you can see the difference in smoothness between intentional glides and any moment where the camera hesitates.
Camera rig moving through a scene with probe lens attached
Probe lenses amplify every micro-movement. A millimeter of camera shake that would be invisible on a 35mm becomes a jarring jump at this focal distance. Both shooters in the video are working with rigs that give them control over their movement, and you can see the difference in smoothness between intentional glides and any moment where the camera hesitates.
If you’re operating handheld, slow down by at least half of what feels natural. Then slow down again. The shots that land are the ones where the movement feels inevitable rather than accidental. A simple slider or even a well-controlled handheld push will outperform a shaky “cinematic” move every single time.
Step 4: Treat Lighting as a Macro Problem
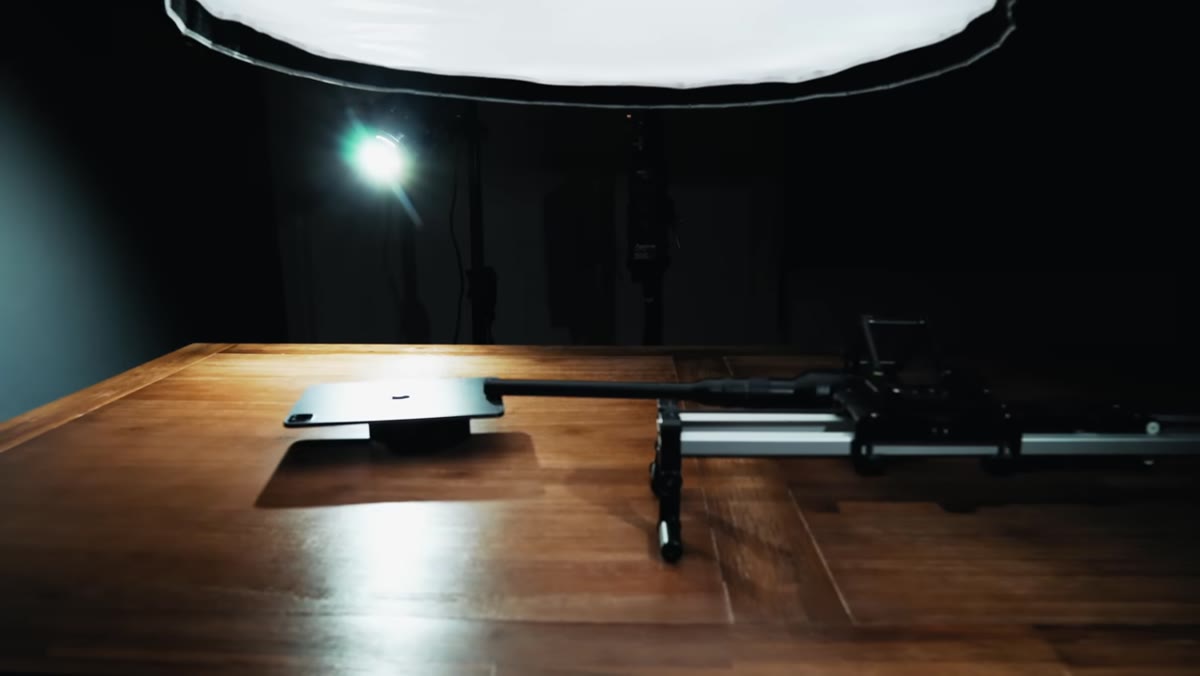 Dramatic side lighting on a small subject with probe lens
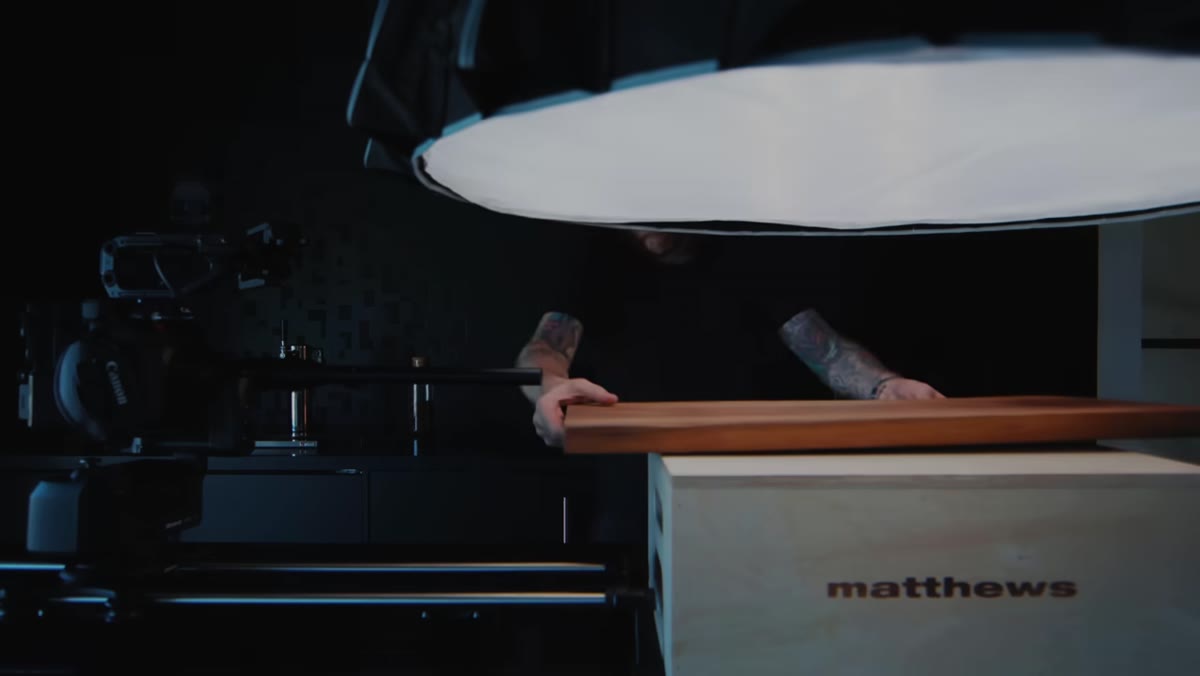
Getting a probe lens close to a subject also means getting it between your light source and your subject. This is the most common technical mistake I see from people picking up this lens type for the first time. You have to think about lighting from the subject’s point of view, not from where you’re standing.
Dramatic side lighting on a small subject with probe lens
Getting a probe lens close to a subject also means getting it between your light source and your subject. This is the most common technical mistake I see from people picking up this lens type for the first time. You have to think about lighting from the subject’s point of view, not from where you’re standing.
Side lighting and backlighting both work well here because they don’t require the light to come from the camera’s direction. A small LED panel set at 90 degrees to your subject will give you edge definition and shadow depth that a front-mounted light simply can’t. Both McKinnon and Schiffer are clearly working with lighting setups that treat the subject like a tiny film set, not an afterthought.
Step 5: Cut to the Edit Rhythm, Not Just the Best Shots
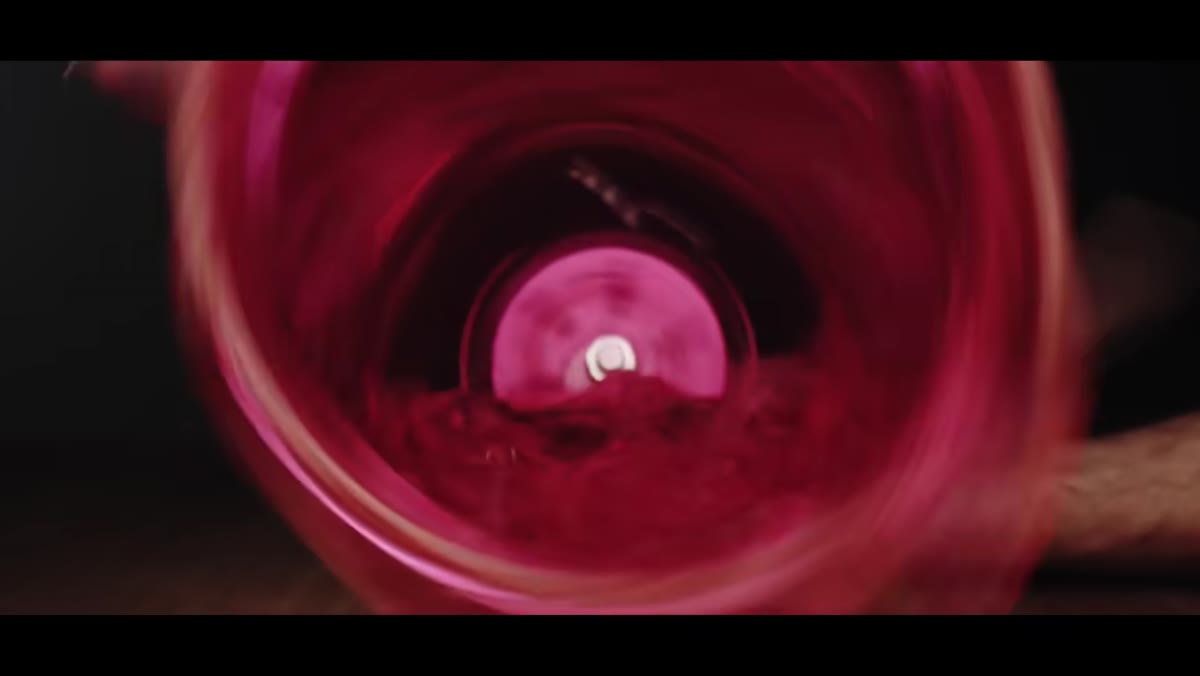 Rapid-cut sequence of probe lens shots synced to music
One thing the shot-for-shot format reveals is how differently each filmmaker thinks about sequence. Individual probe lens shots are striking, but they need to land inside an edit that gives them room to breathe or uses their intensity on a hard beat. Watch how the cuts between shots in this video are paced. The best-looking single frame doesn’t automatically win. The shot that serves the sequence does.
Rapid-cut sequence of probe lens shots synced to music
One thing the shot-for-shot format reveals is how differently each filmmaker thinks about sequence. Individual probe lens shots are striking, but they need to land inside an edit that gives them room to breathe or uses their intensity on a hard beat. Watch how the cuts between shots in this video are paced. The best-looking single frame doesn’t automatically win. The shot that serves the sequence does.
When you’re out shooting, capture more coverage than you think you need. Probe lens shots have a very specific visual weight, and you’ll often need a wider “relief” shot to cut to before or after so the edit doesn’t feel suffocating.
My Take: The Price-to-Impact Question Nobody Asks
I have a spreadsheet. It has every lens I’ve ever tested, what I paid, and what the actual cost-per-use came out to over six months. Probe lenses sat at the top of my “high cost, uncertain ROI” list for a long time, which is what made this video genuinely useful to me rather than just entertaining.
What McKinnon and Schiffer’s battle clarified is that the probe lens is a specialist tool, not a versatile one. If you shoot products, cocktails, watches, or anything where extreme close-up perspective adds storytelling value, the cost-per-use drops fast. If you’re a generalist shooter hoping it’ll elevate random b-roll, you’ll use it twice and put it on a shelf. The honest question isn’t whether the lens is impressive. It clearly is. The question is whether your work actually calls for what it does. Rent before you buy, and shoot a real project with it, not just test footage in your kitchen.
The single biggest lesson from this video is that creative constraints reveal skill faster than creative freedom does. Giving two filmmakers the same lens and the same brief and watching what they each decide to do with it shows you more about visual thinking than any amount of gear talk. Peter McKinnon and Daniel Schiffer both make strong work here, but the reason to watch isn’t to pick a winner. It’s to notice the moments where each of them made a choice, and ask yourself what choice you would have made.
Watch the full tutorial on YouTube and pay attention to the shots you’re drawn to. That instinct is telling you something useful about your own visual language.
Comments (1)
Just used this on a wedding shoot edit. Client was thrilled.
Leave a Comment