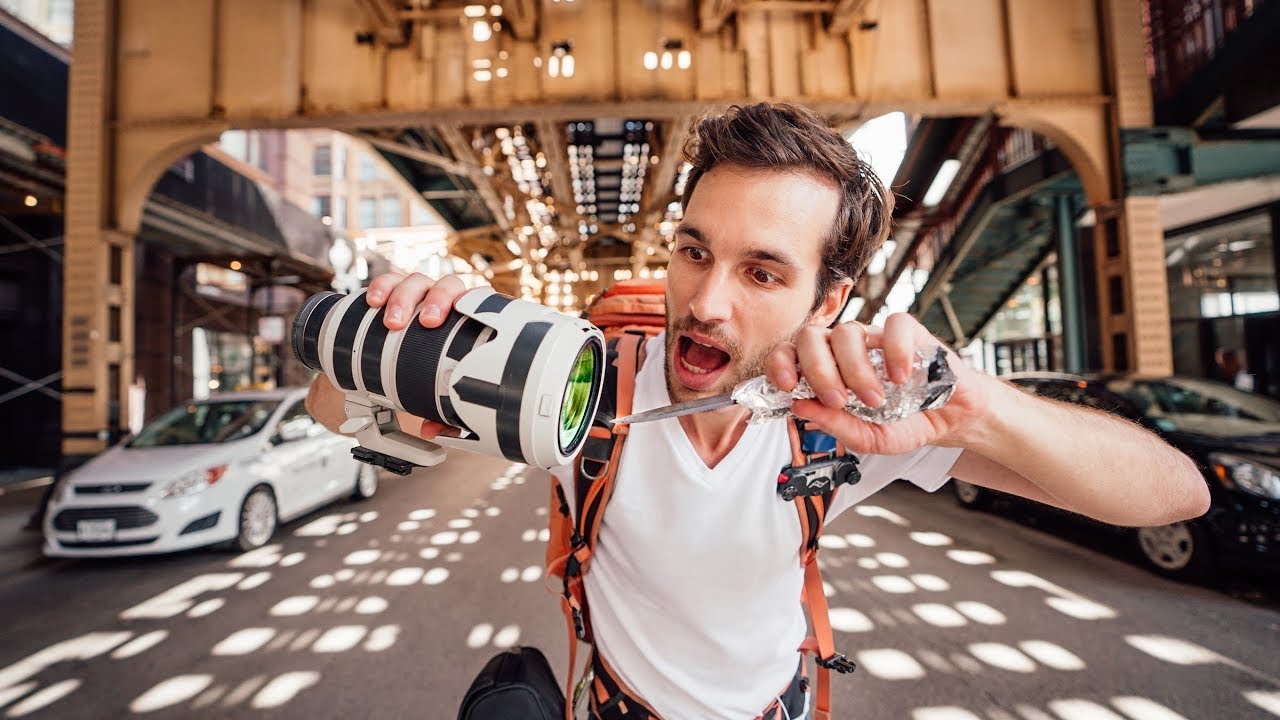
Most of the gear I review costs money. Sometimes a lot of it. So when a technique comes along that costs exactly zero dollars and genuinely changes how a photo feels, I pay attention. I’ve been shooting long enough to know that the difference between a cluttered snapshot and a compelling image usually isn’t the camera body or the lens. It’s the decision about what gets to be in the frame and what doesn’t.
In this Pierre T. Lambert tutorial filmed on location in Chicago, Watch the full tutorial on YouTube, Pierre demonstrates something a photographer friend taught him years ago: deliberately placing objects in front of your lens to control what the viewer sees. It sounds almost too simple to be worth trying, especially after you’ve spent real money on quality glass. But the results he pulls out of downtown Chicago’s streets make a strong case that this belongs in every photographer’s regular toolkit.
The core problem this solves is one I run into constantly: distracting elements on the edges of a frame that pull the viewer’s eye away from the actual subject. You can fix some of that in post, but it takes time and it never looks completely clean. This technique handles it in-camera, in real time, before you ever press the shutter.
Step 1: Identify the Distraction Before You Shoot
 Pierre spotting a train and noting distracting elements on the left side
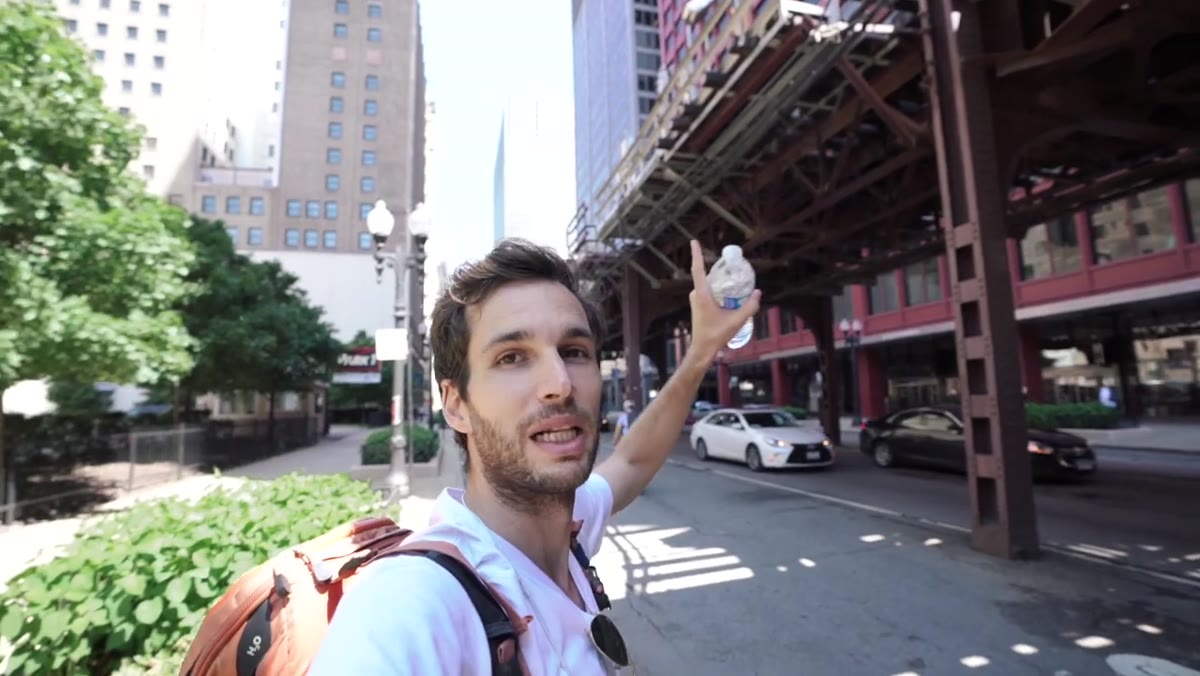
Before you reach for anything to block the lens, slow down and actually study the full frame. Pierre’s first move in every setup is identifying exactly what doesn’t belong. Standing near a Chicago elevated train, he notices that the left side of his frame is cluttered with background noise that competes with the train itself. The subject is clear in his mind. The problem is also clear. That diagnostic step, looking at the whole frame critically before shooting, is where the technique actually starts.
Pierre spotting a train and noting distracting elements on the left side
Before you reach for anything to block the lens, slow down and actually study the full frame. Pierre’s first move in every setup is identifying exactly what doesn’t belong. Standing near a Chicago elevated train, he notices that the left side of his frame is cluttered with background noise that competes with the train itself. The subject is clear in his mind. The problem is also clear. That diagnostic step, looking at the whole frame critically before shooting, is where the technique actually starts.
Get in the habit of scanning the edges of your frame before you press the shutter. Ask yourself: what is pulling attention away from my main subject? That answer tells you where and how much you need to block.
Step 2: Use Your Hand as a First Test
 Pierre explaining how a hand can block part of the lens to direct viewer focus
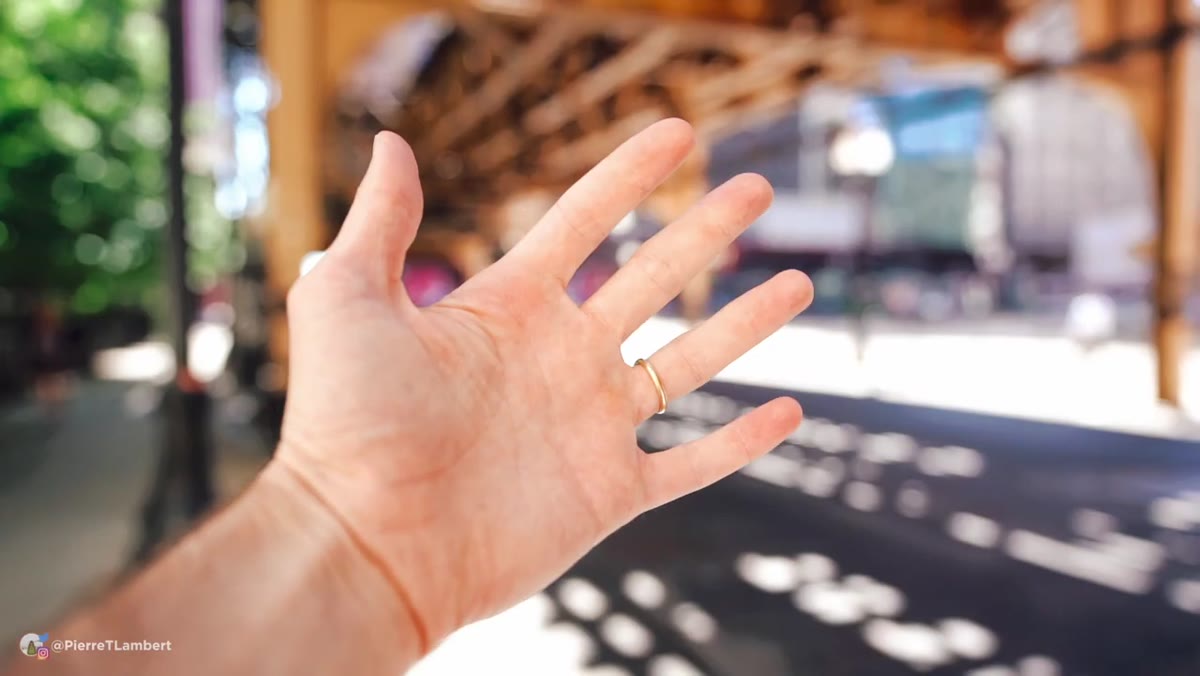
Before you grab any prop or accessory, try your hand first. Pierre points out that you can hold your hand partially in front of the lens to black out a portion of the frame entirely. It sounds crude, but it’s actually the fastest way to test whether blocking a specific area improves the composition. You’re not going for a finished shot here. You’re previewing a concept.
Pierre explaining how a hand can block part of the lens to direct viewer focus
Before you grab any prop or accessory, try your hand first. Pierre points out that you can hold your hand partially in front of the lens to black out a portion of the frame entirely. It sounds crude, but it’s actually the fastest way to test whether blocking a specific area improves the composition. You’re not going for a finished shot here. You’re previewing a concept.
Hold your hand close to the lens, slightly out of focus, and cover the distracting side or corner. Look at what remains. If the image suddenly feels more focused and intentional, you’ve confirmed that the technique will work for this scene. Now you can find a better tool to do the same job with more control.
Step 3: Find an Object With the Right Opacity
 Pierre referencing “stranger stuff” and various items used in front of a lens
The hand test is a proof of concept. The real creative control comes from choosing objects with different textures and transparency levels. Pierre isn’t precious about what he uses. Leaves, fabric, glass, even the edge of a bag can work depending on the effect you want. A completely opaque object blocks cleanly. Something translucent, like a piece of fabric or a glass bottle held close to the lens, creates a soft, hazy border that feels more organic.
Pierre referencing “stranger stuff” and various items used in front of a lens
The hand test is a proof of concept. The real creative control comes from choosing objects with different textures and transparency levels. Pierre isn’t precious about what he uses. Leaves, fabric, glass, even the edge of a bag can work depending on the effect you want. A completely opaque object blocks cleanly. Something translucent, like a piece of fabric or a glass bottle held close to the lens, creates a soft, hazy border that feels more organic.
The key variable is distance from the lens. The closer the object is to the front element, the more out of focus and blended it will appear. Pull it further away and it starts to have its own defined shape. For street and urban work, I’ve found that natural materials like leaves or rough fabric give the softest results because their irregular edges blur beautifully at wide apertures.
Step 4: Block the Distraction, Not the Subject
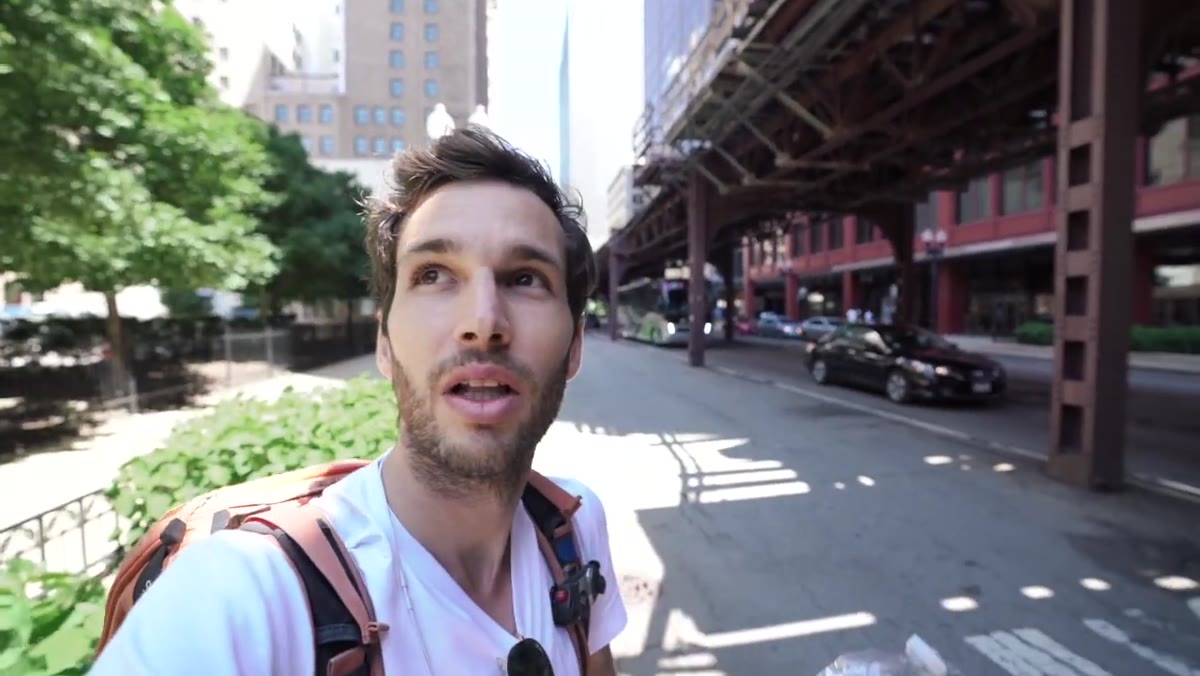 Pierre positioning himself to obscure the left side while keeping the train visible
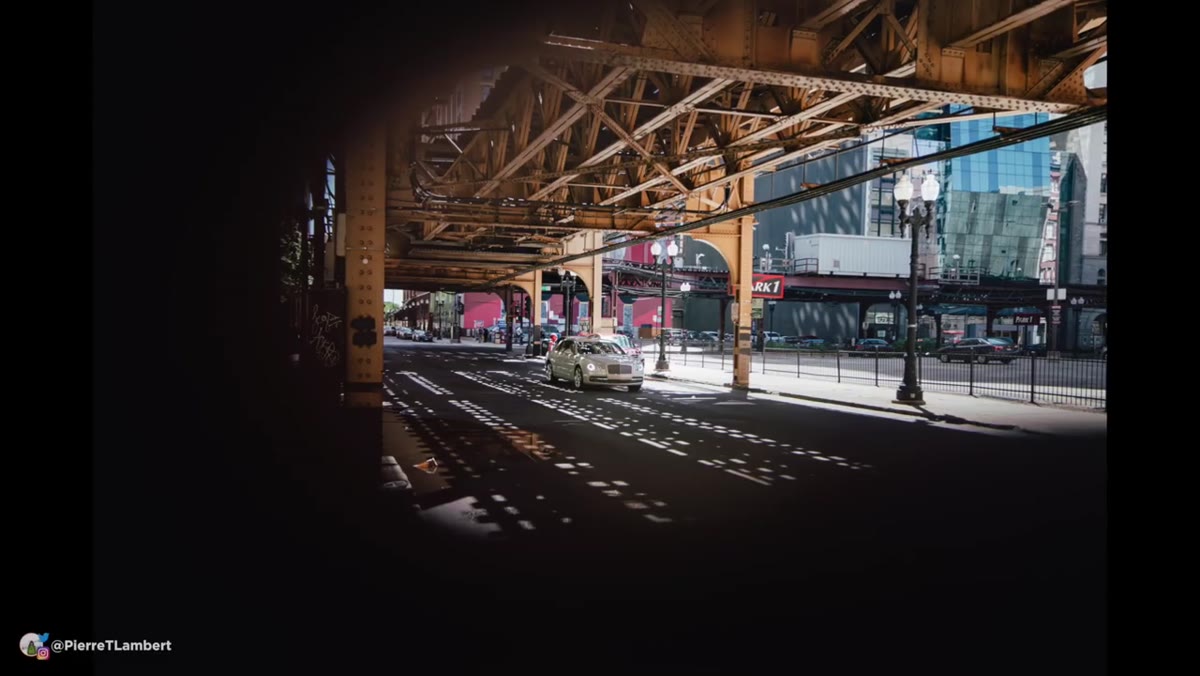
This is where the technique either works or falls apart. You want the blocked area to cover the distraction precisely without encroaching on your actual subject. Pierre positions his blocking element on the left side of the frame to eliminate the background clutter, while keeping the train visible and unobstructed on the right side.
Pierre positioning himself to obscure the left side while keeping the train visible
This is where the technique either works or falls apart. You want the blocked area to cover the distraction precisely without encroaching on your actual subject. Pierre positions his blocking element on the left side of the frame to eliminate the background clutter, while keeping the train visible and unobstructed on the right side.
Use a wide aperture, f/1.8 to f/2.8 is ideal, so the blocking object goes completely soft and doesn’t read as a hard, deliberate cutoff. The goal is for the viewer to feel guided toward the subject without noticing the mechanism. If the block looks obvious, either move it closer to the lens or choose something with a less defined edge.
Step 5: Let the Environment Do Some of the Work
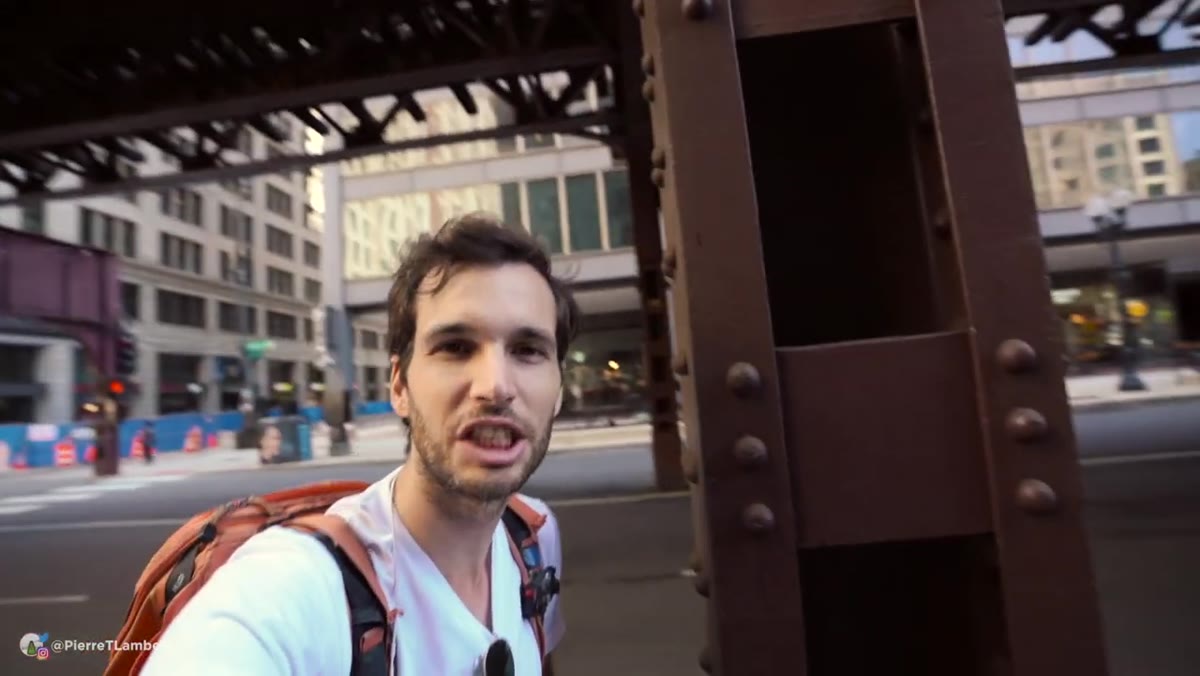 Pierre pointing to poles, trucks, and mirrors as natural framing elements in the scene
Pierre makes an important distinction midway through the video: you don’t always need to carry something with you. The environment itself is full of natural blocking and framing elements. Poles, doorframes, parked vehicles, hanging lights, tree branches and architectural edges can all serve the same function as a prop held in front of the lens.
Pierre pointing to poles, trucks, and mirrors as natural framing elements in the scene
Pierre makes an important distinction midway through the video: you don’t always need to carry something with you. The environment itself is full of natural blocking and framing elements. Poles, doorframes, parked vehicles, hanging lights, tree branches and architectural edges can all serve the same function as a prop held in front of the lens.
This reframes the whole technique from a gear hack into a compositional mindset. When you arrive at a new location, scan it the same way you’d scan a frame. Ask yourself what’s already there that you could position yourself behind, beside, or partially in front of to shape the shot. In cities especially, this approach is almost unlimited. I’ve used chain-link fences, fire escapes, and wet window glass to create effects that would have taken significant post-processing to fake otherwise.
Step 6: Commit to the Frame and Shoot
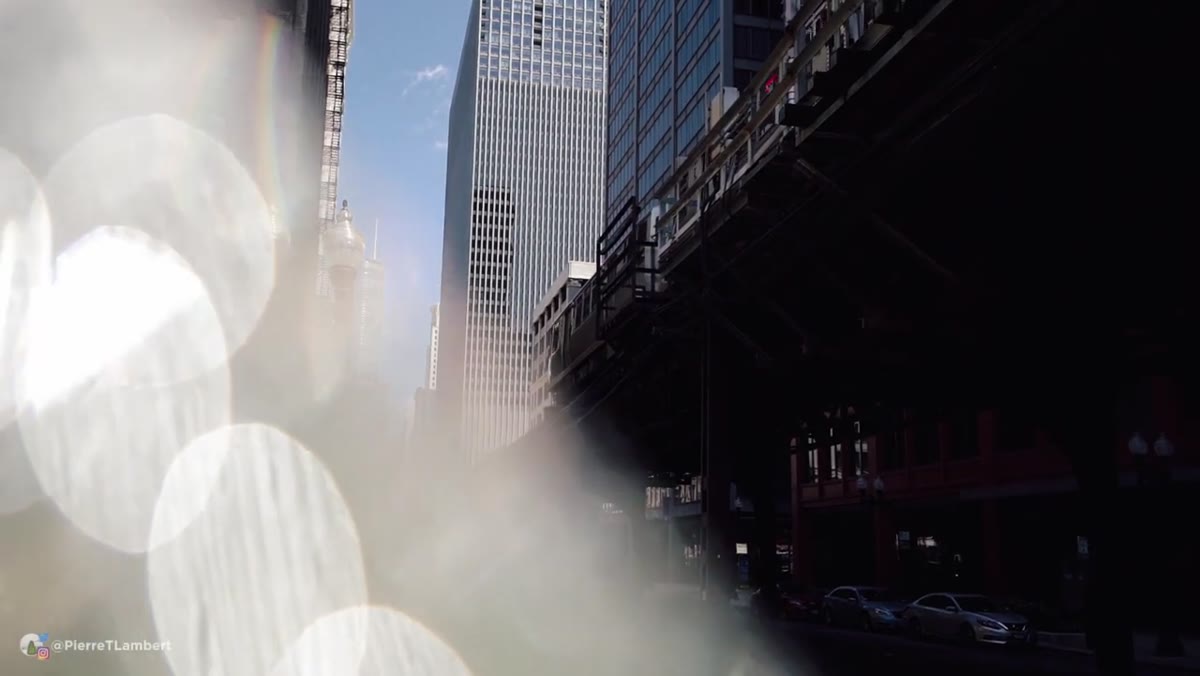 Pierre shooting the train scene with a blocking element in place on the left side
Once the blocking element is positioned and the distraction is covered, stop adjusting and shoot. Pierre emphasizes that this technique rewards decisiveness. Street scenes change fast, and hesitation means missed moments. Get your composition close, verify the subject is clear and the distraction is covered, and take the shot.
Pierre shooting the train scene with a blocking element in place on the left side
Once the blocking element is positioned and the distraction is covered, stop adjusting and shoot. Pierre emphasizes that this technique rewards decisiveness. Street scenes change fast, and hesitation means missed moments. Get your composition close, verify the subject is clear and the distraction is covered, and take the shot.
Shoot several frames with slight variations in how much you’re blocking. Move the object a few millimeters. Shift your angle slightly. Small changes to the blocking element’s position can dramatically change the mood of the final image, and the cost of an extra frame is nothing.
My Extension: This Works Especially Well on Budget Lenses
I’ve tested this across a lot of glass, and here’s something worth knowing: the technique actually flatters cheaper lenses. Most budget lenses struggle with busy, cluttered scenes because they don’t have the rendering quality to make distracting backgrounds separate cleanly from the subject. Blocking those distractions in-camera removes the problem entirely. You’re not asking the lens to do something it can’t do. You’re changing the scene itself.
If you’re shooting on something like a $150 manual prime or a kit lens, this technique will do more for your keepers-per-session rate than any lens upgrade you could buy. I’ve run the numbers on a lot of gear upgrades. This one has a zero cost and delivers visible results immediately.
The single most important thing Pierre demonstrates here is that composition is active, not passive. You’re not just finding shots. You’re constructing them, using whatever is available, including your own hands. Gear matters less than how deliberately you use it.
Watch the full tutorial on YouTube to see all of Pierre’s Chicago location shots and how each blocking choice changed the final image.
Comments (2)
Printing this out and pinning it next to my monitor. That good.
Well explained. I think my audience would really benefit from this — mind if I link to it?
Leave a Comment