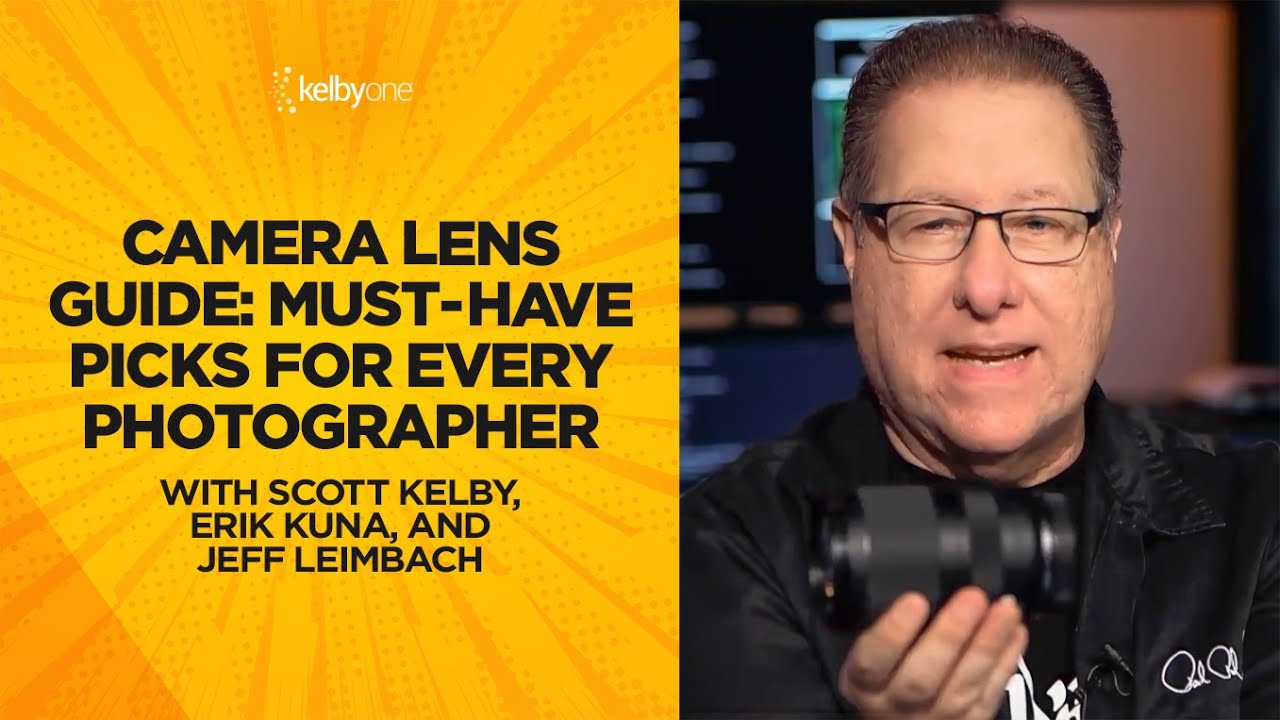
I’ve spent more hours than I care to admit building spreadsheets comparing lens specs, price-to-performance ratios, and street prices across Canon, Nikon, and Sony systems. So when a photographer like Scott Kelby sits down and just tells you what’s actually on his camera, not what’s theoretically optimal, I pay attention. In this KelbyOne tutorial, Kelby walks through the lenses he genuinely uses, lenses with worn-off labels and frequent flyer miles, and the reasoning is surprisingly practical for anyone trying to build a lean, functional kit. Watch the full tutorial on YouTube
What struck me watching this is that Kelby isn’t optimizing for maximum image quality at any cost. He’s optimizing for the kit he’ll actually bring. That’s a mindset I recognize. I started shooting with a $300 camera kit and learned fast that the gear sitting on your shelf because it’s too heavy doesn’t make great photos. The gear in your hand does. This breakdown follows the actual order Kelby walks through his picks, with the context that matters most for making a real buying decision.
Step 1: Start with an All-In-One Zoom as Your Foundation
 Scott Kelby holding Canon 24-240mm lens on desk
Kelby opens with the lens that hasn’t left his camera body, a wide-to-telephoto superzoom covering 24mm to 240mm. His argument is simple: a 10x zoom range means you never change lenses in the field. He took it as his only lens on a 10-day trip to Tokyo, and he’s planning the same approach for Venice. For travel and street photographers, that single-bag, single-lens discipline removes friction and keeps you shooting instead of swapping glass.
Scott Kelby holding Canon 24-240mm lens on desk
Kelby opens with the lens that hasn’t left his camera body, a wide-to-telephoto superzoom covering 24mm to 240mm. His argument is simple: a 10x zoom range means you never change lenses in the field. He took it as his only lens on a 10-day trip to Tokyo, and he’s planning the same approach for Venice. For travel and street photographers, that single-bag, single-lens discipline removes friction and keeps you shooting instead of swapping glass.
The key selling points he highlights are sharpness that punches above the price point, lightweight construction, and built-in optical stabilization. Even if your camera body already has in-body stabilization, the redundancy doesn’t hurt. This isn’t a lens for pixel-peepers shooting resolution charts. It’s a lens for people who want to come home with strong images across every focal length without a chiropractor bill.
Step 2: Know the Cross-Brand Equivalents Before You Buy
 Price comparison screen showing Canon, Nikon, Sony superzoom options
Kelby shoots Canon, but he’s upfront that Sony and Nikon have direct answers to this focal length range. Sony offers a 24-240mm option at roughly $1,100 - what Kelby calls the “Sony tax” with no apparent bitterness, just acknowledgment. Nikon covers a slightly shorter range with a 24-200mm, landing closer to $800 with rebates in play at the time of the video. Canon’s version comes in meaningfully cheaper, though the Nikon and Sony alternatives draw real loyalty from shooters in those systems.
Price comparison screen showing Canon, Nikon, Sony superzoom options
Kelby shoots Canon, but he’s upfront that Sony and Nikon have direct answers to this focal length range. Sony offers a 24-240mm option at roughly $1,100 - what Kelby calls the “Sony tax” with no apparent bitterness, just acknowledgment. Nikon covers a slightly shorter range with a 24-200mm, landing closer to $800 with rebates in play at the time of the video. Canon’s version comes in meaningfully cheaper, though the Nikon and Sony alternatives draw real loyalty from shooters in those systems.
The practical takeaway: don’t assume your system’s version is the weakest link just because it costs less. Kelby knows photographers who are completely happy with the Nikon 24-200mm even though it gives up 40mm on the long end. If you’re not regularly shooting subjects at 240mm anyway, that gap is irrelevant. Check current prices on all three before assuming one brand wins on value.
Step 3: Add an Ultra-Wide for Interiors and Architecture
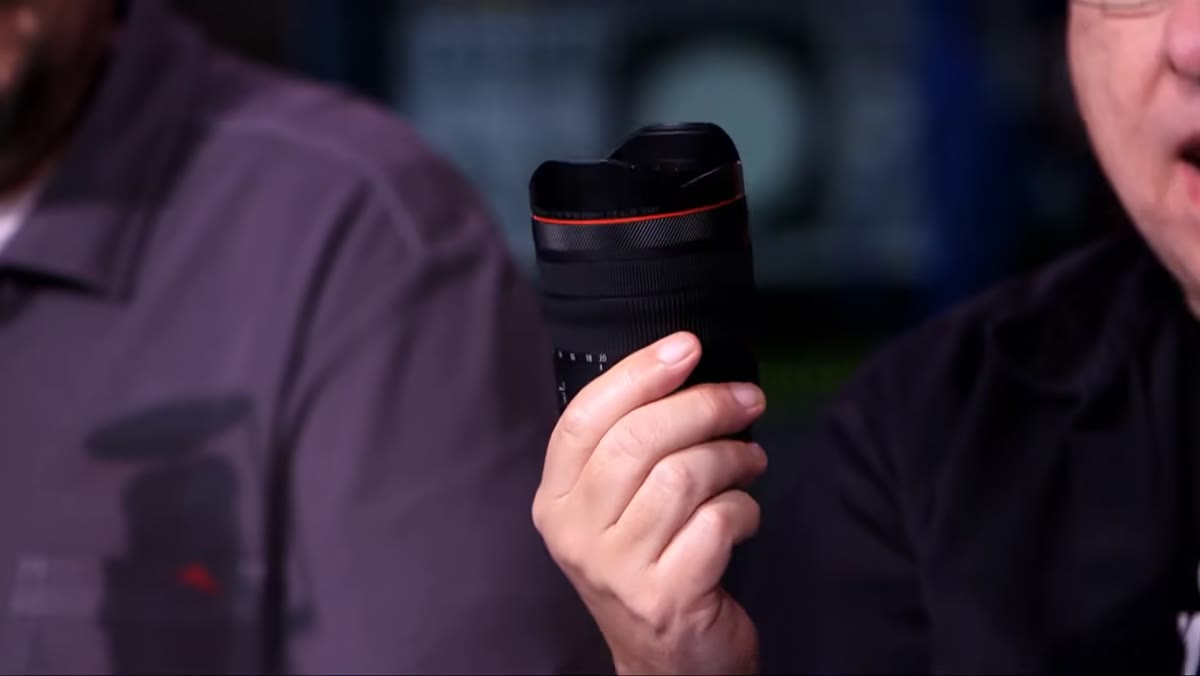 Kelby discussing wide angle 10-20mm lens option
When Kelby wants a second lens, it’s an ultra-wide. He previously owned an 11-24mm that cost around $3,000 and described it as front-heavy and impractical to carry. He’s moved on to a 10-20mm full-frame option at roughly $2,300 that weighs about 1.3 pounds. The distinction he draws matters: the newer lens is rectilinear, meaning straight lines stay straight, unlike fisheye lenses that introduce barrel distortion across the frame.
Kelby discussing wide angle 10-20mm lens option
When Kelby wants a second lens, it’s an ultra-wide. He previously owned an 11-24mm that cost around $3,000 and described it as front-heavy and impractical to carry. He’s moved on to a 10-20mm full-frame option at roughly $2,300 that weighs about 1.3 pounds. The distinction he draws matters: the newer lens is rectilinear, meaning straight lines stay straight, unlike fisheye lenses that introduce barrel distortion across the frame.
His use case is specific. Cathedrals, museums, tight indoor spaces where you physically cannot back up to fit the scene. If you’re primarily a travel photographer hitting historic architecture, you know this problem. The 10mm end of this lens exists for exactly that situation. Kelby admits he’d prefer a prime 10mm since he never touches the zoom range on this one, but the lens delivers at the focal length he actually needs.
Step 4: Consider the Compact Wide-Angle Alternative for Backpacking
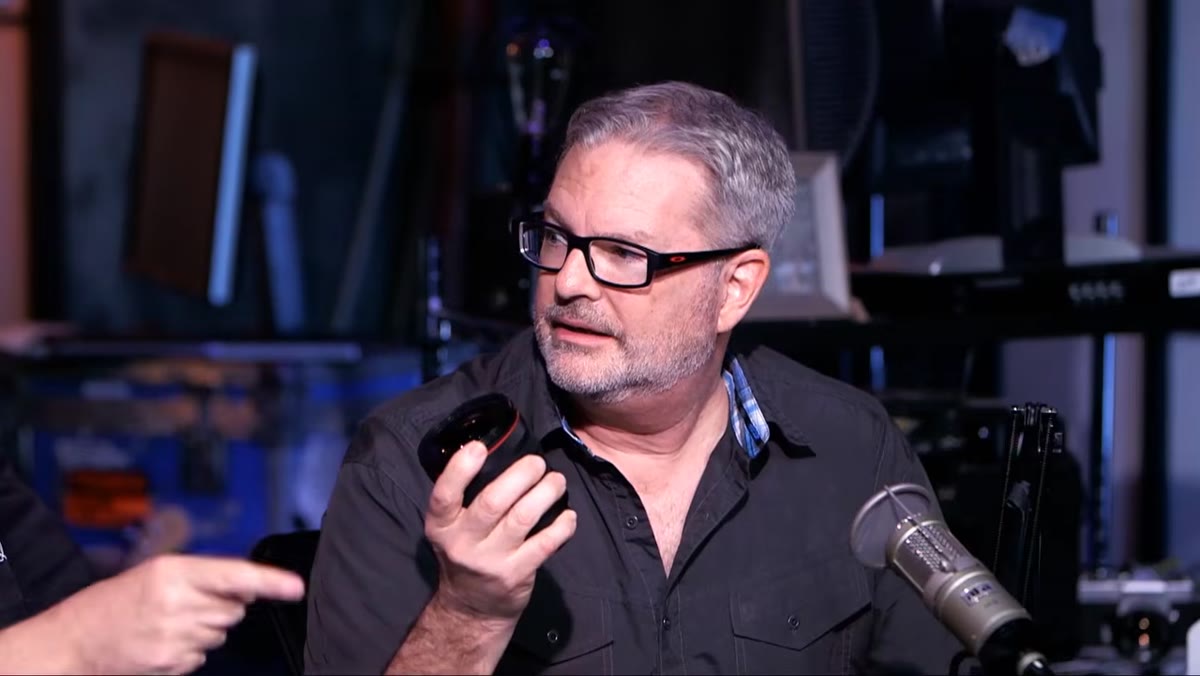 Discussion of 14-35mm lens as lighter wide-angle option
For photographers who need wide coverage without the bulk of a dedicated ultra-wide, Kelby points to a 14-35mm as a sensible middle ground. The price is more accessible, and the size difference matters when you’re carrying everything on your back over distance. If you’re landscape shooting where you have open space and can physically move back from your subject, the 14mm end gets you there without hauling the heavier 10-20mm.
Discussion of 14-35mm lens as lighter wide-angle option
For photographers who need wide coverage without the bulk of a dedicated ultra-wide, Kelby points to a 14-35mm as a sensible middle ground. The price is more accessible, and the size difference matters when you’re carrying everything on your back over distance. If you’re landscape shooting where you have open space and can physically move back from your subject, the 14mm end gets you there without hauling the heavier 10-20mm.
His framing here is honest: the 14-35mm replaces the ultra-wide in his bag when weight and space are the priority. It’s not a downgrade in every scenario. Landscape work rarely demands 10mm. Street work almost never does. Understanding which focal lengths your shooting style actually uses is worth more than owning every option.
Step 5: Evaluate Weight and Carry Reality, Not Just Spec Sheets
 Kelby comparing the heavy 11-24mm versus lighter alternatives
The throughline in every choice Kelby makes is whether he’ll actually take the lens with him. His $3,000 ultra-wide sits unused because it’s physically uncomfortable to carry. That’s not a minor complaint. A lens that stays home is worth zero on a shoot. He repeats variations of this logic across every pick: lightweight wins, stabilization helps, zoom range removes decisions in the field.
Kelby comparing the heavy 11-24mm versus lighter alternatives
The throughline in every choice Kelby makes is whether he’ll actually take the lens with him. His $3,000 ultra-wide sits unused because it’s physically uncomfortable to carry. That’s not a minor complaint. A lens that stays home is worth zero on a shoot. He repeats variations of this logic across every pick: lightweight wins, stabilization helps, zoom range removes decisions in the field.
This is the lens-buying framework that actually holds up under pressure. The question isn’t “what’s the sharpest lens at this focal length” - it’s “what’s the best lens I’ll actually have with me.” Kelby’s worn-off labels are physical evidence. That Canon 24-240mm is used because it travels light and covers everything.
My Budget Take: Where to Start If You’re Not Spending $2,000+
I’ve tested a lot of third-party glass in the wide-to-telephoto superzoom range, and the Tamron and Sigma equivalents deserve a serious look before you commit to a first-party option at full price. Tamron’s 18-300mm for APS-C systems, for example, covers an absurd focal range at a fraction of the cost Kelby mentions for full-frame glass. If you’re not yet on full frame, don’t buy into the full-frame lens ecosystem yet. Buy the best glass for your current system, then upgrade bodies when the time is right.
The lens category Kelby identifies as essential, a walkaround superzoom plus an ultra-wide for specialty work, is the right framework regardless of budget. You don’t need to spend $2,300 on a 10mm to follow the logic. You need to figure out the two focal length gaps your current kit can’t cover and fill those first.
The single most important thing I took from this tutorial is Kelby’s worn-label philosophy. The best lens you own is the one you’ve used so often the markings are gone. Buy for what you’ll actually shoot, not what looks impressive in a camera bag. Watch the full tutorial on YouTube to hear Kelby walk through each pick in his own words, including the specific handling notes that don’t always show up in written specs.
Comments (3)
This saved me so much time on my last edit. Wish I'd found this sooner.
Great breakdown. The step-by-step approach really helps.
Would love to see a follow-up going deeper into this topic.
Leave a Comment