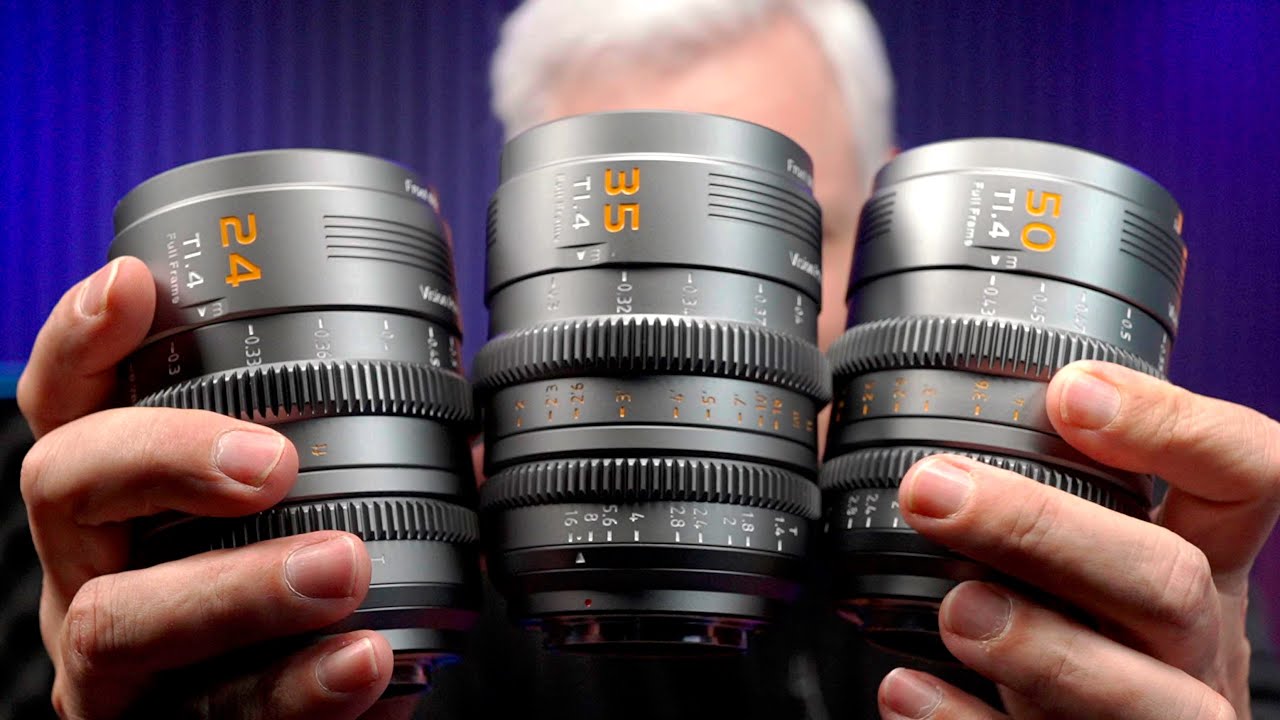
I’ve tested enough cheap lenses to know that the marketing always sounds better than the glass. “Cinema-grade” gets slapped on everything now, and most of the time it means someone added gear teeth to a kit lens and charged you three times as much. So when Tony and Chelsea Northrup dropped a review of the Sirui Vision Prime 1 set, I watched it twice, because the value proposition they laid out was the kind of thing that usually has a catch buried somewhere. In this Tony & Chelsea Northrup tutorial, they run the 24mm, 35mm, and 50mm T1.4 lenses through real-world tests and come back with a genuinely useful answer: this set holds up.
The problem these lenses solve is one I’ve felt personally. You’re building a filmmaking kit on a budget, and you quickly realize that a single decent cinema prime from a major brand can cost more than your camera body. You either buy one lens and have gaps in your focal length coverage, or you mix and match primes from different lines and spend hours in post trying to match the color, contrast, and exposure between shots. The Sirui VP-1 set attacks both problems at once. Here’s how everything actually works.
Watch the full tutorial on YouTube
Step 1: Understand What You Get in the Box
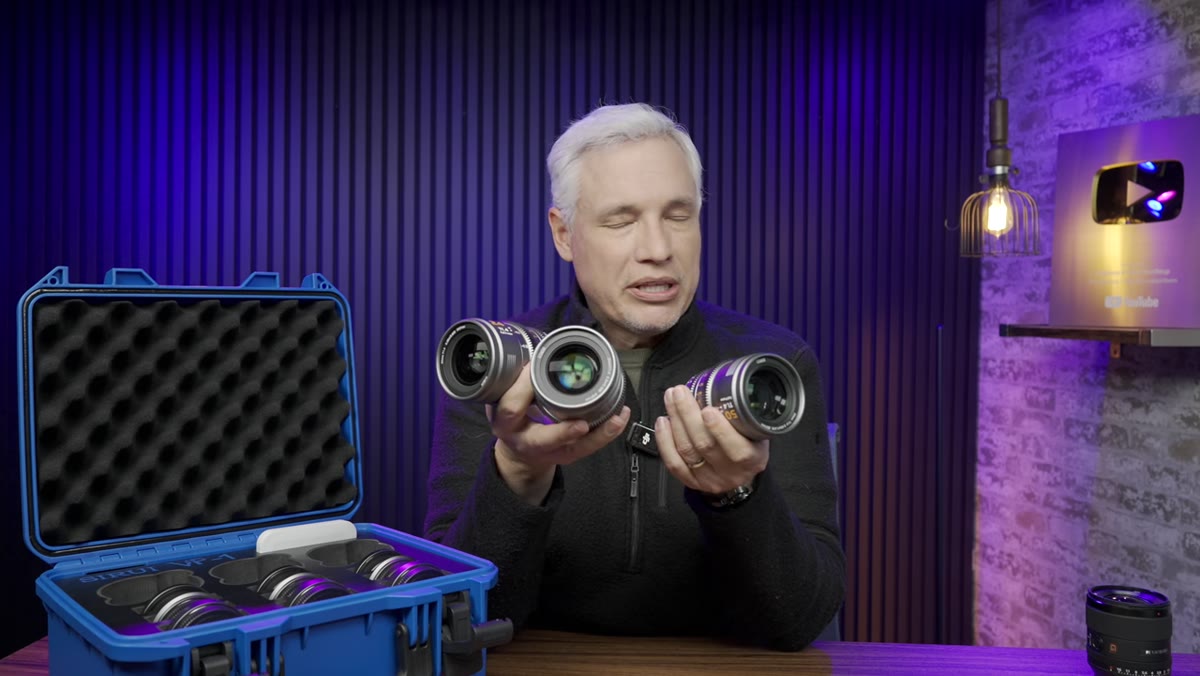
 Three Sirui VP-1 lenses displayed together on a surface
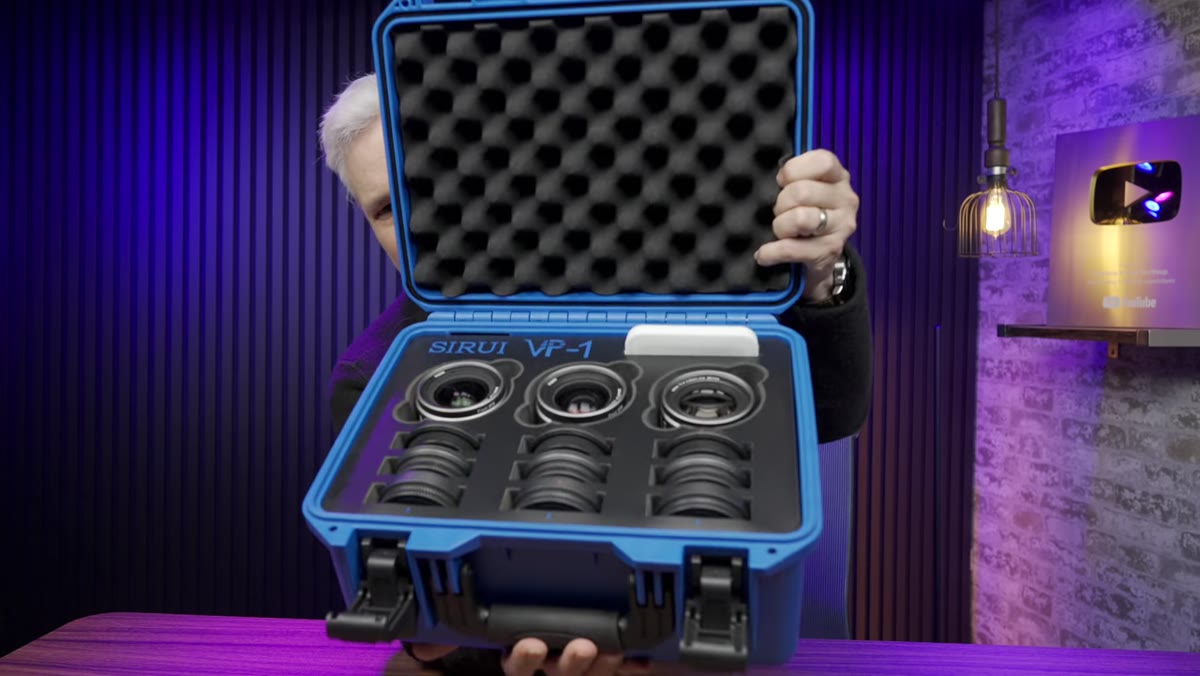
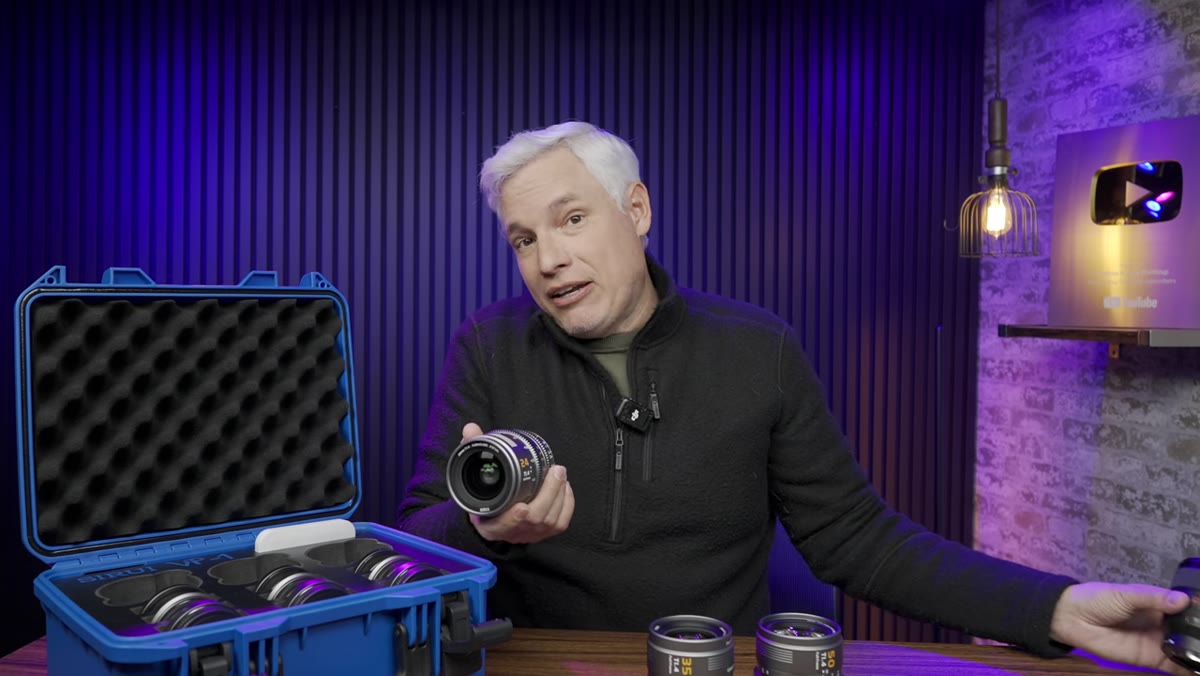
For a price that comes in under what most single cinema primes cost, the VP-1 set includes a 24mm T1.4, a 35mm T1.4, and a 50mm T1.4. That coverage handles the three focal lengths working filmmakers reach for most often. Wide establishing shots, natural-perspective interviews, and compressed medium shots are all accounted for. Before you even put a lens on a camera, it’s worth taking stock of how unusual it is to get that complete a set at this price point.
Three Sirui VP-1 lenses displayed together on a surface
For a price that comes in under what most single cinema primes cost, the VP-1 set includes a 24mm T1.4, a 35mm T1.4, and a 50mm T1.4. That coverage handles the three focal lengths working filmmakers reach for most often. Wide establishing shots, natural-perspective interviews, and compressed medium shots are all accounted for. Before you even put a lens on a camera, it’s worth taking stock of how unusual it is to get that complete a set at this price point.
The set also ships with multiple interchangeable mounts and a screwdriver to swap them. Sony E, Canon RF, Nikon Z, and Lumix L-mount are all covered. If you’re a freelancer who might get hired onto a Sony crew this month and a Canon crew next month, this matters more than it sounds. You rent the body, swap the mount yourself, and use your own glass. That’s a real reduction in rental costs over the course of a year.
Step 2: Evaluate the Physical Cinema Features
 Close-up of focus and aperture gear rings on the lens body
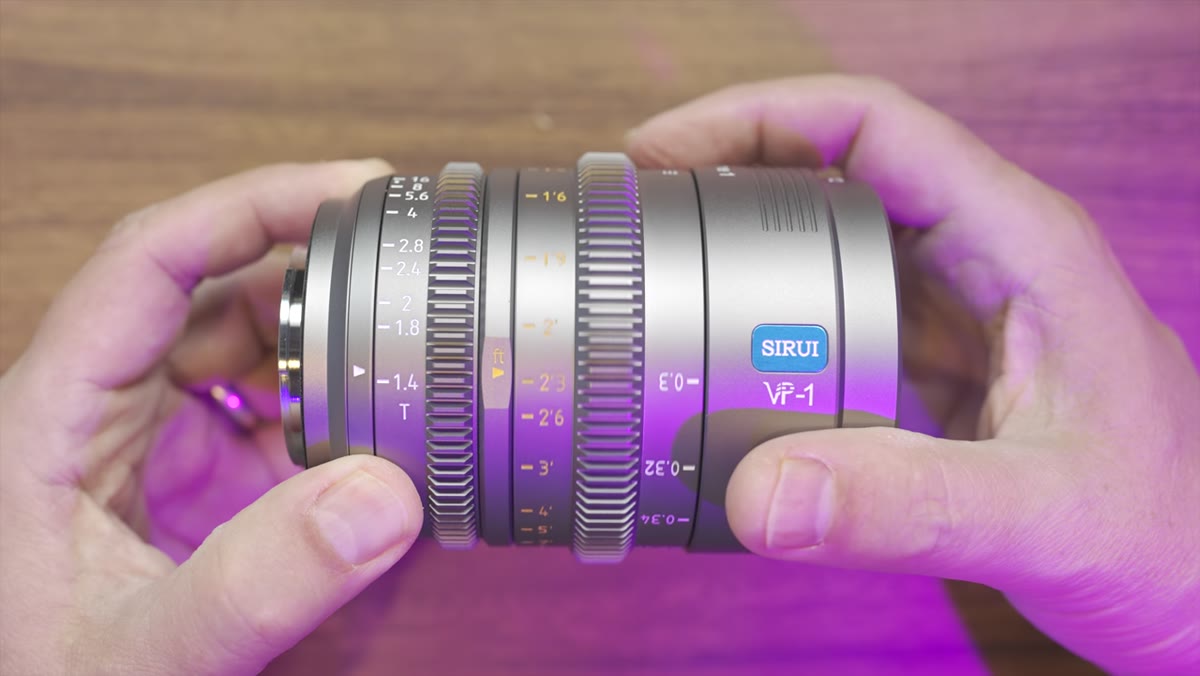
The VP-1 lenses are built with the physical features that professional cinema rigs require. The focus and aperture rings are large, geared, and positioned consistently across all three focal lengths. That consistency matters when you’re mounting these to a gimbal or a shoulder rig with a follow focus system. You set up once and the mechanics don’t change between lenses.
Close-up of focus and aperture gear rings on the lens body
The VP-1 lenses are built with the physical features that professional cinema rigs require. The focus and aperture rings are large, geared, and positioned consistently across all three focal lengths. That consistency matters when you’re mounting these to a gimbal or a shoulder rig with a follow focus system. You set up once and the mechanics don’t change between lenses.
The front of each lens has a 72mm ring for matte box attachment and accepts 67mm screw-in filters as well. There’s also a rubber gasket at the mount for basic weather sealing. These aren’t features you typically find in this price range. The lenses are physically larger and heavier than the average mirrorless prime, so keep that in mind for a compact travel setup, but for a dedicated cinema rig they land right where they should.
Step 3: Use the Matched Set Advantage on a Gimbal
 Side-by-side comparison of Sirui lens and Sony lens on a gimbal
One of the most practical arguments for a matched set comes down to gimbal work. Tony points out in the tutorial that because all three VP-1 lenses share the same physical dimensions and weight, you can swap focal lengths without rebalancing the gimbal. Compare that to using a mix of Sony or third-party primes where every lens change might mean a full rebalance, and you start to see real time savings on set.
Side-by-side comparison of Sirui lens and Sony lens on a gimbal
One of the most practical arguments for a matched set comes down to gimbal work. Tony points out in the tutorial that because all three VP-1 lenses share the same physical dimensions and weight, you can swap focal lengths without rebalancing the gimbal. Compare that to using a mix of Sony or third-party primes where every lens change might mean a full rebalance, and you start to see real time savings on set.
The tradeoff is size. Compared to a compact Sony prime at the same focal length, the Sirui is noticeably bigger. But the moment you need to swap from a 24mm to a 50mm during a shoot, the Sony setup forces a rebalance and the Sirui doesn’t. For run-and-gun documentary work or event filmmaking, that efficiency adds up fast.
Step 4: Check Color and Exposure Matching Between Lenses
 Split-screen footage comparison across all three focal lengths
A matched set is only as useful as its actual consistency. Tony tested all three lenses carefully and found they performed well against each other, with one notable caveat: the 50mm is approximately one-eighth of a stop darker than the 24mm and 35mm. The T-stop ratings across all three are slightly darker than equivalent Sony F1.4 lenses, which suggests the lenses might be more accurately labeled T1.5 in real-world performance.
Split-screen footage comparison across all three focal lengths
A matched set is only as useful as its actual consistency. Tony tested all three lenses carefully and found they performed well against each other, with one notable caveat: the 50mm is approximately one-eighth of a stop darker than the 24mm and 35mm. The T-stop ratings across all three are slightly darker than equivalent Sony F1.4 lenses, which suggests the lenses might be more accurately labeled T1.5 in real-world performance.
For most shooting situations, one-eighth of a stop is not going to break anything. But if you’re cutting between the 50mm and the other two in a multi-camera setup, you’ll want to monitor your histogram and exposure readings carefully. Set all three to identical T-stop values on a test chart before you start shooting, and check that your footage matches in a neutral grade before you commit to a look.
Step 5: Work With the Manual Focus Behavior
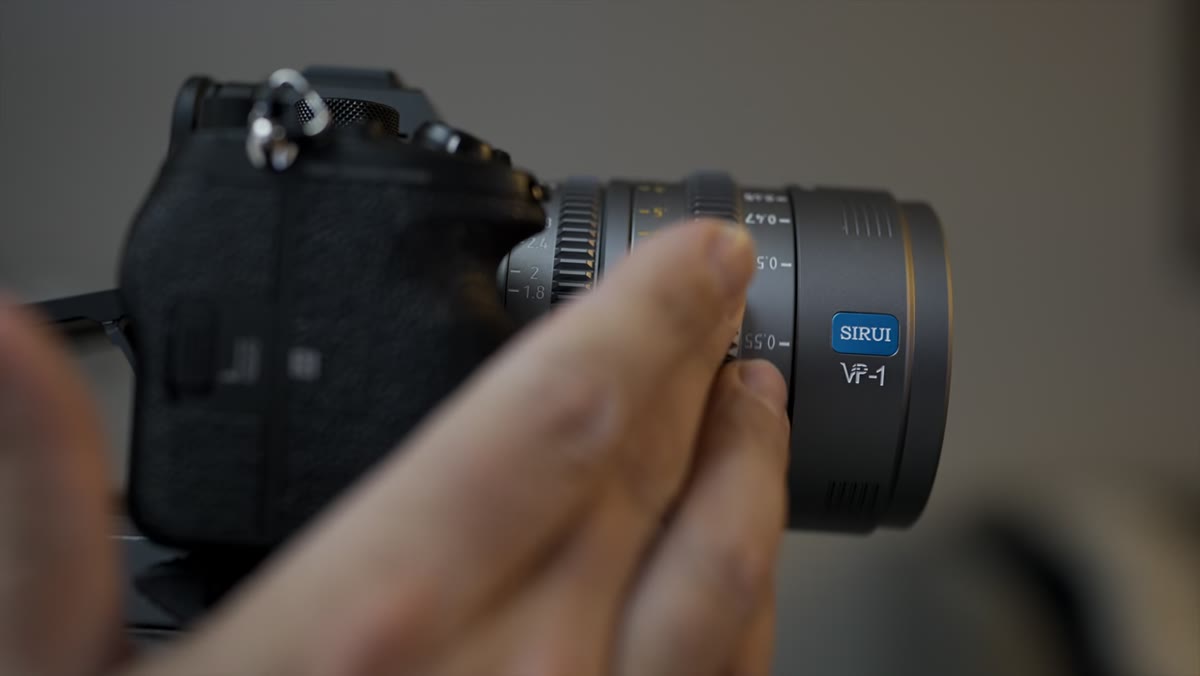 Hands demonstrating focus ring rotation from close focus to infinity
The focus throw on these lenses is long, which is exactly what you want for precise cinema focus pulls. Going from minimum focus distance to infinity requires more ring rotation than you’d get from a photography prime, and that precision translates directly into smoother, more controlled focus transitions on camera.
Hands demonstrating focus ring rotation from close focus to infinity
The focus throw on these lenses is long, which is exactly what you want for precise cinema focus pulls. Going from minimum focus distance to infinity requires more ring rotation than you’d get from a photography prime, and that precision translates directly into smoother, more controlled focus transitions on camera.
The practical note here is that hand-focusing from one extreme to the other might require repositioning your grip. For real-world shooting distances, though, Tony found that most focus throws could be completed in a single smooth movement without resetting. If you’re using a follow focus wheel or a motorized system, the long throw becomes a straightforward advantage. The resistance and smoothness of the rings are consistent and well-damped, which is the thing that actually defines how a focus pull looks on screen.
Step 6: Note the Starburst Difference at Small Apertures
 Starburst pattern comparison between 50mm and the 24mm and 35mm
When Tony stopped all three lenses down to T16 and shot a point light source, the starburst patterns didn’t match. The 50mm has a different number of aperture blades than the 24mm and 35mm, so the spike count and shape differ at small apertures. In everyday shooting and in bokeh performance, he didn’t find a meaningful difference, but if you’re shooting a scene where stopped-down starburst effects on lights are part of the visual language, you’ll want to test this first and decide whether it matters for your specific project.
Starburst pattern comparison between 50mm and the 24mm and 35mm
When Tony stopped all three lenses down to T16 and shot a point light source, the starburst patterns didn’t match. The 50mm has a different number of aperture blades than the 24mm and 35mm, so the spike count and shape differ at small apertures. In everyday shooting and in bokeh performance, he didn’t find a meaningful difference, but if you’re shooting a scene where stopped-down starburst effects on lights are part of the visual language, you’ll want to test this first and decide whether it matters for your specific project.
What I’d Add From My Own Testing
I haven’t run these lenses through my full comparison spreadsheet yet, but the value-per-dollar math here is the kind that rarely works out this cleanly. My usual instinct when I see a budget cinema set is to look for where they cut corners on optical quality to hit the price. Based on what Tony and Chelsea documented, the Sirui VP-1 set seems to take its compromises in areas that are mostly manageable. A slight T-stop inconsistency and an aperture blade mismatch on the 50mm are real issues, but they’re the kind of issues you can work around with preparation rather than the kind that show up as soft corners or ugly bokeh in the final cut. For a filmmaker building their first owned cinema kit, I’d rather know about those limitations upfront than discover them mid-shoot.
The single biggest takeaway here is that the interchangeable mount system combined with consistent physical dimensions makes this a genuinely practical working set, not just a value play on paper. If you shoot across multiple camera systems or want to protect your lens investment through future camera upgrades, the VP-1 set is worth a serious look.
Watch the full tutorial on YouTube to see the side-by-side footage comparisons and the full optical test results that Tony and Chelsea walk through.
Comments (3)
I keep coming back to this article. It's that useful.
Quality content like this is rare. Keep it up.
Finally someone explains this in a way that actually makes sense.
Leave a Comment