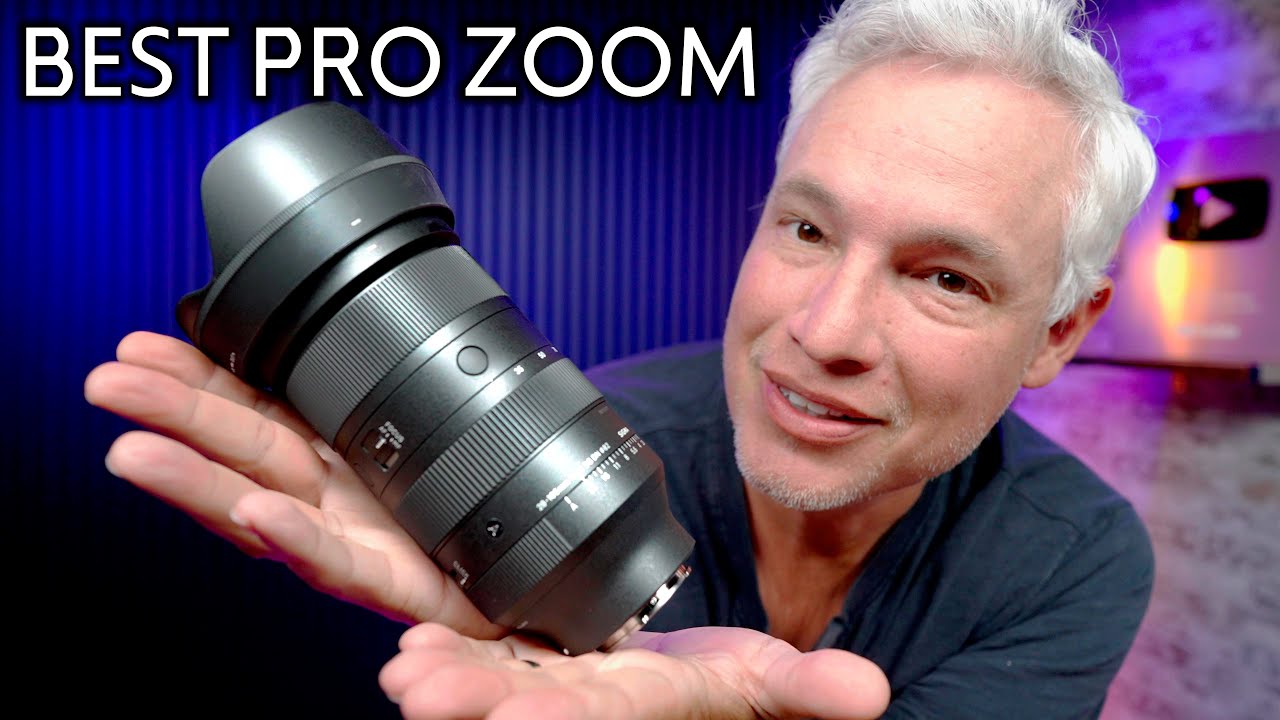
There’s a question I see constantly in Sony shooter communities: do you go with the lighter, more affordable Sony 24-105mm f/4 G OSS, or do you pay up for the beefier Sigma 28-105mm f/2.8? I’ve been watching this debate heat up ever since the Sigma hit the market, and I wanted a comparison grounded in actual test data rather than spec-sheet opinions. That’s exactly what I found in this Tony & Chelsea Northrup tutorial, which puts both lenses through sharpness tests, backlit portrait scenarios, and a real-world usability comparison.
What makes this breakdown worth your time is that Tony doesn’t just hand you a winner. He frames the decision around how you actually shoot, which is the right approach. I’ve spent years arguing that the gear that fits your workflow beats the gear with the most impressive specs, and this comparison makes that case better than most.
Here’s how the evaluation breaks down, step by step.
Step 1: Understand What That One Stop Actually Means
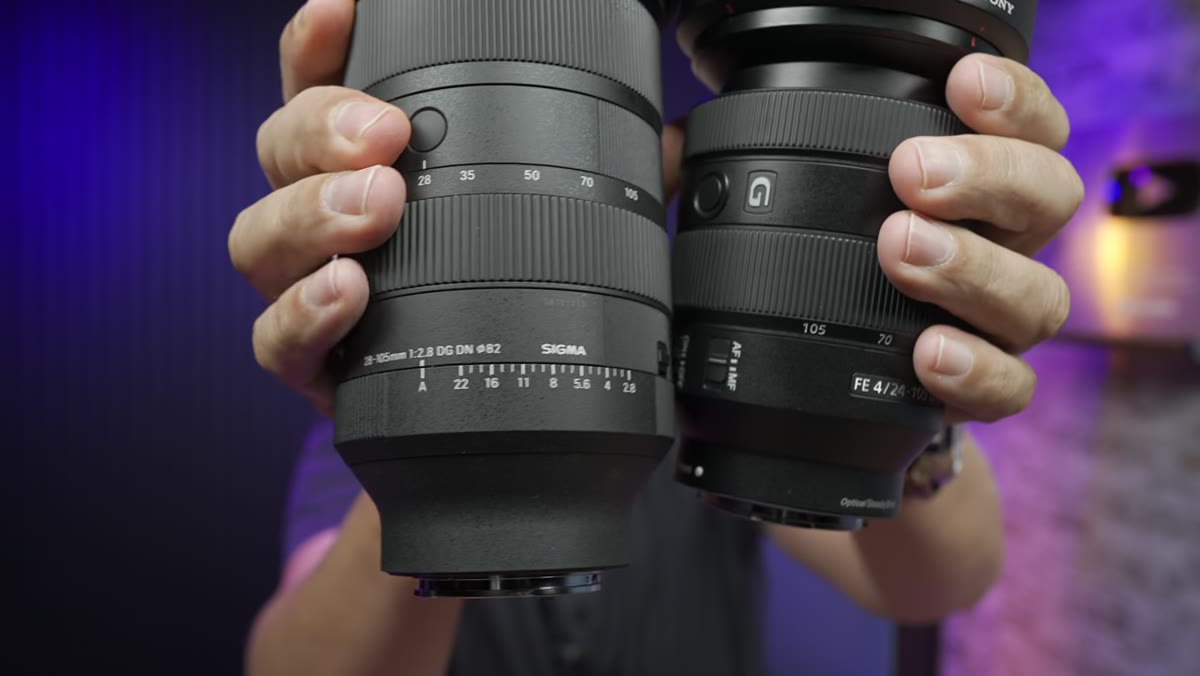
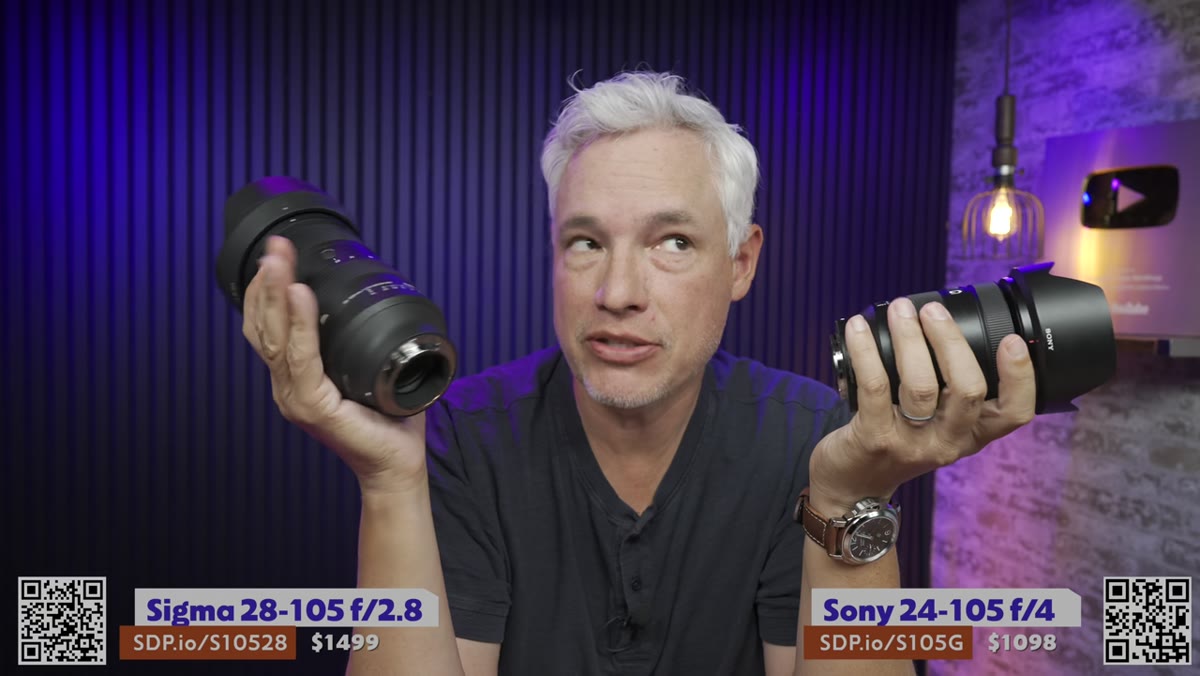 Tony holding both lenses side by side outdoors
The f/4 versus f/2.8 difference sounds small until you remember that each stop represents a doubling of light. At f/2.8, the Sigma collects twice as much light as the Sony in any given scene. In practical terms, that means cleaner images in low light without bumping ISO, and noticeably more background separation when you’re shooting portraits at the long end. If you’ve ever tried to get that creamy background blur at 105mm with an f/4 lens and felt like it wasn’t quite there, this is why.
Tony holding both lenses side by side outdoors
The f/4 versus f/2.8 difference sounds small until you remember that each stop represents a doubling of light. At f/2.8, the Sigma collects twice as much light as the Sony in any given scene. In practical terms, that means cleaner images in low light without bumping ISO, and noticeably more background separation when you’re shooting portraits at the long end. If you’ve ever tried to get that creamy background blur at 105mm with an f/4 lens and felt like it wasn’t quite there, this is why.
That said, the Sony does carry optical stabilization, which helps when you’re hand-holding at slower shutter speeds. Tony notes that most modern full-frame Sony bodies already include in-body stabilization, so the OSS advantage only really shows up when you’re pushing past around 1/10th of a second. For anything faster, it’s a non-factor.
Step 2: Factor In Size and How You’re Actually Carrying It
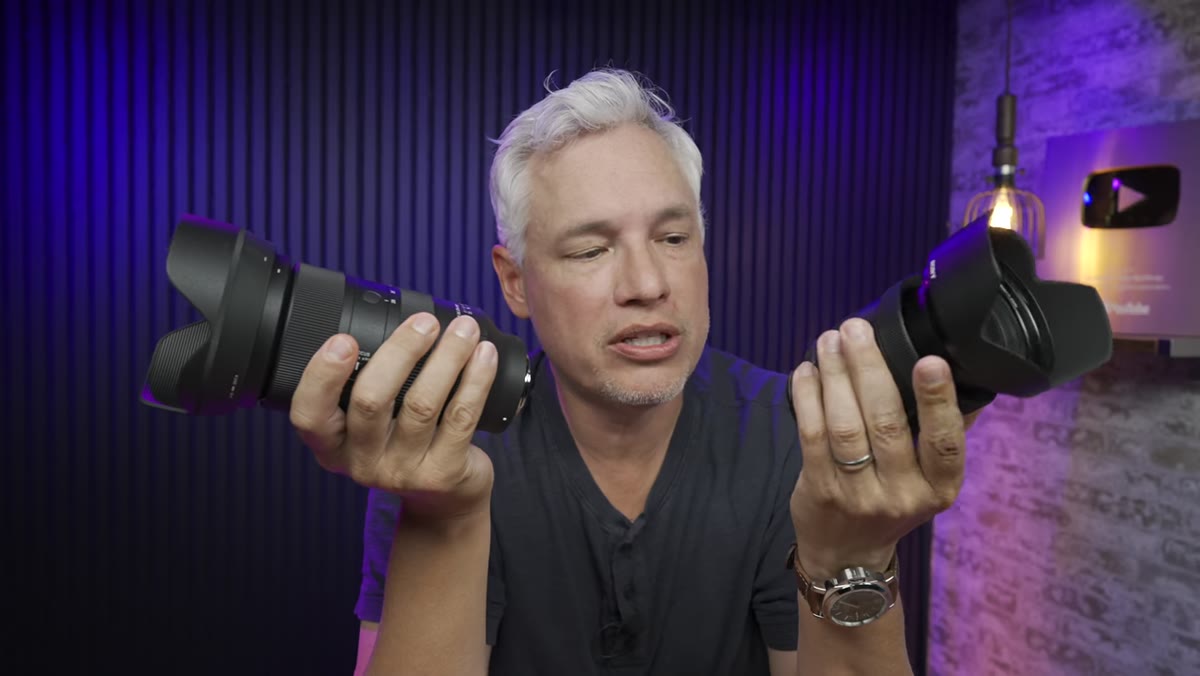 Tony comparing physical size of both lenses in hand
This is where the conversation gets practical fast. The Sony is significantly smaller and lighter. The Sigma is a big, heavy, professional-grade lens. Tony’s point here is blunt and accurate: sling the Sigma around your neck for a few hours of walking and you’re going to feel it. For travel and street shooting, the Sony wins purely on wearability.
Tony comparing physical size of both lenses in hand
This is where the conversation gets practical fast. The Sony is significantly smaller and lighter. The Sigma is a big, heavy, professional-grade lens. Tony’s point here is blunt and accurate: sling the Sigma around your neck for a few hours of walking and you’re going to feel it. For travel and street shooting, the Sony wins purely on wearability.
For event work, though, the math flips. When you’re stationary or moving deliberately through a venue and low-light performance is a priority, the extra stop justifies the weight. This is the kind of situational thinking I try to apply to every gear decision. The best lens is the one you’ll actually use comfortably in the environment you’re shooting in.
Step 3: Consider the Focal Length Gap at the Wide End
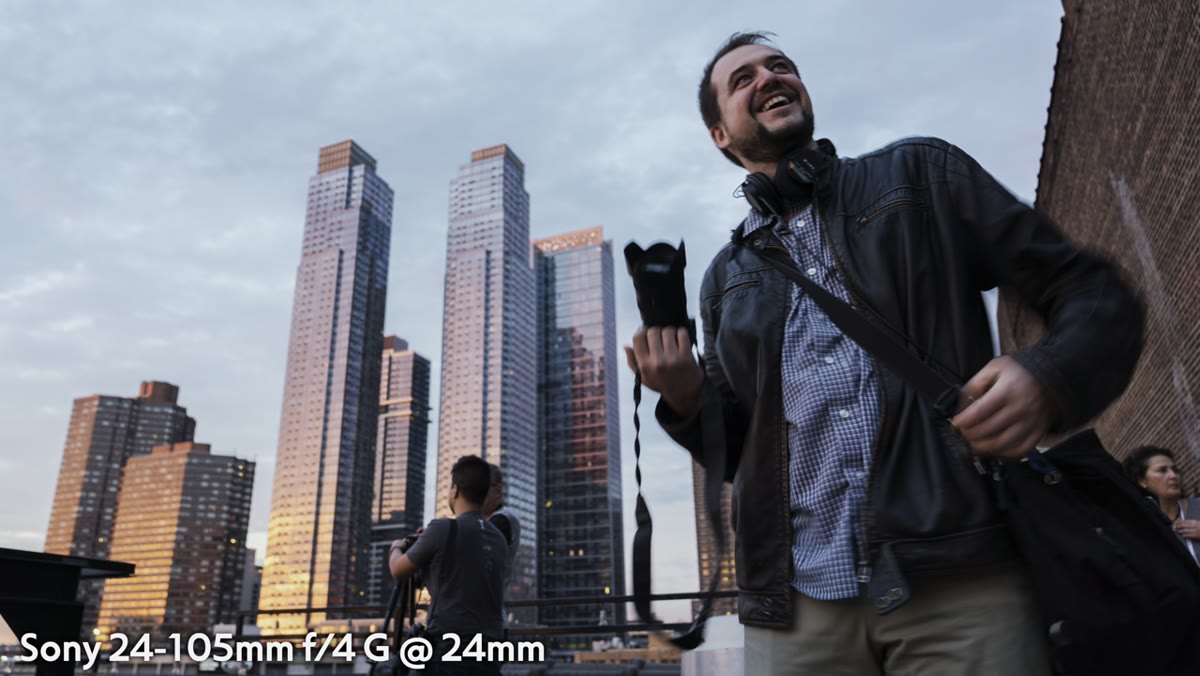 Tony gesturing at 24mm vs 28mm range difference
The Sony starts at 24mm. The Sigma starts at 28mm. Four millimeters sounds trivial, but at the wide end of a zoom range, it genuinely isn’t. Tony makes the point that 24mm is essentially the default field of view for most smartphone cameras now, so it’s become the baseline expectation for how a wide shot should look. Giving that up on a walk-around lens is a real trade-off.
Tony gesturing at 24mm vs 28mm range difference
The Sony starts at 24mm. The Sigma starts at 28mm. Four millimeters sounds trivial, but at the wide end of a zoom range, it genuinely isn’t. Tony makes the point that 24mm is essentially the default field of view for most smartphone cameras now, so it’s become the baseline expectation for how a wide shot should look. Giving that up on a walk-around lens is a real trade-off.
For event shooters who are already carrying a second body with a wide prime or a 16-35mm zoom, the 28mm starting point on the Sigma is no big deal. For a one-lens travel setup, though, losing those four millimeters at the wide end is worth thinking hard about.
Step 4: Note the Aperture Ring Difference
 Close-up of Sigma’s physical aperture ring
The Sigma has a physical aperture ring. The Sony does not. This is a handling detail that sounds minor and actually isn’t, especially if you’re used to shooting with manual control or you frequently switch between aperture values mid-shoot. With the Sony, you’re dialing aperture through the camera body, which adds a step and can slow down your response time in fast-moving situations. The Sigma lets you set it on the lens directly, which many photographers find faster and more intuitive.
Close-up of Sigma’s physical aperture ring
The Sigma has a physical aperture ring. The Sony does not. This is a handling detail that sounds minor and actually isn’t, especially if you’re used to shooting with manual control or you frequently switch between aperture values mid-shoot. With the Sony, you’re dialing aperture through the camera body, which adds a step and can slow down your response time in fast-moving situations. The Sigma lets you set it on the lens directly, which many photographers find faster and more intuitive.
Step 5: Read the Sharpness Test Results Carefully
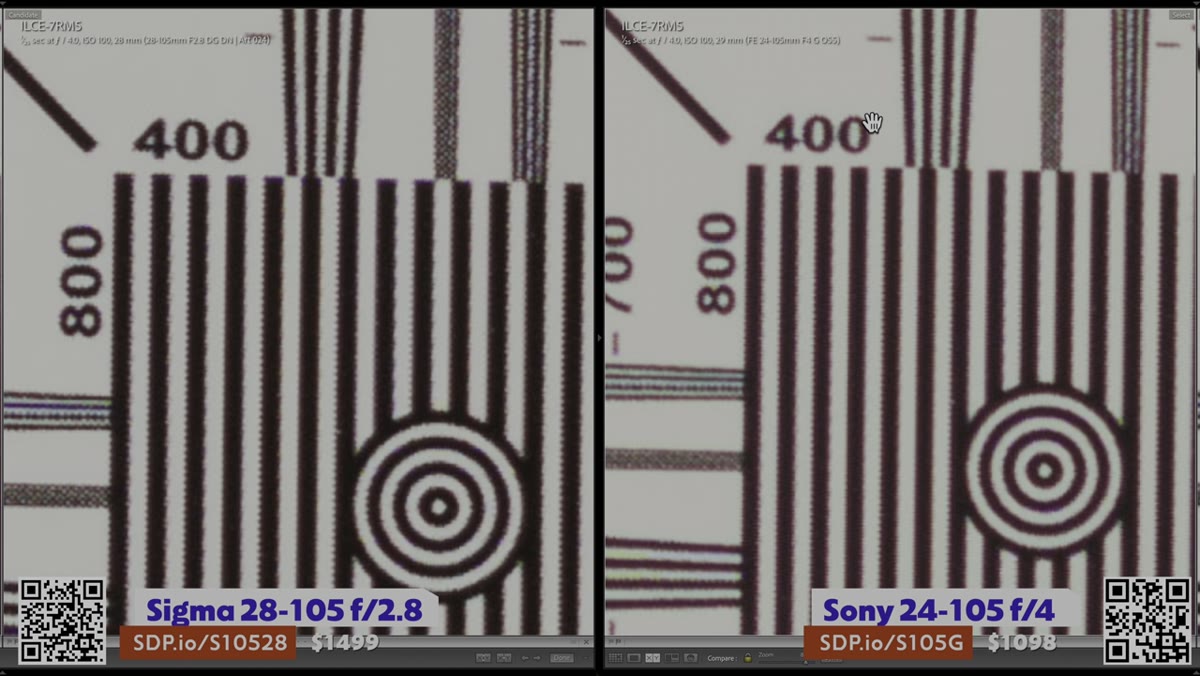 Side-by-side sharpness comparison on screen at 28mm
At 28mm, both lenses perform well at the center of the frame. The Sony shows a slight softness advantage going to the Sigma, but it’s close enough that most people wouldn’t notice in real-world shooting. Toward the edges of the frame, the Sigma’s advantage becomes more obvious.
Side-by-side sharpness comparison on screen at 28mm
At 28mm, both lenses perform well at the center of the frame. The Sony shows a slight softness advantage going to the Sigma, but it’s close enough that most people wouldn’t notice in real-world shooting. Toward the edges of the frame, the Sigma’s advantage becomes more obvious.
At 105mm, the gap widens clearly. The Sigma produces crisper detail with better contrast, and that difference becomes even more pronounced toward the corners. If you’re printing large or cropping aggressively, this matters. If you’re shooting for social or web delivery, you might not lose sleep over it.
Step 6: Take the Backlit Portrait Test Seriously
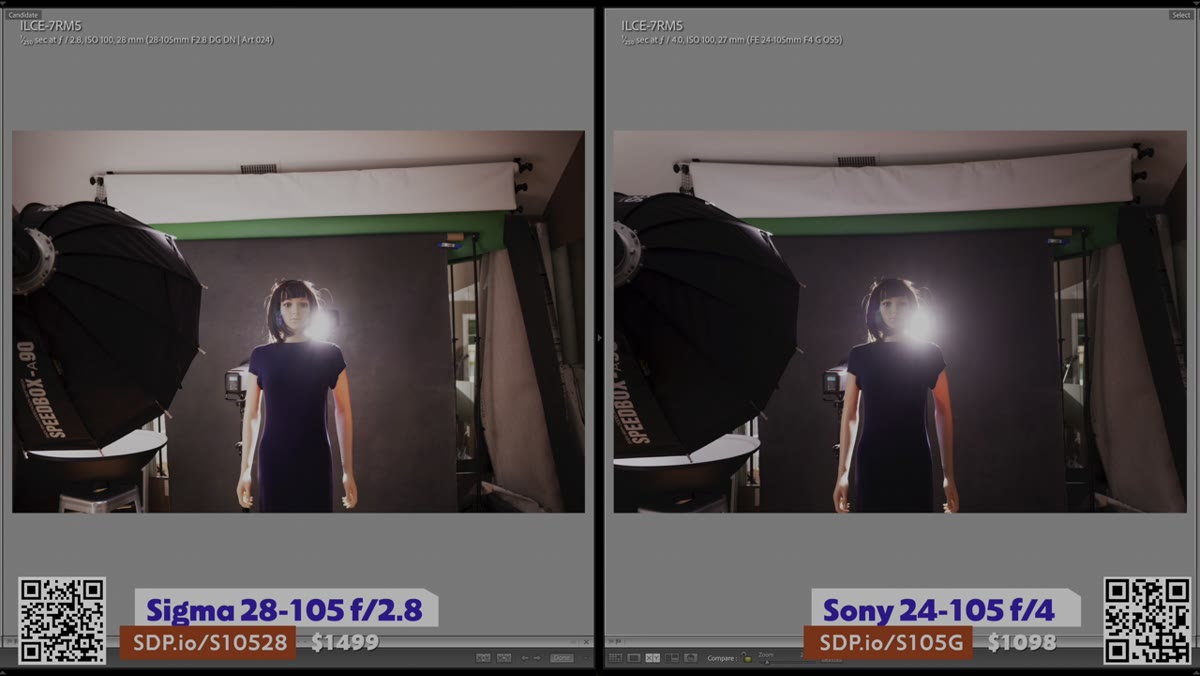 Backlit mannequin test showing Sony flare vs Sigma clarity
This is the part of the video that genuinely surprised me. Tony set up a backlit scenario in a studio using a mannequin to simulate portrait conditions at sunset or in front of a bright window. At 24mm, the Sony shows significant blooming, that washed-out glow that eats into contrast and color across the frame. The Sigma handles the same conditions with much better contrast retention.
Backlit mannequin test showing Sony flare vs Sigma clarity
This is the part of the video that genuinely surprised me. Tony set up a backlit scenario in a studio using a mannequin to simulate portrait conditions at sunset or in front of a bright window. At 24mm, the Sony shows significant blooming, that washed-out glow that eats into contrast and color across the frame. The Sigma handles the same conditions with much better contrast retention.
At 105mm, the gap is dramatic. The Sony’s image washes out almost completely in the backlit test. The Sigma holds contrast and produces a usable shot. Both lenses were tested with identical settings, so this isn’t a fluke. If you shoot portraits outdoors at golden hour or work in spaces with strong backlighting, the Sony’s performance here is a genuine liability.
My Take: The Sony Still Has a Real Audience
I’ve run plenty of my own comparison tests over the years, and one thing I’ve learned is that “worse on the test chart” doesn’t always mean “wrong for your situation.” The Sony 24-105mm f/4 is a genuinely good lens for the person who wants one compact, capable zoom to cover a trip or a casual shoot. The size advantage is real. The image quality is solid for most delivery formats. And if your camera has in-body stabilization and you’re not regularly shooting events or golden-hour portraits, you may never encounter the scenarios where the Sigma pulls ahead.
But if you’re shooting events, portraits, or any situation with challenging light on a regular basis, the Sigma’s f/2.8 aperture and its handling of backlit scenes make it the stronger tool. The sharpness advantage at 105mm and the backlight performance aren’t marginal wins. They’re meaningful differences that will show up in your actual work.
The single most important takeaway here is this: the backlight test should be the deciding factor for most shooters, not the sharpness chart. Sharpness differences between modern lenses are often subtle. Flare and contrast falloff in backlit conditions can ruin a shot entirely, and the Sony’s weakness there is significant enough to matter in real shooting situations.
Watch the full tutorial on YouTube to see Tony’s complete side-by-side footage and draw your own conclusions from the raw test results.
Comments (3)
Quality content like this is rare. Keep it up.
This is exactly what I needed today. Been struggling with this for weeks.
Well explained. I think my audience would really benefit from this — mind if I link to it?
Leave a Comment