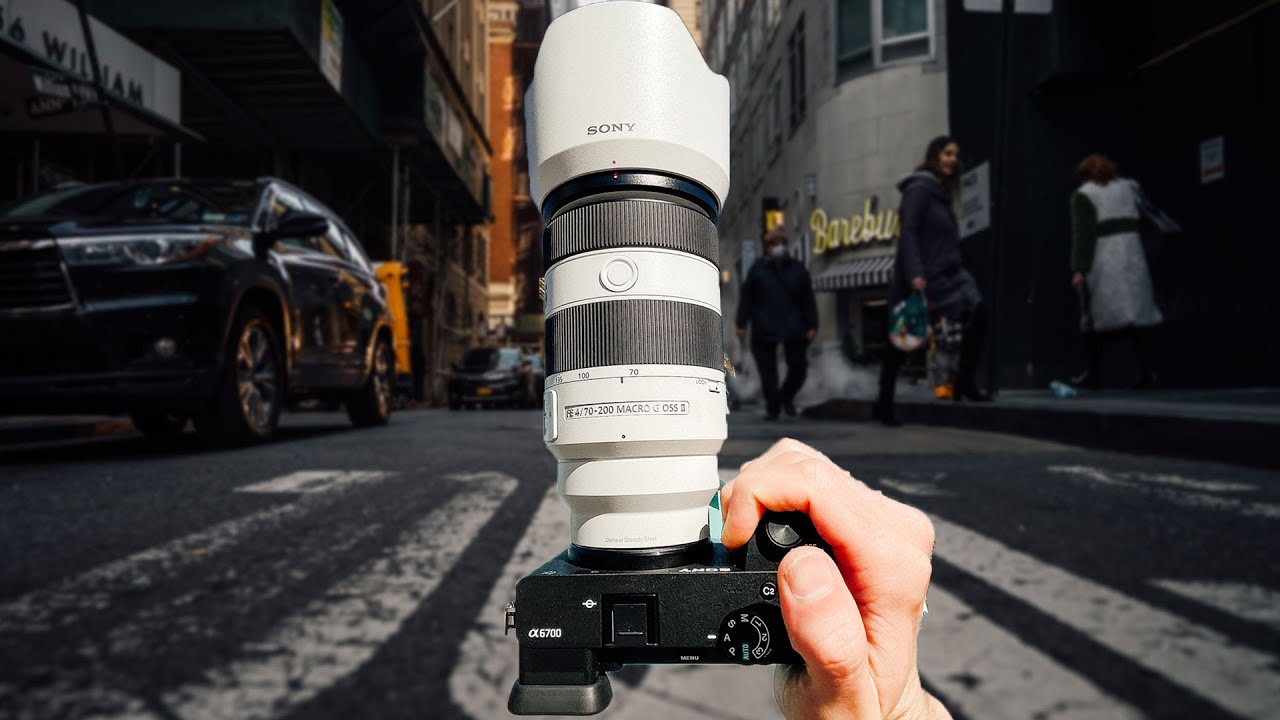
I keep a running spreadsheet of every lens I’ve tested against its price-to-performance ratio. Most of the time, the “Holy Grail” options sit at the top because of reputation, not results. The 70-200mm f/2.8 is the perfect example. It’s the lens everyone points to as the gold standard for telephoto work, and honestly, it earns that reputation. But I’ve been asking myself lately whether that reputation is making photographers overpay for capabilities they don’t actually use. When Pierre T. Lambert dropped his hands-on breakdown of Sony’s new 70-200mm f/4 with macro mode, I watched it three times before breakfast because it touches on exactly the kind of trade-off question I think about constantly.
Watch the full tutorial on YouTube
What Lambert brings to this review that most gear channels skip is personal accountability. He actually bought a 70-200 f/4 years ago during his Nikon days, returned it within a week, and upgraded to the f/2.8. That history matters because it means he’s not just doing a spec comparison. He knows where the f/4 fell short before and can speak specifically to what’s changed. Here’s my breakdown of what he walks through and what it means if you’re trying to make a real buying decision.
Step 1: Understand What You’re Actually Comparing
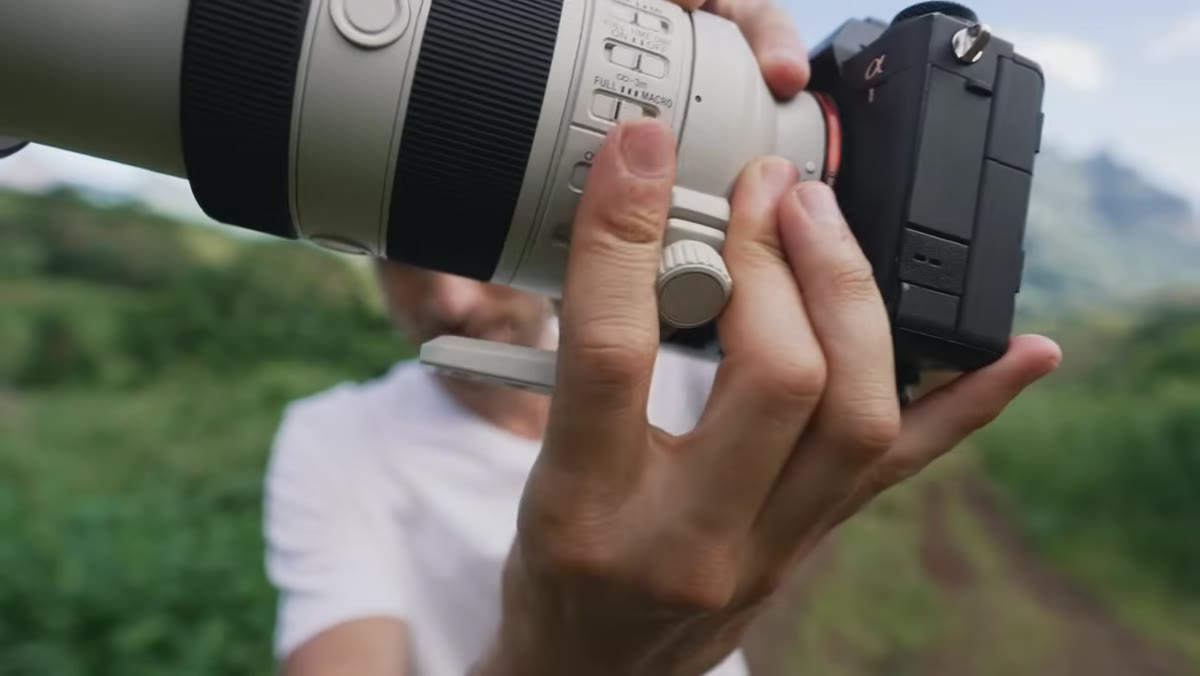
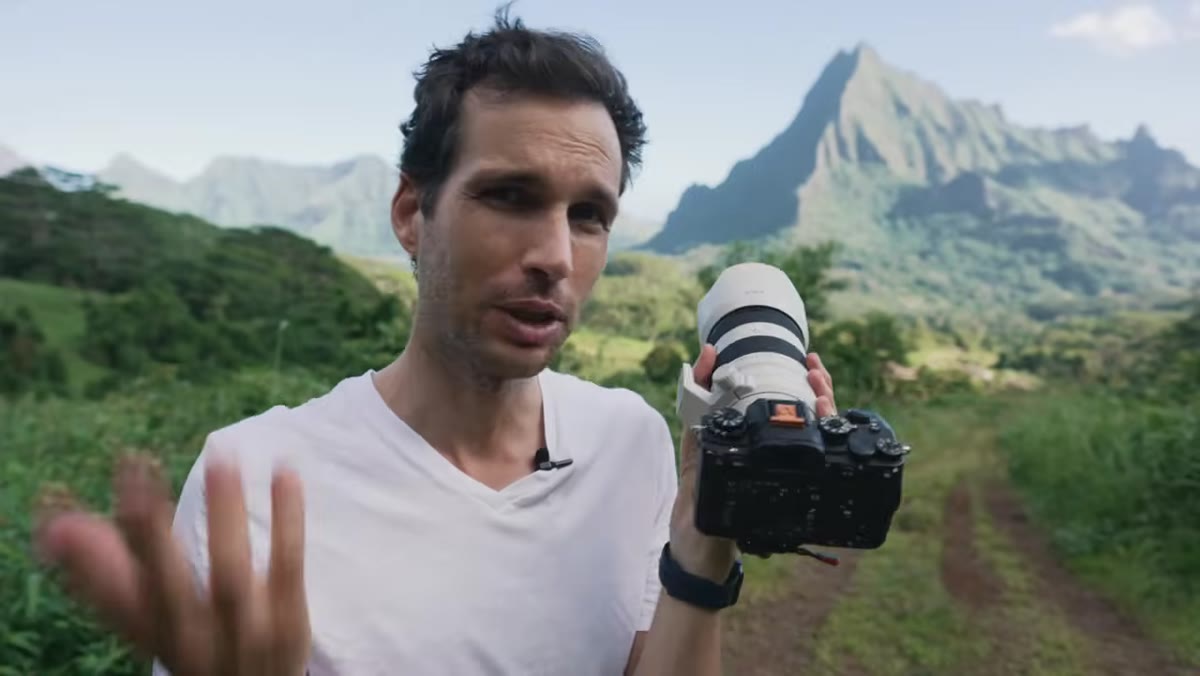 Host holding compact 70-200 f/4 lens next to camera
Before Lambert even gets into specs, he reframes the question. This isn’t just an f/4 vs. f/2.8 argument about light and bokeh. It’s about whether the total package of a lens - size, weight, versatility, and special features - fits how you actually shoot. He notes the new Sony 70-200 f/4 is roughly 15 percent lighter and shorter than its predecessor, which puts it in a completely different carry category than the f/2.8. If you’re traveling or shooting landscapes where you’re already carrying a lot of gear, that physical difference is real and cumulative over a long day.
Host holding compact 70-200 f/4 lens next to camera
Before Lambert even gets into specs, he reframes the question. This isn’t just an f/4 vs. f/2.8 argument about light and bokeh. It’s about whether the total package of a lens - size, weight, versatility, and special features - fits how you actually shoot. He notes the new Sony 70-200 f/4 is roughly 15 percent lighter and shorter than its predecessor, which puts it in a completely different carry category than the f/2.8. If you’re traveling or shooting landscapes where you’re already carrying a lot of gear, that physical difference is real and cumulative over a long day.
Step 2: Get Familiar With the Ergonomics Before You Judge the Optics
 Close-up of lens barrel showing macro button and control switches
Lambert goes through the physical controls early, and this is where most reviews get lazy. He points out the stabilization modes - three options including an active mode - plus the OSS override ring that lets you manually control focus without fully switching to manual mode. There’s also a row of programmable buttons along the barrel. His personal setting is to map those buttons to face detection priority, so no matter what mode he’s in, one press snaps focus to a human face. If you’re using Sony and you haven’t set up your focus buttons this way, that tip alone is worth the watch.
Close-up of lens barrel showing macro button and control switches
Lambert goes through the physical controls early, and this is where most reviews get lazy. He points out the stabilization modes - three options including an active mode - plus the OSS override ring that lets you manually control focus without fully switching to manual mode. There’s also a row of programmable buttons along the barrel. His personal setting is to map those buttons to face detection priority, so no matter what mode he’s in, one press snaps focus to a human face. If you’re using Sony and you haven’t set up your focus buttons this way, that tip alone is worth the watch.
Step 3: Pay Attention to the Extending Barrel Design
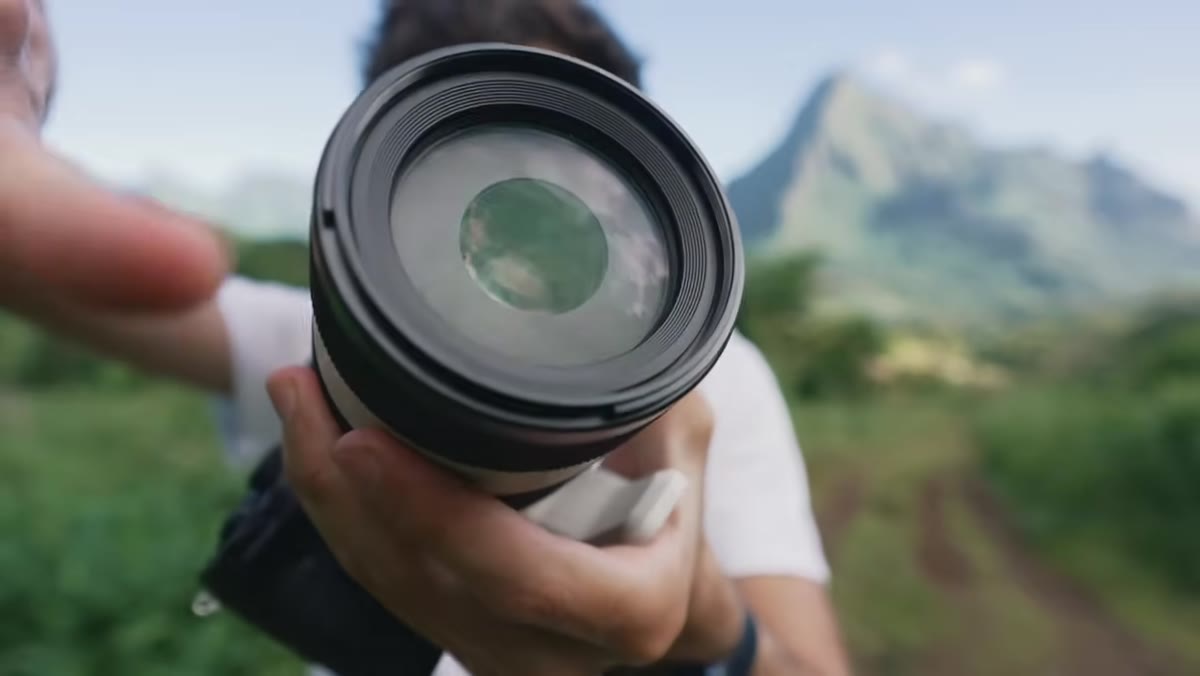 Demonstrating barrel extension as lens zooms out
The new f/4 uses an extending barrel, similar to how Canon’s 70-200 f/2.8 is built. At first glance that sounds like a downside - internal zoom designs feel more solid and weather-resistant to a lot of shooters. But Lambert makes the case that this is exactly what enables the compact form factor when collapsed. It’s a real trade-off, not a flaw, and understanding it changes how you evaluate the lens in hand versus in a spec sheet. If you’re shooting in unpredictable weather regularly, it’s worth researching the sealing on this specific version before committing.
Demonstrating barrel extension as lens zooms out
The new f/4 uses an extending barrel, similar to how Canon’s 70-200 f/2.8 is built. At first glance that sounds like a downside - internal zoom designs feel more solid and weather-resistant to a lot of shooters. But Lambert makes the case that this is exactly what enables the compact form factor when collapsed. It’s a real trade-off, not a flaw, and understanding it changes how you evaluate the lens in hand versus in a spec sheet. If you’re shooting in unpredictable weather regularly, it’s worth researching the sealing on this specific version before committing.
Step 4: Test the Macro Mode as a Standalone Feature
 Shooting flowers and plants in macro mode at close distance
This is the part that genuinely surprised me when Lambert demonstrated it. The lens has a dedicated macro switch on the barrel, and when engaged, it allows a minimum focus distance of 0.26 meters at 70mm and 0.42 meters at 200mm. Lambert compared this directly against a dedicated 90mm macro lens and found the 70-200 f/4 actually closes focus tighter in certain configurations. He’s shooting plants literally inches from the lens, and the detail holds. For photographers who currently carry both a telephoto and a separate macro lens, this changes the packing calculation entirely.
Shooting flowers and plants in macro mode at close distance
This is the part that genuinely surprised me when Lambert demonstrated it. The lens has a dedicated macro switch on the barrel, and when engaged, it allows a minimum focus distance of 0.26 meters at 70mm and 0.42 meters at 200mm. Lambert compared this directly against a dedicated 90mm macro lens and found the 70-200 f/4 actually closes focus tighter in certain configurations. He’s shooting plants literally inches from the lens, and the detail holds. For photographers who currently carry both a telephoto and a separate macro lens, this changes the packing calculation entirely.
Step 5: Shoot It on Both an APS-C and Full-Frame Body Intentionally
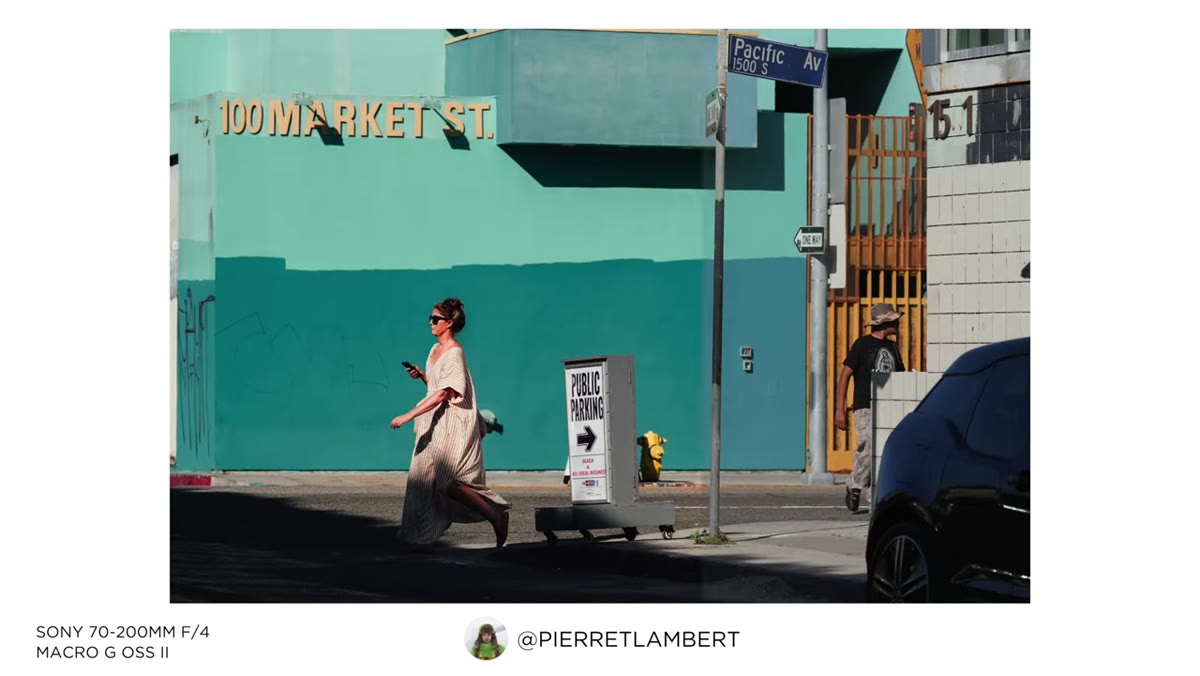 Comparing footage shot on Sony a6700 versus Sony A1
Lambert was deliberate about disclosing which camera he used for which shots: the Sony a6700 for LA footage, and the Sony A1 for landscape work in France. That transparency matters. The a6700 is an APS-C body, which applies a 1.5x crop factor and effectively turns the 70-200 into a 105-300mm equivalent. If you’re shooting APS-C and considering this lens, you’re getting even more reach with a smaller, lighter package. If you’re on full-frame, you’re getting a true 70-200 with macro versatility. Both use cases are legitimate, but they’re different enough that you should know which one applies to you before buying.
Comparing footage shot on Sony a6700 versus Sony A1
Lambert was deliberate about disclosing which camera he used for which shots: the Sony a6700 for LA footage, and the Sony A1 for landscape work in France. That transparency matters. The a6700 is an APS-C body, which applies a 1.5x crop factor and effectively turns the 70-200 into a 105-300mm equivalent. If you’re shooting APS-C and considering this lens, you’re getting even more reach with a smaller, lighter package. If you’re on full-frame, you’re getting a true 70-200 with macro versatility. Both use cases are legitimate, but they’re different enough that you should know which one applies to you before buying.
Step 6: Ask Yourself When You Actually Need f/2.8
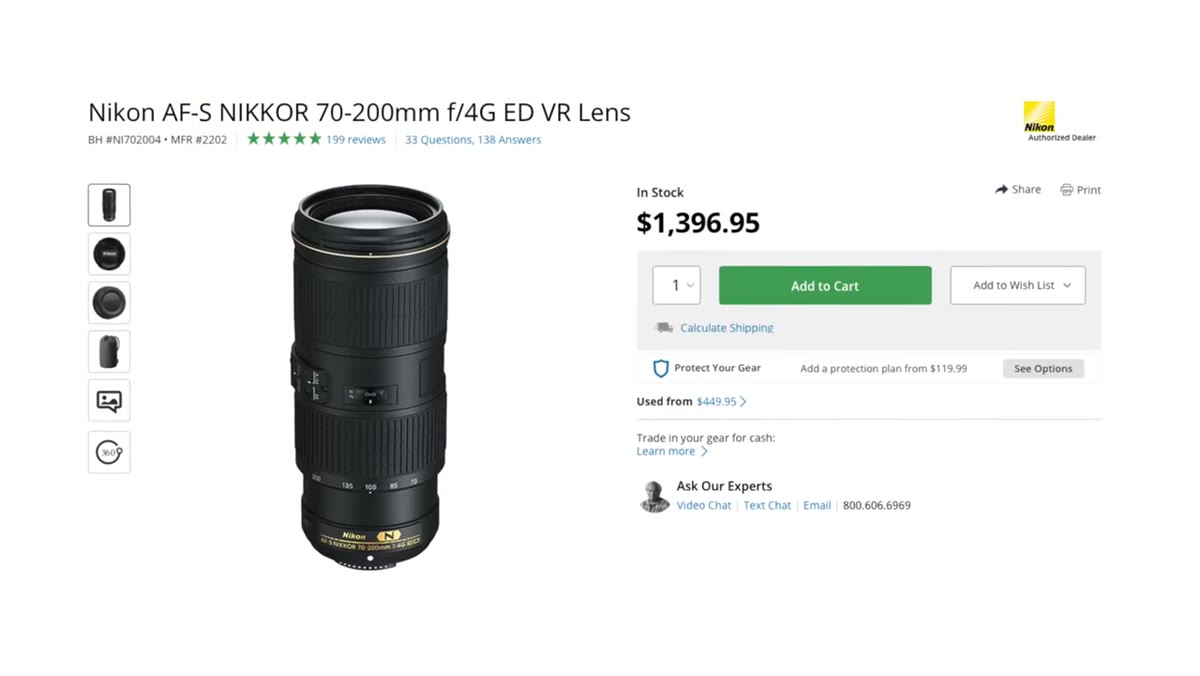 Lambert holding both lens versions side by side for comparison
Lambert is honest about this in a way I respect. He returned the f/4 once before because f/2.8 gave him something the f/4 couldn’t - separation in low light and tighter subject isolation. That’s still true. If you’re shooting indoor events, dark venues, or portraits where you’re fighting ambient light, f/2.8 buys you a full stop of flexibility that the f/4 simply doesn’t have. The question is how often that scenario actually applies to your work. For landscape, travel, and nature photography in decent light, f/4 with macro capability might genuinely be the more useful lens day-to-day.
Lambert holding both lens versions side by side for comparison
Lambert is honest about this in a way I respect. He returned the f/4 once before because f/2.8 gave him something the f/4 couldn’t - separation in low light and tighter subject isolation. That’s still true. If you’re shooting indoor events, dark venues, or portraits where you’re fighting ambient light, f/2.8 buys you a full stop of flexibility that the f/4 simply doesn’t have. The question is how often that scenario actually applies to your work. For landscape, travel, and nature photography in decent light, f/4 with macro capability might genuinely be the more useful lens day-to-day.
What I’d Add From My Own Testing History
The macro mode is the real differentiator here, and I don’t think it gets enough credit in the broader conversation. Dedicated macro lenses are surprisingly expensive for single-purpose tools. A quality 90mm or 100mm macro from a major brand will cost you several hundred dollars and takes up a dedicated slot in your bag. If the 70-200 f/4 can cover that use case at a level that satisfies most non-specialist work, the value math shifts significantly. I haven’t run this lens through my full comparison spreadsheet yet, but based on what Lambert demonstrates, I’d want to test it against a mid-range dedicated macro in controlled conditions before drawing a firm conclusion. That said, the flexibility argument is already compelling on paper.
The single most important takeaway here is that the f/2.8 vs. f/4 decision isn’t about which lens is better. It’s about which lens is better for how and where you actually shoot. Lambert’s point about buying and returning the f/4 once before is the honest framing everyone needs: he had a reason then, and the macro feature is giving him a reason to reconsider now. That’s a real evaluation process, not hype. Watch his full breakdown for the sample images and the in-person handling demo.
Watch the full tutorial on YouTube
Comments
Leave a Comment