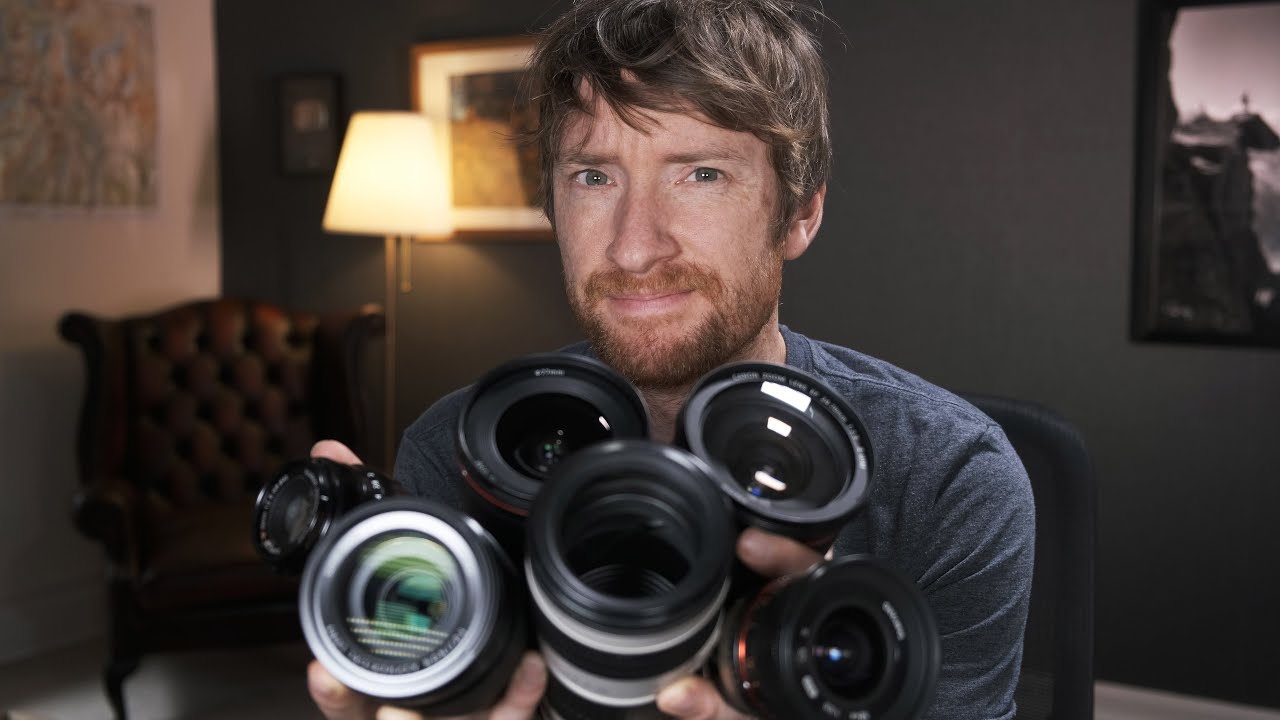
Every few weeks I get a version of the same question in my inbox: “Tyler, I have $X saved up — which lens should I buy for landscapes?” I used to give a confident answer. Wide angle, obviously. Get the 16-35 and you’re set. Then I watched Thomas Heaton basically call out people like me for contributing to the noise. He’s right, and it stung a little.
In this Thomas Heaton tutorial, he works through the single most common landscape photography question on YouTube and lands on an answer that’s genuinely more useful than the confident hot takes most of us dish out. His core point: there is no universal best lens for landscape photography, and the fact that creators keep insisting otherwise is actively hurting beginners who are trying to make smart purchases with real money. What follows is my breakdown of how he actually builds that argument, and what you should take away from it before you spend a dollar on glass.
I’ve tested more budget lenses than I care to count. I have a spreadsheet. The pattern I keep running into is that people buy the “wrong” lens because they took advice that was true for someone else’s shooting style and applied it blindly to their own. Heaton’s framework here is the antidote to that, and it’s one of the more practical things I’ve seen on the topic.
Step 1: Accept That the Question Has No Single Answer
 Heaton stating “the answer is there is no answer”
Before you can make a good lens decision, you have to let go of the idea that someone on YouTube has the definitive answer waiting for you. Heaton opens by acknowledging he’s made multiple videos recommending different lenses as “the one” — and those videos contradict each other. That’s not hypocrisy, that’s the nature of the subject.
Heaton stating “the answer is there is no answer”
Before you can make a good lens decision, you have to let go of the idea that someone on YouTube has the definitive answer waiting for you. Heaton opens by acknowledging he’s made multiple videos recommending different lenses as “the one” — and those videos contradict each other. That’s not hypocrisy, that’s the nature of the subject.
The practical move here is to stop searching for the best landscape lens and start defining what kind of landscape photographer you actually are. Are you shooting coastlines at golden hour? Dense forest interiors? Mountain ridgelines from a mile away? Those are three different creative problems that call for three different focal lengths. The question changes the moment you get specific about your subject.
Step 2: Match Your Focal Length to Your Primary Shooting Environment
 Heaton listing shooting environments paired with focal lengths
Heaton gives a clean, no-frills breakdown that I think is the most quotable part of the whole video. If you shoot seascapes and spend most of your time on the coast, a 16-35mm zoom gives you the wide, sweeping compositions that work for that subject. If you’re drawn to intimate woodland scenes or layered forest shots, a 24-70mm handles that middle ground well. If you hike into the mountains and want to compress distance, isolate a snowy peak, or capture alpine light on a ridge far from where you’re standing, a 70-200mm is the tool.
Heaton listing shooting environments paired with focal lengths
Heaton gives a clean, no-frills breakdown that I think is the most quotable part of the whole video. If you shoot seascapes and spend most of your time on the coast, a 16-35mm zoom gives you the wide, sweeping compositions that work for that subject. If you’re drawn to intimate woodland scenes or layered forest shots, a 24-70mm handles that middle ground well. If you hike into the mountains and want to compress distance, isolate a snowy peak, or capture alpine light on a ridge far from where you’re standing, a 70-200mm is the tool.
That’s it. Three environments, three focal length ranges. This isn’t complicated, but it requires honesty about what you actually shoot versus what you think sounds impressive to shoot. I see beginners buy ultra-wide lenses because wide angle feels like “real” landscape photography, then wonder why their forest shots look empty and distorted.
Step 3: Audit Your Existing Shots Before Buying Anything
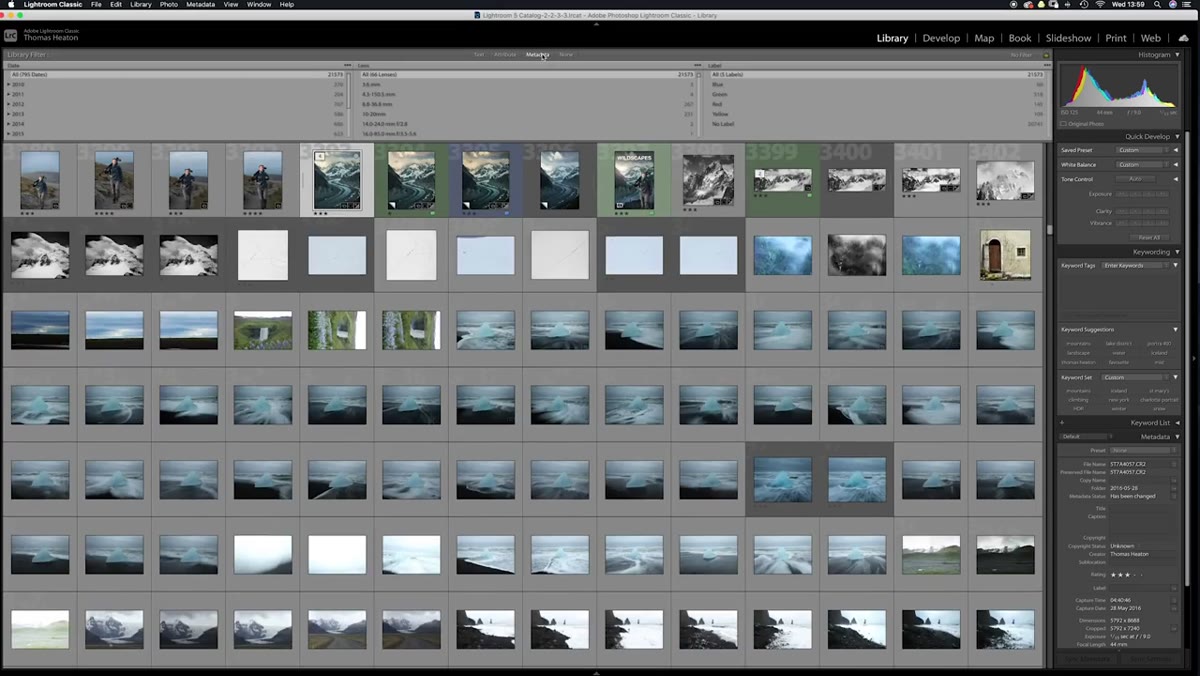 Heaton describing checking focal length data in Lightroom
Before reaching for your wallet, open Lightroom or whatever software you use and filter your best shots by focal length. Most cataloging software shows this in the metadata. Look at the images you actually love, the ones you’ve printed or posted or kept coming back to, and see which focal length produced them.
Heaton describing checking focal length data in Lightroom
Before reaching for your wallet, open Lightroom or whatever software you use and filter your best shots by focal length. Most cataloging software shows this in the metadata. Look at the images you actually love, the ones you’ve printed or posted or kept coming back to, and see which focal length produced them.
Heaton did this himself and found his 24-70mm and 70-200mm were nearly tied, which surprised him. But he also noted that some of his favorite images came from his 16-35mm. The point isn’t that the data gives you a clean answer. The point is that it grounds your decision in your real shooting history rather than in someone else’s preference. If you’re already getting the shots you want with a kit lens at 50mm, that tells you something. You might need better glass at that focal length, not a different focal length altogether.
Step 4: Understand the Three Tiers of Budget Before Choosing a Lens
 Heaton introducing the affordable route with kit and third-party lenses
Heaton breaks down three approaches to building out your landscape lens kit, and the first is what he calls the affordable route: getting the full range of focal lengths covered by buying cheaper kit lenses or third-party alternatives rather than premium glass.
Heaton introducing the affordable route with kit and third-party lenses
Heaton breaks down three approaches to building out your landscape lens kit, and the first is what he calls the affordable route: getting the full range of focal lengths covered by buying cheaper kit lenses or third-party alternatives rather than premium glass.
The honest caveat he attaches to this is important. Kit lenses do get you out shooting across different focal lengths, which has real learning value. But the image quality gap between a kit lens and a professional-grade lens is significant, especially at the edges of the frame where landscape shooters often live. Sharpness, distortion control, chromatic aberration at the corners — these things matter when you’re printing wide or cropping hard. Budget third-party options from brands like Sigma and Tamron sit in a middle tier worth considering. They close a lot of that quality gap at a fraction of the flagship price, and that’s where I tend to point readers who are serious about image quality but working with real-world budgets.
Step 5: Resist the Temptation to Own All Three Zoom Ranges at Once
 Heaton showing the “holy trinity” of zoom lenses
The “holy trinity” of zoom lenses — a wide zoom, a standard zoom, and a telephoto zoom — covers nearly every shooting situation. It also costs a substantial amount of money if you buy quality versions of all three, and it’s a lot of glass to carry into the backcountry.
Heaton showing the “holy trinity” of zoom lenses
The “holy trinity” of zoom lenses — a wide zoom, a standard zoom, and a telephoto zoom — covers nearly every shooting situation. It also costs a substantial amount of money if you buy quality versions of all three, and it’s a lot of glass to carry into the backcountry.
Heaton’s implicit advice here, and I agree with it strongly, is to go deep on one focal length range rather than spreading your budget thin across all three. Owning one excellent lens will teach you more and produce better images than owning three mediocre ones. Once you’ve shot extensively with your primary focal length and genuinely feel limited by its reach, that’s the signal to add another range. Not before.
My Extension: The Rental Test Before Any Major Purchase
I’ve been burned enough times buying lenses on paper specs alone that I now have a firm rule: rent before you buy anything over $300. Services like LensRentals make this affordable, usually under $50 for a weekend. One weekend with a 70-200mm on your specific camera, in the environment you actually shoot in, will tell you more than any YouTube video, including this one.
I once rented a highly-praised ultra-wide prime for a weekend trip to Rocky Mountain National Park, convinced I was going to fall in love with it and buy one. Came home, looked at the shots, and realized I’d used the 24-70mm end of my kit lens for the frames I actually liked. Saved myself around $900 that day. The spreadsheet is useful. The rental is better.
The single most important thing Heaton says in this entire video is the quietest: the best lens for landscape photography is the one that matches how you actually shoot, not how you imagine you shoot. Define your subject first. Audit your existing work. Then buy with intention.
Watch the full tutorial on YouTube for Heaton’s full take, including the more philosophical part of the conversation that didn’t fit neatly into a step-by-step breakdown but is worth hearing if you’ve ever second-guessed a lens purchase.
Comments
Leave a Comment