I used to think the guys spending the least on gear just couldn’t afford better. Then I ran a blind test at a local photo meetup and nobody could tell which prints came from the $500 camera and which came from the $2,000 one. That was the moment I stopped chasing specs and started paying attention to what actually changes the image. So when I came across Hugo Korhonen’s video breaking down nearly a decade’s worth of gear mistakes, I watched it twice. Not because I agreed with everything, but because he puts numbers and honest regret behind every claim, which is rare.
In this Hugo Korhonen tutorial, he walks through the specific categories where he burned money – camera bodies, filter systems, lenses, drones, and tripods – and explains what he kept and why. If you shoot landscapes or nature and you’re about to make a big purchase, this one is worth your full attention. Watch the full tutorial on YouTube before you open your wallet.
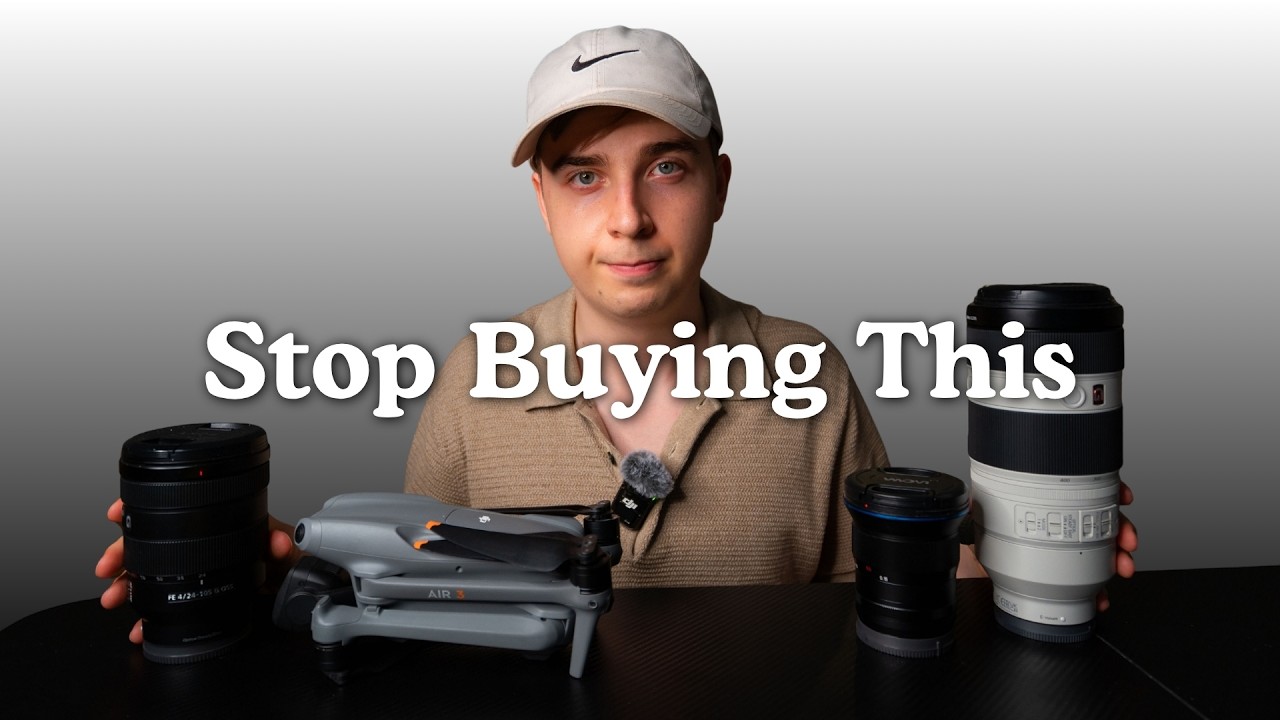
Step 1: Rethink How Much Camera Body You Actually Need
 Hugo explaining camera body purchasing mistake at desk
The common move is to buy the most capable body you can stretch the budget toward, then fill in with a mid-range lens. Hugo did exactly that, and he’s direct about why it was the wrong call. A better sensor gives you marginal improvements – cleaner shadows, slightly better dynamic range – but it does not change the fundamental character of your images. A new focal length, or a sharper prime, can completely change what you’re able to photograph.
Hugo explaining camera body purchasing mistake at desk
The common move is to buy the most capable body you can stretch the budget toward, then fill in with a mid-range lens. Hugo did exactly that, and he’s direct about why it was the wrong call. A better sensor gives you marginal improvements – cleaner shadows, slightly better dynamic range – but it does not change the fundamental character of your images. A new focal length, or a sharper prime, can completely change what you’re able to photograph.
His current body is the Sony a7 III, which he’s been shooting on for close to eight years with no plans to upgrade. His reasoning is simple: he shoots static landscape and nature scenes, not fast-action sports. The autofocus improvements in newer bodies are irrelevant to his work. The practical takeaway here is to match the body to your actual shooting conditions, not your aspirations. If you’re not tracking birds in flight or shooting motorsports, a five-year-old full-frame body bought used will serve you just as well as whatever launched last quarter.
Step 2: Treat Most Filters as a Default No Until Proven Otherwise
 Hugo holding filter system components showing complexity
Hugo’s position on filters is blunt: most of them are a waste of money, and he will argue that point hard. The trap he fell into was buying into a full modular filter system – the kind where you mount an adapter ring to the lens and slot physical filters into a holder on top. On paper it looks professional. In practice, he says, it made every shoot more complicated and more frustrating.
Hugo holding filter system components showing complexity
Hugo’s position on filters is blunt: most of them are a waste of money, and he will argue that point hard. The trap he fell into was buying into a full modular filter system – the kind where you mount an adapter ring to the lens and slot physical filters into a holder on top. On paper it looks professional. In practice, he says, it made every shoot more complicated and more frustrating.
The friction matters more than people admit. If your gear setup adds five minutes of assembly and introduces one more thing to bump, fog, or misalign, you will use it less. Simplicity in the field is a feature, not a compromise. His advice is to pause before any filter purchase and ask whether the effect can be replicated in post, or whether the added workflow complexity is genuinely worth the result you’re chasing.
Step 3: Identify the ONE Filter Category Worth the Investment
 Hugo demonstrating the single filter he kept and recommends
After writing off most of his filter purchases, Hugo lands on one exception: the polarizing filter. This is the filter that cannot be faked in Lightroom or Photoshop after the fact. A circular polarizer cuts surface glare on water, deepens blue skies, and punches up the saturation in foliage by removing the reflective sheen from leaves. None of that is recoverable in post because the light that the polarizer blocks never hits your sensor in the first place.
Hugo demonstrating the single filter he kept and recommends
After writing off most of his filter purchases, Hugo lands on one exception: the polarizing filter. This is the filter that cannot be faked in Lightroom or Photoshop after the fact. A circular polarizer cuts surface glare on water, deepens blue skies, and punches up the saturation in foliage by removing the reflective sheen from leaves. None of that is recoverable in post because the light that the polarizer blocks never hits your sensor in the first place.
If you shoot near water, at the coast, or in forests, a quality circular polarizer is worth buying once and buying right. The cheap ones introduce color casts and vignetting. Look for a reputable optical glass brand and buy the thread size that fits your most-used lens, then grab step-up rings for the rest of your kit rather than buying multiple filters.
Step 4: Match Your Lens Choice to the Subjects You Actually Shoot
 Hugo discussing lens regret and focal length limitations
Hugo started with a single 16-70mm lens, which sounds versatile on paper. The problem surfaced when he wanted to isolate a subject at distance – a bird, a mountain detail, a compressed landscape shot – and simply could not reach it. The money that went into a premium camera body had left no room for a longer lens.
Hugo discussing lens regret and focal length limitations
Hugo started with a single 16-70mm lens, which sounds versatile on paper. The problem surfaced when he wanted to isolate a subject at distance – a bird, a mountain detail, a compressed landscape shot – and simply could not reach it. The money that went into a premium camera body had left no room for a longer lens.
The lesson is to map out the three or four types of shots you take most often and work backward to the focal lengths you need. A 16-70mm is excellent for wide environmental work, but if even 20 percent of your shooting involves compression or wildlife at distance, a telephoto belongs in your kit earlier than you think. A used 70-300mm from a major brand will cost less than a mid-tier camera body upgrade and will open up entire categories of shots.
Step 5: Be Honest About Whether a Drone Fits Your Workflow
 Hugo weighing drone value against practical use frequency
Drones are the gear category with the highest ambition-to-usage ratio in photography. Hugo addresses this directly. The aerial perspective is genuinely unique and no ground-based lens replicates it. But drones require registration in most countries, have strict no-fly zones around anything interesting, need calm wind conditions, and add significant pre-shoot planning. If you’re traveling and hit restrictions at your destination, that investment sits in the bag.
Hugo weighing drone value against practical use frequency
Drones are the gear category with the highest ambition-to-usage ratio in photography. Hugo addresses this directly. The aerial perspective is genuinely unique and no ground-based lens replicates it. But drones require registration in most countries, have strict no-fly zones around anything interesting, need calm wind conditions, and add significant pre-shoot planning. If you’re traveling and hit restrictions at your destination, that investment sits in the bag.
His point isn’t that drones are useless – it’s that the real cost is time and complexity, not just the purchase price. Before buying, he suggests honestly tracking how many of your existing shots would have been better from the air. If the answer is a small percentage of your work, rent a drone for a trip or two first and see whether the results actually change your portfolio.
Step 6: Buy One Good Tripod Instead of Testing the Budget Tier
 Hugo comparing tripod stability and build quality options
I will admit this step hit close to home – I once bought five tripods under fifty dollars specifically to find the best budget option. Hugo’s experience mirrors what I found: cheap tripods solve the problem of not having a tripod, but they introduce vibration, slow head movement, and failure at the worst moments. He advocates for buying one well-built tripod once, even if it means waiting longer to pull the trigger.
Hugo comparing tripod stability and build quality options
I will admit this step hit close to home – I once bought five tripods under fifty dollars specifically to find the best budget option. Hugo’s experience mirrors what I found: cheap tripods solve the problem of not having a tripod, but they introduce vibration, slow head movement, and failure at the worst moments. He advocates for buying one well-built tripod once, even if it means waiting longer to pull the trigger.
The features that matter for landscape work specifically are leg-lock reliability in wet or cold conditions, a ball head with a smooth, consistent drag, and a center column you can optionally remove for low-angle shots. Carbon fiber is lighter but commands a premium – for most shooters, a quality aluminum travel tripod from a mid-tier brand hits the right balance.
What I’d Add From My Own Testing
The through-line in everything Hugo covers is opportunity cost. Every dollar spent on a camera body upgrade is a dollar not spent on a lens that changes your range. Every filter that adds friction is a shot you hesitate to take. I keep a running spreadsheet of every piece of gear I’ve tested and its actual impact on published work – not specs, not lab scores, just results. The items that show up consistently are fast primes, a polarizer, and a tripod that doesn’t wobble. That list is shorter and cheaper than most beginners expect.
If you’re evaluating a purchase right now, pull up your last 100 shots and identify what actually limited them. Bad light, wrong focal length, missed timing, or just needing more practice? Most of the time the answer points somewhere other than the camera body.
The single most transferable idea from this video is this: stop buying aspirationally and start buying for the shots you are already trying to take. Gear that solves a real current problem is worth every cent. Gear that solves a hypothetical future problem is usually just expensive shelf storage.
Watch the full tutorial on YouTube – Hugo’s breakdown of his filter system regret alone is worth the runtime.
Comments
Leave a Comment