There’s a bias in landscape photography that’s almost impossible to escape: wider is better. If you’re not shooting at 16mm or 24mm, the assumption is you’re leaving something on the table. I bought into that for a long time. I own a decent ultrawide, and for a while it was the first lens that went into my bag on any outdoor shoot. Then I watched Karl Taylor do something that genuinely shifted how I think about focal length selection. Watch the full tutorial on YouTube
In this Visual Education tutorial, Karl heads to a rugged coastal location during golden hour with his Canon 5D Mark III — and ends up shooting the whole session on a 50mm lens because he grabbed the wrong glass on the way out the door. What could have been a wasted trip turns into a practical, real-world demonstration of why the humble 50mm deserves a permanent spot in your landscape kit. No fluff, no studio setup. Just a guy on a cliff, working with what he has, and getting genuinely compelling results.
The reason this clicked for me is that I’ve done the same thing wrong a dozen times. I’d set up at a viewpoint, slap on the ultrawide, and try to cram everything into the frame. The shot usually looked muddy and small — no real subject, no tension, nothing pulling the eye. Karl’s approach here is a direct fix for that instinct, and it’s teachable in a way that actually sticks.
Step 1: Arrive During the Magic Hour and Read the Scene Before You Shoot
 Coastal landscape at golden hour, sun low on the horizon
Before touching a camera setting, Karl spends time observing the location. He’s at a rocky shoreline during what photographers call the magic hour, that narrow window around sunset when the light is warm, directional, and forgiving. The habit he demonstrates here isn’t about gear at all. It’s about looking first. Notice where the light is coming from, where it’s falling on the water, and which natural elements — rocks, gullies, ridgelines — have actual structure worth emphasizing. If you arrive and immediately start shooting, you’ll miss the composition that’s sitting right in front of you.
Coastal landscape at golden hour, sun low on the horizon
Before touching a camera setting, Karl spends time observing the location. He’s at a rocky shoreline during what photographers call the magic hour, that narrow window around sunset when the light is warm, directional, and forgiving. The habit he demonstrates here isn’t about gear at all. It’s about looking first. Notice where the light is coming from, where it’s falling on the water, and which natural elements — rocks, gullies, ridgelines — have actual structure worth emphasizing. If you arrive and immediately start shooting, you’ll miss the composition that’s sitting right in front of you.
Step 2: Accept the Constraint and Adapt Your Lens Choice
 Karl realizing he has the wrong lens in his bag
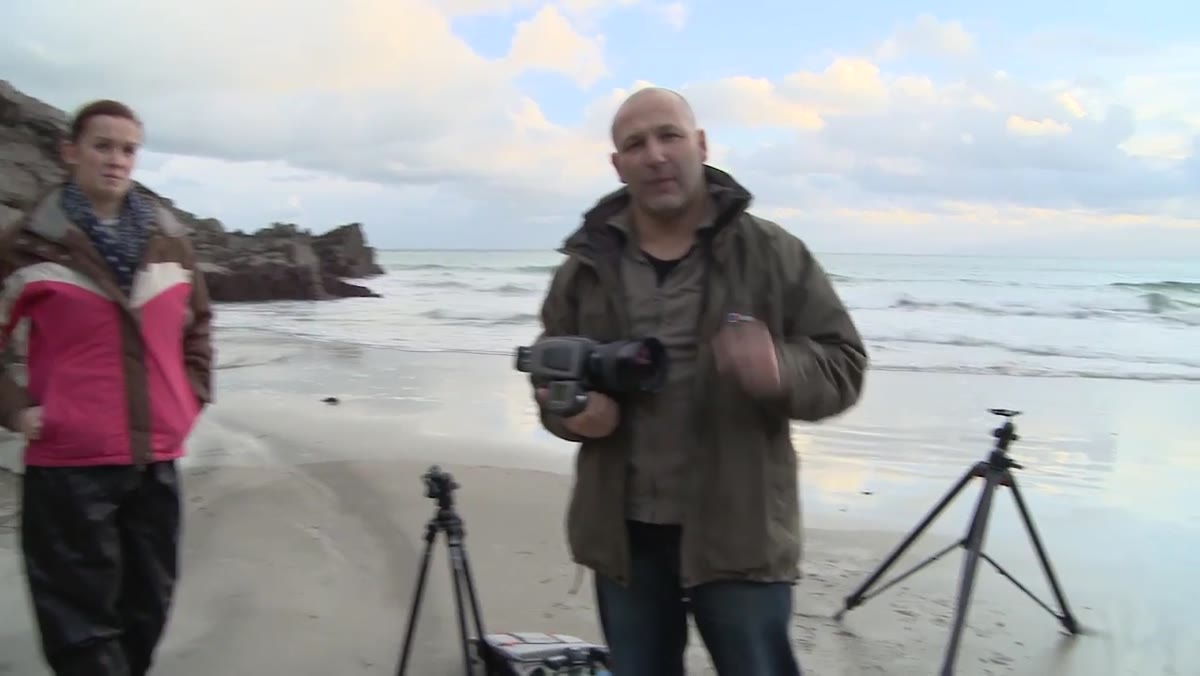
Karl discovers he’s packed the wrong lens after a three-mile hike to the location. Instead of packing up, he mounts the 50mm he has on him and commits to the shoot. This is the tactical pivot the whole tutorial is built on. If you’re in a similar spot, either by accident or on purpose, the 50mm on a full-frame sensor gives you a field of view close to what the human eye actually sees. It’s not dramatic, but that’s the point. It forces you to be more deliberate about where you point the camera, because you can’t just sweep everything into the frame and call it a composition.
Karl realizing he has the wrong lens in his bag
Karl discovers he’s packed the wrong lens after a three-mile hike to the location. Instead of packing up, he mounts the 50mm he has on him and commits to the shoot. This is the tactical pivot the whole tutorial is built on. If you’re in a similar spot, either by accident or on purpose, the 50mm on a full-frame sensor gives you a field of view close to what the human eye actually sees. It’s not dramatic, but that’s the point. It forces you to be more deliberate about where you point the camera, because you can’t just sweep everything into the frame and call it a composition.
Step 3: Use the 50mm to Isolate Specific Elements in the Scene
 Karl framing rocks on either side of the shot with 50mm lens
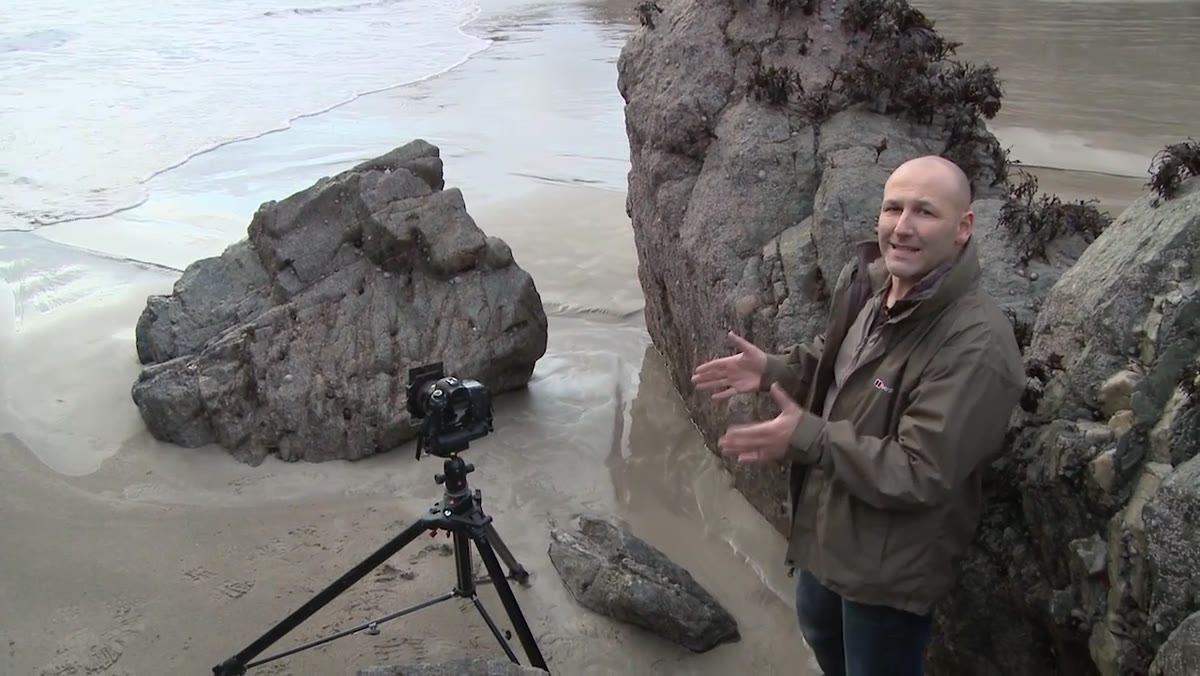
Here’s where the practical advantage gets concrete. Karl frames his shot so that a rock on the left edge and a rock on the right edge act as natural brackets, with the horizon and the rays of breaking sunlight sitting in the middle distance. With a wide angle lens, those rocks would be pushed to the corners and shrunk down, and the rays of light on the horizon would become a tiny sliver. At 50mm, the compression keeps everything at a more natural, usable scale. He describes it as being able to see the detail in those rays of light “quite nicely” without the ultra-wide’s tendency to miniaturize anything that isn’t right in front of the lens. Look for two anchor points in your scene and let the 50mm hold them at a size that actually reads in the final image.
Karl framing rocks on either side of the shot with 50mm lens
Here’s where the practical advantage gets concrete. Karl frames his shot so that a rock on the left edge and a rock on the right edge act as natural brackets, with the horizon and the rays of breaking sunlight sitting in the middle distance. With a wide angle lens, those rocks would be pushed to the corners and shrunk down, and the rays of light on the horizon would become a tiny sliver. At 50mm, the compression keeps everything at a more natural, usable scale. He describes it as being able to see the detail in those rays of light “quite nicely” without the ultra-wide’s tendency to miniaturize anything that isn’t right in front of the lens. Look for two anchor points in your scene and let the 50mm hold them at a size that actually reads in the final image.
Step 4: Stack a Neutral Density Filter with a Graduated Filter for Exposure Control
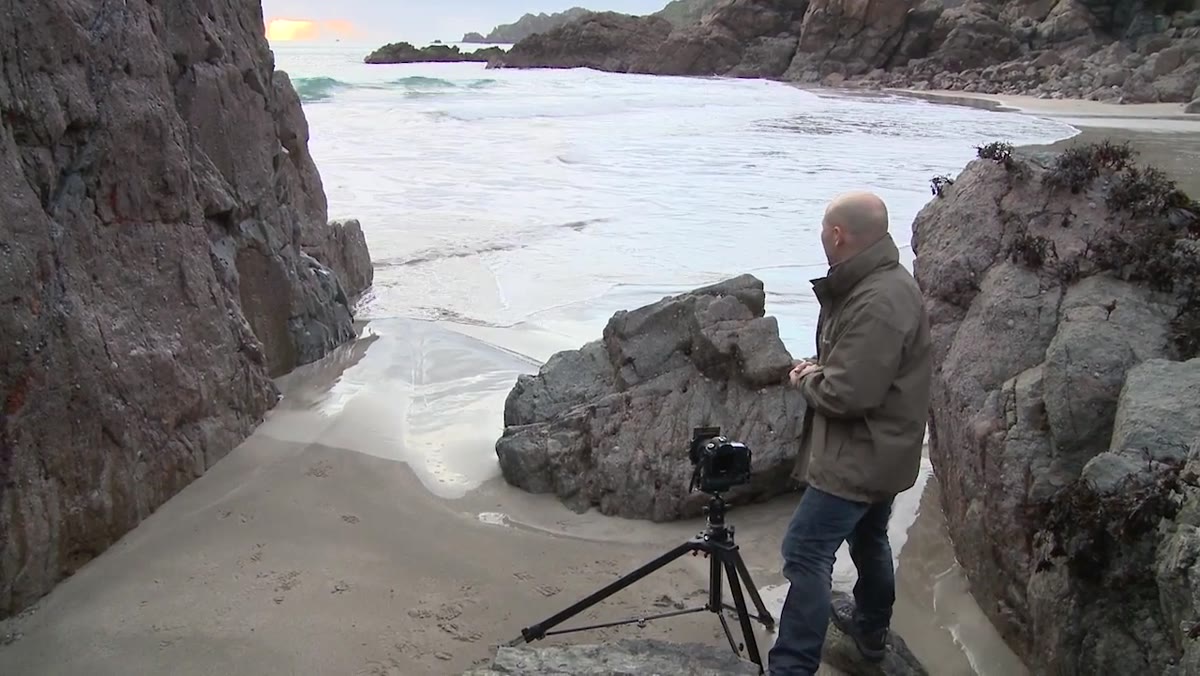 Karl shooting with ND and graduated filter on the 5D Mark III
Karl is running two filters simultaneously: a standard neutral density filter to cut overall light and allow slower shutter speeds, and a graduated ND filter positioned to darken the sky relative to the foreground. This combination is essential for coastal scenes where the dynamic range between bright sky and shadowed wet rock is often more than any sensor can handle cleanly in a single exposure. Set the graduated filter so the transition line sits along the natural horizon. If the horizon is broken up by rocks or cliffs, a hard-edge grad will leave obvious banding, so opt for a soft-edge version or plan to blend two exposures in post.
Karl shooting with ND and graduated filter on the 5D Mark III
Karl is running two filters simultaneously: a standard neutral density filter to cut overall light and allow slower shutter speeds, and a graduated ND filter positioned to darken the sky relative to the foreground. This combination is essential for coastal scenes where the dynamic range between bright sky and shadowed wet rock is often more than any sensor can handle cleanly in a single exposure. Set the graduated filter so the transition line sits along the natural horizon. If the horizon is broken up by rocks or cliffs, a hard-edge grad will leave obvious banding, so opt for a soft-edge version or plan to blend two exposures in post.
Step 5: Shoot Water Movement on a Slow Shutter Speed (Around 1 Second)
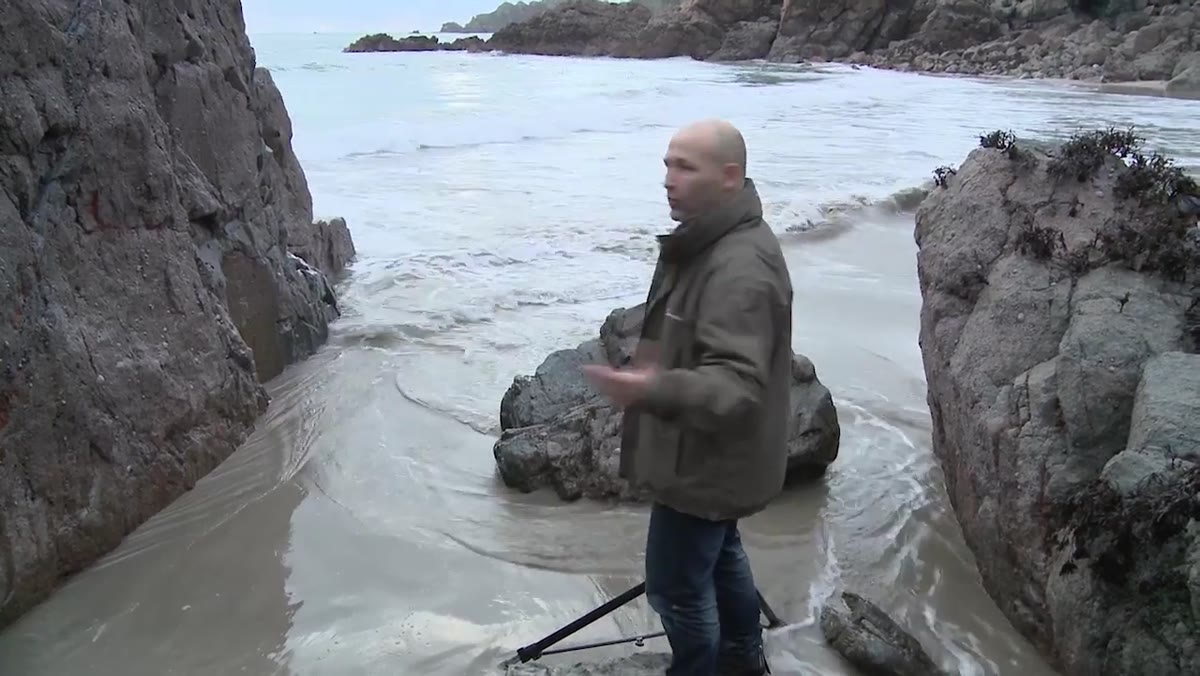 Karl capturing wave movement through the rocky gully
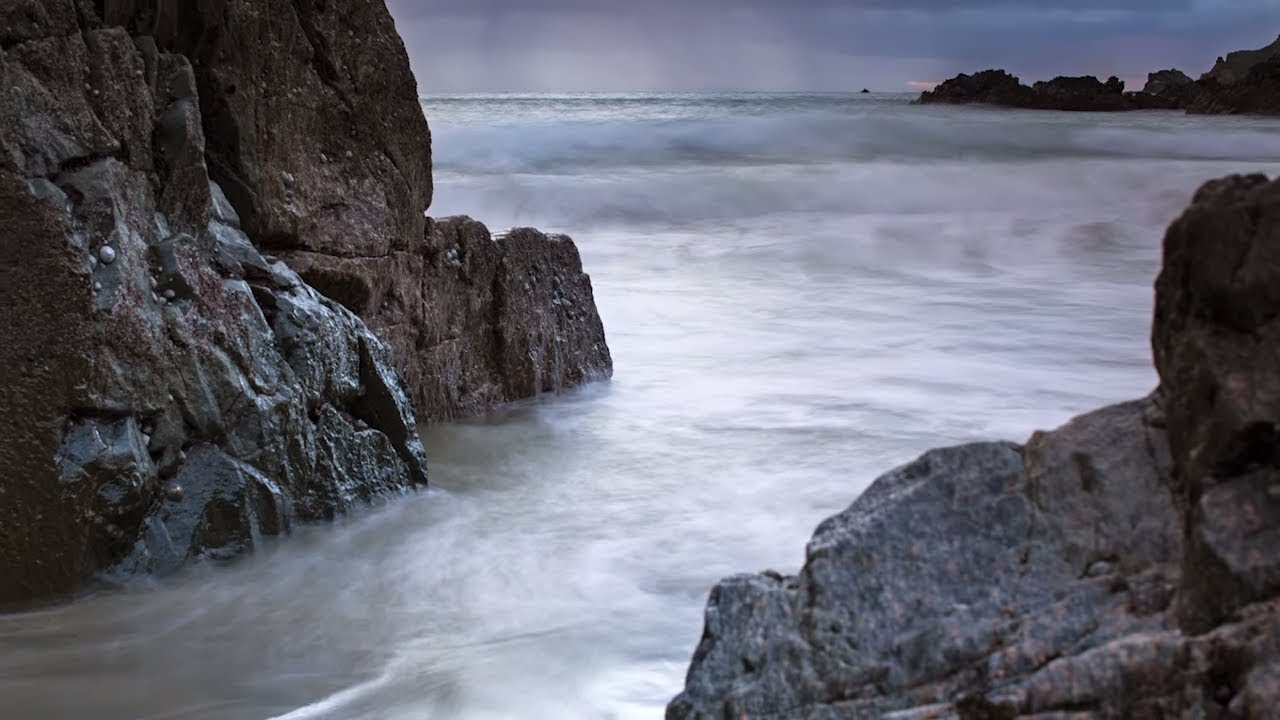
Once the dramatic sunset light fades behind cloud cover, Karl doesn’t quit. He shifts focus to the texture of the water moving through a narrow gully between the rocks, using a shutter speed of approximately one second. At that speed, the water smooths out into silky motion trails without completely losing its shape and direction. The gully acts as a leading line pulling the viewer into the frame. If the light goes flat on you mid-shoot, this is a legitimate fallback: drop your ISO to its base value, stack your ND filter, and slow the shutter until the water starts to blur. The rock texture stays sharp, the water becomes graphic, and you still walk away with a usable image.
Karl capturing wave movement through the rocky gully
Once the dramatic sunset light fades behind cloud cover, Karl doesn’t quit. He shifts focus to the texture of the water moving through a narrow gully between the rocks, using a shutter speed of approximately one second. At that speed, the water smooths out into silky motion trails without completely losing its shape and direction. The gully acts as a leading line pulling the viewer into the frame. If the light goes flat on you mid-shoot, this is a legitimate fallback: drop your ISO to its base value, stack your ND filter, and slow the shutter until the water starts to blur. The rock texture stays sharp, the water becomes graphic, and you still walk away with a usable image.
Step 6: Keep Shooting When the Light Fails
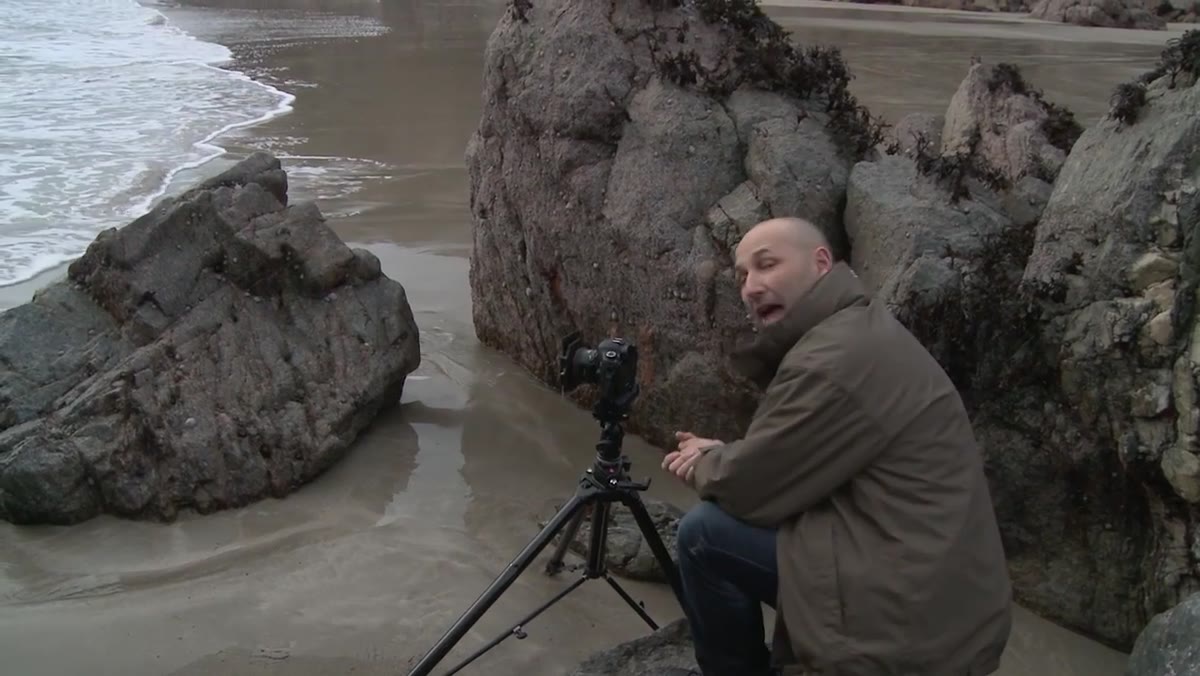 Gray overcast sky replacing the golden hour light
Karl’s sunset disappears behind a bank of gray cloud. He keeps shooting anyway, noting that the cloud texture and the wave movement still give him something to work with compositionally. This isn’t optimism for its own sake. Overcast light is flat but even, which makes it easier to hold detail in both highlights and shadows. If you’ve already done the work of finding a strong compositional anchor, flat light won’t ruin the shot. It’ll just change the mood. Adjust your white balance slightly warmer in-camera or in post to counteract the cool cast and keep the image from feeling sterile.
Gray overcast sky replacing the golden hour light
Karl’s sunset disappears behind a bank of gray cloud. He keeps shooting anyway, noting that the cloud texture and the wave movement still give him something to work with compositionally. This isn’t optimism for its own sake. Overcast light is flat but even, which makes it easier to hold detail in both highlights and shadows. If you’ve already done the work of finding a strong compositional anchor, flat light won’t ruin the shot. It’ll just change the mood. Adjust your white balance slightly warmer in-camera or in post to counteract the cool cast and keep the image from feeling sterile.
What I’d Add from My Own Testing
I’ve compared the 50mm against budget ultrawide options on full-frame bodies, and the 50mm wins more often than people expect, especially on shots where the key subject is in the mid-distance rather than right at your feet. My biggest caveat is this: the 50mm technique Karl uses here depends on having genuine foreground-to-background structure in your scene. If you’re shooting a flat field or a featureless beach, the compression works against you. But in rocky, layered coastal environments like this one? The 50mm punches well above its rental cost. And since a used nifty fifty in any major mount can be found for $80 to $150 on the used market, it’s one of the lowest-risk experiments in landscape photography.
The biggest thing to take away from Karl’s session is not a specific setting or filter combination. It’s the underlying principle that focal length should match the story you’re trying to tell, not default to whatever feels safest or most conventional. A tighter crop often reveals a stronger image than trying to fit the whole world into one frame.
Watch the full tutorial on YouTube and pay attention to how Karl evaluates the scene before he ever adjusts a dial. That instinct is the real lesson here.
Comments
Leave a Comment