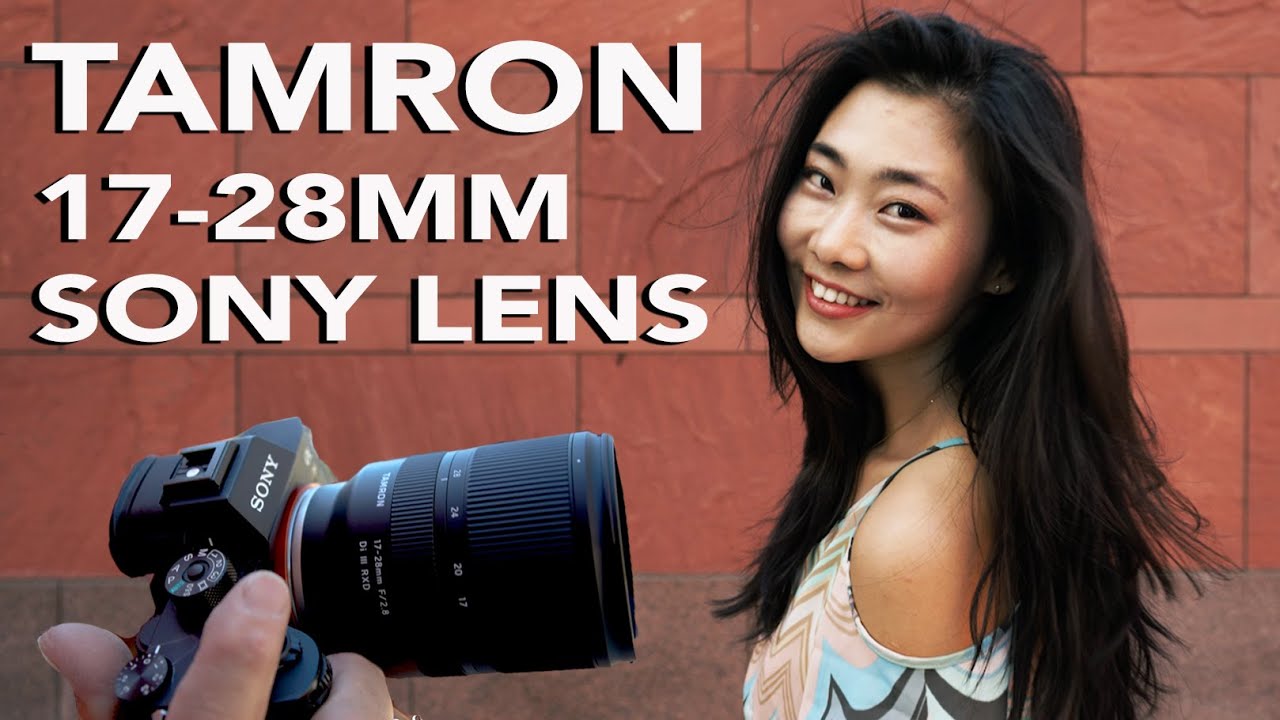
Wide-angle lenses have a reputation problem. Either they’re astronomically expensive Sony or Zeiss glass that makes your wallet hurt, or they’re cheap third-party options that turn your subject’s face into a funhouse mirror the moment they step toward the edge of the frame. For a long time, I felt like there was no honest middle ground, especially for Sony E-mount shooters. I’ve got a whole spreadsheet of lenses I’ve tested over the years, and the wide-angle column has more disappointments in it than I’d like to admit.
That’s why I paid close attention when JP Morgan of The Slanted Lens posted his walkthrough of the Tamron 17-28mm f/2.8 for Sony. Watch the full tutorial on YouTube. JP already had a strong opinion of Tamron’s 28-75mm, a lens he calls a daily driver, so his curiosity about whether this wide-angle sibling could measure up felt genuinely earned. This wasn’t a sponsored puff piece. He shot real images in real light and then sat down and told you exactly what he saw. That’s the kind of review I actually trust.
What follows is a breakdown of what JP covers, organized so you can apply it directly to your own shooting, whether you’re an event photographer looking for a workhorse wide-angle or a landscape shooter tired of spending $1,500 for decent corner sharpness.
Step 1: Understand What This Lens Is Actually Built For
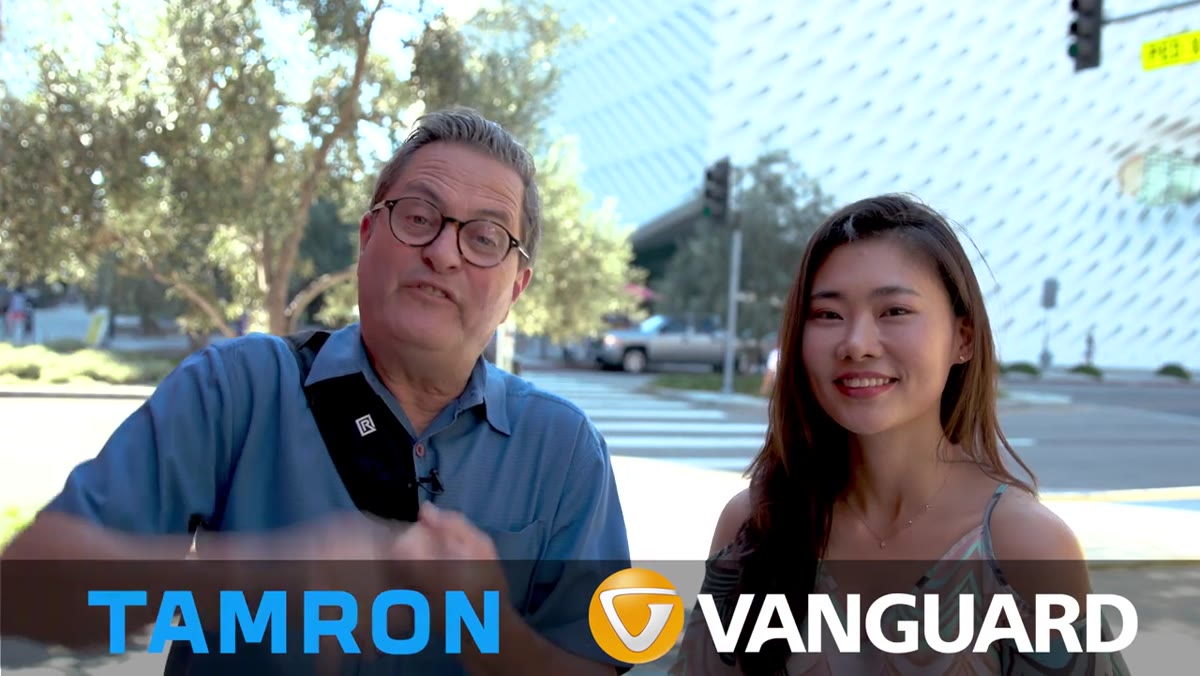 JP describing event and landscape use cases for the lens
Before you put a lens on your camera, you need to know what job it was hired to do. JP is clear here: the 17-28mm is built for situations where you need environmental context around your subject. Events, interiors, architecture, landscapes, anywhere you want to show your subject living inside a bigger world rather than isolated against a blurred background. If your whole workflow is tight portrait work, this isn’t your lens. But if you shoot events or real-estate interiors, this is exactly the focal range you’ve been missing.
JP describing event and landscape use cases for the lens
Before you put a lens on your camera, you need to know what job it was hired to do. JP is clear here: the 17-28mm is built for situations where you need environmental context around your subject. Events, interiors, architecture, landscapes, anywhere you want to show your subject living inside a bigger world rather than isolated against a blurred background. If your whole workflow is tight portrait work, this isn’t your lens. But if you shoot events or real-estate interiors, this is exactly the focal range you’ve been missing.
The practical range here is meaningful. Seventeen millimeters gives you serious breathing room in tight spaces. Twenty-eight millimeters lets you pull in a little and still work quickly in a crowd without going full fisheye chaos.
Step 2: Use Internal Zoom as a Gimbal and Balance Advantage
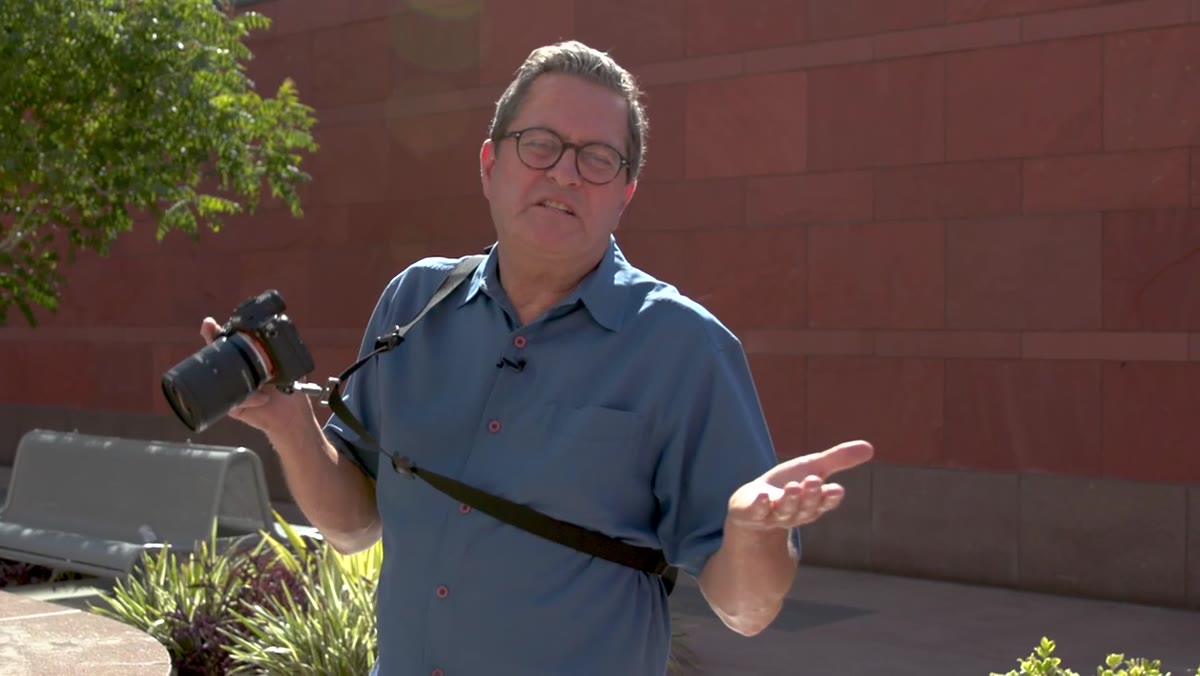
 JP explaining internal zoom mechanics and gimbal compatibility
One feature JP highlights that often gets buried in spec sheets is the internal zoom design. When you zoom this lens, the barrel doesn’t extend outward. For handheld photography that might seem like a minor convenience, but if you’re running a gimbal for video work, it’s actually significant. An extending barrel shifts your center of gravity as you zoom, which means constant rebalancing. With internal zoom, your gimbal stays balanced at 17mm and at 28mm. You set it once and shoot.
JP explaining internal zoom mechanics and gimbal compatibility
One feature JP highlights that often gets buried in spec sheets is the internal zoom design. When you zoom this lens, the barrel doesn’t extend outward. For handheld photography that might seem like a minor convenience, but if you’re running a gimbal for video work, it’s actually significant. An extending barrel shifts your center of gravity as you zoom, which means constant rebalancing. With internal zoom, your gimbal stays balanced at 17mm and at 28mm. You set it once and shoot.
If you’re doing event videography alongside stills, that single feature alone separates this lens from cheaper wide-angle options that will fight you every time you adjust focal length mid-shot.
Step 3: Shoot Close, Then Check for Distortion at the Edges
 JP noting the 7.5-inch minimum focus distance during shooting
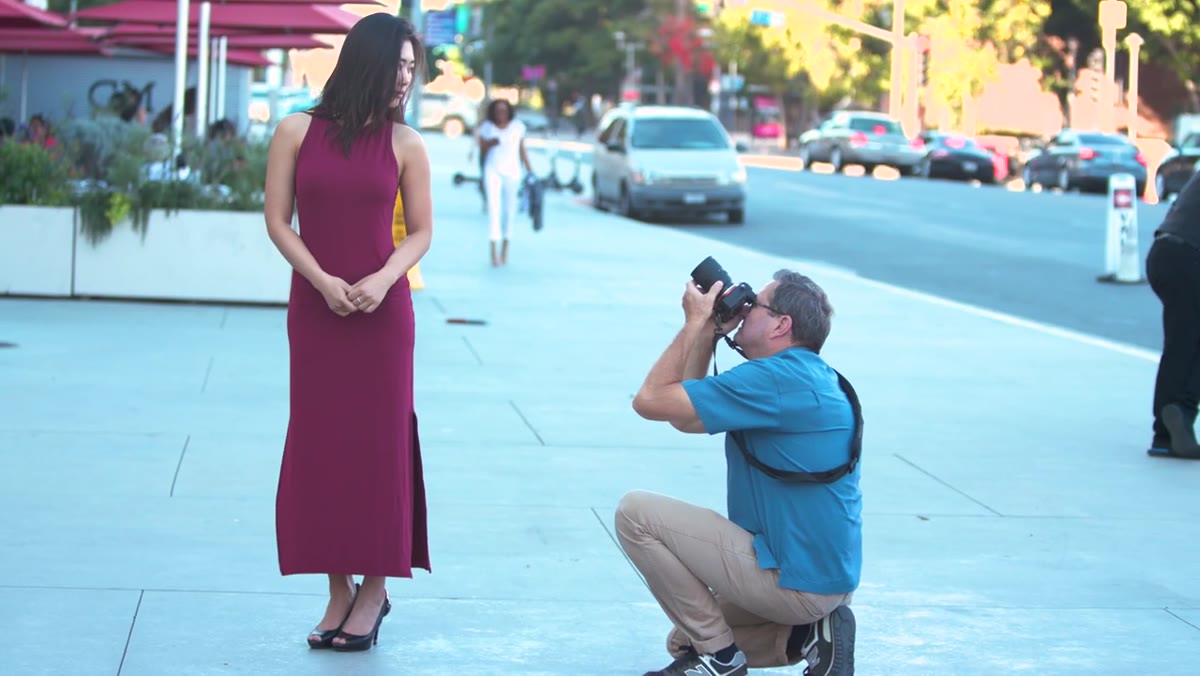
The Tamron 17-28mm focuses down to roughly 7.5 inches, which is impressively close for a wide-angle zoom. JP leans into this by placing his subject relatively close to the camera and using foreground elements, like the concrete base she’s standing near, as intentional design anchors rather than distractions. Wide lenses reward compositional thinking. You’re not just photographing a person. You’re photographing a person inside a space.
JP noting the 7.5-inch minimum focus distance during shooting
The Tamron 17-28mm focuses down to roughly 7.5 inches, which is impressively close for a wide-angle zoom. JP leans into this by placing his subject relatively close to the camera and using foreground elements, like the concrete base she’s standing near, as intentional design anchors rather than distractions. Wide lenses reward compositional thinking. You’re not just photographing a person. You’re photographing a person inside a space.
The key test JP runs here is watching for facial distortion as the subject moves toward the edges of the frame. His finding: as long as you keep faces reasonably centered, the distortion is well-controlled. Even when he pushed subjects slightly off-center, the lens held up better than he expected at this price point. That matters in event photography where you don’t always control where people stand.
Step 4: Evaluate Sharpness and Autofocus Performance in Real Conditions
 JP reviewing sharp images taken with Sony a7R III and Tamron lens
JP shoots these test images on a Sony a7R III, a camera that’s demanding enough on autofocus systems that third-party lenses sometimes struggle to keep up. His verdict is direct: autofocus is flawless. No hesitation, no hunting, no missed shots in the sequence. For event photographers, that’s non-negotiable. You cannot be waiting on a lens to make up its mind when someone is mid-laugh and the moment is gone in half a second.
JP reviewing sharp images taken with Sony a7R III and Tamron lens
JP shoots these test images on a Sony a7R III, a camera that’s demanding enough on autofocus systems that third-party lenses sometimes struggle to keep up. His verdict is direct: autofocus is flawless. No hesitation, no hunting, no missed shots in the sequence. For event photographers, that’s non-negotiable. You cannot be waiting on a lens to make up its mind when someone is mid-laugh and the moment is gone in half a second.
On sharpness, JP notes that images at 17mm hold impressive detail even on the high-resolution sensor. The faces in his test shots are crisp, the architectural lines are clean, and there’s no mushy corner fall-off that would make you want to crop everything to the center.
Step 5: Test for Vignette at Wide Apertures, Then Stop Down
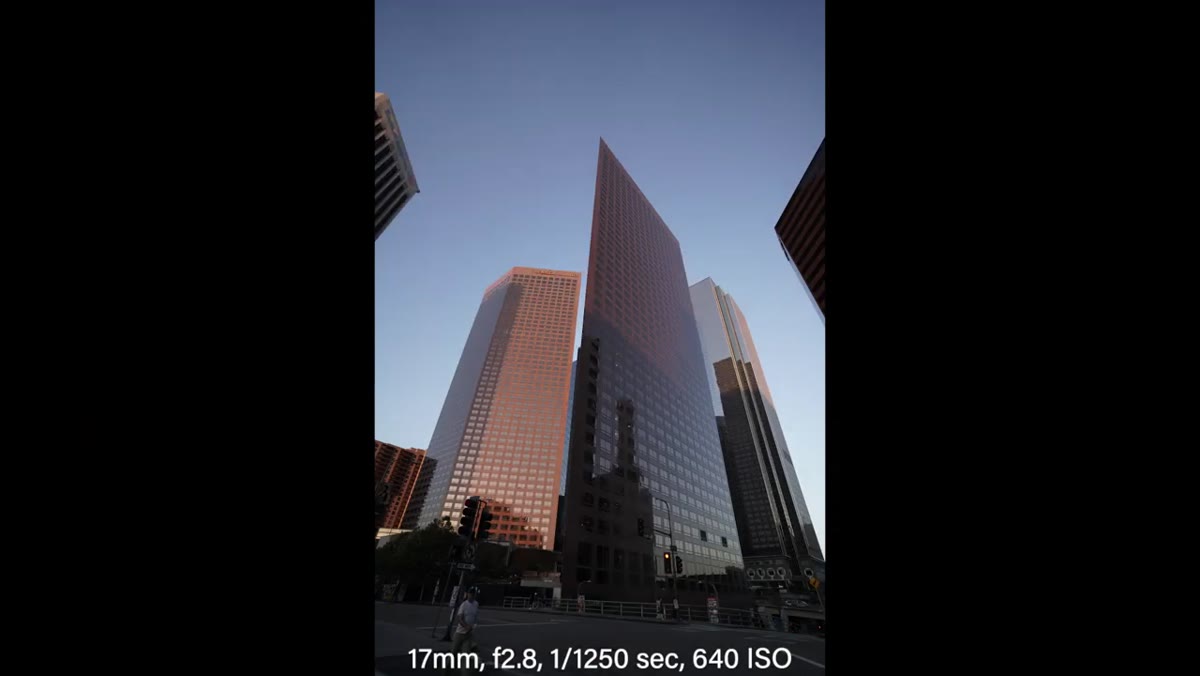 JP reviewing building shots and noting vignette behavior at f/2.8 vs f/4
At f/2.8, JP notices a subtle vignette in architectural shots, particularly in open sky areas near the corners. It’s not dramatic, but it’s visible if you’re looking for it. Here’s the practical takeaway: stop down to f/4 and it nearly disappears. For most event and landscape scenarios, f/4 is plenty of light to work with, especially on modern Sony sensors that handle higher ISO well.
JP reviewing building shots and noting vignette behavior at f/2.8 vs f/4
At f/2.8, JP notices a subtle vignette in architectural shots, particularly in open sky areas near the corners. It’s not dramatic, but it’s visible if you’re looking for it. Here’s the practical takeaway: stop down to f/4 and it nearly disappears. For most event and landscape scenarios, f/4 is plenty of light to work with, especially on modern Sony sensors that handle higher ISO well.
If you’re shooting architecture professionally and need perfectly even skies straight out of camera, plan to either shoot at f/4 or add a small vignette correction in Lightroom or Camera Raw. This is not a flaw that should disqualify the lens. It’s a known behavior you can account for in about ten seconds of post-processing.
Step 6: Use Environmental Context as a Compositional Tool
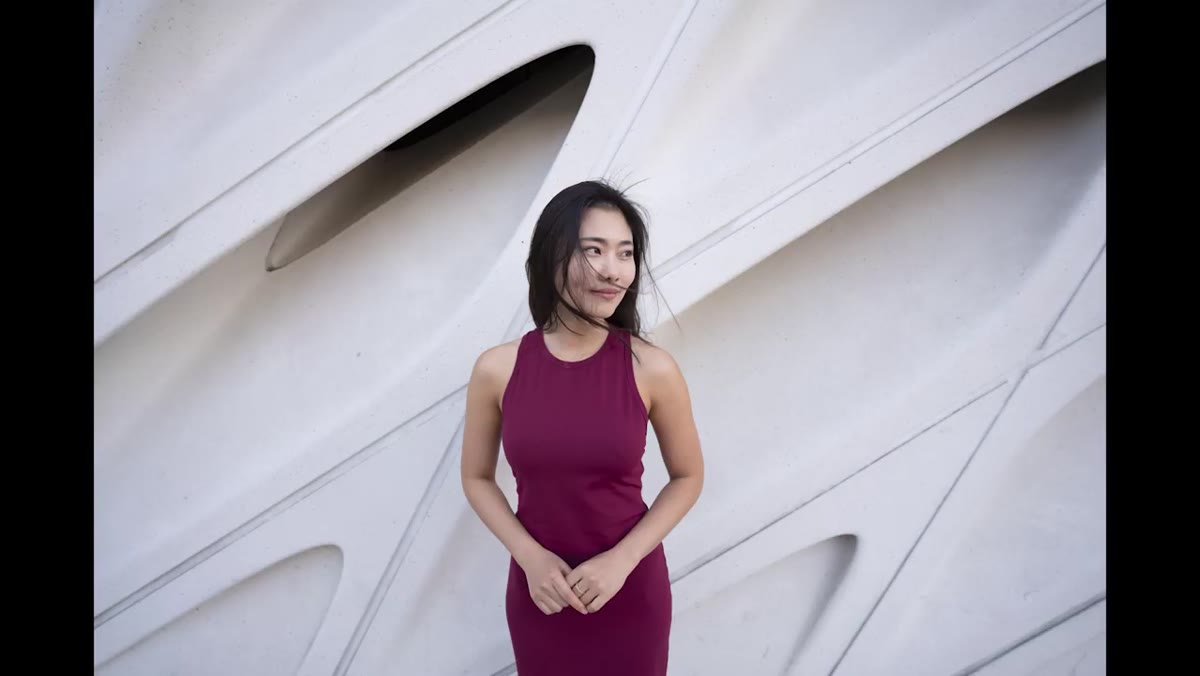 JP framing subject with concrete base as foreground design element
JP makes a point that gets overlooked in most lens reviews: wide-angle photography is a different compositional discipline, not just a wider version of what you already do. He talks about finding design elements in the environment and building the frame around them. The concrete steps, the fountain, the building facade, these aren’t backgrounds. They’re part of the image’s structure.
JP framing subject with concrete base as foreground design element
JP makes a point that gets overlooked in most lens reviews: wide-angle photography is a different compositional discipline, not just a wider version of what you already do. He talks about finding design elements in the environment and building the frame around them. The concrete steps, the fountain, the building facade, these aren’t backgrounds. They’re part of the image’s structure.
Practice this intentionally. Before you raise the camera, look at the full scene and identify one strong graphic element that can anchor the composition. Then place your subject in relation to it. You’ll get images that feel complete rather than snapshots that just happen to include a lot of real estate.
My Caveat: f/2.8 Isn’t Always the Win You Think It Is
I’ve tested enough lenses to know that maximum aperture specs can be misleading. f/2.8 on a wide-angle isn’t the same as f/2.8 on an 85mm portrait lens. You’re not going to get dreamy subject separation at 17mm wide open. The depth of field is still significant. What f/2.8 gives you here is light-gathering ability, which is genuinely useful in dark event venues. Just don’t buy this lens expecting to blur backgrounds the way a short telephoto will. That’s not the job. Know what you’re optimizing for before you spend the money.
The bottom line is this: the Tamron 17-28mm f/2.8 for Sony punches well above what its price tag would suggest. Sharp across the frame, reliable autofocus on demanding Sony bodies, internal zoom that makes gimbal work viable, and distortion that stays honest even when you push subjects toward the edges. For event photographers and landscape shooters on Sony E-mount, there’s nothing else at this price point that competes seriously.
Watch the full tutorial on YouTube to see the actual sample images JP pulls up during his review. Seeing the sharpness and the vignette behavior on screen is worth the watch time, especially if you’re on the fence about pulling the trigger on this lens.
Comments
Leave a Comment