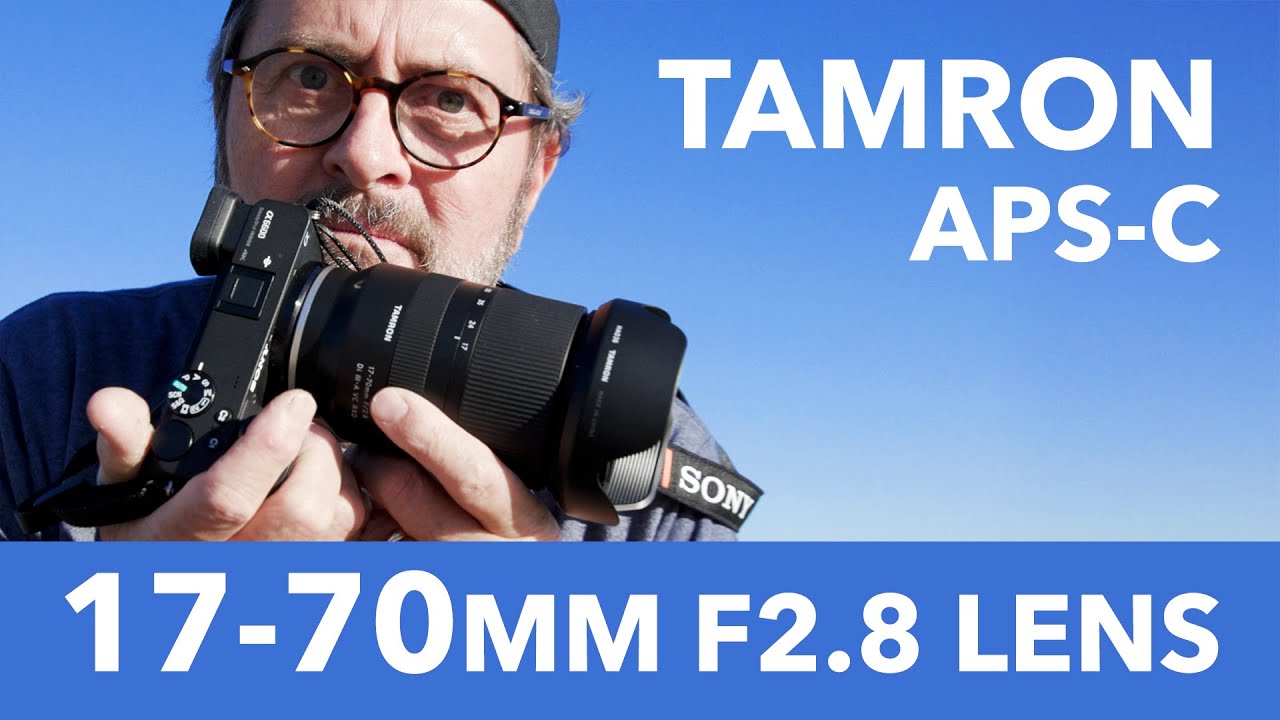
I keep a spreadsheet of every budget lens I’ve ever tested. Not because I’m obsessive (okay, maybe a little), but because the price-to-performance gap in this category changes fast and I want receipts when I tell someone what to buy. The question I get most from Sony APS-C shooters is always some version of: “Do I really need a dedicated crop-sensor lens, or can I just slap a full-frame lens on and call it a day?” It sounds like a reasonable shortcut. It isn’t, and JP Morgan over at The Slanted Lens spells out exactly why in his breakdown of the Tamron 17-70mm f/2.8 for Sony E-mount APS-C cameras.
Watch the full tutorial on YouTube
In this The Slanted Lens tutorial, JP takes the Tamron out on a real shoot along the coast, photographing elephant seals, and walks through the lens’s specs, ergonomics, autofocus behavior, and optical coatings in a way that’s genuinely useful rather than just spec-sheet recitation. What he covers maps directly onto the buying decisions APS-C shooters face every day. Here’s a step-by-step breakdown of the key points so you can figure out whether this lens belongs in your bag.
Step 1: Understand Why an APS-C Lens Beats a Full-Frame Lens on an APS-C Body
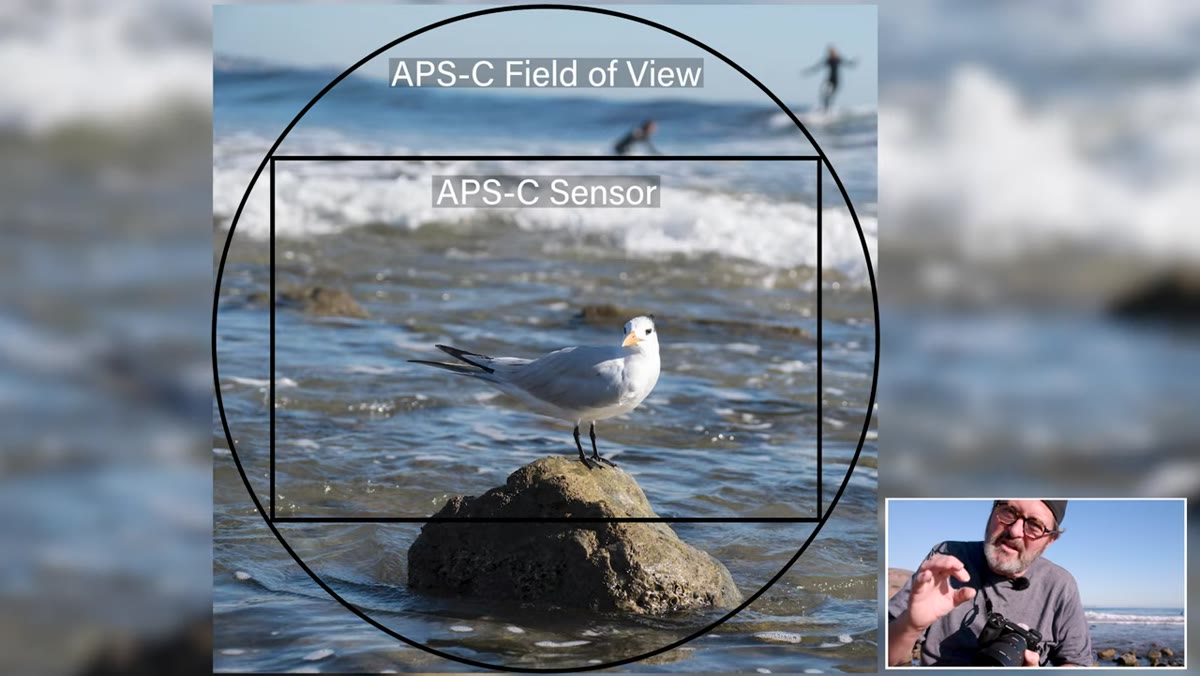 JP explaining APS-C vs full-frame lens optimization on camera sensor
The instinct to buy a full-frame lens “because it’ll be sharper in the middle” is one of the most persistent myths in crop-sensor photography. JP addresses it head-on: a full-frame lens is engineered to resolve detail across a much larger image circle than your APS-C sensor actually uses. That engineering priority does not translate into a sharpness bonus when you crop down. An APS-C lens is optimized specifically for the coverage area of your sensor, and in side-by-side comparisons, it consistently resolves more detail on an APS-C body than a full-frame lens does at the same focal length.
JP explaining APS-C vs full-frame lens optimization on camera sensor
The instinct to buy a full-frame lens “because it’ll be sharper in the middle” is one of the most persistent myths in crop-sensor photography. JP addresses it head-on: a full-frame lens is engineered to resolve detail across a much larger image circle than your APS-C sensor actually uses. That engineering priority does not translate into a sharpness bonus when you crop down. An APS-C lens is optimized specifically for the coverage area of your sensor, and in side-by-side comparisons, it consistently resolves more detail on an APS-C body than a full-frame lens does at the same focal length.
If you’ve been renting or borrowing full-frame glass and wondering why your images look slightly soft compared to what you see online, this is likely the reason. Matching the lens design to the sensor size is one of the highest-leverage moves you can make before touching any other setting.
Step 2: Get Clear on the Effective Focal Range and What It Covers
 JP holding the Tamron 17-70mm lens, discussing focal length equivalency
The Tamron 17-70mm on a Sony APS-C body gives you a full-frame equivalent of roughly 25.5mm to 105mm. That is a genuinely useful range in a single lens. The wide end gets you into environmental portraits and landscapes without going distortion-crazy. The middle range sits in comfortable portrait territory. The long end gives you a modest telephoto that works for isolating subjects or compressing backgrounds without carrying a second lens.
JP holding the Tamron 17-70mm lens, discussing focal length equivalency
The Tamron 17-70mm on a Sony APS-C body gives you a full-frame equivalent of roughly 25.5mm to 105mm. That is a genuinely useful range in a single lens. The wide end gets you into environmental portraits and landscapes without going distortion-crazy. The middle range sits in comfortable portrait territory. The long end gives you a modest telephoto that works for isolating subjects or compressing backgrounds without carrying a second lens.
For travel, event work, or any situation where you’re switching between wide establishing shots and tighter detail shots, this focal range means you’re not reaching into your bag every ten minutes. One lens, a full day of shooting, and you’ve covered most scenarios outside of dedicated macro or super-telephoto work.
Step 3: Check the Minimum Focus Distance for Close-Up Versatility
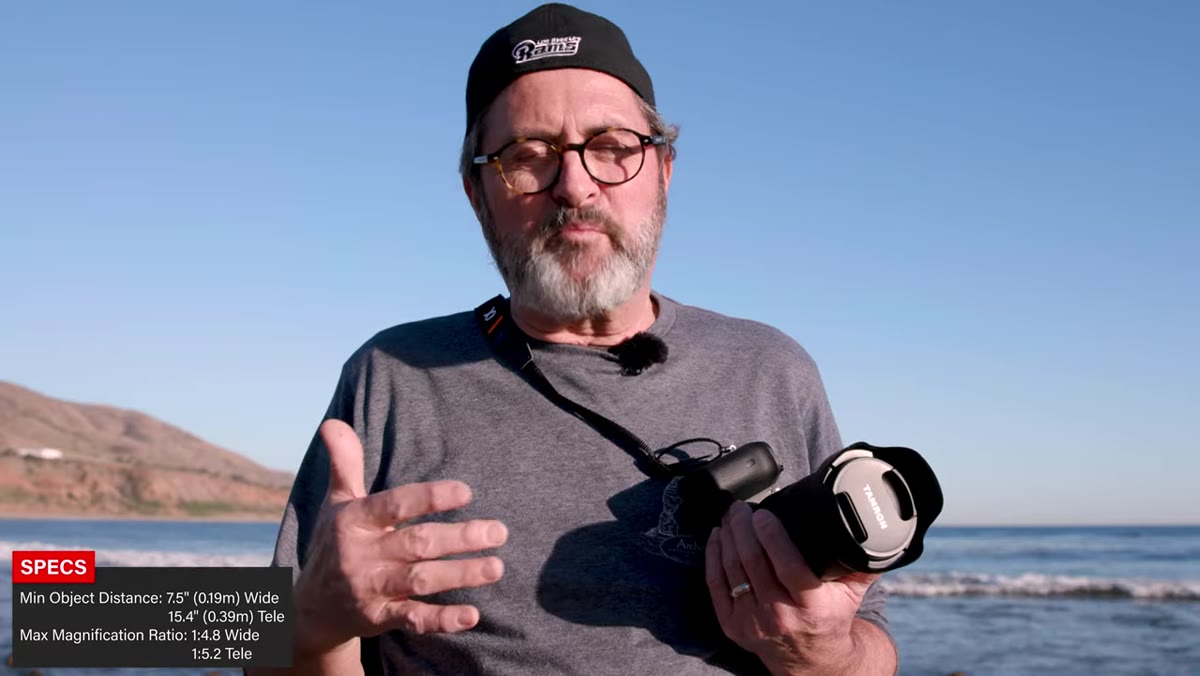 JP discussing minimum focus distance specs at 17mm and 70mm ends
One spec that gets skipped in a lot of lens reviews is minimum focus distance, and JP flags it here because it actually changes how you use the lens day-to-day. At 17mm, this Tamron focuses as close as 7.5 inches from the subject. At 70mm, it’s around 15.4 inches. Neither of those numbers sounds dramatic until you’re trying to shoot a ring, a flower, a product, or any small subject where you need to physically get close.
JP discussing minimum focus distance specs at 17mm and 70mm ends
One spec that gets skipped in a lot of lens reviews is minimum focus distance, and JP flags it here because it actually changes how you use the lens day-to-day. At 17mm, this Tamron focuses as close as 7.5 inches from the subject. At 70mm, it’s around 15.4 inches. Neither of those numbers sounds dramatic until you’re trying to shoot a ring, a flower, a product, or any small subject where you need to physically get close.
The wide-end close-focus capability in particular is worth noting. It’s not a macro lens, but it gives you enough working distance to shoot detail shots that would otherwise require swapping glass. If your current zoom can’t get tighter than two feet at any focal length, this alone is a meaningful upgrade.
Step 4: Appreciate the 67mm Filter Thread Across Tamron’s Lineup
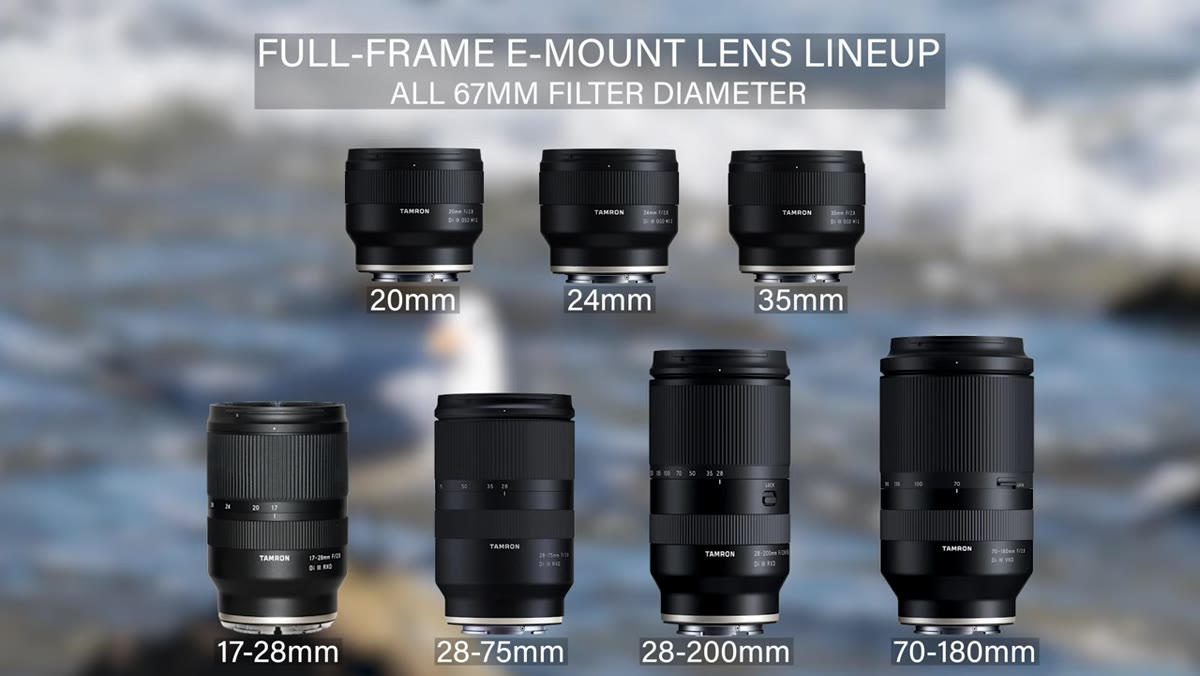 JP showing the lens filter thread size and ergonomic build
Tamron built this APS-C lens with the same 67mm filter thread used across their full-frame E-mount lineup. That decision sounds like a small thing until you realize it means your polarizers, ND filters, and any other glass accessories you already own transfer directly to this lens without adapters or replacements.
JP showing the lens filter thread size and ergonomic build
Tamron built this APS-C lens with the same 67mm filter thread used across their full-frame E-mount lineup. That decision sounds like a small thing until you realize it means your polarizers, ND filters, and any other glass accessories you already own transfer directly to this lens without adapters or replacements.
For anyone building out a kit incrementally, this standardization is genuinely money-saving. You’re not buying a new circular polarizer every time you add a lens. The form factor is also compact and lightweight enough that paired with a Sony a6600, JP calls it close to an ideal travel setup. That’s a real-world endorsement, not marketing language.
Step 5: Test the Autofocus in Actual Moving-Subject Conditions
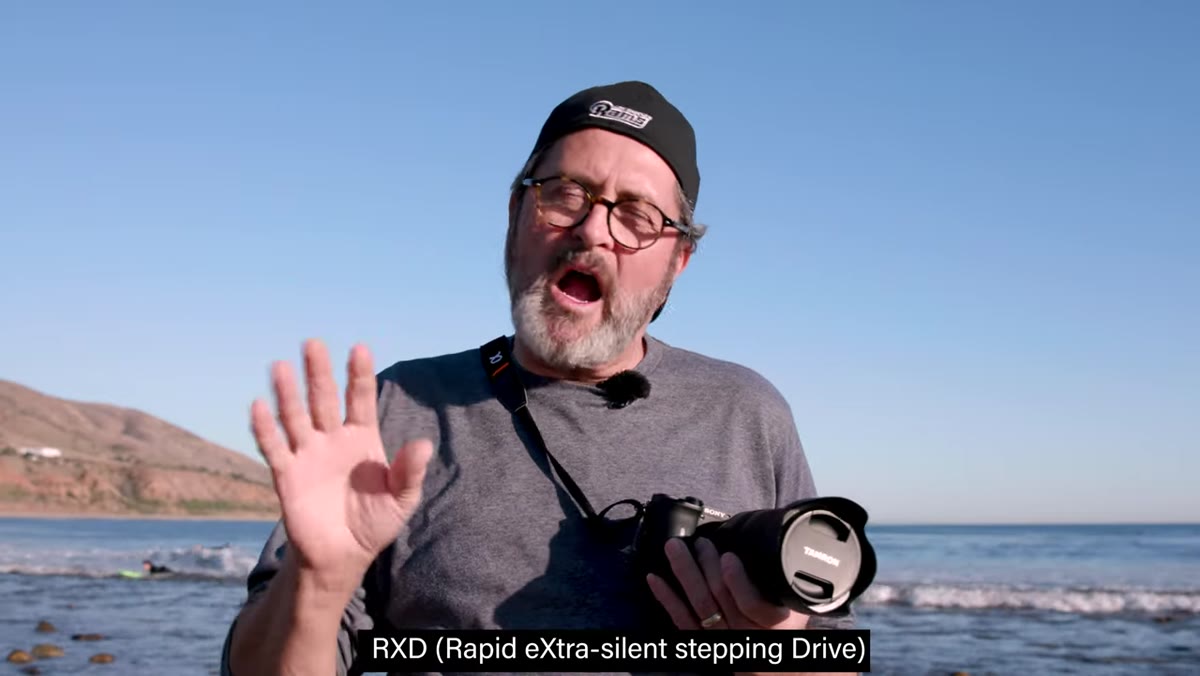 JP describing autofocus performance while shooting elephant seals on location
The Tamron uses a RXD stepping motor for autofocus. In practice, JP found it fast, quiet, and reliable while shooting elephant seals at close range on a beach. That is not a controlled studio environment. Animals move unpredictably, lighting changes, and you’re often working at the edge of your safe approach distance with no time to adjust manually.
JP describing autofocus performance while shooting elephant seals on location
The Tamron uses a RXD stepping motor for autofocus. In practice, JP found it fast, quiet, and reliable while shooting elephant seals at close range on a beach. That is not a controlled studio environment. Animals move unpredictably, lighting changes, and you’re often working at the edge of your safe approach distance with no time to adjust manually.
The lens integrates with Sony’s native autofocus system through the camera’s menu rather than putting controls on the barrel itself. That keeps the lens compact and puts the AF behavior settings where Sony shooters already expect them. If you’ve used any Sony E-mount glass before, the learning curve here is essentially zero.
Step 6: Factor in the BBAR Coating for Clean Images in Difficult Light
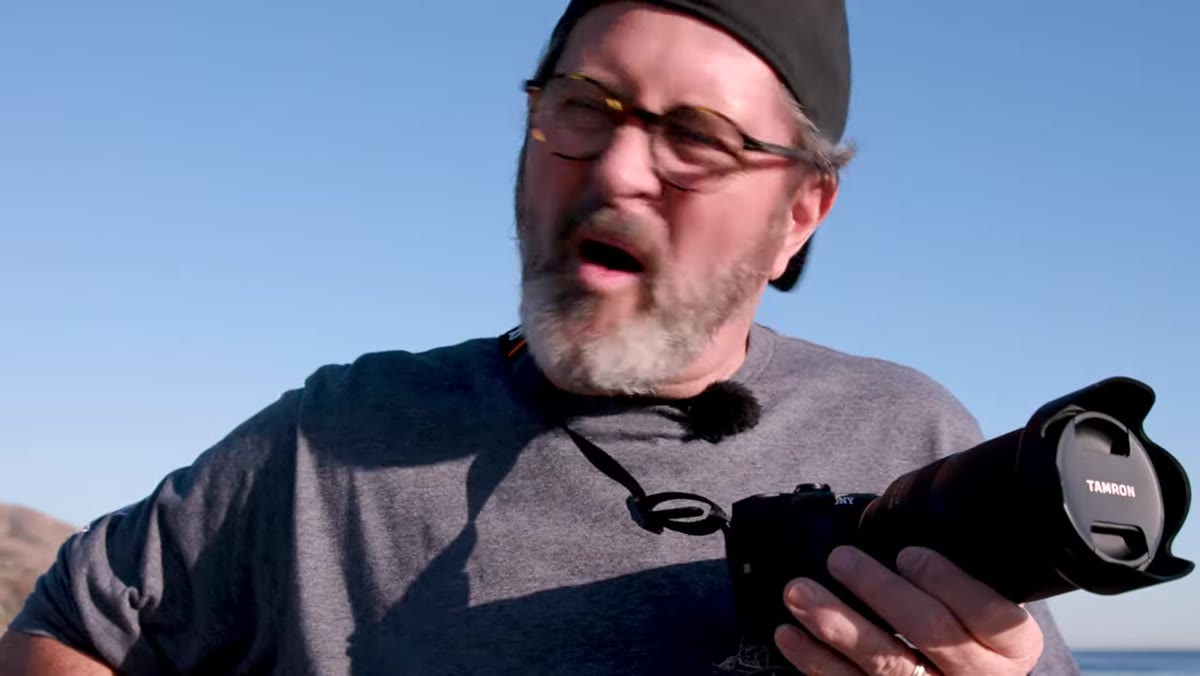 JP explaining the BBAR anti-reflective coating and its effect on flare and aberration
Tamron’s BBAR coating (Broad-Band Anti-Reflection) does two things: it cuts down on chromatic aberration and it significantly reduces lens flare. JP admits he has a soft spot for lenses with character flare, but for working photographers, clean images that don’t blow out highlights or muddy shadows because of internal reflections are more useful than optical quirks. The coating keeps contrast consistent even when shooting toward a light source.
JP explaining the BBAR anti-reflective coating and its effect on flare and aberration
Tamron’s BBAR coating (Broad-Band Anti-Reflection) does two things: it cuts down on chromatic aberration and it significantly reduces lens flare. JP admits he has a soft spot for lenses with character flare, but for working photographers, clean images that don’t blow out highlights or muddy shadows because of internal reflections are more useful than optical quirks. The coating keeps contrast consistent even when shooting toward a light source.
Chromatic aberration reduction is especially relevant for video work, where fringing on high-contrast edges can be distracting in motion and harder to correct in post than in a still image.
A Note From My Own Testing
I haven’t run this exact lens through my comparison spreadsheet yet, but the specs and real-world performance JP describes line up with a pattern I’ve seen across the Tamron APS-C lineup: Tamron is building glass that takes crop-sensor shooting seriously rather than treating it as a secondary market. The f/2.8 constant aperture across the entire zoom range is what separates this from the kit lens crowd. That one spec changes your options in low light, indoor events, and any situation where background separation matters.
At its price point, the main competition is Canon’s and Fuji’s equivalent APS-C zooms and Sony’s own 16-55mm f/2.8. The Sony version costs significantly more. If you’re on a Sony APS-C body and not already deep into Sony G Master glass, the Tamron 17-70mm deserves a serious look before you spend extra just for the badge.
The single biggest takeaway from JP’s breakdown is this: stop treating your APS-C camera like a compromise and start buying glass that’s actually designed for it. A dedicated APS-C lens at f/2.8, with a travel-friendly form factor and a focal range that covers wide to moderate telephoto, is not a budget workaround. It is the right tool for the sensor you have.
Watch the full tutorial on YouTube to see JP’s sample images from the coastal shoot and the full lens handling walkthrough.
Comments
Leave a Comment