
I track gear updates the way some people track flight deals. Firmware drops land in my inbox before most people have finished their morning coffee, and nine times out of ten they’re minor buffer tweaks that make zero real-world difference. So when Tamron pushed a tracking and response update for the 150-500mm and 50-400mm lenses, I was ready to be underwhelmed.
Then I watched Jay P. Morgan at The Slanted Lens actually put it through its paces on a moving subject, and I changed my posture on this one. Watch the full tutorial on YouTube before you read another word if you’d rather see it live. But if you want the breakdown of what changed, what settings he ran, and whether it’s worth your time to go find a Tamron Service Center nearby, read on.
The specific problem this solves is one I’ve dealt with personally: budget telephoto lenses that are optically solid but lose the plot the moment your subject does something unpredictable. A pole vaulter mid-arc, a hawk banking left, a kid sprinting toward you at a birthday party. The glass holds up fine. The autofocus hesitates. You end up with a run of technically sharp shots where the sharp thing is an elbow instead of an eye. That’s the gap this update is targeting, and based on what Morgan demonstrates, it actually closes it.
Step 1: Confirm Your Lens Qualifies and Get the Update
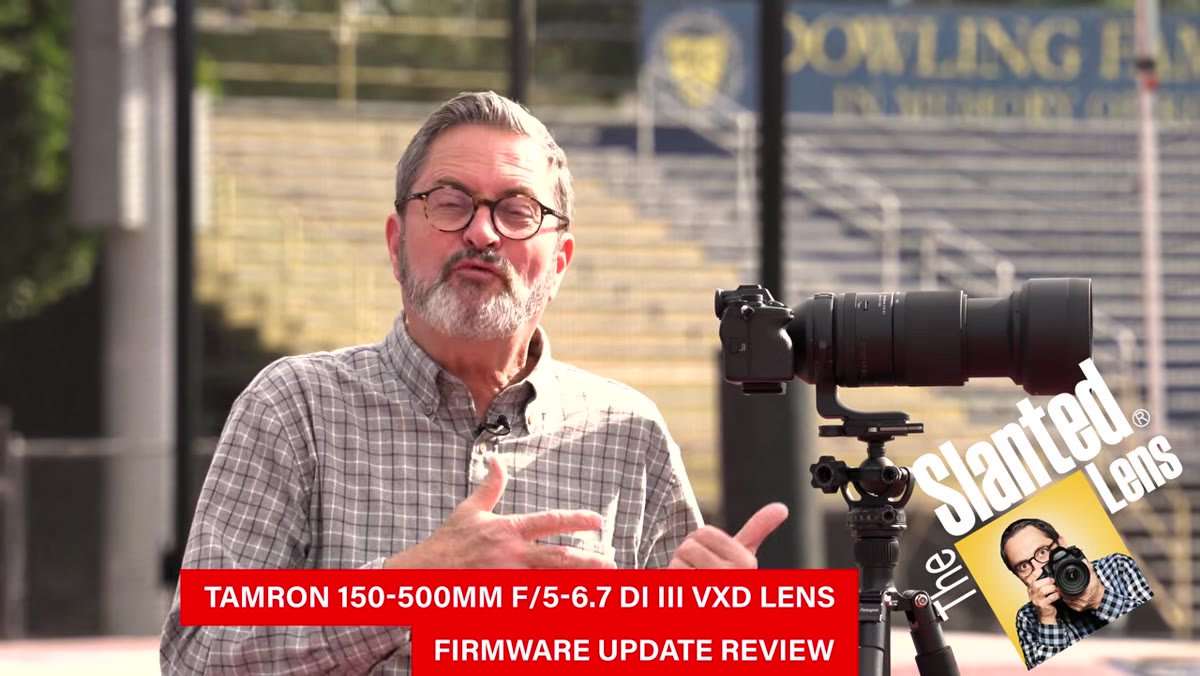 Jay P. Morgan naming the 150-500mm and 50-400mm lenses
The firmware update applies specifically to two Tamron lenses: the 150-500mm f/5-6.7 Di III VC VXD and the 50-400mm f/4.5-6.3 Di III VC VXD. Both are Sony E-mount lenses. If you own either one, head to Tamron’s official support page for your region and download the firmware updater tool. You’ll need to connect the lens directly to your computer using a Tamron USB dock, which is a separate purchase if you don’t already have one. It runs around $40 and is worth owning anyway since Tamron lets you customize autofocus behavior and stabilization settings through the same dock software.
Jay P. Morgan naming the 150-500mm and 50-400mm lenses
The firmware update applies specifically to two Tamron lenses: the 150-500mm f/5-6.7 Di III VC VXD and the 50-400mm f/4.5-6.3 Di III VC VXD. Both are Sony E-mount lenses. If you own either one, head to Tamron’s official support page for your region and download the firmware updater tool. You’ll need to connect the lens directly to your computer using a Tamron USB dock, which is a separate purchase if you don’t already have one. It runs around $40 and is worth owning anyway since Tamron lets you customize autofocus behavior and stabilization settings through the same dock software.
Step 2: Install the Update Before Your Next Shoot, Not After
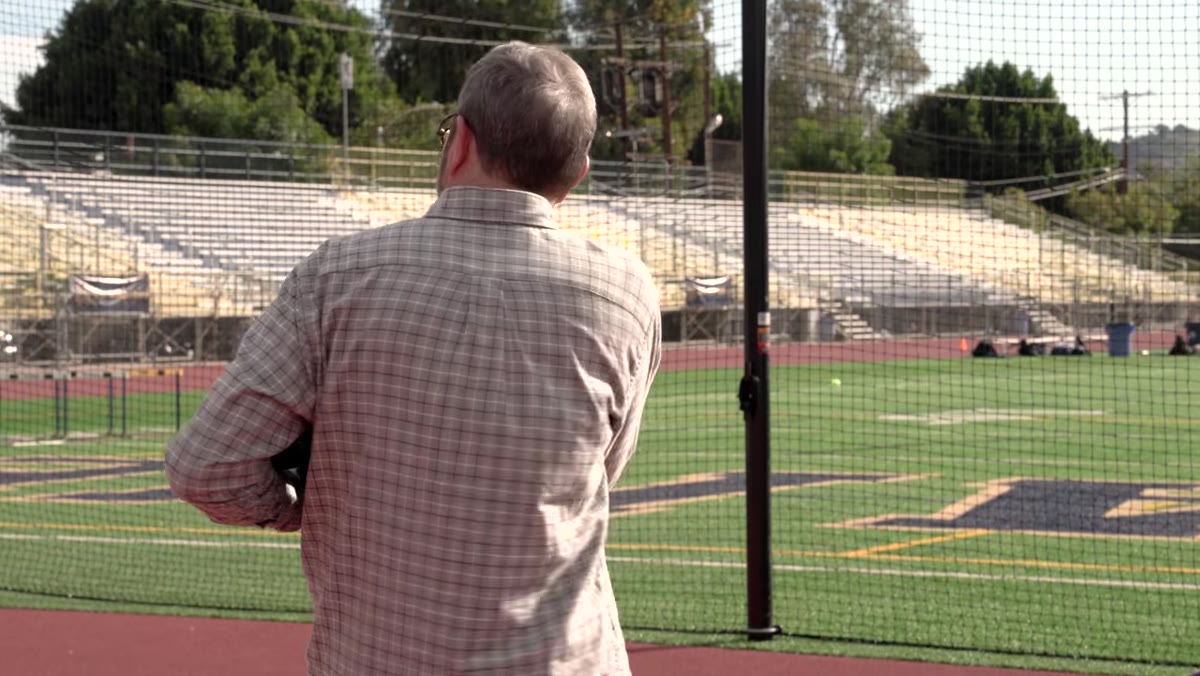
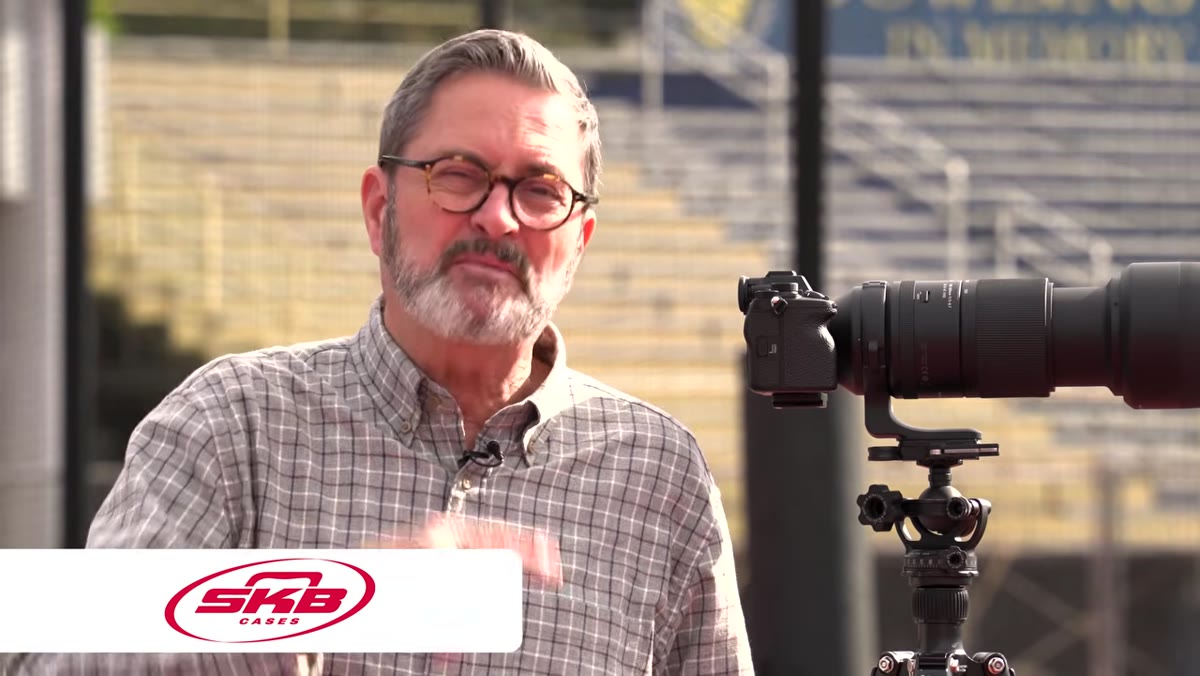 Lens mounted on Sony camera body, ready for testing
This sounds obvious but deserves its own step: do not wait until the night before a job to run a firmware update on a lens you’ve never updated. The installation itself is quick, maybe five minutes, but you want time to test the updated behavior before anything important is on the line. Morgan shot the updated lens on a Sony body, and the improved tracking is a collaboration between the lens firmware and Sony’s in-body subject recognition. If you’re running a different brand of mirrorless, your results may vary, but the lens-side improvements to response time should still apply.
Lens mounted on Sony camera body, ready for testing
This sounds obvious but deserves its own step: do not wait until the night before a job to run a firmware update on a lens you’ve never updated. The installation itself is quick, maybe five minutes, but you want time to test the updated behavior before anything important is on the line. Morgan shot the updated lens on a Sony body, and the improved tracking is a collaboration between the lens firmware and Sony’s in-body subject recognition. If you’re running a different brand of mirrorless, your results may vary, but the lens-side improvements to response time should still apply.
Step 3: Set Your Camera Body to Continuous Eye or Face Tracking
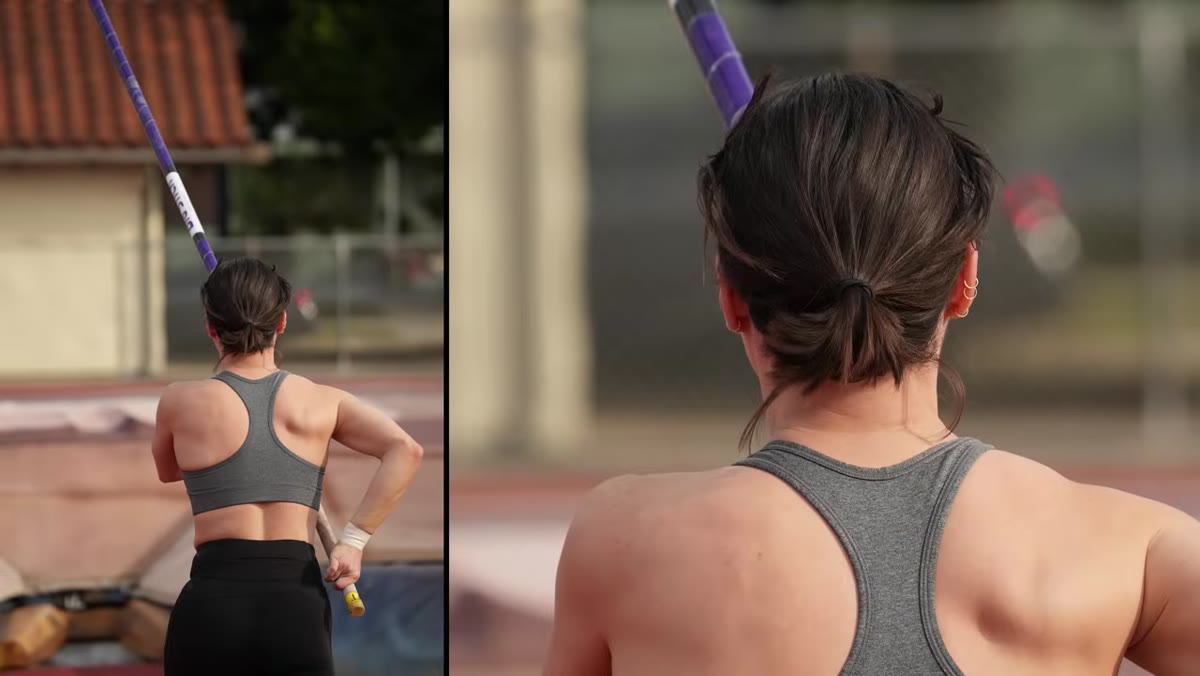
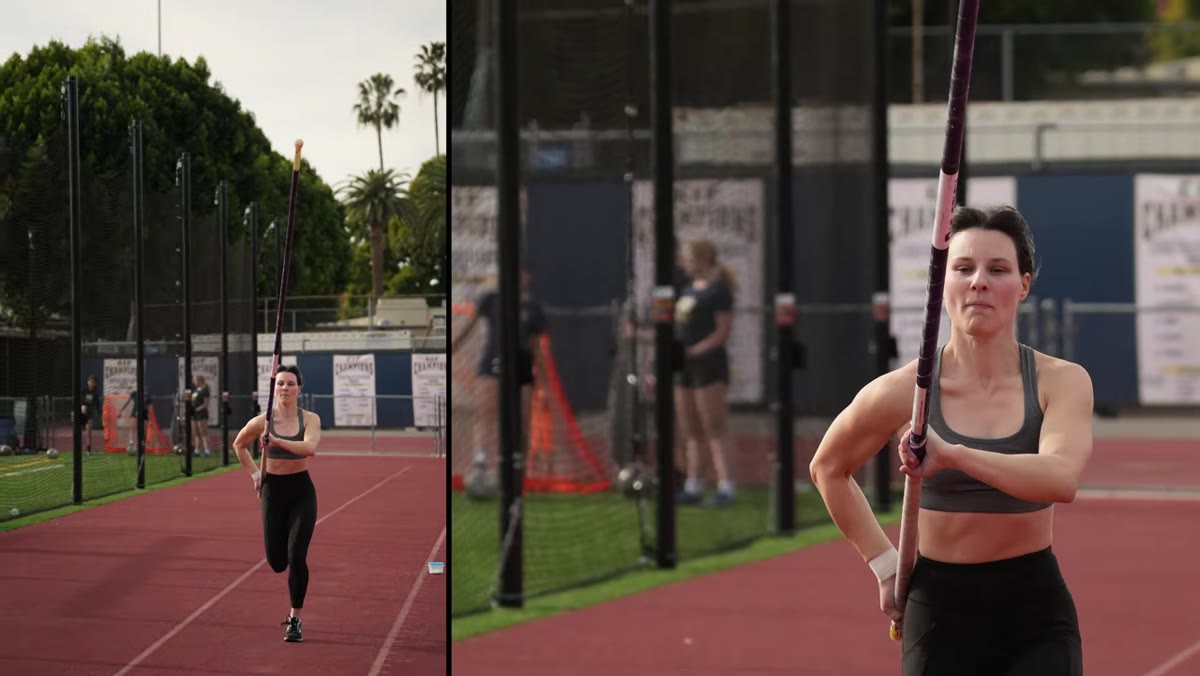
 Autofocus locking onto subject’s eye during pole vault run
Morgan was running Sony’s real-time tracking with eye AF enabled, and the combination is what pushed his keeper rate above 80 percent on a difficult subject. On Sony bodies, go into your focus settings and enable subject recognition set to human, then confirm eye priority is on. The lens firmware improves how quickly the lens physically responds when the camera sends a focus correction signal. The camera’s AI does the subject identification. Together they create a feedback loop that’s tighter than either system manages alone. If you’re on a different mirrorless system, find the equivalent continuous tracking mode with the smallest subject detection zone you can manage.
Autofocus locking onto subject’s eye during pole vault run
Morgan was running Sony’s real-time tracking with eye AF enabled, and the combination is what pushed his keeper rate above 80 percent on a difficult subject. On Sony bodies, go into your focus settings and enable subject recognition set to human, then confirm eye priority is on. The lens firmware improves how quickly the lens physically responds when the camera sends a focus correction signal. The camera’s AI does the subject identification. Together they create a feedback loop that’s tighter than either system manages alone. If you’re on a different mirrorless system, find the equivalent continuous tracking mode with the smallest subject detection zone you can manage.
Step 4: Shoot JPEG Only to Maximize Frame Rate
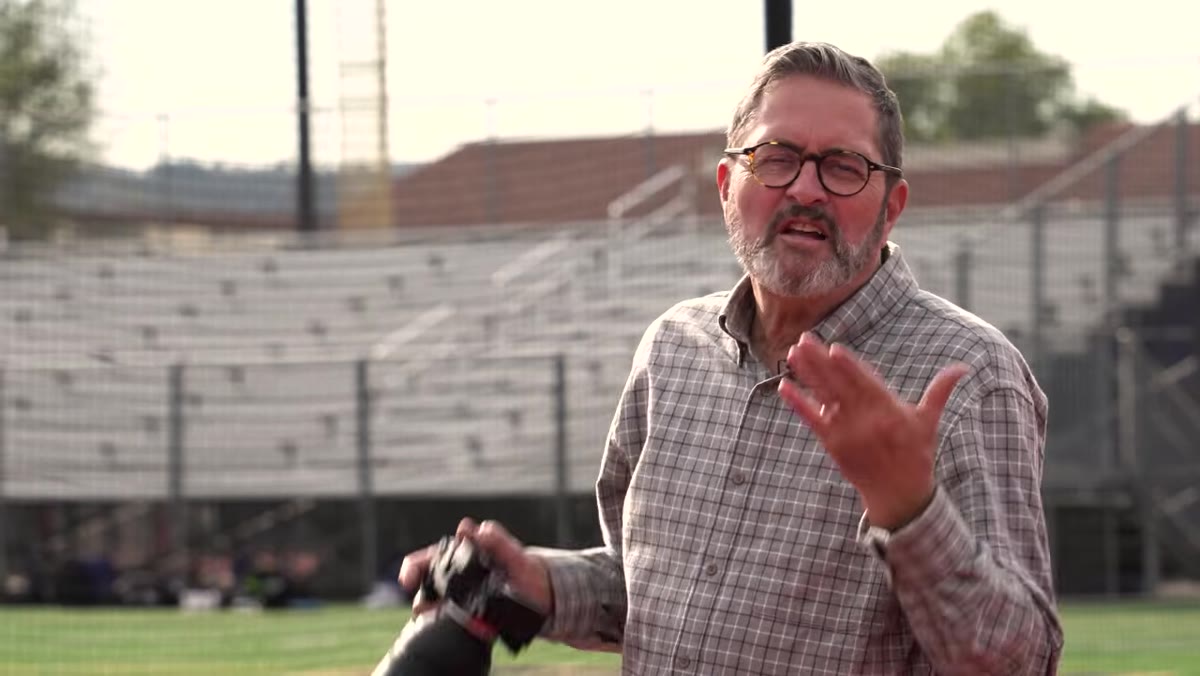
 Jay P. Morgan describing the switch to JPEG-only shooting mode
Morgan made a specific call during this test that’s worth copying: he switched to JPEG only and dropped RAW entirely. This isn’t a forever decision, it’s a sports-specific one. Shooting RAW during a burst sequence fills your buffer faster and drops your sustained frame rate on most bodies. Switching to JPEG clears that bottleneck and lets you run at your camera’s true continuous shooting speed. For tracking a fast subject, more frames per second means more chances the lens is sharp at exactly the right moment. You can always shoot a quick RAW burst for a hero shot after the action settles. But for the tracking sequence itself, JPEG is doing the practical work.
Jay P. Morgan describing the switch to JPEG-only shooting mode
Morgan made a specific call during this test that’s worth copying: he switched to JPEG only and dropped RAW entirely. This isn’t a forever decision, it’s a sports-specific one. Shooting RAW during a burst sequence fills your buffer faster and drops your sustained frame rate on most bodies. Switching to JPEG clears that bottleneck and lets you run at your camera’s true continuous shooting speed. For tracking a fast subject, more frames per second means more chances the lens is sharp at exactly the right moment. You can always shoot a quick RAW burst for a hero shot after the action settles. But for the tracking sequence itself, JPEG is doing the practical work.
Step 5: Keep Your Subject Centered and Work the Vertical
 Photographer panning to follow subject vertically during vault
One thing Morgan talks through that doesn’t get enough attention in gear reviews: the photographer’s technique still matters even when the autofocus is excellent. On a pole vaulter going up and over a bar, you’re tracking vertical motion more than horizontal, which is the opposite of how most of us pan instinctively. He was consciously reminding himself to stay with Molly through the full arc, center frame, from approach through clearance. The lens won’t compensate for a frame where your subject has left the center zone entirely. Keep them in the middle of the frame, stay disciplined about it, and let the AF do the fine work on eye lock.
Photographer panning to follow subject vertically during vault
One thing Morgan talks through that doesn’t get enough attention in gear reviews: the photographer’s technique still matters even when the autofocus is excellent. On a pole vaulter going up and over a bar, you’re tracking vertical motion more than horizontal, which is the opposite of how most of us pan instinctively. He was consciously reminding himself to stay with Molly through the full arc, center frame, from approach through clearance. The lens won’t compensate for a frame where your subject has left the center zone entirely. Keep them in the middle of the frame, stay disciplined about it, and let the AF do the fine work on eye lock.
Step 6: Separate Your Subject from the Background with Wardrobe or Positioning
 Subject changing to lighter shirt to contrast with dark tree background
This is a small detail in the video but it had a measurable effect. The subject was originally wearing a darker shirt that blended with the shadowed tree line behind her. They switched to a lighter top and the autofocus had a visibly easier time distinguishing her from the background. Subject recognition works on shape and contrast. When your athlete is wearing dark gear against a dark background, you’re making the system work harder than it needs to. If you’re shooting a scheduled session, ask your subject to avoid wearing colors that match your expected backdrop. If you’re shooting wildlife, consider your shooting angle relative to the horizon for the same reason.
Subject changing to lighter shirt to contrast with dark tree background
This is a small detail in the video but it had a measurable effect. The subject was originally wearing a darker shirt that blended with the shadowed tree line behind her. They switched to a lighter top and the autofocus had a visibly easier time distinguishing her from the background. Subject recognition works on shape and contrast. When your athlete is wearing dark gear against a dark background, you’re making the system work harder than it needs to. If you’re shooting a scheduled session, ask your subject to avoid wearing colors that match your expected backdrop. If you’re shooting wildlife, consider your shooting angle relative to the horizon for the same reason.
My Take: Budget Lens, Pro-Grade Update
I’ve tested this lens against more expensive options in my comparison spreadsheet and the Tamron 150-500mm was already punching above its price point optically. My reservation was always the autofocus consistency on unpredictable motion. A firmware update that specifically targets that weakness, at no cost to existing owners, is exactly the kind of long-term manufacturer support that justifies recommending a lens over a competitor. This is not a new lens wrapped in a press release. It’s a meaningful improvement delivered quietly to people who already bought in. If you’re sitting on the fence about this lens, this update removes one of the last arguments against it at this price range.
The single most important thing this tutorial demonstrates is that firmware updates on modern mirrorless lenses are not a formality. The Tamron 150-500mm was already a capable tool. After this update, the gap between it and lenses costing significantly more just got narrower. If you own this glass, update it today. If you’re shopping, factor this into the decision.
Watch the full tutorial on YouTube to see the actual tracking footage and Jay P. Morgan’s frame-by-frame breakdown of how the updated autofocus holds on a moving subject.
Comments (4)
This saved me so much time on my last edit. Wish I'd found this sooner.
Just subscribed. If the rest of your content is this good, I'm in.
Solid advice. Especially the part about taking your time with it.
Really solid breakdown. This pairs perfectly with the business work I've been writing about.
Leave a Comment