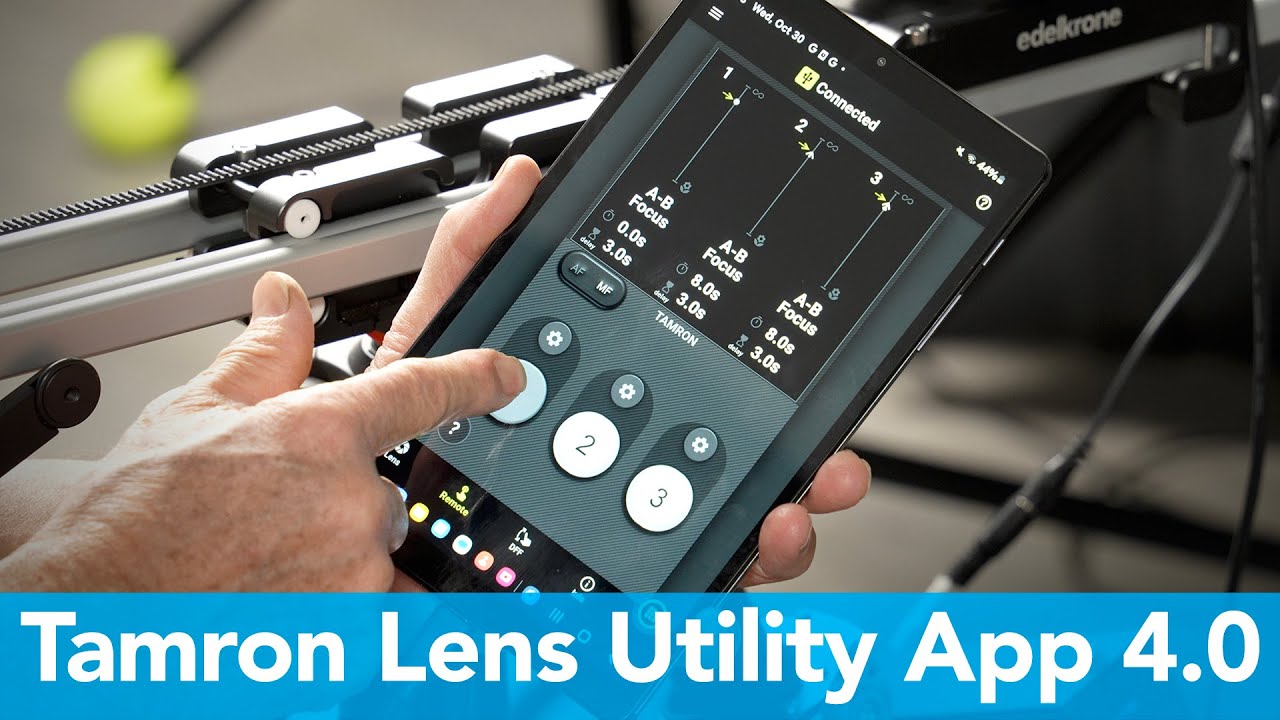
I shoot a lot of solo video work. No focus puller, no assistant, just me, a camera, and whatever I can rig together to make the footage not look like a disaster. For a long time, pulling focus manually mid-shot meant either a botched take or buying into a follow focus system that cost more than my first camera kit. So when I came across this The Slanted Lens tutorial on Tamron’s Lens Utility Mobile app version 4.0, I paid attention fast.
Watch the full tutorial on YouTube
The short version: if you’re shooting video with a compatible Tamron lens and you own an Android phone or tablet, you can now control focus, set A-B focus pull points, and even remap your lens rings, all from an app, all over USB-C. No extra hardware. No wireless transmitter. Just your phone and a cable. For anyone who’s ever priced out a proper follow focus rig, that’s a genuinely big deal.
The catch is that setup isn’t totally plug-and-play. There are a few steps to get through before any of the good stuff works, and skipping one will waste your time. Here’s exactly how to do it right.
Step 1: Update Your Lens Firmware on a PC First
 Tamron Lens Utility desktop app open on PC screen
Before the mobile app can do anything, your lens firmware needs to be current. This step cannot be done from the mobile app itself. You have to connect your Tamron lens to a PC and run the Tamron Lens Utility desktop application to push the latest firmware to the lens. It’s a free download from Tamron’s site and the process is straightforward, but don’t skip it thinking you’ll sort it out later. The mobile app depends on firmware features that older versions simply don’t have.
Tamron Lens Utility desktop app open on PC screen
Before the mobile app can do anything, your lens firmware needs to be current. This step cannot be done from the mobile app itself. You have to connect your Tamron lens to a PC and run the Tamron Lens Utility desktop application to push the latest firmware to the lens. It’s a free download from Tamron’s site and the process is straightforward, but don’t skip it thinking you’ll sort it out later. The mobile app depends on firmware features that older versions simply don’t have.
This is a one-time setup cost. Once the firmware is updated, you won’t need the PC again for normal use.
Step 2: Use the Tamron USB-C Cable, Not a Random One
 Tamron branded USB-C cable with 90-degree connector shown
Once your firmware is updated, you connect your lens to your Android device using a USB-C cable. Here’s where a lot of people will cut a corner and regret it. USB-C is not a universal standard in practice. Cables vary wildly in what data protocols they actually support, and a charging cable that works fine for your phone may not carry the right signal for lens communication.
Tamron branded USB-C cable with 90-degree connector shown
Once your firmware is updated, you connect your lens to your Android device using a USB-C cable. Here’s where a lot of people will cut a corner and regret it. USB-C is not a universal standard in practice. Cables vary wildly in what data protocols they actually support, and a charging cable that works fine for your phone may not carry the right signal for lens communication.
Tamron’s own cable solves this cleanly. It uses a 90-degree connector at the lens end, which lets you route the cable around the barrel without it sticking straight out and getting in the way. It’s a small design detail that matters when you’re on a gimbal or shooting handheld. If you already have the Tamron cable, use it. If you don’t, order it before you start troubleshooting phantom connection issues.
Step 3: Connect Your Lens and Launch the App
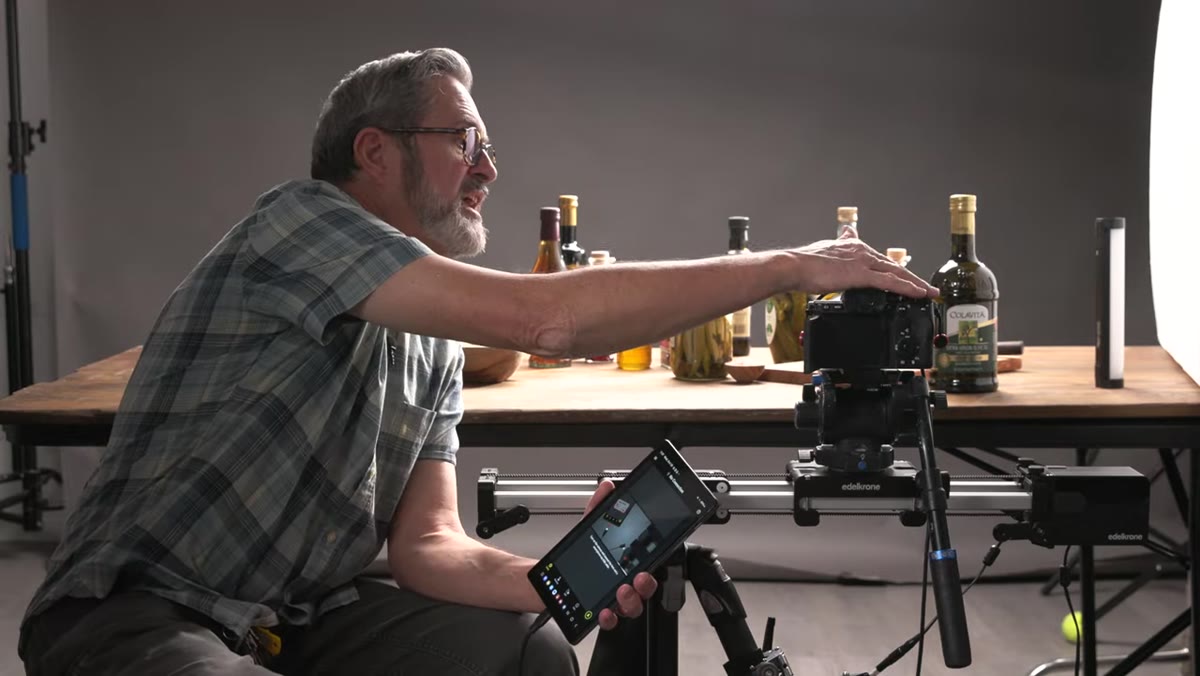 App home screen appearing after lens is connected to camera
With the cable connected between your lens and your Android device, open the Lens Utility Mobile app. The app should detect the lens automatically and bring you to the main settings screen. The interface is organized around the lens’s physical controls: the focus set button and the focus ring are the two primary things you’re working with here.
App home screen appearing after lens is connected to camera
With the cable connected between your lens and your Android device, open the Lens Utility Mobile app. The app should detect the lens automatically and bring you to the main settings screen. The interface is organized around the lens’s physical controls: the focus set button and the focus ring are the two primary things you’re working with here.
At this stage, you’ll see the current assignment for the focus set button and the current function of the focus ring. Nothing is locked in stone. The whole point of this app is that those assignments are configurable in real time.
Step 4: Configure the Focus Set Button
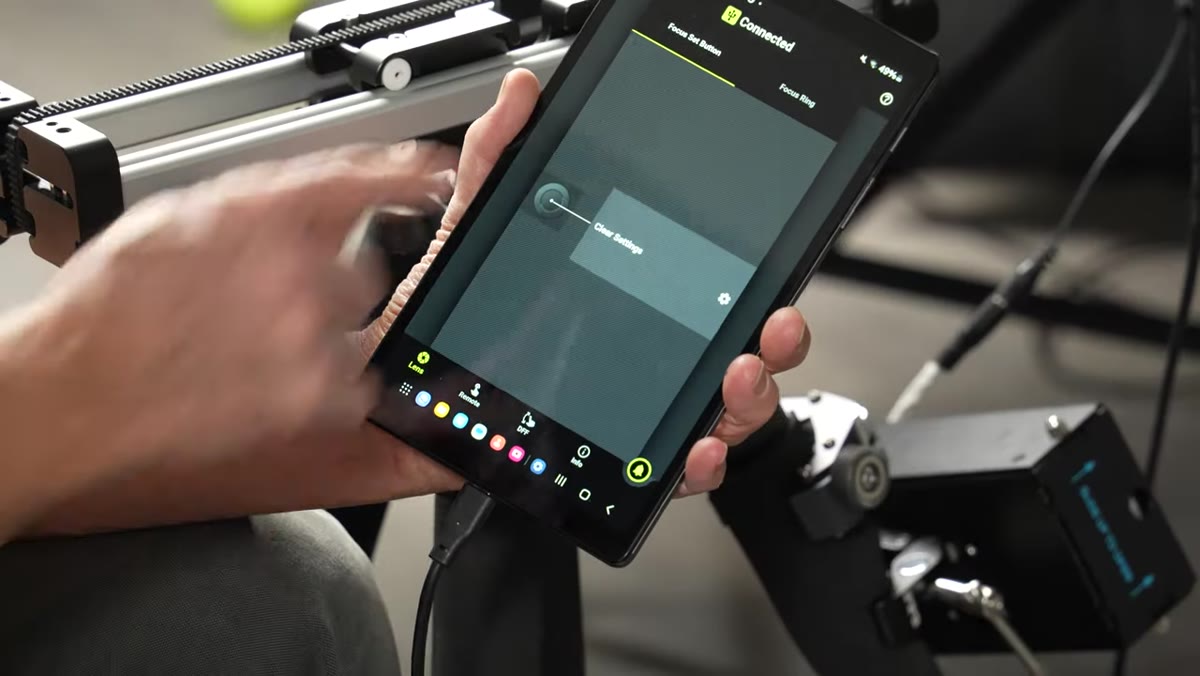 Focus set button options menu displayed in app interface
Tap into the focus set button settings and you’ll see several options for what that physical button does. You can assign it to toggle between autofocus and manual focus, set it to trigger a focus preset, or configure it for A-B focus mode. You can also assign it to a camera body function, which is useful if you want that button to do something your camera would normally handle through a menu.
Focus set button options menu displayed in app interface
Tap into the focus set button settings and you’ll see several options for what that physical button does. You can assign it to toggle between autofocus and manual focus, set it to trigger a focus preset, or configure it for A-B focus mode. You can also assign it to a camera body function, which is useful if you want that button to do something your camera would normally handle through a menu.
If you’re setting up for video work, A-B focus is the one to pay attention to. That’s what enables the Digital Follow Focus feature, which is the real draw of the 4.0 update.
Step 5: Set Up Digital Follow Focus with A-B Points
 Digital Follow Focus screen showing A and B point markers
Digital Follow Focus lets you define two focus positions, an A point and a B point, and then move between them in a controlled, repeatable way from the app. For solo video shooters, this is the feature that replaces a dedicated follow focus unit. You set your near point, set your far point, and the app handles the smooth transition between them on command.
Digital Follow Focus screen showing A and B point markers
Digital Follow Focus lets you define two focus positions, an A point and a B point, and then move between them in a controlled, repeatable way from the app. For solo video shooters, this is the feature that replaces a dedicated follow focus unit. You set your near point, set your far point, and the app handles the smooth transition between them on command.
To use this, you’ll need to switch the lens into manual focus mode first. The app makes that toggle available on the same screen, so you don’t have to dig through camera menus mid-setup. Once you’re in manual focus, set your A point by focusing on your first subject and confirming it in the app, then do the same for the B point. From there, triggering the pull is controlled through the app interface.
Step 6: Remap the Focus Ring to Control Aperture
 Focus ring function menu showing aperture assignment option
One of the less obvious features in the app is the ability to reassign the focus ring itself. Instead of controlling focus, you can set it to adjust aperture. If you’re on a lens that doesn’t have a dedicated aperture ring, this gives you physical, tactile aperture control during a shoot without hunting through body menus.
Focus ring function menu showing aperture assignment option
One of the less obvious features in the app is the ability to reassign the focus ring itself. Instead of controlling focus, you can set it to adjust aperture. If you’re on a lens that doesn’t have a dedicated aperture ring, this gives you physical, tactile aperture control during a shoot without hunting through body menus.
It’s a niche use case but a genuinely useful one for run-and-gun video or any situation where you need to ride exposure while rolling. The app also lets you run both functions if your lens supports it.
One Thing I’d Add From Experience
The app is powerful, but it’s only as useful as your cable management. I’ve worked with enough budget gear to know that a cable that shifts mid-shot can ruin a focus pull just as badly as operator error. If you’re using this setup on a gimbal or moving rig, tape the cable down or use a clip to anchor it against the lens barrel. The 90-degree Tamron connector helps a lot here, but a loose cable at the phone end is still a failure point. A small binder clip from an office supply store costs almost nothing and keeps things locked in place. It’s the kind of fix that doesn’t show up in tutorials but saves takes.
The single most important thing this app changes is the economics of cinematic focus control for solo shooters. A follow focus system with a wireless handset can run several hundred dollars. If you’re already shooting with a compatible Tamron lens and you own an Android device, the Lens Utility Mobile app gets you most of the way there for the cost of a cable.
Watch the full tutorial on YouTube to see the full walkthrough from The Slanted Lens, including a live demo of the Digital Follow Focus in action.
Comments
Leave a Comment