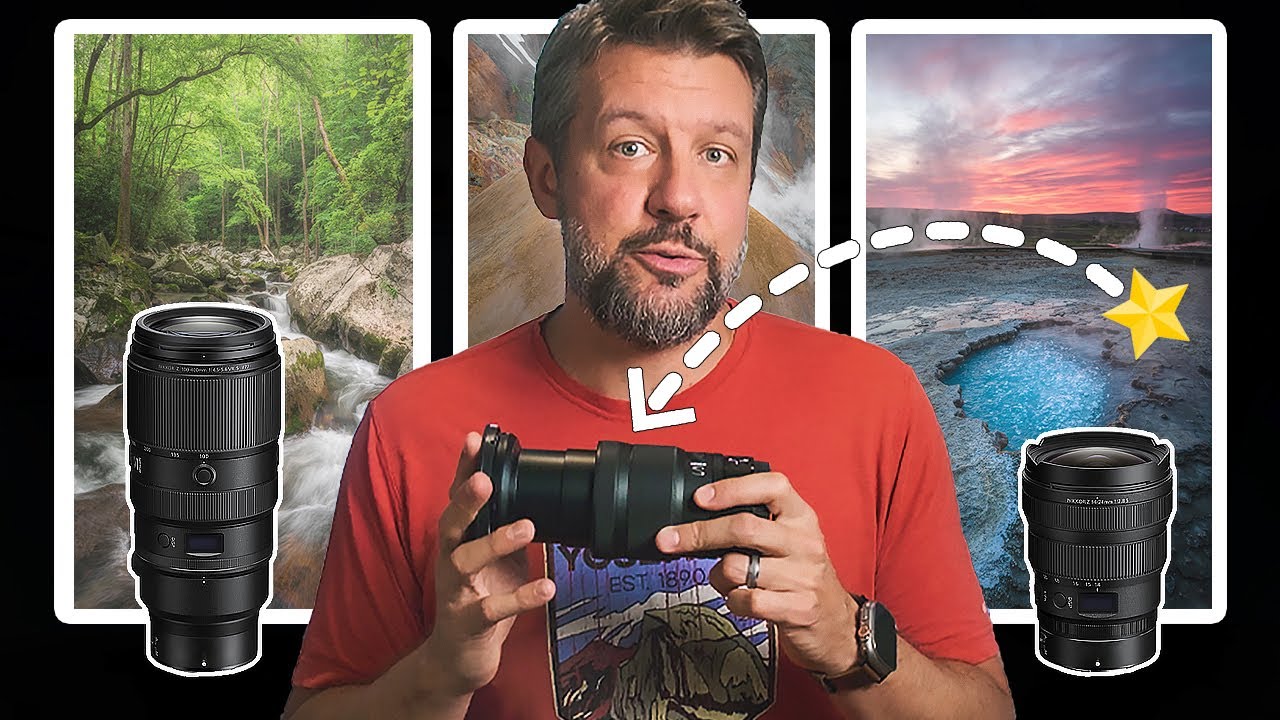
One of the questions I get more than almost anything else is some version of “which lenses do I actually need?” Not which ones are technically best. Not which ones win on spec sheets. Which ones should I pack when I’m already carrying water, a tripod, and layers for weather I didn’t expect. That is a real question with a real cost attached to it, and most lens recommendation articles dodge it completely.
In this Mark Denney tutorial, he lays out the three-lens landscape kit he landed on after four months of switching to the Nikon Z system and testing glass across locations like the Smoky Mountains, Grand Teton, Iceland, and the Faroe Islands. That is not a casual sample size. What makes his breakdown worth studying is not just the gear he picked, but the reasoning behind keeping the kit small: less weight on the trail, less decision fatigue on location, and a lower total cost than stacking up five lenses you only half-use. Watch the full tutorial on YouTube
I’ve been preaching the “fewer, better” lens philosophy for years, mostly because I had no choice starting out. Turns out that constraint was a feature. Here’s how Mark builds his kit and why each slot earns its place in the bag.
Step 1: Start With the Problem, Not the Gear
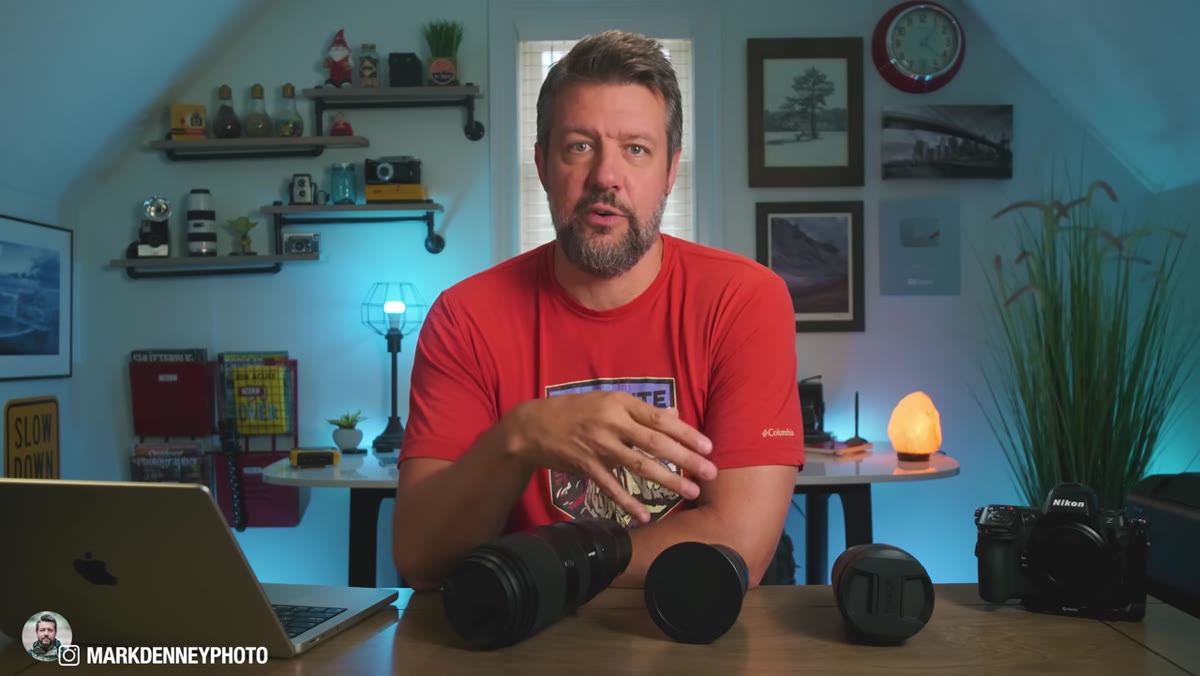 Mark explaining his previous two-lens setup at a trailhead
Before Mark names a single lens, he explains why he moved away from a simple wide-plus-telephoto setup and why a three-lens kit kept frustrating him until now. The core issues were millimeter gaps between focal lengths and a telephoto that never reached far enough. That framing matters because it tells you what to pressure-test in your own kit. If you’re constantly zooming to the edge of your range and wishing for more, that is diagnostic information, not just an annoyance.
Mark explaining his previous two-lens setup at a trailhead
Before Mark names a single lens, he explains why he moved away from a simple wide-plus-telephoto setup and why a three-lens kit kept frustrating him until now. The core issues were millimeter gaps between focal lengths and a telephoto that never reached far enough. That framing matters because it tells you what to pressure-test in your own kit. If you’re constantly zooming to the edge of your range and wishing for more, that is diagnostic information, not just an annoyance.
Ask yourself where your current lenses actually spend most of their time. If you own a 16-35mm and shoot almost exclusively between 16mm and 22mm, you are carrying the back half of that zoom for no reason. That answer should shape what you buy next, not a YouTube comment section.
Step 2: Choose a Wide Angle That Uses Its Full Range
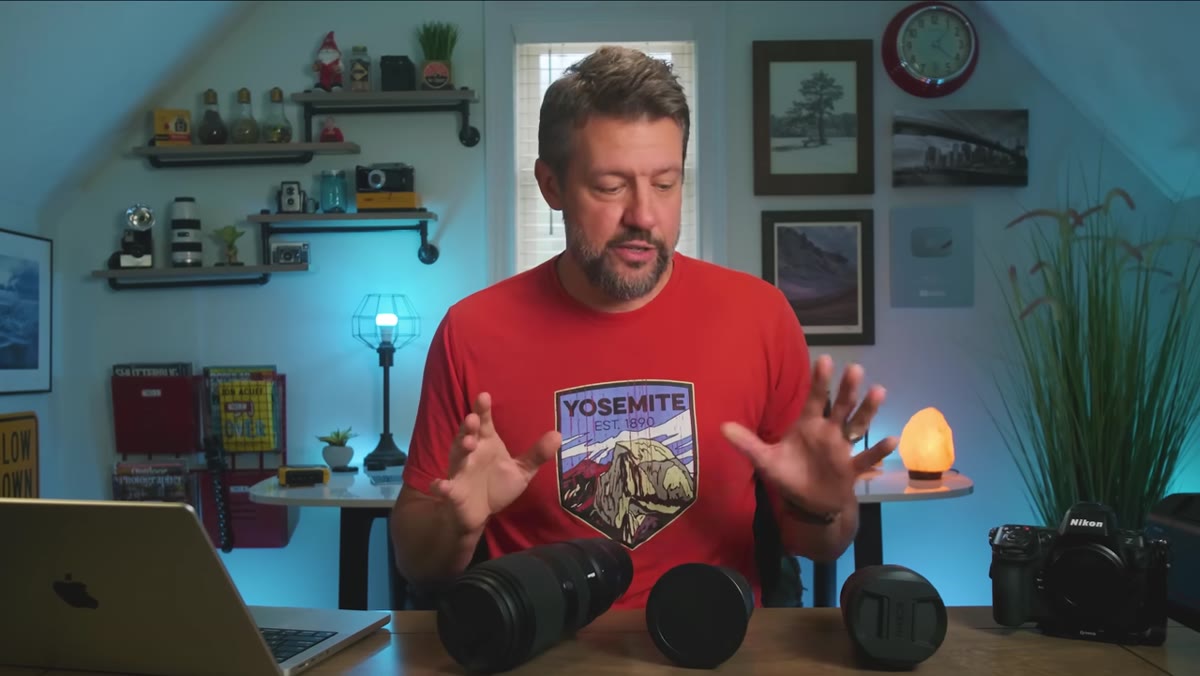 Mark holding the Nikon 14-24mm lens up to camera
Mark’s wide angle anchor is the Nikon Z 14-24mm f/2.8. He came from a 16-35mm background and was skeptical that two millimeters at the wide end would matter. It does. At 14mm versus 16mm, the spatial compression and foreground inclusion change noticeably, especially when you are trying to anchor a sweeping landscape with something close to the lens. The key test he applies: does he shoot the full focal range of this lens, or does it live at one end?
Mark holding the Nikon 14-24mm lens up to camera
Mark’s wide angle anchor is the Nikon Z 14-24mm f/2.8. He came from a 16-35mm background and was skeptical that two millimeters at the wide end would matter. It does. At 14mm versus 16mm, the spatial compression and foreground inclusion change noticeably, especially when you are trying to anchor a sweeping landscape with something close to the lens. The key test he applies: does he shoot the full focal range of this lens, or does it live at one end?
His answer is yes, he shoots at 14mm, at 24mm, and throughout the middle, which is exactly what justifies carrying a zoom over a prime. If you are only ever touching one focal length on a zoom, a prime would serve you better and likely cost less.
Step 3: Evaluate Sharpness at the Corners, Not Just the Center
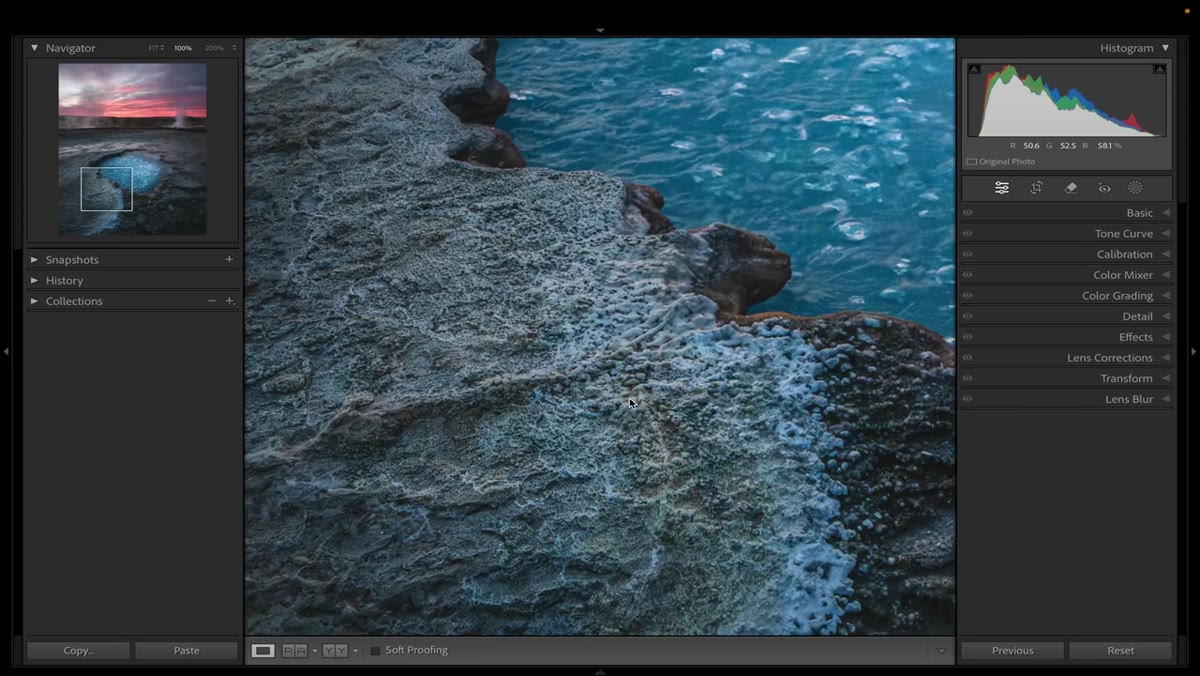 Zoomed-in crop of Iceland highlands image showing corner detail
Mark zooms into images from Iceland and the Smoky Mountains to demonstrate how the 14-24mm performs edge to edge. Center sharpness is easy. Corner sharpness on a wide angle is where budget glass tends to fall apart, especially wide open. He acknowledges the corners are slightly softer than the center, which is normal and expected, but the overall rendering holds up for landscape work where you are typically stopped down to f/8 or f/11 anyway.
Zoomed-in crop of Iceland highlands image showing corner detail
Mark zooms into images from Iceland and the Smoky Mountains to demonstrate how the 14-24mm performs edge to edge. Center sharpness is easy. Corner sharpness on a wide angle is where budget glass tends to fall apart, especially wide open. He acknowledges the corners are slightly softer than the center, which is normal and expected, but the overall rendering holds up for landscape work where you are typically stopped down to f/8 or f/11 anyway.
When you are evaluating any wide angle for landscape use, pull up a shot with detail running to the corners, a treeline, a stone wall, a shoreline. Zoom to 100% at the edges. That is your real-world sharpness test, not the center-frame chart shot reviewers love to post.
Step 4: Pick a Midrange Lens That Earns a Dedicated Slot
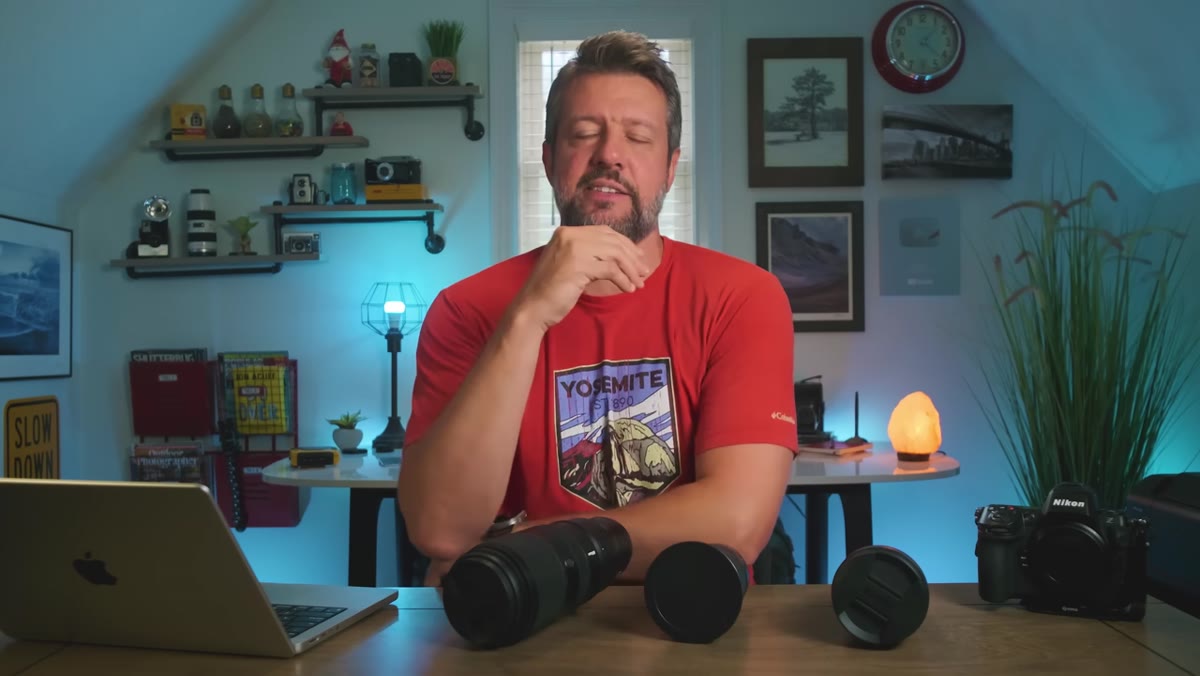 Mark transitioning to discuss the middle focal length in his kit
The middle lens in a three-lens kit is the one most photographers either over-rely on or ignore completely. Mark’s approach is to treat it as a distinct creative tool, not just the gap-filler between wide and telephoto. The midrange focal length lets him compress elements in a scene without going full telephoto, and it changes the relationship between foreground and background in ways that wide angles simply cannot replicate.
Mark transitioning to discuss the middle focal length in his kit
The middle lens in a three-lens kit is the one most photographers either over-rely on or ignore completely. Mark’s approach is to treat it as a distinct creative tool, not just the gap-filler between wide and telephoto. The midrange focal length lets him compress elements in a scene without going full telephoto, and it changes the relationship between foreground and background in ways that wide angles simply cannot replicate.
If you are building a three-lens kit and tempted to skip the middle slot, shoot one full session deliberately forcing yourself to work in that focal range. You will either discover you needed it, or confirm you do not. Either answer saves you money.
Step 5: Go Longer on the Telephoto Than You Think You Need
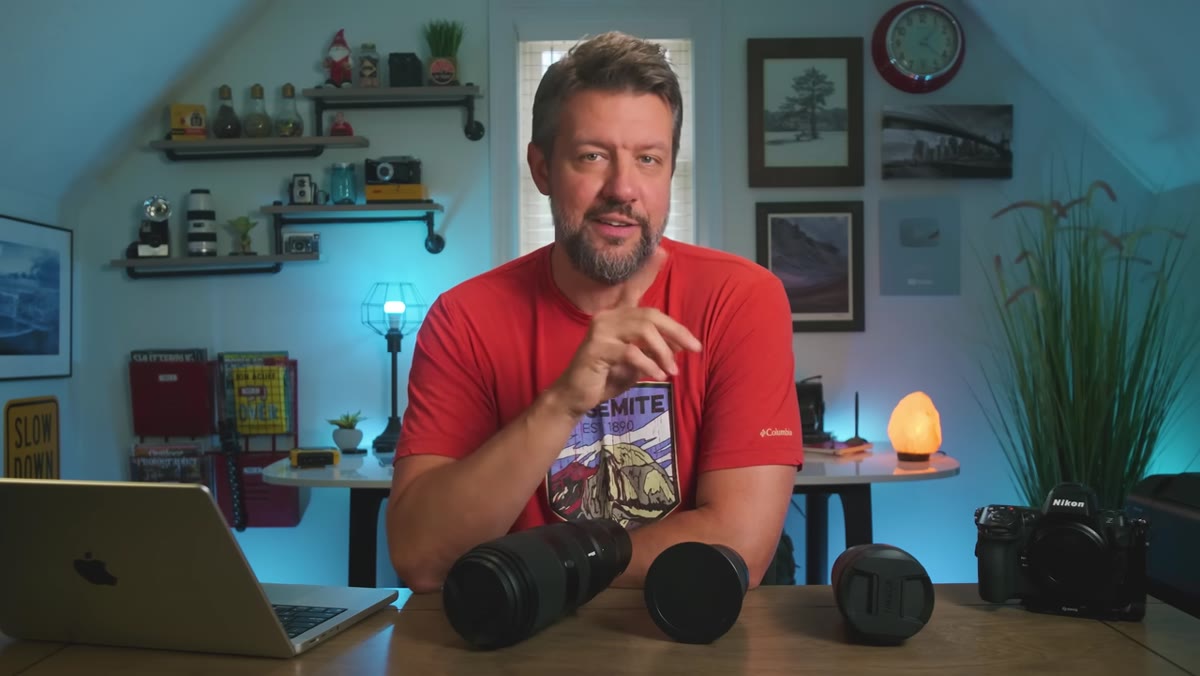 Mark describing telephoto range frustrations in previous setups
Mark’s previous telephoto setups consistently left him wanting more reach. His fix was committing to a longer lens than felt comfortable on paper. Telephoto work in landscape photography is not just about distant mountains. It is about compression, about isolating a single tree on a ridge, about pulling a reflection tight across a lake. The more time you spend in the field, the more you realize that “long enough” is usually longer than your first instinct.
Mark describing telephoto range frustrations in previous setups
Mark’s previous telephoto setups consistently left him wanting more reach. His fix was committing to a longer lens than felt comfortable on paper. Telephoto work in landscape photography is not just about distant mountains. It is about compression, about isolating a single tree on a ridge, about pulling a reflection tight across a lake. The more time you spend in the field, the more you realize that “long enough” is usually longer than your first instinct.
This is also where weight becomes a real conversation. A longer telephoto is heavier. Mark factors in his hiking load explicitly when building this kit, which is a consideration that gear reviewers who drive to every location sometimes skip entirely.
Step 6: Test the Full Kit as a System Before Committing
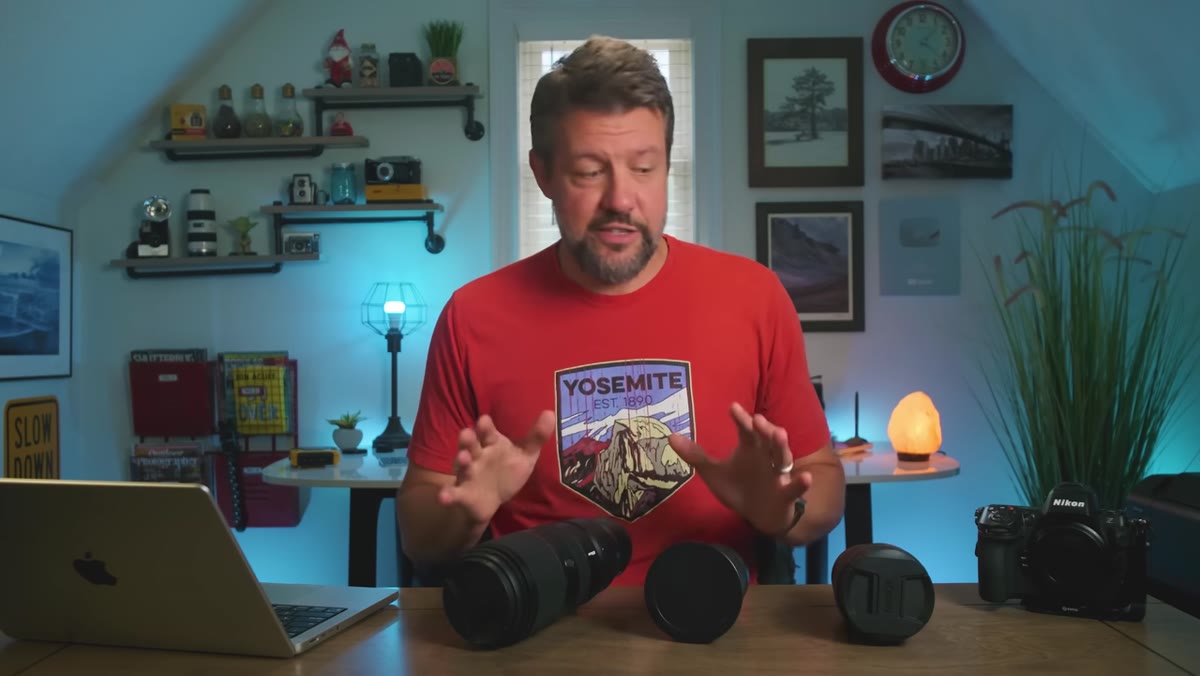 Mark listing shoot locations used to test the kit over four months
Mark spent four months and multiple international trips pressure-testing this combination before declaring it final. That timeline is not perfectionism. It is the only honest way to know whether a lens earns its place or just looked good on a spec sheet. He specifically notes that gaps between focal lengths only reveal themselves on location, not in a studio comparison.
Mark listing shoot locations used to test the kit over four months
Mark spent four months and multiple international trips pressure-testing this combination before declaring it final. That timeline is not perfectionism. It is the only honest way to know whether a lens earns its place or just looked good on a spec sheet. He specifically notes that gaps between focal lengths only reveal themselves on location, not in a studio comparison.
If you cannot afford to test extensively before buying, rent. A weekend with a lens across different lighting conditions and subjects will tell you more than any review, including this one.
My Take: This Framework Scales Down to Any Budget
Mark is shooting Nikon Z with pro-grade glass, but the three-lens logic he describes maps directly onto any system and any budget. The actual principle is: wide angle you use corner to corner, a midrange that changes how you see a scene, and a telephoto long enough that you stop wishing for more. Those slots can be filled with third-party options from Viltrox or Sigma at a fraction of the cost and still follow the same structure.
I have a spreadsheet comparing budget alternatives for almost every focal length category, and the gap between expensive and affordable glass has narrowed dramatically in the last two years. The framework Mark outlines is sound. The specific glass is optional.
The single thing worth carrying away from Mark’s approach is this: the lens that earns its place in your bag is the one you use across its full capability, not the one that has the most impressive maximum focal length or the lowest f-stop. Build your kit around how you actually shoot, not how you imagine you might shoot someday.
Watch the full tutorial on YouTube to see Mark’s actual sample images from Iceland, the Smoky Mountains, and the Faroe Islands alongside his full lens breakdown.
Comments (1)
Love how you break down complex stuff into manageable steps.
Leave a Comment