I used to think portrait photography was mostly about lighting and posing. Then I shot a friend’s engagement session with a kit zoom and spent two hours in Lightroom trying to fix flat, lifeless images that no amount of editing could fully save. The lens matters. Not because expensive glass makes you a better photographer, but because the wrong focal length, the wrong aperture, or a lens with bad contrast handling will cost you shots you can never reshoot.
In this Tony & Chelsea Northrup tutorial, the two break down their three go-to portrait lenses for professional work, including a genuine disagreement between them that tells you a lot about how personal lens choice actually is. What I want to do here is walk through their logic step by step, add some context from my own testing, and help you figure out which option fits your budget and shooting style.
Step 1: Understand Why a Dedicated Portrait Lens Changes Your Results
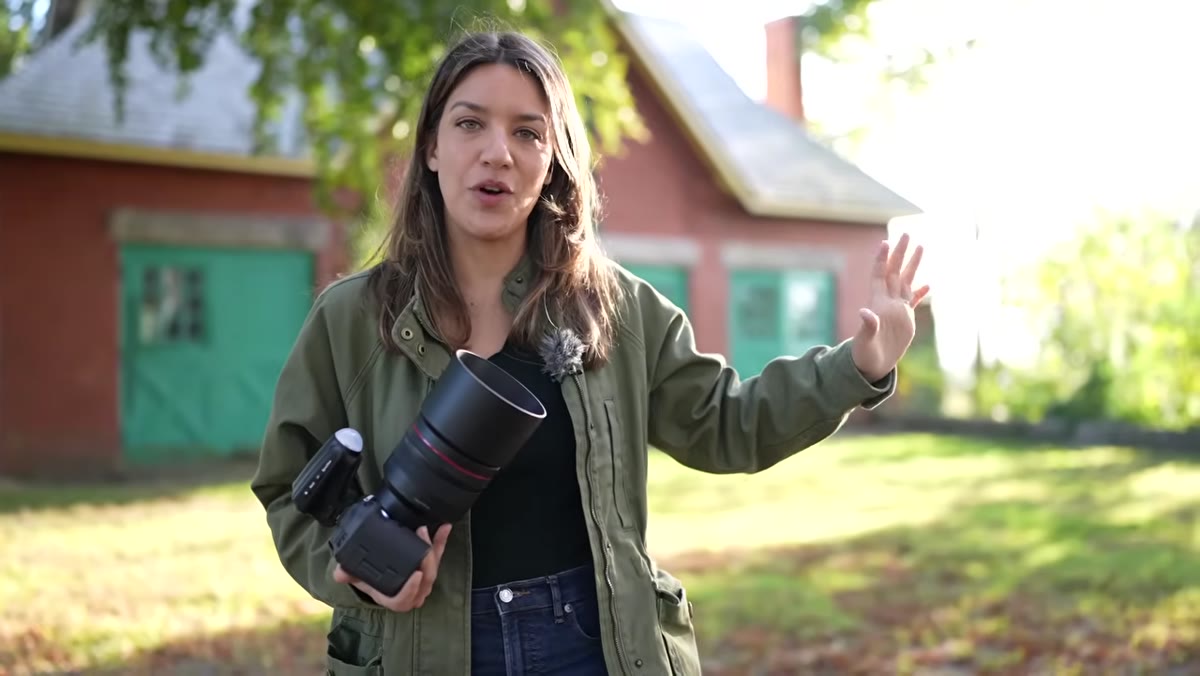
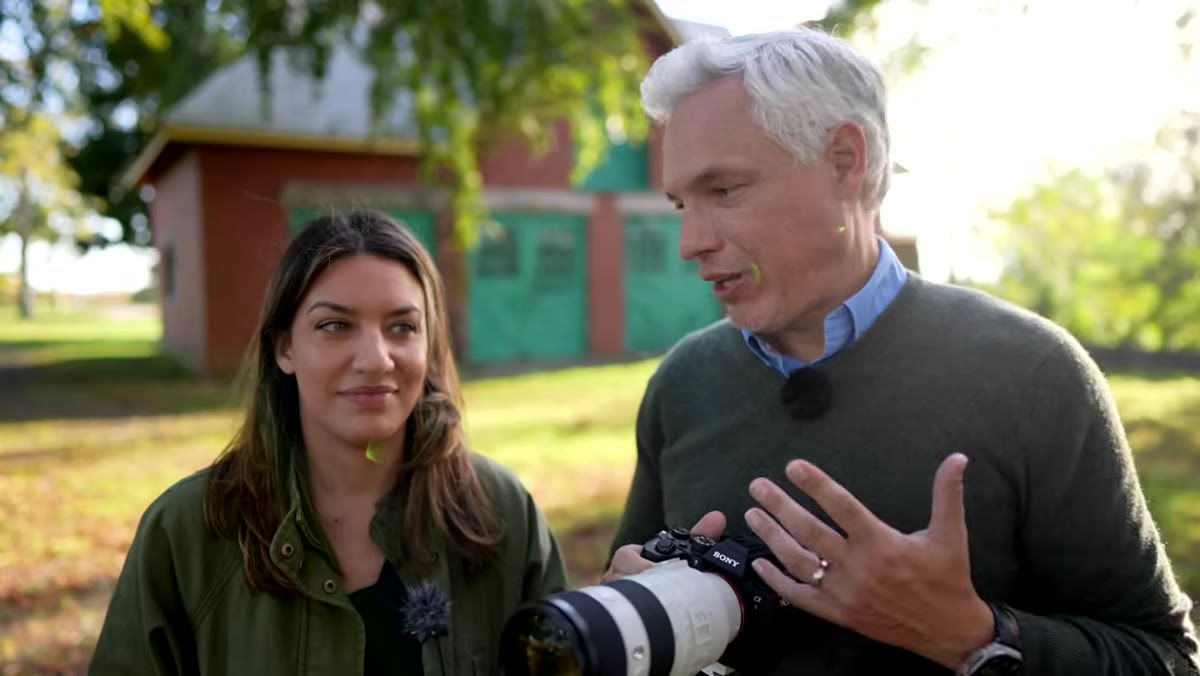 Tony and Chelsea introducing portrait lens recommendations outdoors
The first thing Tony and Chelsea establish is the premise: what separates a photographer’s images from a smartphone photo isn’t just skill. It’s also optics. Specifically, it’s the compression, background separation, and focal length choices that a good portrait lens makes possible. Before you pick a lens, it helps to understand what you’re actually buying. You’re buying control over how facial features render, how much the background melts away, and how much working distance you have between yourself and your subject.
Tony and Chelsea introducing portrait lens recommendations outdoors
The first thing Tony and Chelsea establish is the premise: what separates a photographer’s images from a smartphone photo isn’t just skill. It’s also optics. Specifically, it’s the compression, background separation, and focal length choices that a good portrait lens makes possible. Before you pick a lens, it helps to understand what you’re actually buying. You’re buying control over how facial features render, how much the background melts away, and how much working distance you have between yourself and your subject.
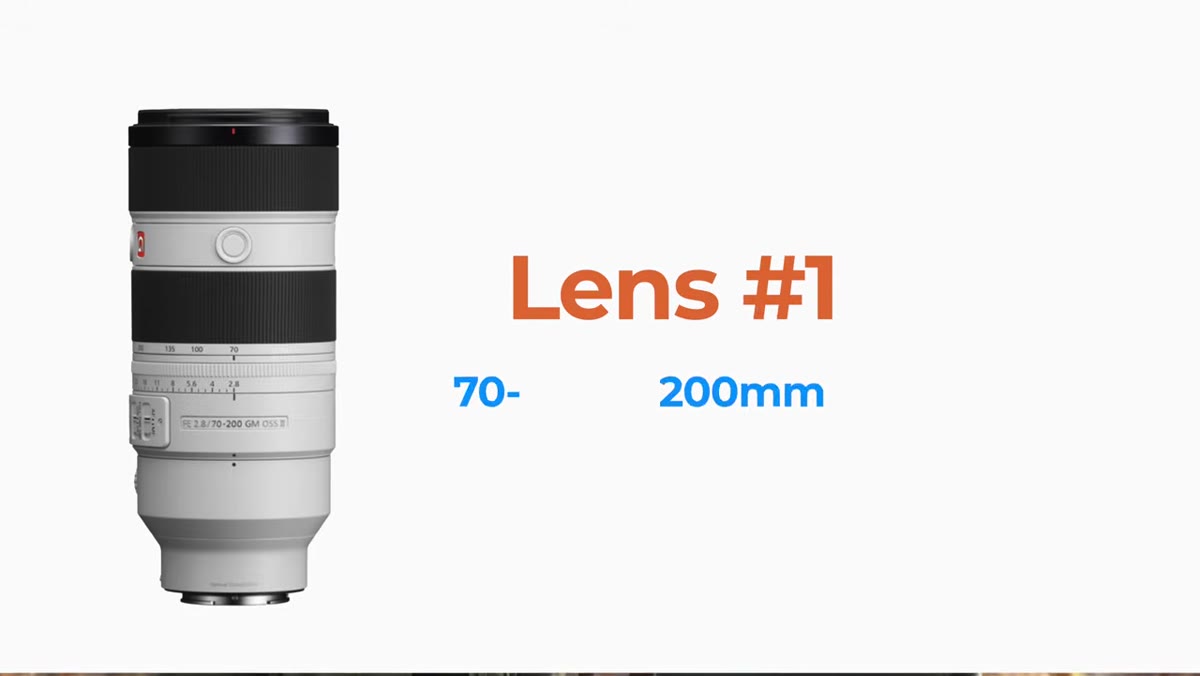
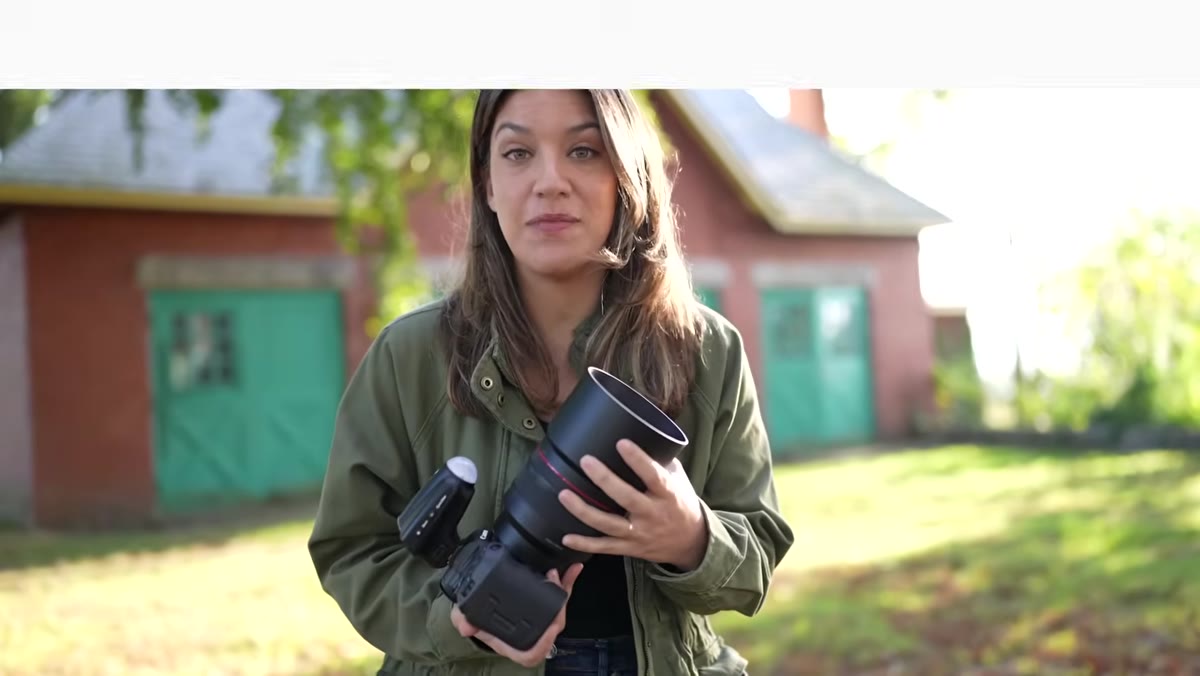
Step 2: Start With the 70-200mm f/2.8 as Your Workhorse
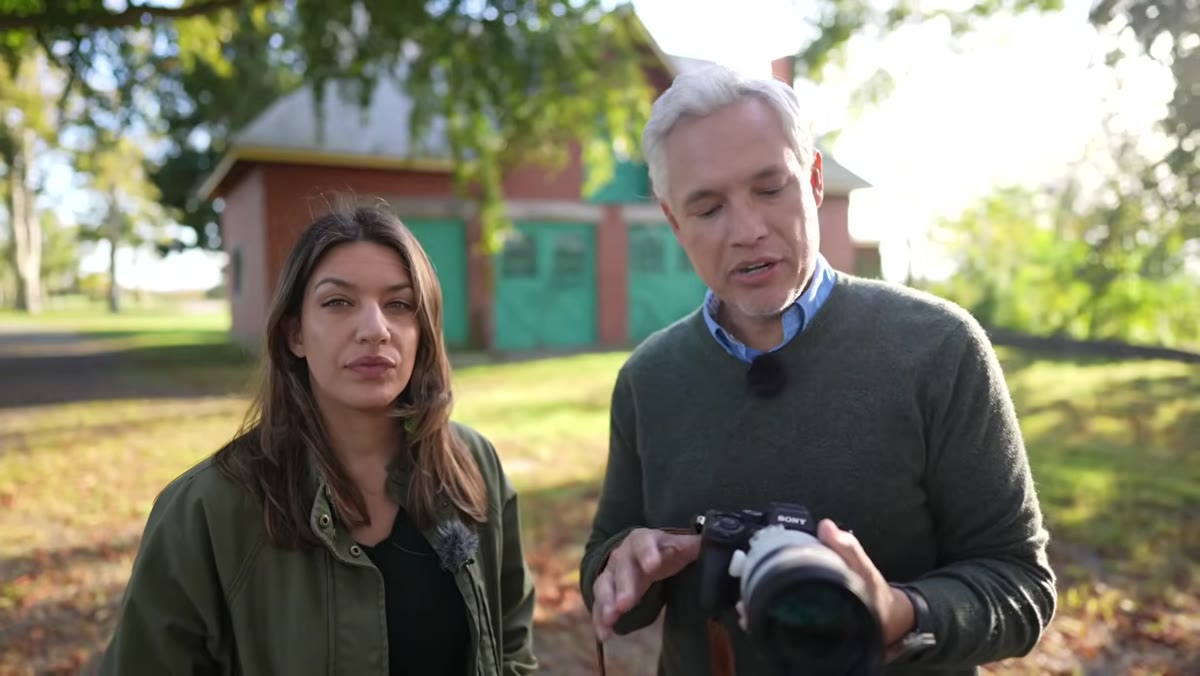
 Tony shooting Chelsea at various focal lengths with a 70-200mm lens
Tony’s top pick is the 70-200mm zoom, and he makes a strong case by demonstrating it in real time. At 70mm you can grab a full-body shot. Pull to 200mm and you get a tight headshot with serious background compression. That compression at the long end flattens facial features slightly, which many clients actually prefer, and the background blur at f/2.8 is strong enough to completely eliminate a distracting environment. The flexibility of a single lens covering that range makes it the obvious choice for weddings, events, or any session where you can’t control your shooting distance.
Tony shooting Chelsea at various focal lengths with a 70-200mm lens
Tony’s top pick is the 70-200mm zoom, and he makes a strong case by demonstrating it in real time. At 70mm you can grab a full-body shot. Pull to 200mm and you get a tight headshot with serious background compression. That compression at the long end flattens facial features slightly, which many clients actually prefer, and the background blur at f/2.8 is strong enough to completely eliminate a distracting environment. The flexibility of a single lens covering that range makes it the obvious choice for weddings, events, or any session where you can’t control your shooting distance.
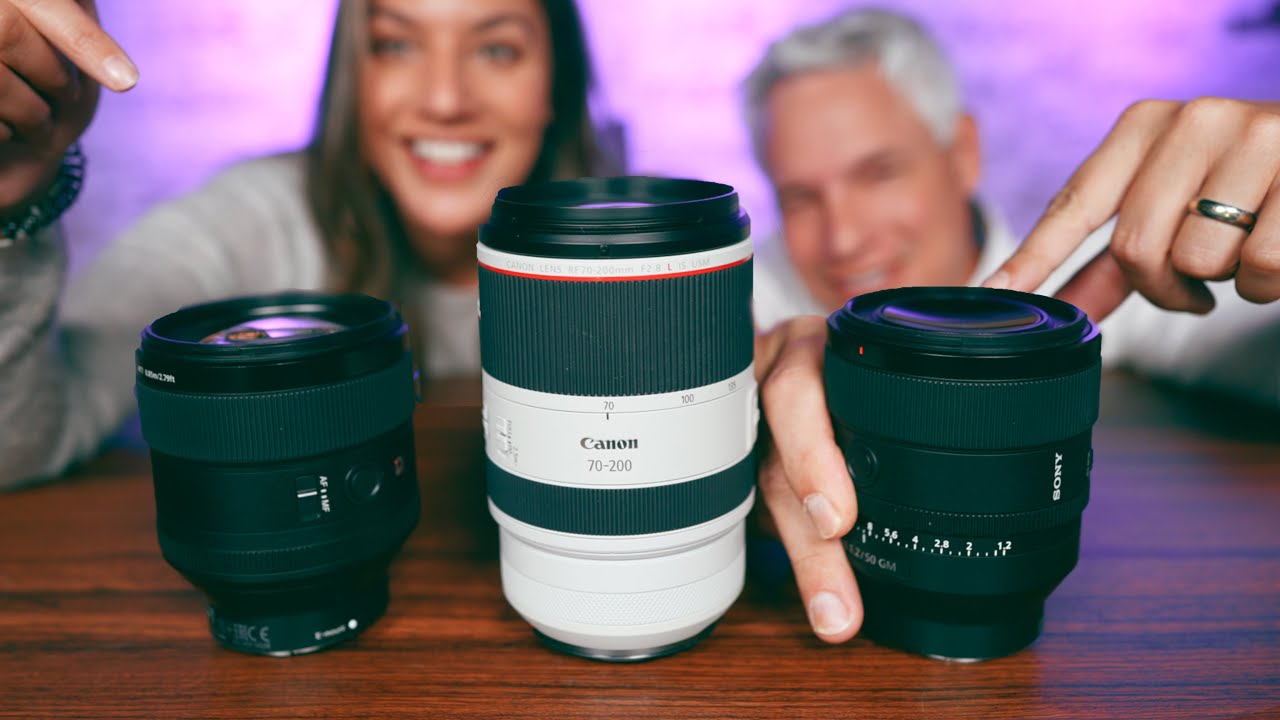
Step 3: Know the Quality Tiers Before You Buy a 70-200mm
 Tony explaining 70-200mm quality variations and focus breathing
Here’s where Chelsea pumps the brakes, and she’s right to. Not all 70-200mm lenses are equal, and the differences matter in real shooting conditions. The top tier is a name-brand f/2.8 from Canon, Nikon, or Sony, typically around $2,500. Below that are f/4 versions, which are lighter and cheaper but give you less background blur and struggle more in low light. Third-party options from Tamron and Sigma can be excellent, but you need to check for focus breathing. Some third-party lenses that claim 200mm effectively shoot closer to 130mm when focused at short distances, which changes your framing entirely. Bad contrast handling is the other issue. If you’re shooting a wedding outdoors and the sun is behind your subjects, a lower-quality lens can wash out completely. For high-stakes, non-repeatable situations, the extra cost of a better lens is real insurance.
Tony explaining 70-200mm quality variations and focus breathing
Here’s where Chelsea pumps the brakes, and she’s right to. Not all 70-200mm lenses are equal, and the differences matter in real shooting conditions. The top tier is a name-brand f/2.8 from Canon, Nikon, or Sony, typically around $2,500. Below that are f/4 versions, which are lighter and cheaper but give you less background blur and struggle more in low light. Third-party options from Tamron and Sigma can be excellent, but you need to check for focus breathing. Some third-party lenses that claim 200mm effectively shoot closer to 130mm when focused at short distances, which changes your framing entirely. Bad contrast handling is the other issue. If you’re shooting a wedding outdoors and the sun is behind your subjects, a lower-quality lens can wash out completely. For high-stakes, non-repeatable situations, the extra cost of a better lens is real insurance.
Step 4: Consider an 85mm Prime for Consistency and Creative Intentionality
 Chelsea holding a large 85mm f/1.2 prime lens
Chelsea’s preferred lens is an 85mm prime, and her reasoning is worth taking seriously. When you shoot a zoom across a wide range of focal lengths, your portfolio can start to look inconsistent. Different compression, different background rendering, different framing. An 85mm prime gives every shot in a session a similar visual signature. At f/1.2 or even f/1.4, the background blur takes on an almost painterly quality that no zoom at f/2.8 can fully match. The tradeoff is that you have to move your feet to reframe. Chelsea makes the point that this limitation can actually sharpen your compositional thinking. You stop relying on the zoom ring and start making more deliberate decisions about where you stand and how you fill the frame.
Chelsea holding a large 85mm f/1.2 prime lens
Chelsea’s preferred lens is an 85mm prime, and her reasoning is worth taking seriously. When you shoot a zoom across a wide range of focal lengths, your portfolio can start to look inconsistent. Different compression, different background rendering, different framing. An 85mm prime gives every shot in a session a similar visual signature. At f/1.2 or even f/1.4, the background blur takes on an almost painterly quality that no zoom at f/2.8 can fully match. The tradeoff is that you have to move your feet to reframe. Chelsea makes the point that this limitation can actually sharpen your compositional thinking. You stop relying on the zoom ring and start making more deliberate decisions about where you stand and how you fill the frame.
Step 5: Choose Between f/1.2 and f/1.4 Based on Your Priorities
 Size comparison between 85mm f/1.2 and f/1.4 lenses mentioned verbally
The 85mm f/1.2 is a large, heavy, expensive lens. The rendering is exceptional, but you’re paying for it in both dollars and physical weight. The 85mm f/1.4 from most major manufacturers is significantly smaller, lighter, and more affordable, while still delivering background separation that beats any f/2.8 zoom at the same focal length. For most working photographers, the f/1.4 is the more practical choice. If you shoot controlled studio sessions where weight doesn’t matter and you want every optical edge you can get, the f/1.2 makes sense. If you’re running a full day of portraits outdoors, the f/1.4 will save your wrists and your bank account.
Size comparison between 85mm f/1.2 and f/1.4 lenses mentioned verbally
The 85mm f/1.2 is a large, heavy, expensive lens. The rendering is exceptional, but you’re paying for it in both dollars and physical weight. The 85mm f/1.4 from most major manufacturers is significantly smaller, lighter, and more affordable, while still delivering background separation that beats any f/2.8 zoom at the same focal length. For most working photographers, the f/1.4 is the more practical choice. If you shoot controlled studio sessions where weight doesn’t matter and you want every optical edge you can get, the f/1.2 makes sense. If you’re running a full day of portraits outdoors, the f/1.4 will save your wrists and your bank account.
Step 6: Watch Chelsea Demonstrate the 85mm in a Strobe-Lit Setup
 Chelsea photographing Tony with 85mm and studio strobe in deliberate portrait setup
Chelsea pairs the 85mm with a strobe to show what a more controlled, intentional portrait session looks like with a prime lens. The images are noticeably different from the looser, documentary-style shots Tony got with the 70-200mm. The prime setup rewards patience and preparation. You meter your strobe, you set your position, you direct your subject carefully. The resulting images have a polished, editorial quality that’s harder to achieve when you’re zooming and moving constantly. This setup works especially well for headshot clients, personal branding sessions, and anything where the client is expecting a finished, professional product.
Chelsea photographing Tony with 85mm and studio strobe in deliberate portrait setup
Chelsea pairs the 85mm with a strobe to show what a more controlled, intentional portrait session looks like with a prime lens. The images are noticeably different from the looser, documentary-style shots Tony got with the 70-200mm. The prime setup rewards patience and preparation. You meter your strobe, you set your position, you direct your subject carefully. The resulting images have a polished, editorial quality that’s harder to achieve when you’re zooming and moving constantly. This setup works especially well for headshot clients, personal branding sessions, and anything where the client is expecting a finished, professional product.
What I’ve Learned Testing Budget Alternatives to These Lenses
I’ve run a fair number of third-party 70-200mm lenses through my own comparison process, and the focus breathing issue Chelsea raises is genuinely a dealbreaker for some of them. I tested one popular budget option that was labeled 70-200mm but at minimum focus distance was closer to a 150mm equivalent. That’s not a minor quirk. That’s a lens that doesn’t deliver what it promises.
My honest take: if your budget is tight, a used name-brand 70-200mm f/4 will outperform a new third-party f/2.8 in most real-world conditions. You lose a stop of light and some background blur, but you gain reliable contrast, accurate focal length rendering, and better resale value if you decide to upgrade. On the prime side, the 85mm f/1.8 (not f/1.4) is often the smartest budget buy. The rendering is excellent, the autofocus is typically faster than the f/1.4, and it costs significantly less. It’s the lens I’d hand to someone just building out their portrait kit.
The single biggest takeaway from Tony and Chelsea’s breakdown is that your lens choice shapes your entire shooting workflow, not just your image quality. The 70-200mm makes you flexible and fast. The 85mm prime makes you deliberate and consistent. Neither is wrong. They’re just different tools built for different approaches to the same job.
Watch the full tutorial on YouTube to see the actual sample images and hear the full comparison, including the third lens they discuss that I haven’t spoiled here.
Comments
Leave a Comment