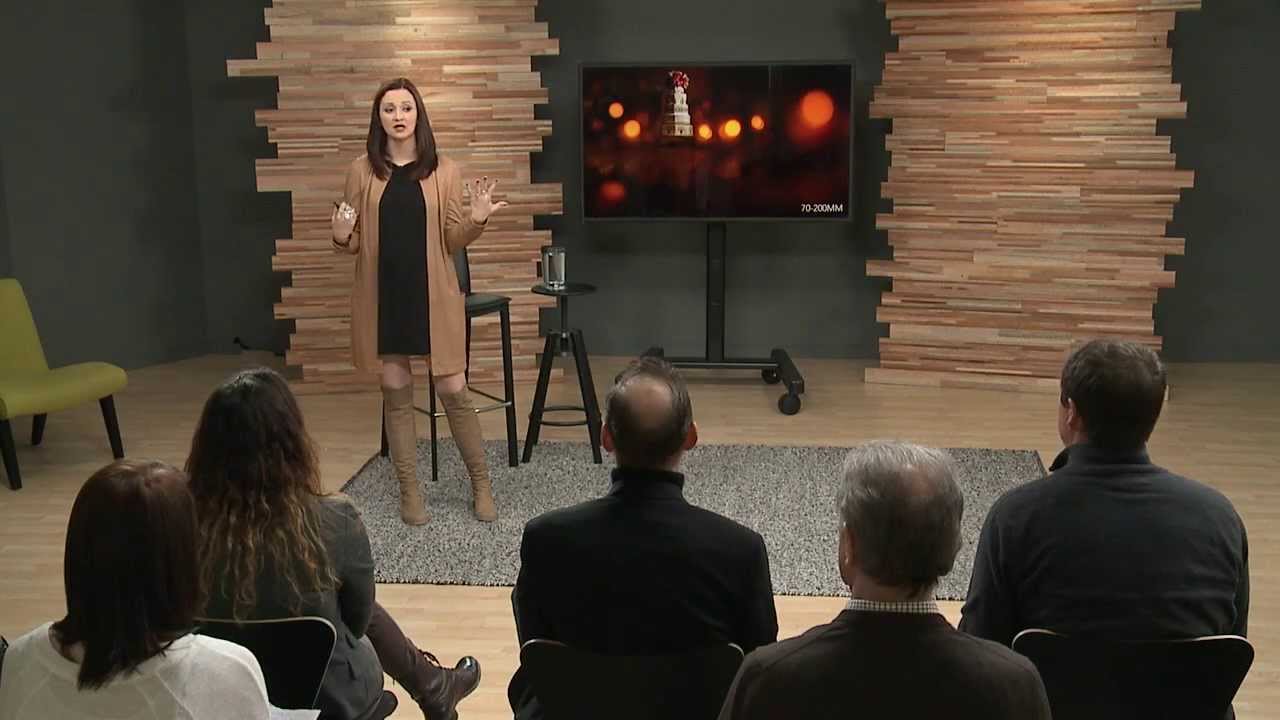
I used to think the 70-200mm was a crutch. A lens you grabbed when you couldn’t get close enough, not because you actually wanted to be shooting at that focal length. That thinking cost me a lot of good shots before I started paying closer attention to how working professionals actually use their glass. In this CreativeLive tutorial, wedding photographer Susan Stripling dismantles that assumption completely - and she does it not by talking theory, but by walking through the real-world situations that forced her to rethink the lens entirely. Watch the full tutorial on YouTube
What struck me immediately is that Stripling isn’t coming from a gear-obsessed place. She’s a working photographer solving real problems - crowds, tight venues, uncontrollable environments - and the 70-200mm became her answer to all of them. She now carries two bodies with the lens mounted, which sounds excessive until you hear her reasoning. If your most-used piece of glass fails mid-wedding, you have nothing to replace it. That’s not gear hoarding. That’s risk management.
For anyone who shoots in unpredictable conditions - events, street, documentary work - her framework for thinking about zoom range and compression is genuinely useful. Here’s how she breaks it down.
Step 1: Reframe What the 70-200mm Is Actually For
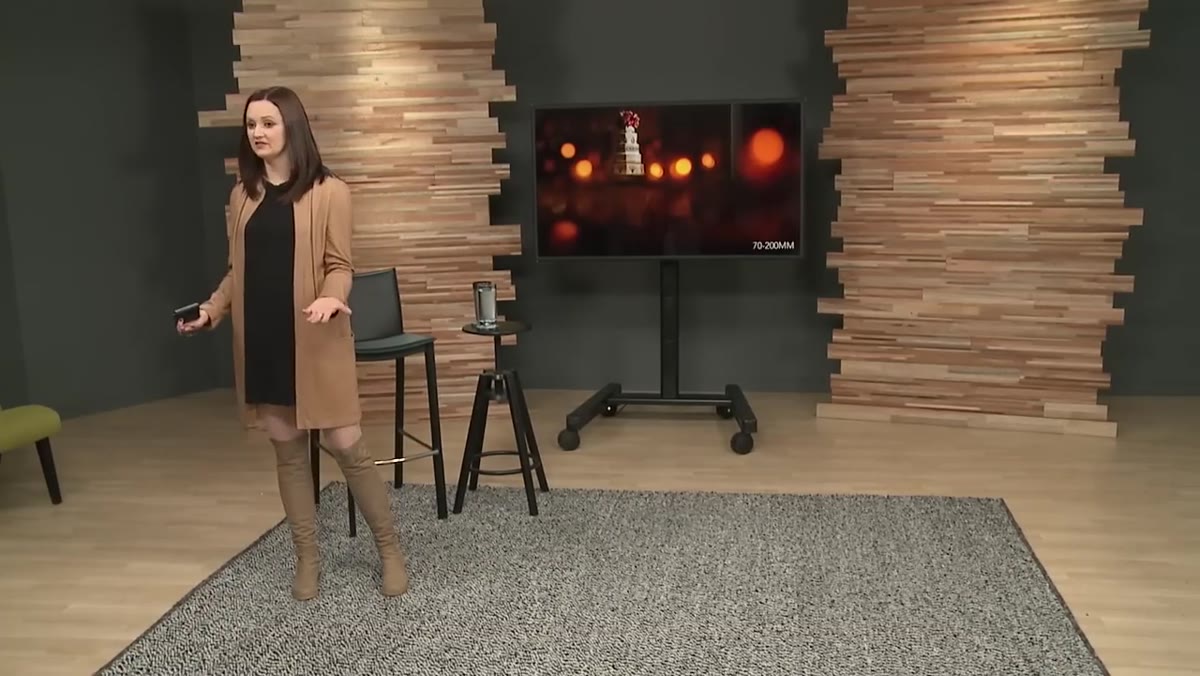 Stripling explaining the 70-200mm as more than a reach lens
Most photographers file the 70-200mm under “long reach” and leave it there. Stripling’s shift was recognizing that focal length compression - the way longer lenses flatten and isolate subjects - is a compositional tool, not just a workaround for distance. Once she started thinking about what the lens does to the look of an image rather than just how far it can reach, her use of it changed entirely. Ask yourself before you reach for a lens: do you want compression in this frame? If yes, you’re in 70-200 territory regardless of how close you are to your subject.
Stripling explaining the 70-200mm as more than a reach lens
Most photographers file the 70-200mm under “long reach” and leave it there. Stripling’s shift was recognizing that focal length compression - the way longer lenses flatten and isolate subjects - is a compositional tool, not just a workaround for distance. Once she started thinking about what the lens does to the look of an image rather than just how far it can reach, her use of it changed entirely. Ask yourself before you reach for a lens: do you want compression in this frame? If yes, you’re in 70-200 territory regardless of how close you are to your subject.
Step 2: Don’t Wait for 200mm - Use the Whole Range
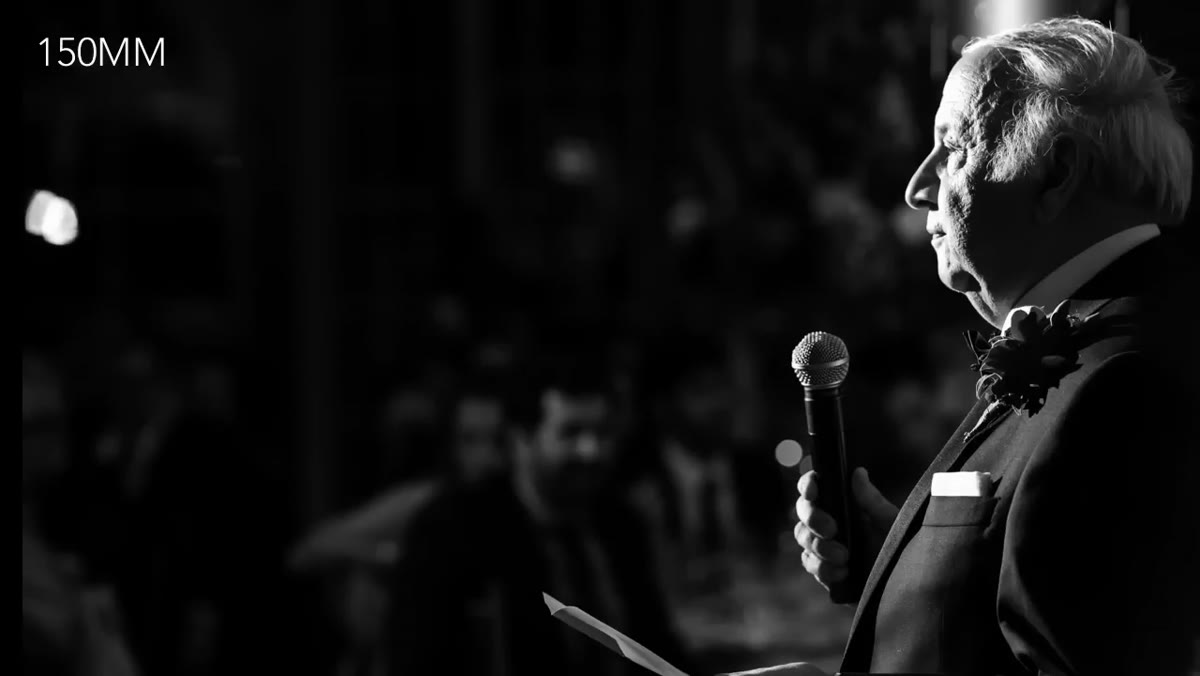 Stripling demonstrating shooting at 150mm focal length
This is the part of her approach that I think gets overlooked the most. Stripling shoots at 70mm, 150mm, 163mm, 180mm - wherever the situation lands her. She is not standing there waiting until she can hit 200mm before she fires. The lens is a zoom for a reason. At 150mm you are still getting meaningful compression and subject separation. At 180mm you are very close to the 200mm look. Treating the range as a dial rather than a binary choice between the two endpoints is a fundamental shift in how you work with the lens. If you have been guilty of only shooting at the extremes, try locking yourself into the middle third of the range for a full shoot and see what happens.
Stripling demonstrating shooting at 150mm focal length
This is the part of her approach that I think gets overlooked the most. Stripling shoots at 70mm, 150mm, 163mm, 180mm - wherever the situation lands her. She is not standing there waiting until she can hit 200mm before she fires. The lens is a zoom for a reason. At 150mm you are still getting meaningful compression and subject separation. At 180mm you are very close to the 200mm look. Treating the range as a dial rather than a binary choice between the two endpoints is a fundamental shift in how you work with the lens. If you have been guilty of only shooting at the extremes, try locking yourself into the middle third of the range for a full shoot and see what happens.
Step 3: Let Your Environment Dictate Focal Length
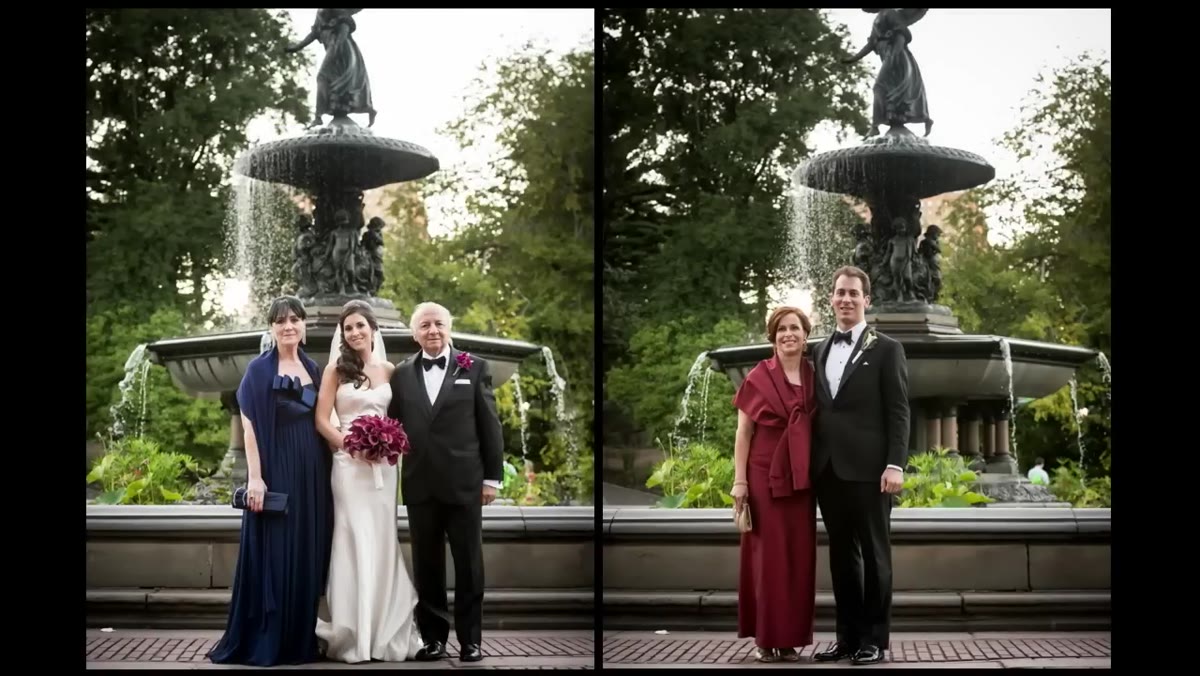 Stripling describing shooting in a crowded public park
Stripling shoots a lot of weddings in New York City. She describes being in Central Park, surrounded by tourists, unable to ask anyone to move, with a bride and groom who want photos at a specific fountain. She cannot back up far enough to shoot at 200mm. So she shoots at whatever focal length the physical space allows - maybe 120mm, maybe 150mm - and she compresses as much as the environment will permit. The lesson here is practical: assess your available space first, then set your zoom accordingly. You are not failing to get the “correct” shot. You are adapting your tool to the constraint, which is what professionals actually do.
Stripling describing shooting in a crowded public park
Stripling shoots a lot of weddings in New York City. She describes being in Central Park, surrounded by tourists, unable to ask anyone to move, with a bride and groom who want photos at a specific fountain. She cannot back up far enough to shoot at 200mm. So she shoots at whatever focal length the physical space allows - maybe 120mm, maybe 150mm - and she compresses as much as the environment will permit. The lesson here is practical: assess your available space first, then set your zoom accordingly. You are not failing to get the “correct” shot. You are adapting your tool to the constraint, which is what professionals actually do.
Step 4: Upgrade Strategically - and Keep the Old Copy
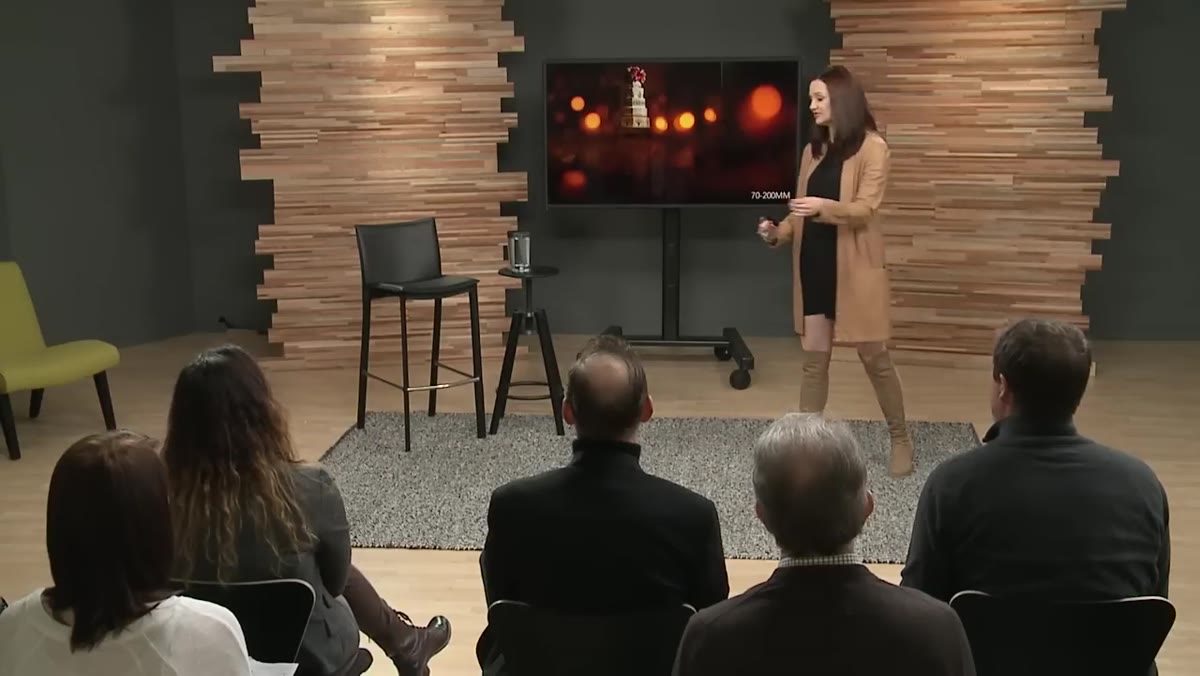 Stripling explaining her decision to keep both lens copies
When Nikon released an updated version of the 70-200mm with faster autofocus and improved glass coatings, Stripling saw a measurable difference in sharpness and focus speed on her actual working images. That justified the upgrade. But she did not sell the old copy. Her reasoning is simple: the 70-200mm is the longest lens she carries. If it fails, she has no substitute. Keeping the older version as a backup is not indulgence - it is insurance on her most critical piece of glass. Apply that logic to your own kit. Before you sell a lens to fund an upgrade, ask whether that old copy is covering a gap nothing else in your bag can fill.
Stripling explaining her decision to keep both lens copies
When Nikon released an updated version of the 70-200mm with faster autofocus and improved glass coatings, Stripling saw a measurable difference in sharpness and focus speed on her actual working images. That justified the upgrade. But she did not sell the old copy. Her reasoning is simple: the 70-200mm is the longest lens she carries. If it fails, she has no substitute. Keeping the older version as a backup is not indulgence - it is insurance on her most critical piece of glass. Apply that logic to your own kit. Before you sell a lens to fund an upgrade, ask whether that old copy is covering a gap nothing else in your bag can fill.
Step 5: Prioritize Compression When You Have the Space
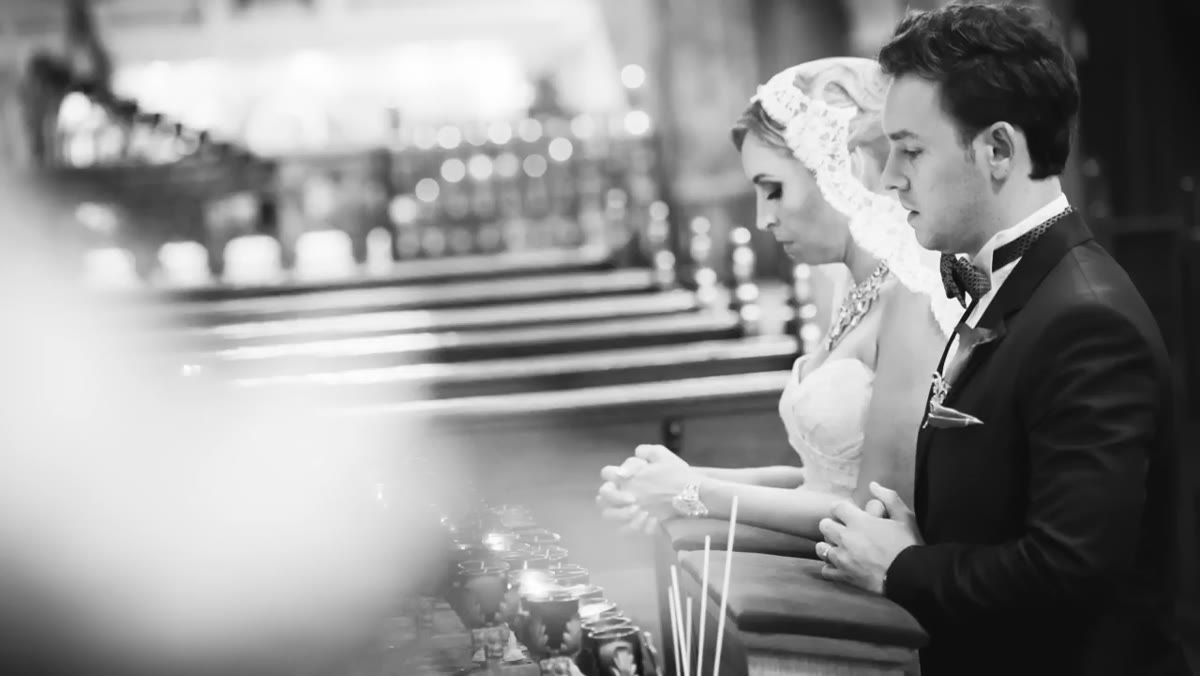 Stripling describing pushing toward 200mm for maximum compression
When space is available and Stripling wants the full compression effect - backgrounds pushed further back, subjects isolated, a tighter and more cinematic look - she gets as close to 200mm as the environment will allow. This is not always exactly 200mm. In a crowded reception hall, dodging tables and centerpieces, she might land at 180mm or 163mm. The goal is maximum compression within realistic constraints, not a rigid setting. If you have the room, push toward the long end. If you do not, use what you have and stop worrying about hitting a specific number.
Stripling describing pushing toward 200mm for maximum compression
When space is available and Stripling wants the full compression effect - backgrounds pushed further back, subjects isolated, a tighter and more cinematic look - she gets as close to 200mm as the environment will allow. This is not always exactly 200mm. In a crowded reception hall, dodging tables and centerpieces, she might land at 180mm or 163mm. The goal is maximum compression within realistic constraints, not a rigid setting. If you have the room, push toward the long end. If you do not, use what you have and stop worrying about hitting a specific number.
What I’d Add From the Budget Side of the Fence
Stripling is shooting Nikon’s professional-grade 70-200mm f/2.8, and I am not going to pretend the budget equivalents perform identically. But here is what my own testing has shown: third-party 70-200mm options from Tamron and Sigma in the f/2.8 range get you the same compositional advantages she is describing for significantly less money. The compression behavior is a physics story, not a brand story. Where you will notice a difference is in autofocus speed in low light and the micro-contrast of the glass. For event and wedding work, that matters. For slower-paced portrait sessions, a used Tamron 70-200 G2 picked up for under $700 will teach you everything Stripling is talking about here without the four-figure price tag. The technique transfers completely. The gear tax does not have to.
The single biggest takeaway from Stripling’s tutorial is this: the 70-200mm is a compression and composition tool first, and a reach tool second. That mental flip changes how you use every millimeter of the zoom range and makes the lens genuinely useful in situations most photographers would never think to reach for it. Stop waiting for the moment you “need” to zoom in and start asking when compression would make your image better.
Watch the full tutorial on YouTube - Stripling covers additional focal lengths and shooting scenarios that are worth seeing alongside the transcript breakdown above.
Comments (2)
I keep coming back to this article. It's that useful.
Solid advice. Especially the part about taking your time with it.
Leave a Comment