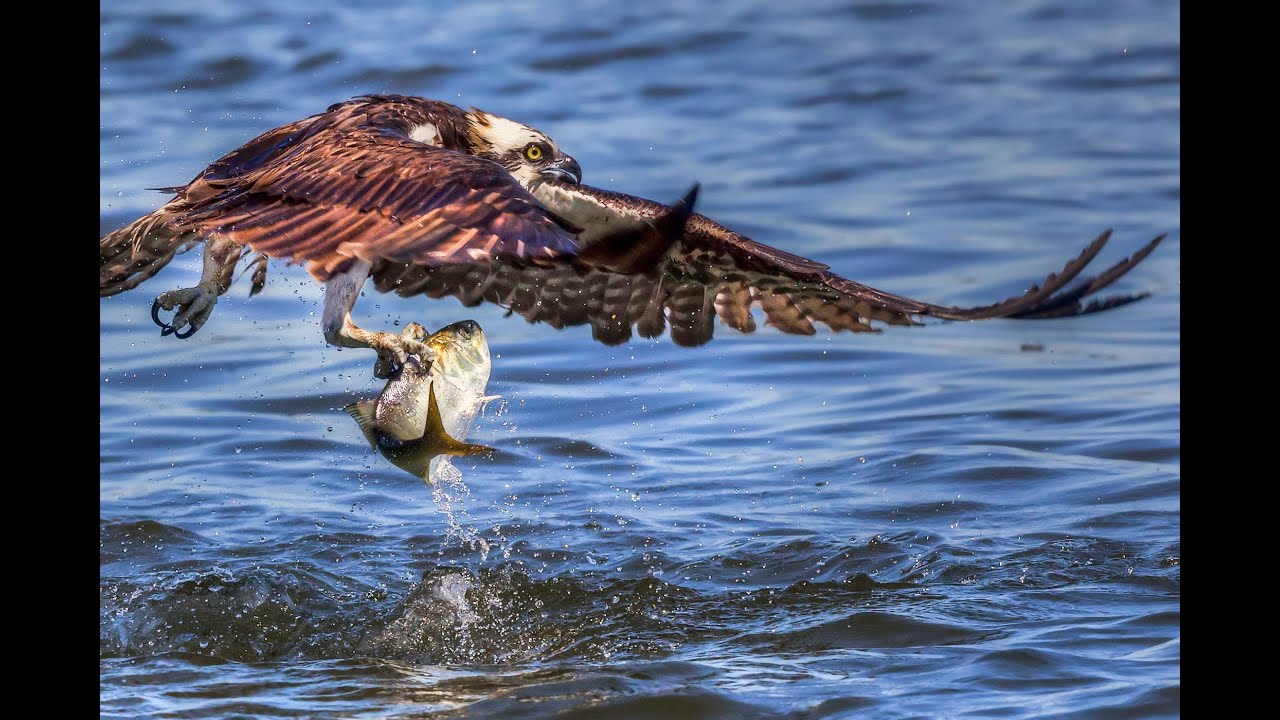
I’ll be honest - when Canon dropped the 5DSR with 50 megapixels and no anti-aliasing filter, my first instinct was to add it to a wishlist. More megapixels for wildlife cropping? That sounds like exactly the kind of upgrade that changes everything. But I’ve learned the hard way that specs on paper have a way of falling apart when you’re standing in a field at 5am waiting for an osprey to move. The smarter move is to watch someone who’s actually used the thing before you spend the money.
In this Tony & Chelsea Northrup tutorial on the Canon 5DS and 5DSR for wildlife photography, Tony breaks down not just what the camera can and can’t do, but puts the camera body in its proper place within the whole system of getting great wildlife shots. That reframing alone is worth your time. Watch the full tutorial on YouTube - but if you want the condensed takeaways you can act on right now, keep reading.
Step 1: Prioritize Time in the Field Over Any Gear Purchase
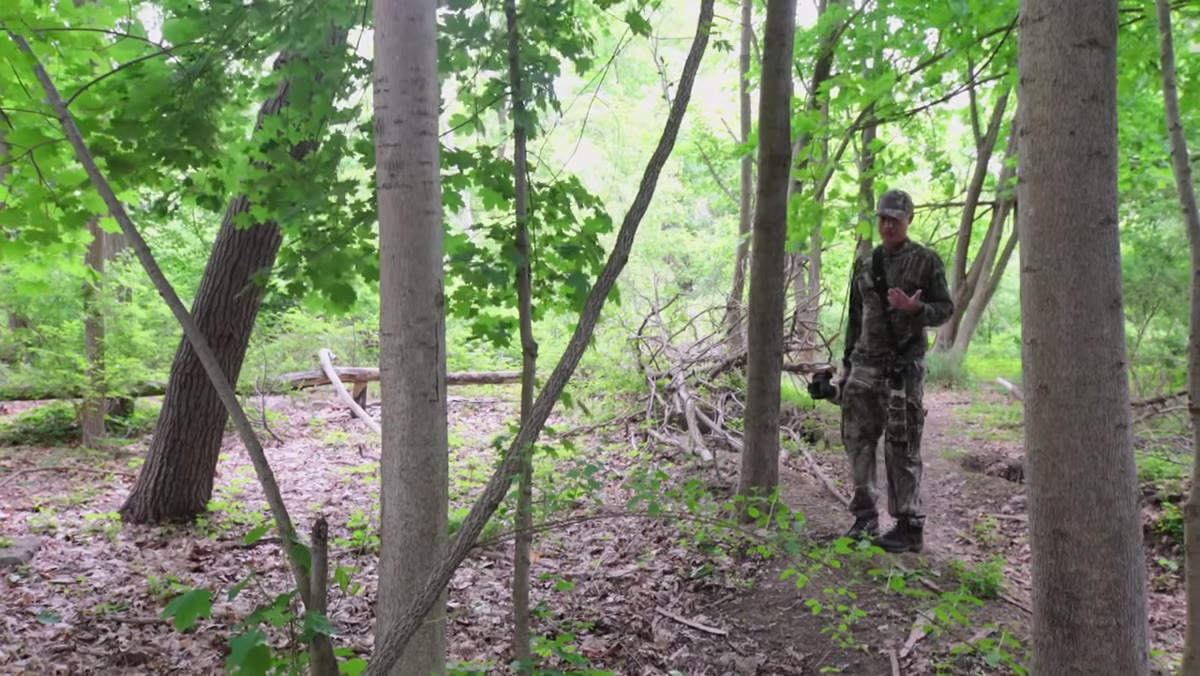 Tony explaining the four main factors in wildlife photography
Before Tony even mentions the camera, he ranks the four factors that actually determine wildlife photo quality. Time in the field comes first, and it’s not close. Hours of field time build your understanding of animal behavior, seasonal patterns, tidal shifts, moon phases, and the specific locations where animals actually show up. That knowledge compounds over months and years in a way that no camera purchase ever will.
Tony explaining the four main factors in wildlife photography
Before Tony even mentions the camera, he ranks the four factors that actually determine wildlife photo quality. Time in the field comes first, and it’s not close. Hours of field time build your understanding of animal behavior, seasonal patterns, tidal shifts, moon phases, and the specific locations where animals actually show up. That knowledge compounds over months and years in a way that no camera purchase ever will.
If you’re trying to improve your wildlife shots and your first instinct is to upgrade your body, reframe the question. Ask how many hours last month you spent actually shooting versus researching gear. That math usually tells the real story.
Step 2: Close the Distance Before You Reach for a Longer Lens
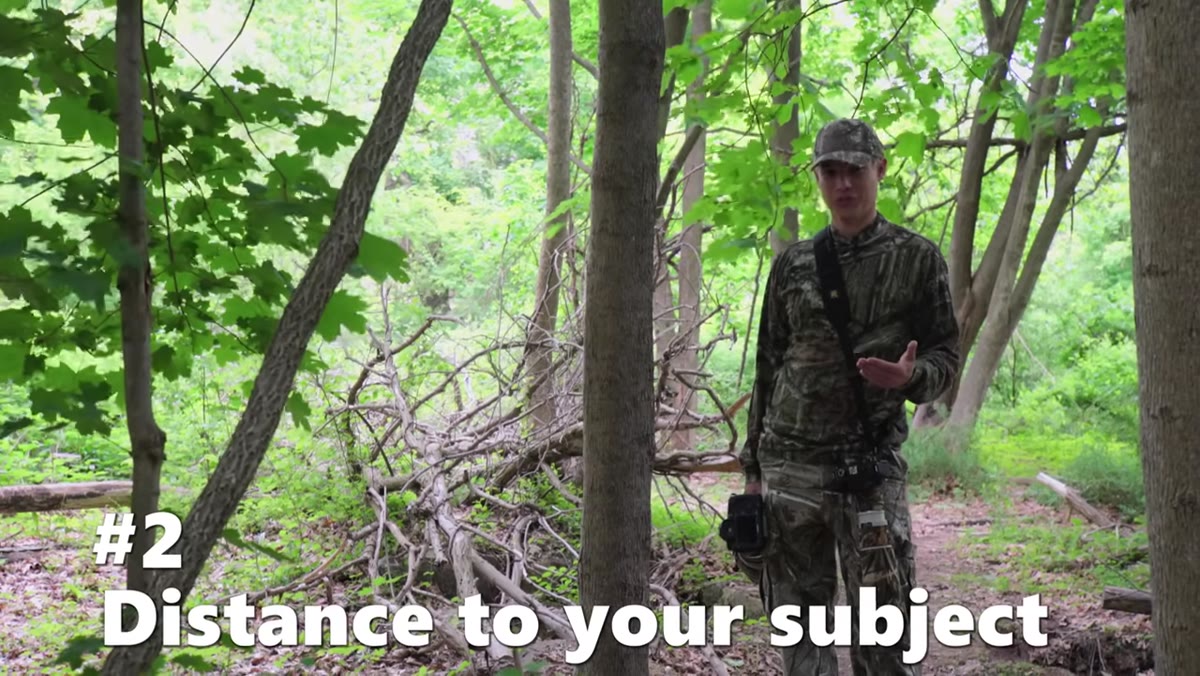 Tony discussing distance and camouflage as wildlife photography factors
The second factor Tony covers is physical distance to your subject, and he makes a point here that I think gets buried under all the focal length discussions online. Getting closer - through learned behavior, patience, and yes, camouflage - can give you roughly the same effective reach as jumping up a full focal length tier. And that jump from 400mm to 500mm in fast prime glass can cost you anywhere from a few hundred dollars to several thousand depending on maximum aperture.
Tony discussing distance and camouflage as wildlife photography factors
The second factor Tony covers is physical distance to your subject, and he makes a point here that I think gets buried under all the focal length discussions online. Getting closer - through learned behavior, patience, and yes, camouflage - can give you roughly the same effective reach as jumping up a full focal length tier. And that jump from 400mm to 500mm in fast prime glass can cost you anywhere from a few hundred dollars to several thousand depending on maximum aperture.
Camouflage isn’t just for hunters. A basic camo cover for yourself or your lens can meaningfully reduce how quickly animals register you as a threat. That’s a $30 to $80 investment that does real optical work by cutting your working distance, which in turn improves sharpness because atmospheric haze and humidity degrade image quality at long distances no matter what glass you’re using.
Step 3: Understand What the 5DSR’s 50 Megapixels Actually Gets You in a Crop
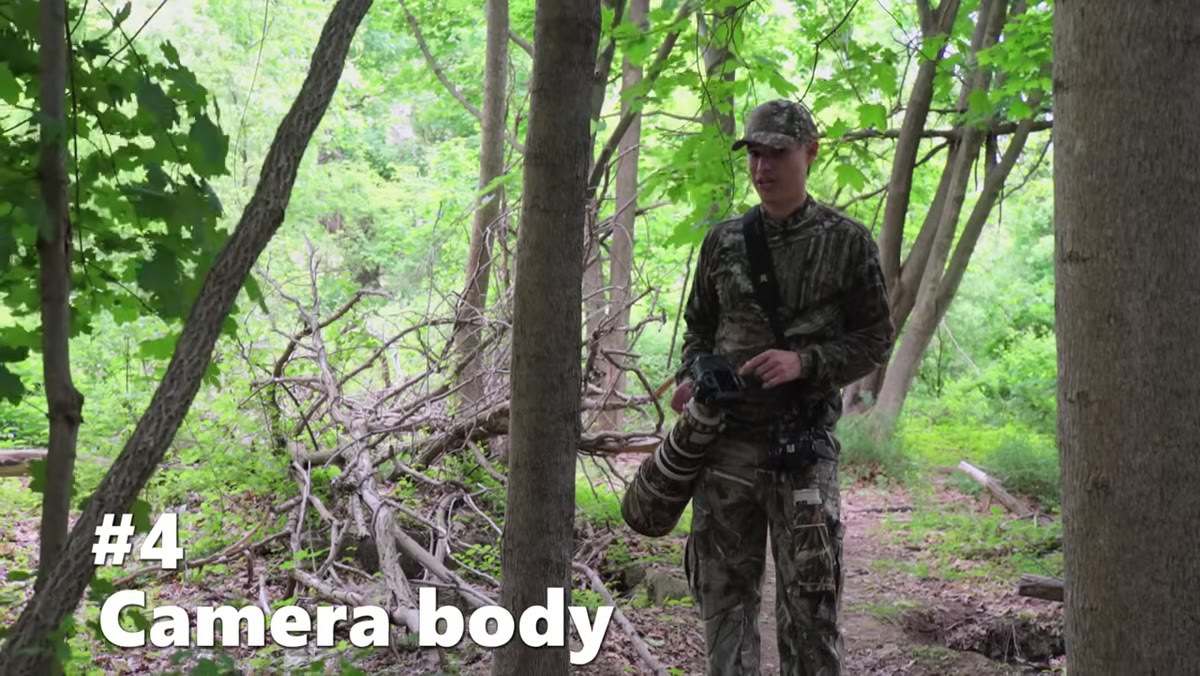 Tony introducing the Canon 5DSR and discussing its megapixel count
Here’s where the review gets interesting. Tony points out that raw megapixel count and effective pixel density when cropping are two different things. When you apply a 1.6x crop to the 5DSR’s full-frame sensor to simulate what you’d see from a crop-sensor camera, you end up with roughly 20 usable megapixels. A Canon T6i, which was a mid-range crop body at the time, gave you 24 megapixels from the same cropped field of view - and it cost a fraction of the price.
Tony introducing the Canon 5DSR and discussing its megapixel count
Here’s where the review gets interesting. Tony points out that raw megapixel count and effective pixel density when cropping are two different things. When you apply a 1.6x crop to the 5DSR’s full-frame sensor to simulate what you’d see from a crop-sensor camera, you end up with roughly 20 usable megapixels. A Canon T6i, which was a mid-range crop body at the time, gave you 24 megapixels from the same cropped field of view - and it cost a fraction of the price.
The practical takeaway: if your primary reason for wanting the 5DSR is to crop aggressively on small subjects like songbirds, run the numbers first. The resolution advantage narrows fast once you account for sensor size and crop factor.
Step 4: Match Your Autofocus System to the Wildlife You Actually Shoot
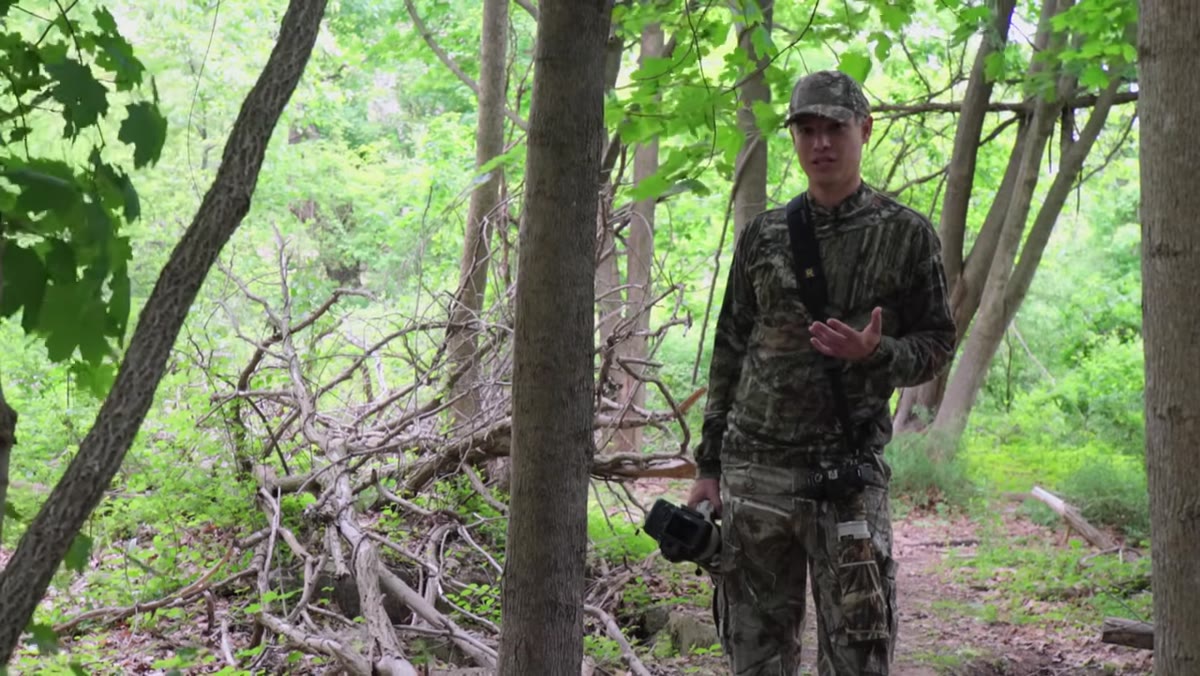 Tony comparing autofocus performance of the 5DSR vs 7D Mark II and 1DX
The 5DSR has a competent autofocus system, but Tony is direct about where it sits in Canon’s lineup. For birds in flight and fast-moving subjects, both the 7D Mark II and the 1DX track better. That’s not a knock on the 5DSR - it’s just an honest read of what the camera was designed for.
Tony comparing autofocus performance of the 5DSR vs 7D Mark II and 1DX
The 5DSR has a competent autofocus system, but Tony is direct about where it sits in Canon’s lineup. For birds in flight and fast-moving subjects, both the 7D Mark II and the 1DX track better. That’s not a knock on the 5DSR - it’s just an honest read of what the camera was designed for.
Before you buy any body, map it to your actual shooting scenarios. If you’re photographing birds in flight, the autofocus system and buffer depth matter more than resolution. If you’re shooting stationary subjects like perched birds or safari animals at rest, the calculus shifts.
Step 5: Factor the Frame Rate and Buffer Into Your Decision
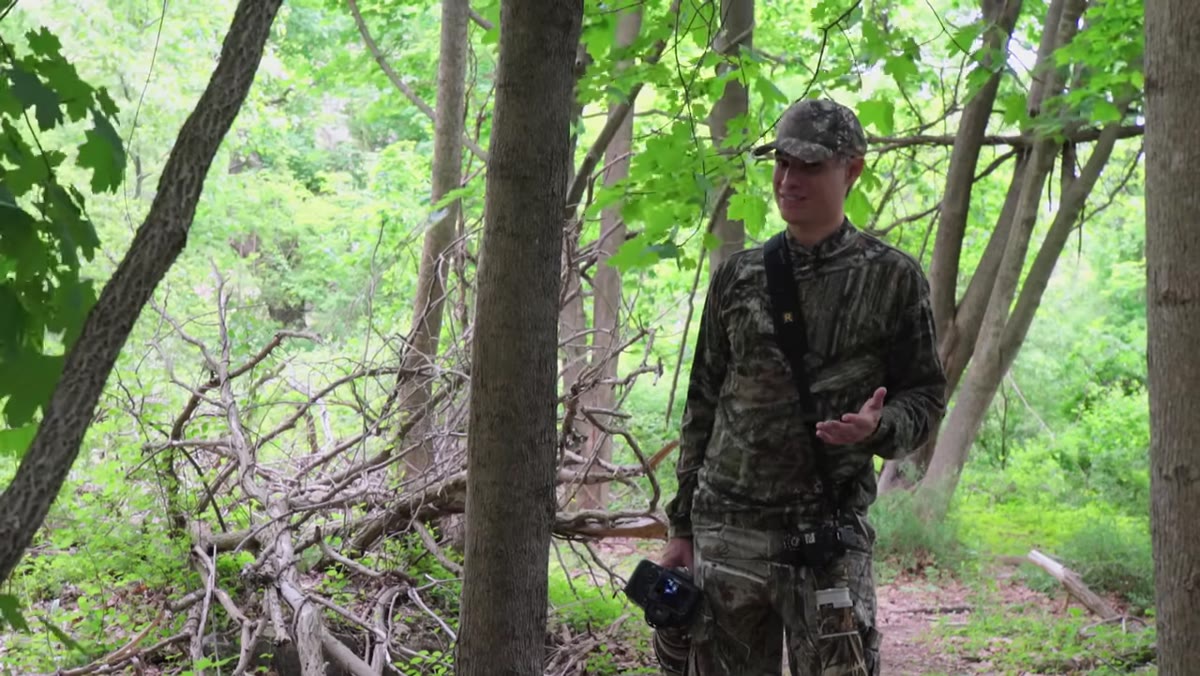 Tony discussing 5fps vs 10fps and comparing raw buffer limits
This is the piece that sealed the argument for me. The 5DSR shoots at around 5 frames per second. The 7D Mark II shoots at 10. That’s double the frames when a bird is closing distance on you, which directly multiplies your odds of nailing a sharp shot with wings in a clean position. Frame rate isn’t a vanity spec in wildlife - it’s a mechanical advantage.
Tony discussing 5fps vs 10fps and comparing raw buffer limits
This is the piece that sealed the argument for me. The 5DSR shoots at around 5 frames per second. The 7D Mark II shoots at 10. That’s double the frames when a bird is closing distance on you, which directly multiplies your odds of nailing a sharp shot with wings in a clean position. Frame rate isn’t a vanity spec in wildlife - it’s a mechanical advantage.
The buffer gap is just as significant. Tony found the 5DSR runs out of RAW capacity after roughly 12 or 13 frames. The previous generation 5D Mark III handled around 33 before hitting the wall. When a bird is in motion and you need 5 or 6 continuous seconds of shooting, running out of buffer mid-sequence is a real problem, not a theoretical one.
Step 6: Reassess Whether a Big Prime Lens Solves the Real Problem
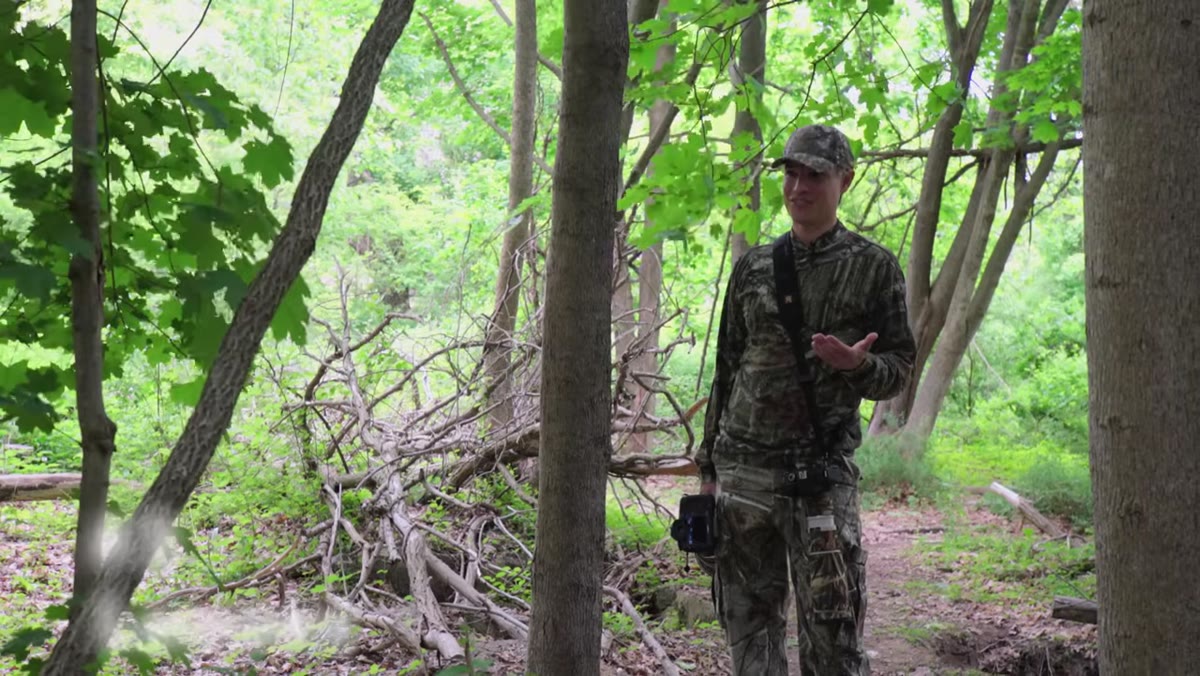 Tony holding a large telephoto prime lens in the field
Tony closes the gear section with a reality check on big telephoto primes. They make a difference - he’s not dismissing them. But the sharpness ceiling imposed by atmospheric conditions means a longer lens can only take you so far if you’re shooting at extreme distances. Humidity and haze degrade the image before it ever hits your sensor.
Tony holding a large telephoto prime lens in the field
Tony closes the gear section with a reality check on big telephoto primes. They make a difference - he’s not dismissing them. But the sharpness ceiling imposed by atmospheric conditions means a longer lens can only take you so far if you’re shooting at extreme distances. Humidity and haze degrade the image before it ever hits your sensor.
Getting physically closer, even with a modest 70-300mm zoom, consistently outperforms shooting a $10,000 prime from twice the distance. The lens ranking in the four-factor framework still sits below time and distance for exactly that reason.
What I’d Add: Test Your Current Kit Against a Rental Before You Buy
I’ve run enough comparison tests to know that the gap between “good enough” and “pro spec” is often much smaller than the price difference suggests. Before committing to any major body upgrade for wildlife, rent the camera for a weekend and shoot it against your current kit under identical conditions. Stack the RAW files and look at them at 100%.
Most of the time, the limiting factor turns out to be something the new camera doesn’t fix - field time, positioning, or a lens that isn’t sharp at its maximum aperture. Finding that out via a $40 rental is a much better deal than finding it out after a $3,000 purchase.
The single most important thing Tony’s review surfaces is this: the camera body is the last lever to pull, not the first. More time, closer distance, and smarter lens choices will outperform a megapixel upgrade almost every time. That’s a hard truth for anyone who loves researching camera specs, but it’s the one that actually moves your photos forward.
Watch the full tutorial on YouTube to see Tony’s full field comparisons and the side-by-side crop analysis.
Comments (2)
This should be required reading for anyone starting out.
This is exactly what I needed today. Been struggling with this for weeks.
Leave a Comment