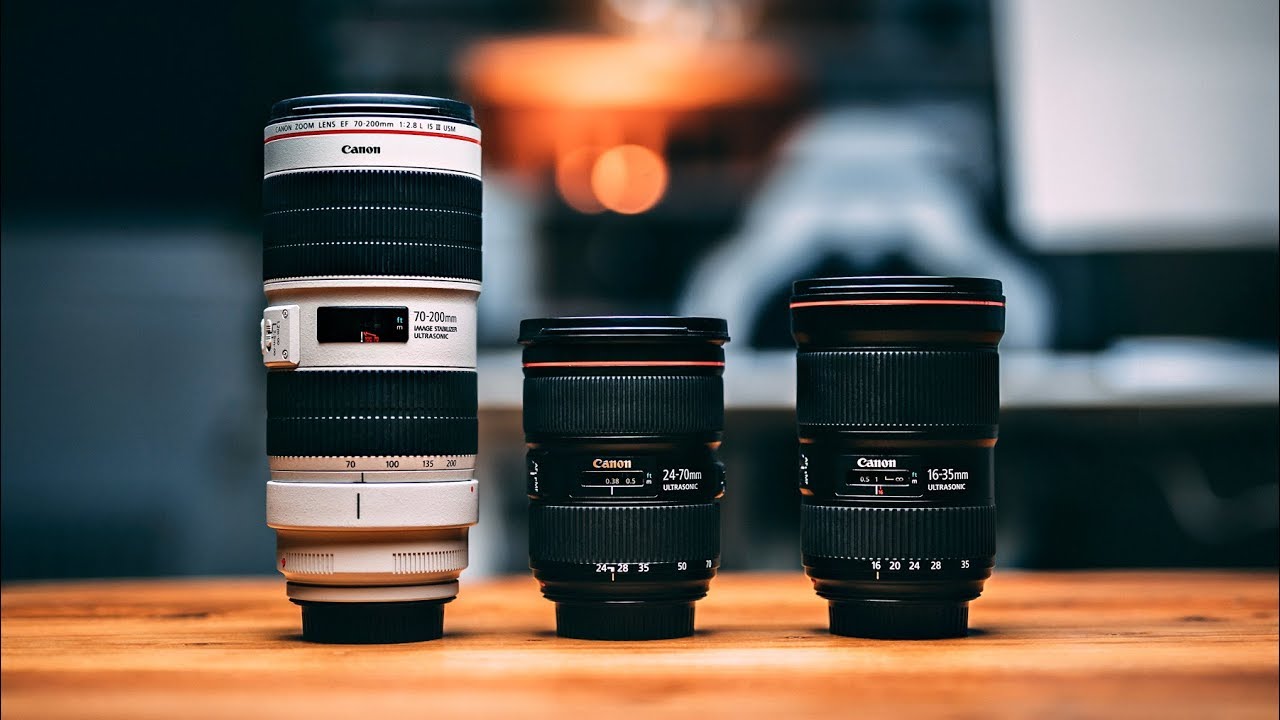
I used to approach lens buying the same way I approached buying tripods – impulsively, one at a time, without a system. I’d grab whatever seemed like the best deal that week, end up with overlapping focal lengths, and still find myself in situations where I didn’t have the right tool for the shot. It took me an embarrassingly long time to realize the problem wasn’t my budget. It was that I had no framework for building a kit that actually covered everything.
That’s what makes Watch the full tutorial on YouTube – Peter McKinnon’s breakdown of the Holy Trinity of lenses – worth revisiting even if you’ve heard the term before. McKinnon doesn’t just list three lenses and call it a day. He explains the logic behind why these three specific focal ranges work together as a system, and that logic applies whether you’re buying Canon L glass or third-party alternatives at a fraction of the price.
The core idea is straightforward but easy to miss when you’re drowning in gear recommendations: one wide zoom, one mid-range zoom, and one telephoto zoom together cover every shooting situation you’re likely to encounter. Not almost every situation. Every situation. Once that clicked for me, I stopped buying random lenses and started working toward a complete kit on purpose.
Step 1: Understand What “The Holy Trinity” Actually Means
 Three lenses laid out representing wide, mid, and telephoto ranges
The Holy Trinity refers to three zoom lenses: a 16-35mm, a 24-70mm, and a 70-200mm. Together they give you a continuous focal range from ultra-wide all the way to compressed telephoto. McKinnon points out that if you add a 2x teleconverter to the 70-200mm end, you’re effectively reaching 400mm – meaning this three-lens system can take you from sweeping wide-angle landscapes to wildlife and sports photography without switching systems or buying specialty glass. That kind of coverage from three items in a bag is genuinely hard to argue with.
Three lenses laid out representing wide, mid, and telephoto ranges
The Holy Trinity refers to three zoom lenses: a 16-35mm, a 24-70mm, and a 70-200mm. Together they give you a continuous focal range from ultra-wide all the way to compressed telephoto. McKinnon points out that if you add a 2x teleconverter to the 70-200mm end, you’re effectively reaching 400mm – meaning this three-lens system can take you from sweeping wide-angle landscapes to wildlife and sports photography without switching systems or buying specialty glass. That kind of coverage from three items in a bag is genuinely hard to argue with.
Step 2: Match Each Lens to Its Shooting Strength
 McKinnon holding the 16-35mm lens while discussing vlogging and wide shooting
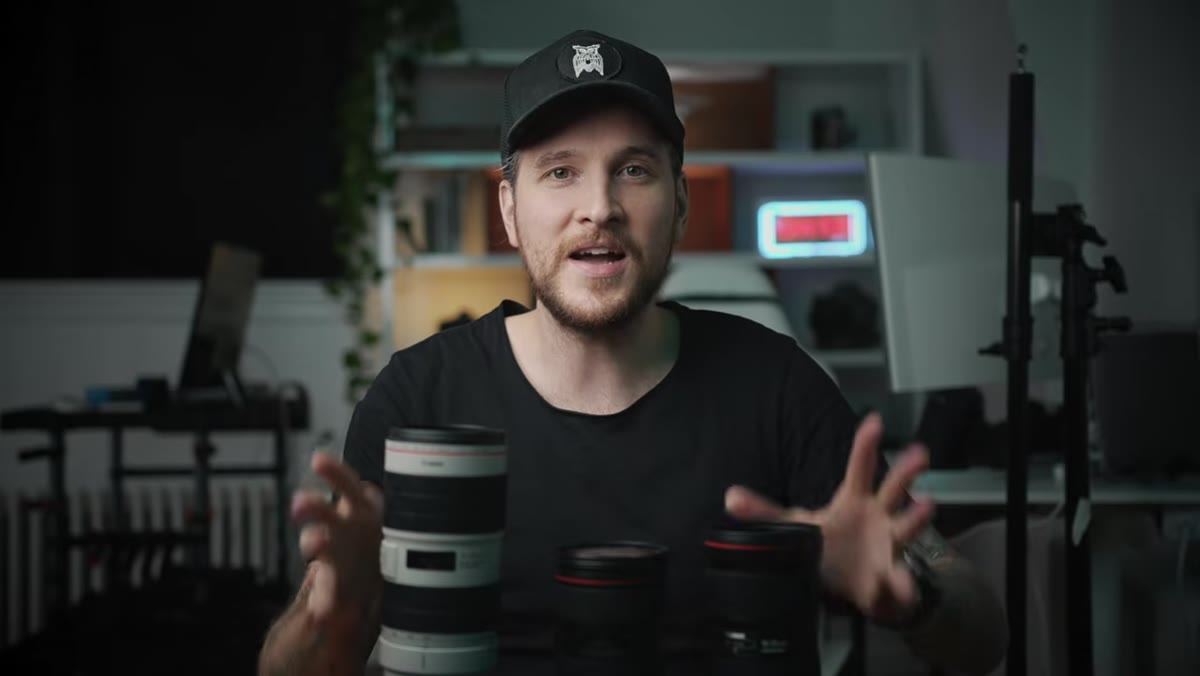
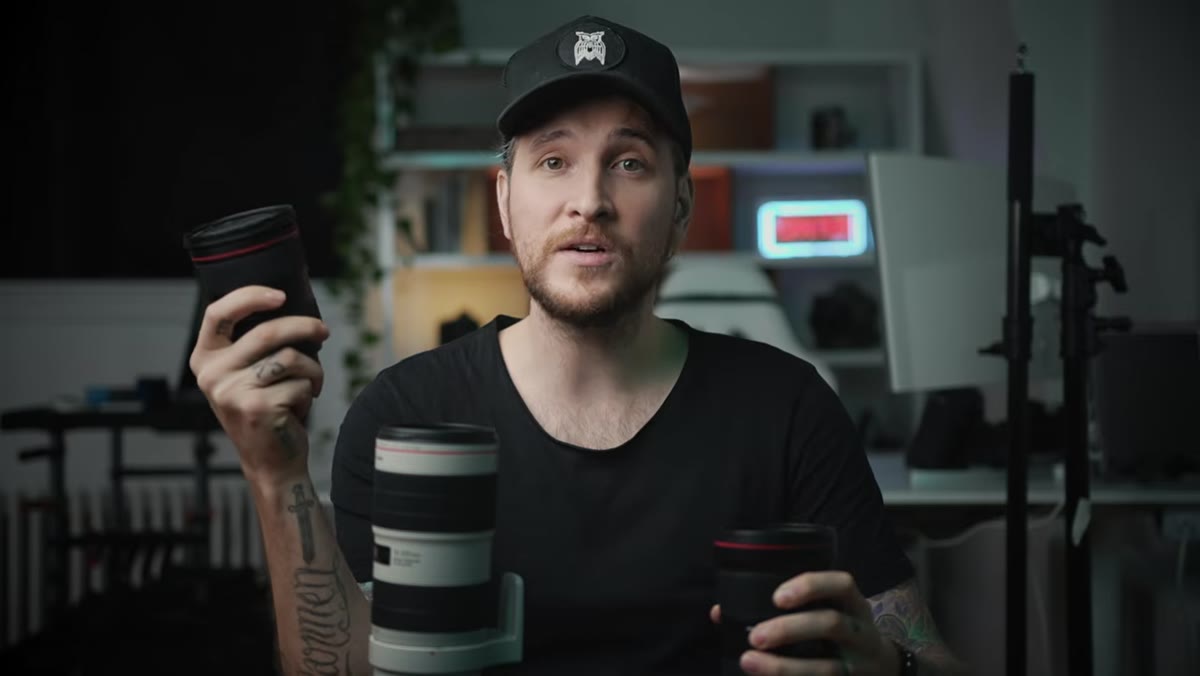
McKinnon is a vlogger, so he reaches for the 16-35mm most often. It captures him and his full environment in a single frame, handles landscapes, and still pulls close enough at 35mm for a decent portrait. But the honest truth is that which lens you use most depends entirely on what you shoot. Sports photographers will live on the 70-200mm end. Street and travel shooters might find the 24-70mm never leaves their camera. The point isn’t to use all three equally – it’s to own all three so you’re never caught without the right focal length on a job.
McKinnon holding the 16-35mm lens while discussing vlogging and wide shooting
McKinnon is a vlogger, so he reaches for the 16-35mm most often. It captures him and his full environment in a single frame, handles landscapes, and still pulls close enough at 35mm for a decent portrait. But the honest truth is that which lens you use most depends entirely on what you shoot. Sports photographers will live on the 70-200mm end. Street and travel shooters might find the 24-70mm never leaves their camera. The point isn’t to use all three equally – it’s to own all three so you’re never caught without the right focal length on a job.
Step 3: Recognize the 24-70mm as the True Workhorse
 Discussion of the 24-70 as the all-around mid-range option
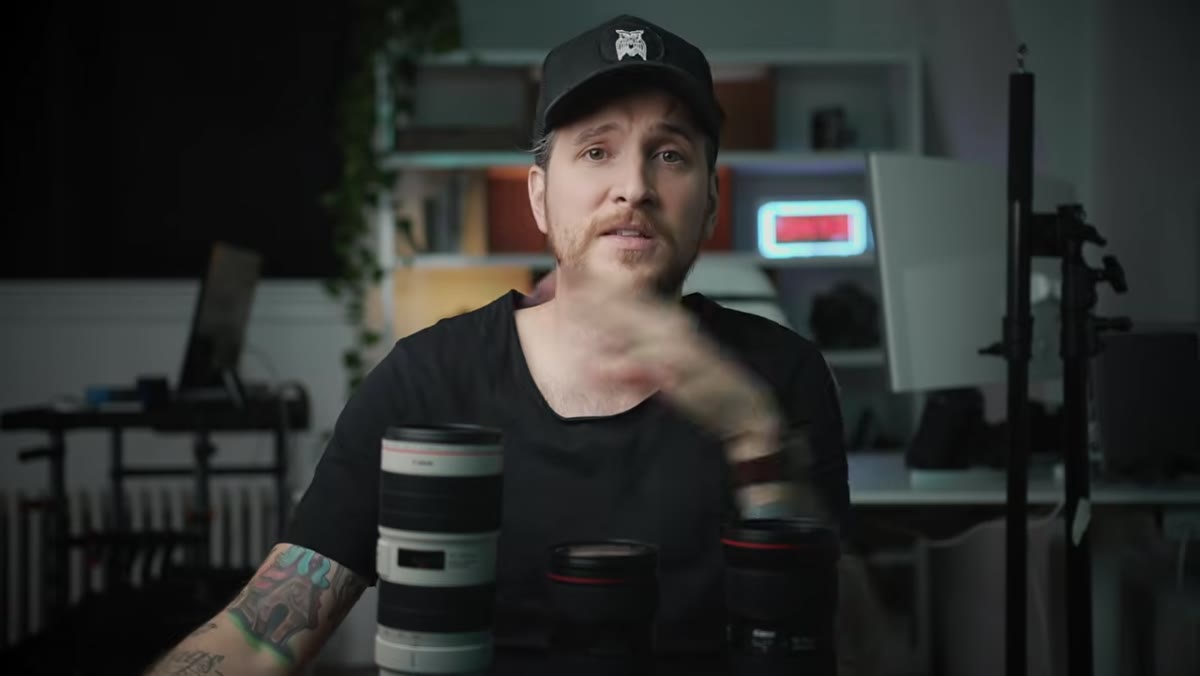
If the 16-35mm and 70-200mm are the extremes of this system, the 24-70mm is what sits in the middle and quietly handles everything else. McKinnon describes it as the all-arounder – the lens you reach for when you don’t know what’s coming. Portraits, event coverage, product shots, candid street work. The 24-70mm doesn’t do any single thing as dramatically as the other two, but it does everything competently. For most photographers starting to build this kit, this is the lens I’d argue you own first. It covers the widest variety of paid work.
Discussion of the 24-70 as the all-around mid-range option
If the 16-35mm and 70-200mm are the extremes of this system, the 24-70mm is what sits in the middle and quietly handles everything else. McKinnon describes it as the all-arounder – the lens you reach for when you don’t know what’s coming. Portraits, event coverage, product shots, candid street work. The 24-70mm doesn’t do any single thing as dramatically as the other two, but it does everything competently. For most photographers starting to build this kit, this is the lens I’d argue you own first. It covers the widest variety of paid work.
Step 4: Note the f/2.8 Aperture Across All Three
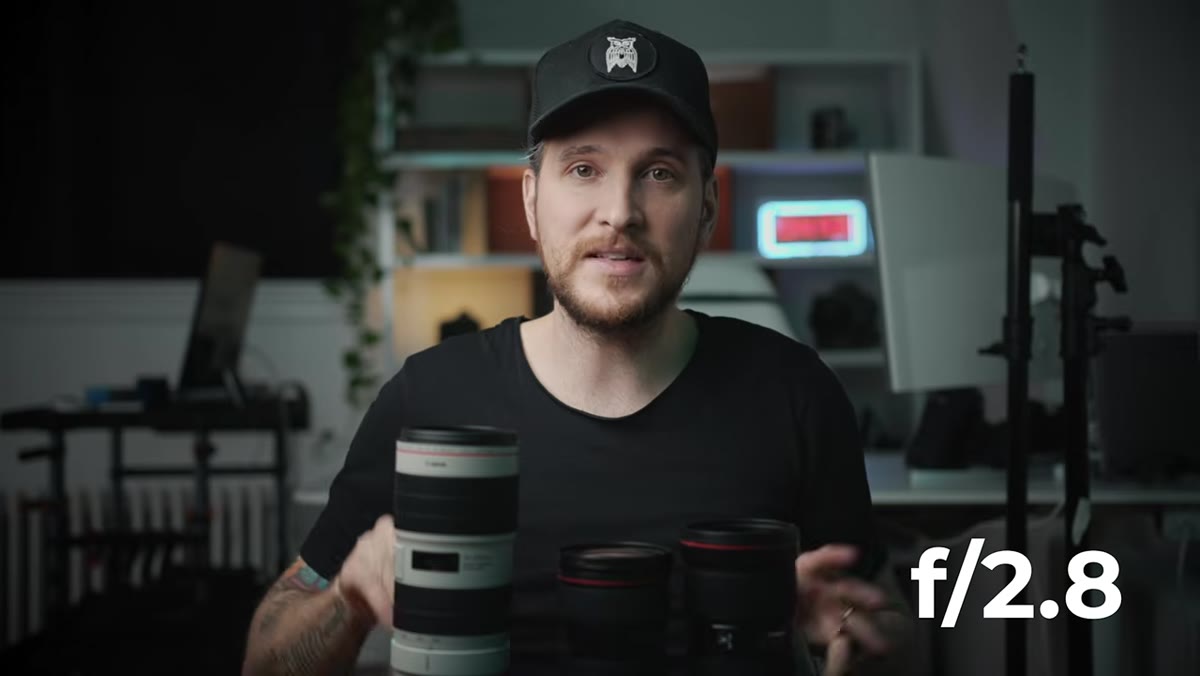 McKinnon referencing the 2.8 aperture as a shared spec across the trinity
All three lenses in the Holy Trinity are f/2.8 zooms – sometimes called “fast glass” because the wide maximum aperture lets in significantly more light than a typical kit lens. McKinnon flags this as important because it means consistent behavior across the whole system. You’re not switching between an f/4 lens and an f/2.8 and having to compensate mentally. Every lens behaves the same way in low light, gives you similar depth-of-field characteristics, and requires the same exposure adjustments. For working photographers, that consistency speeds up your decision-making on shoot day.
McKinnon referencing the 2.8 aperture as a shared spec across the trinity
All three lenses in the Holy Trinity are f/2.8 zooms – sometimes called “fast glass” because the wide maximum aperture lets in significantly more light than a typical kit lens. McKinnon flags this as important because it means consistent behavior across the whole system. You’re not switching between an f/4 lens and an f/2.8 and having to compensate mentally. Every lens behaves the same way in low light, gives you similar depth-of-field characteristics, and requires the same exposure adjustments. For working photographers, that consistency speeds up your decision-making on shoot day.
Step 5: Build the Kit Incrementally – You Don’t Buy It All at Once
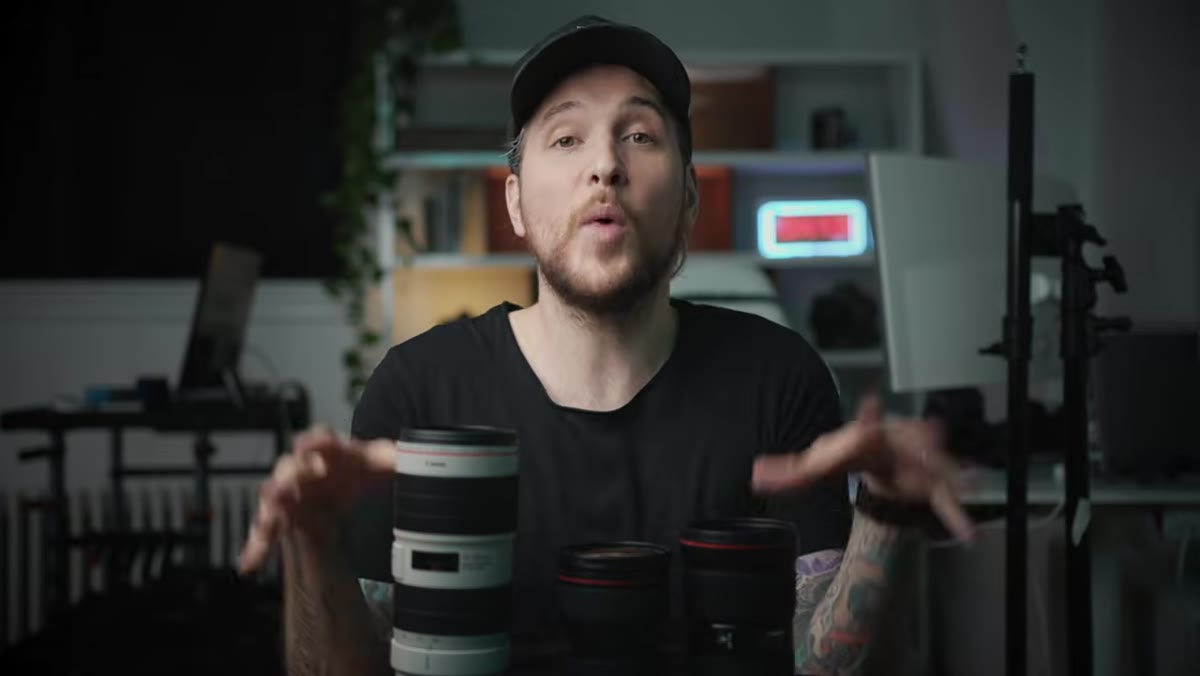 McKinnon advising viewers to save up and build toward the full kit
McKinnon’s practical advice is to save up and build toward this kit deliberately rather than trying to acquire all three at once. That’s the part most gear videos gloss over, and it’s the part that actually matters if you’re not dropping $6,000 on glass in a single afternoon. Pick the focal range that covers your most common shooting scenario first, work with it until it feels limiting, then add the next lens. That constraint forces you to get better with what you have before adding more options. I’ve seen shooters with all three lenses who still take worse photos than someone working with just one good zoom because they never had to master their limitations.
McKinnon advising viewers to save up and build toward the full kit
McKinnon’s practical advice is to save up and build toward this kit deliberately rather than trying to acquire all three at once. That’s the part most gear videos gloss over, and it’s the part that actually matters if you’re not dropping $6,000 on glass in a single afternoon. Pick the focal range that covers your most common shooting scenario first, work with it until it feels limiting, then add the next lens. That constraint forces you to get better with what you have before adding more options. I’ve seen shooters with all three lenses who still take worse photos than someone working with just one good zoom because they never had to master their limitations.
The Budget Version of This Advice Actually Works
Here’s where I’ll add something McKinnon doesn’t get into – because his audience skews toward Canon and Nikon shooters buying name-brand glass, and mine doesn’t. Third-party manufacturers like Tamron and Sigma both make f/2.8 versions of all three focal ranges in this trinity, often for 40-60% less than the Canon or Nikon equivalent. The Tamron 17-28mm f/2.8 and 28-75mm f/2.8 for Sony, for example, cover essentially the same system for under $1,000 combined. I’ve run these against their first-party counterparts in side-by-side tests. The differences exist, but you have to be looking for them hard to find them in real shooting conditions.
If you’re building this kit on a real-world budget, start with the Tamron or Sigma alternatives and put the savings toward more shooting time. A complete kit of second-tier glass beats an incomplete kit of premium glass every time. The Holy Trinity concept is sound regardless of whose name is on the barrel.
The single most important idea to take away from McKinnon’s tutorial is this: lens buying should be a system decision, not a one-off purchase. Every lens you buy should complete something or extend something you already own. When you buy with that mindset, you stop accumulating gear and start building a kit that actually earns its keep.
Watch the full tutorial on YouTube – McKinnon walks through this faster than you’d expect and it’s worth seeing how he physically demonstrates the focal range spread with the lenses in hand.
Comments (1)
Solid advice. Especially the part about taking your time with it.
Leave a Comment