Most photographers I know built their lens collection backwards. They bought what was on sale, what a friend recommended, or whatever came bundled with their first camera body. I was no different. My first kit lens covered 18-55mm and I genuinely had no idea what that range meant in practice until I went out and shot with it enough to feel it. The problem is that feeling takes time, and most tutorials skip the intuitive, visual explanation in favor of specs and charts.
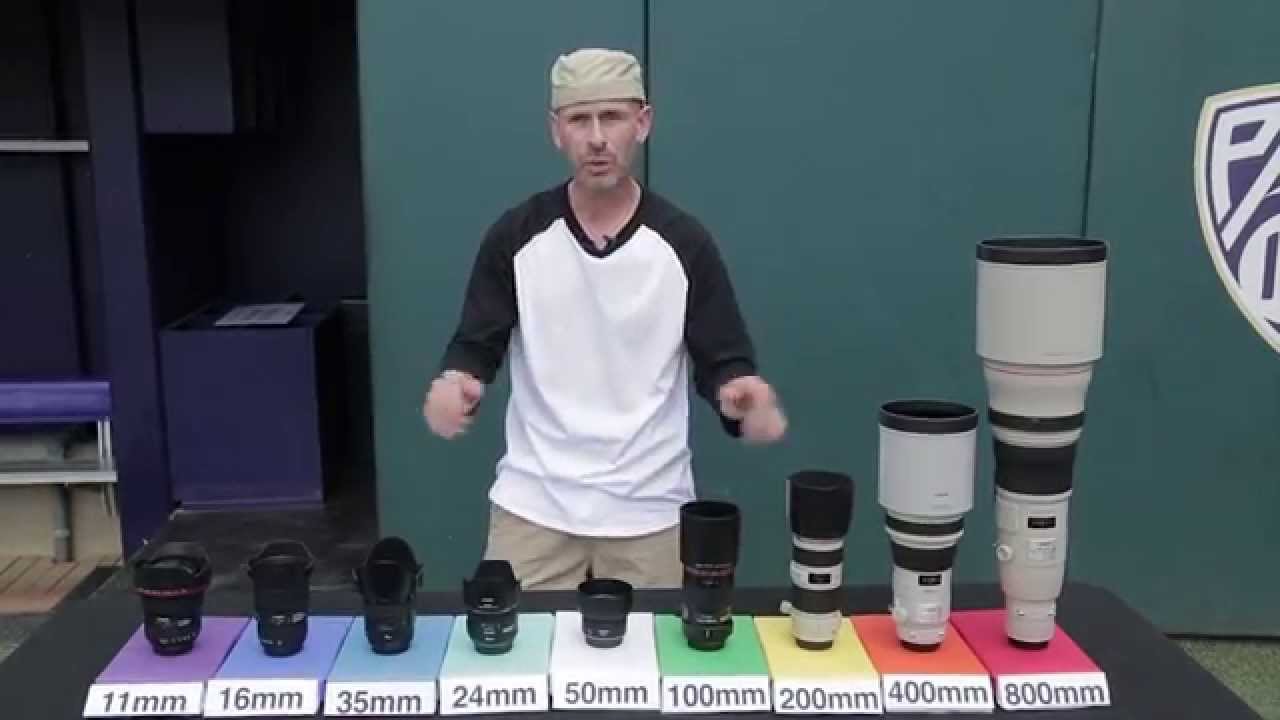
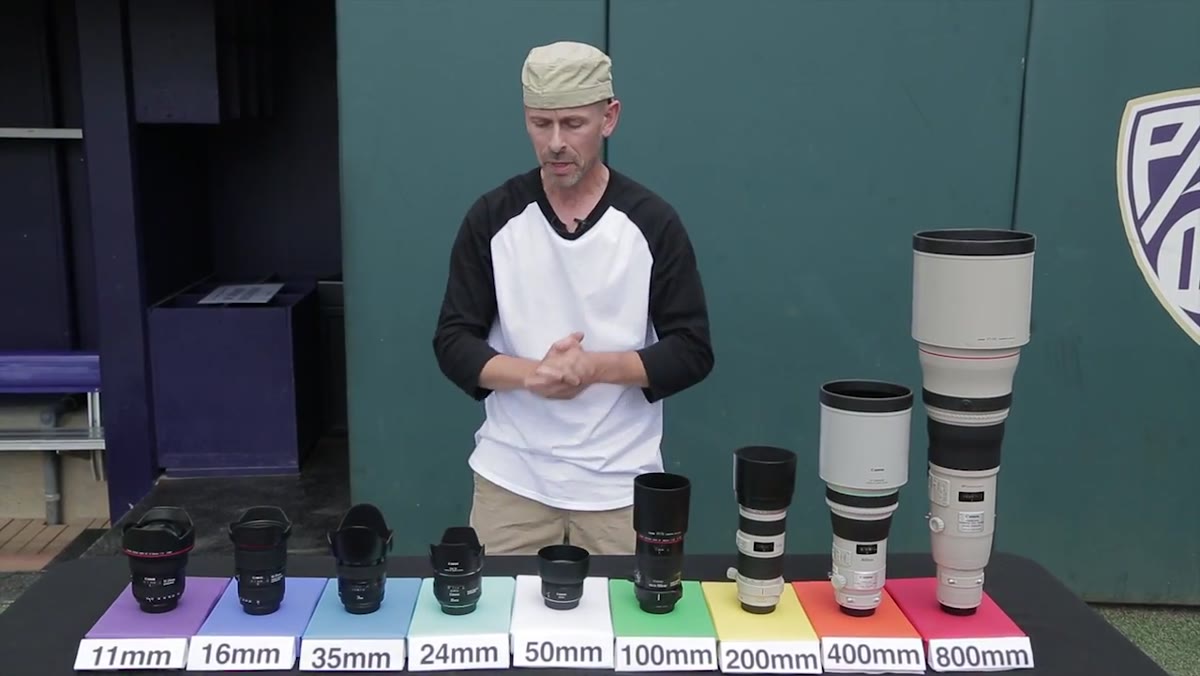
That’s what makes this CreativeLive tutorial with John Greengo so useful. Watch the full tutorial on YouTube before or after reading this breakdown. Instead of standing in a studio drawing diagrams, Greengo takes nine Canon lenses out to a baseball field, mounts the camera at home plate, and physically demonstrates what each focal length shows you. It’s one of the clearest real-world explanations of field of view I’ve come across, and it directly answers the question I get more than any other: “Which lens do I actually need?”
If you’re building out a kit on a budget and trying to figure out which focal lengths are worth prioritizing, this walkthrough will help you make smarter decisions before you spend a dollar.
Step 1: Understand Why Interchangeable Lenses Are Worth Your Attention
 Greengo explaining how changing the lens changes the camera
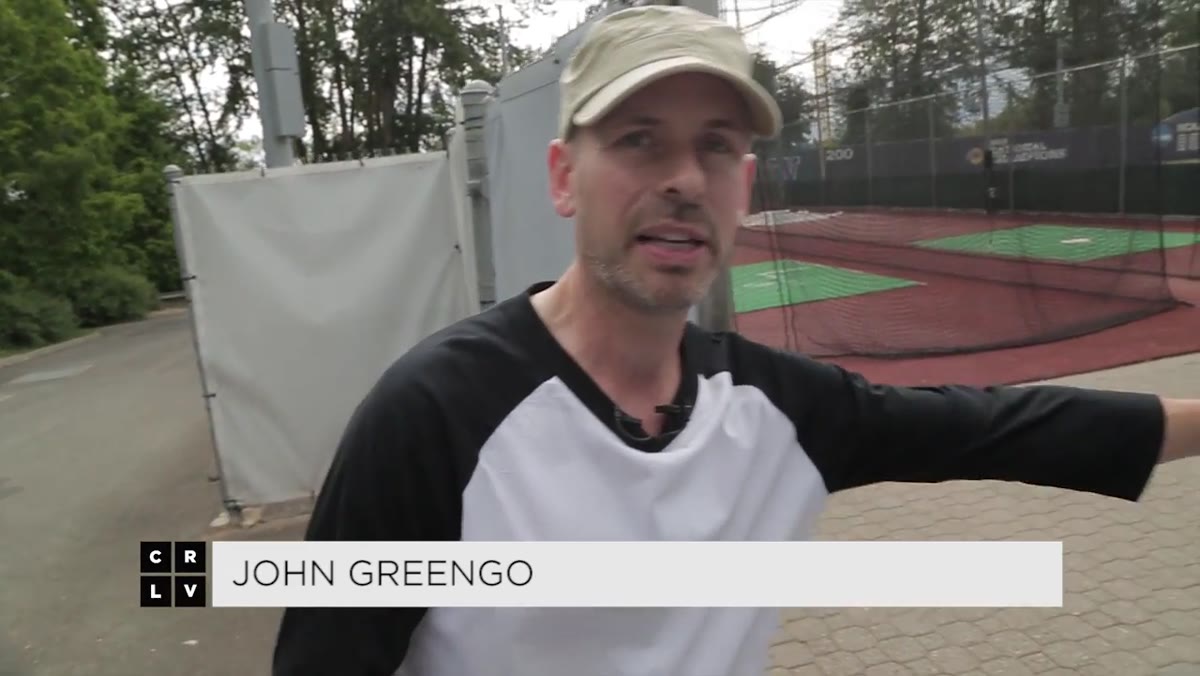
Greengo opens with a principle that took me longer than it should have to internalize: swapping lenses doesn’t just change your zoom level, it fundamentally changes how your camera sees the world. Different focal lengths introduce different perspectives, different compression, different distortion behavior. Each one has its own personality, as he puts it, and using the wrong lens for a job isn’t just a stylistic issue, it’s a technical one. A portrait shot with an ultra-wide lens at close range will distort your subject’s face. A landscape shot with a long telephoto will flatten depth in ways that may or may not serve your composition. Knowing the tool before you need it is the whole game.
Greengo explaining how changing the lens changes the camera
Greengo opens with a principle that took me longer than it should have to internalize: swapping lenses doesn’t just change your zoom level, it fundamentally changes how your camera sees the world. Different focal lengths introduce different perspectives, different compression, different distortion behavior. Each one has its own personality, as he puts it, and using the wrong lens for a job isn’t just a stylistic issue, it’s a technical one. A portrait shot with an ultra-wide lens at close range will distort your subject’s face. A landscape shot with a long telephoto will flatten depth in ways that may or may not serve your composition. Knowing the tool before you need it is the whole game.
Step 2: Use a Fixed Reference Point to Compare Lenses Side by Side
 Camera mounted at home plate pointing toward the outfield
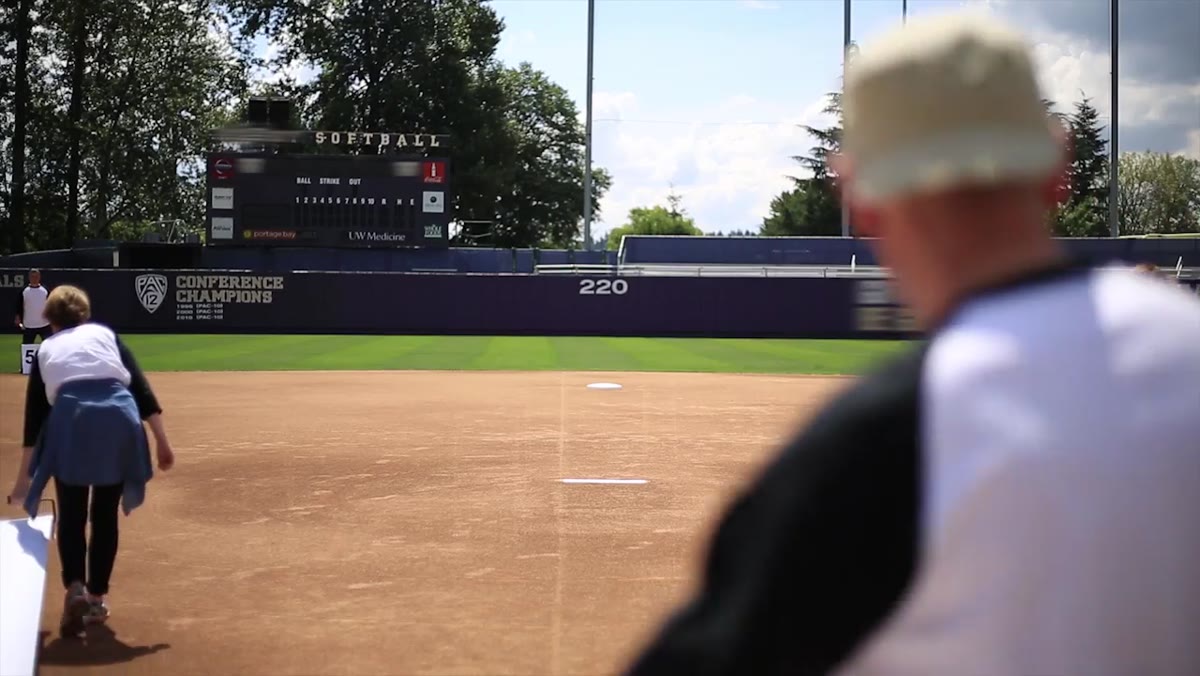
The setup Greengo uses here is genuinely clever and easy to replicate. He fixes the camera at one position (home plate) and keeps it locked there for every lens swap. Two assistants stand out in the field at measured distances holding frame markers. This gives you a true apples-to-apples comparison because the only variable changing is the lens. If you want to try this yourself, find a long open space, mark your camera position, place a friend or a few objects at 20, 50, and 100 feet out, and shoot the same frame with each lens you own. The difference will be immediately obvious and much more useful than reading about millimeters.
Camera mounted at home plate pointing toward the outfield
The setup Greengo uses here is genuinely clever and easy to replicate. He fixes the camera at one position (home plate) and keeps it locked there for every lens swap. Two assistants stand out in the field at measured distances holding frame markers. This gives you a true apples-to-apples comparison because the only variable changing is the lens. If you want to try this yourself, find a long open space, mark your camera position, place a friend or a few objects at 20, 50, and 100 feet out, and shoot the same frame with each lens you own. The difference will be immediately obvious and much more useful than reading about millimeters.
Step 3: Learn the 50mm Baseline First
 View through the 50mm lens with assistants marking the frame edges
The 50mm lens is the traditional starting point for understanding focal length because it most closely approximates what the human eye sees in terms of field of view. When Greengo demonstrates it at the field, the frame captures a natural, comfortable angle of view, nothing squeezed, nothing exaggerated. He shows a practical trick here: put your hands up with bent elbows, point your fingers outward, and that rough rectangle approximates what a 50mm sees on a full-frame sensor. It’s a fast way to pre-visualize a shot without lifting your camera. The 50mm is also typically one of the sharpest and most affordable primes in any manufacturer’s lineup, which is why it’s almost always the first prime lens I recommend to anyone trying to stretch a budget.
View through the 50mm lens with assistants marking the frame edges
The 50mm lens is the traditional starting point for understanding focal length because it most closely approximates what the human eye sees in terms of field of view. When Greengo demonstrates it at the field, the frame captures a natural, comfortable angle of view, nothing squeezed, nothing exaggerated. He shows a practical trick here: put your hands up with bent elbows, point your fingers outward, and that rough rectangle approximates what a 50mm sees on a full-frame sensor. It’s a fast way to pre-visualize a shot without lifting your camera. The 50mm is also typically one of the sharpest and most affordable primes in any manufacturer’s lineup, which is why it’s almost always the first prime lens I recommend to anyone trying to stretch a budget.
Step 4: Step Into Wide Angle and Watch for Distortion
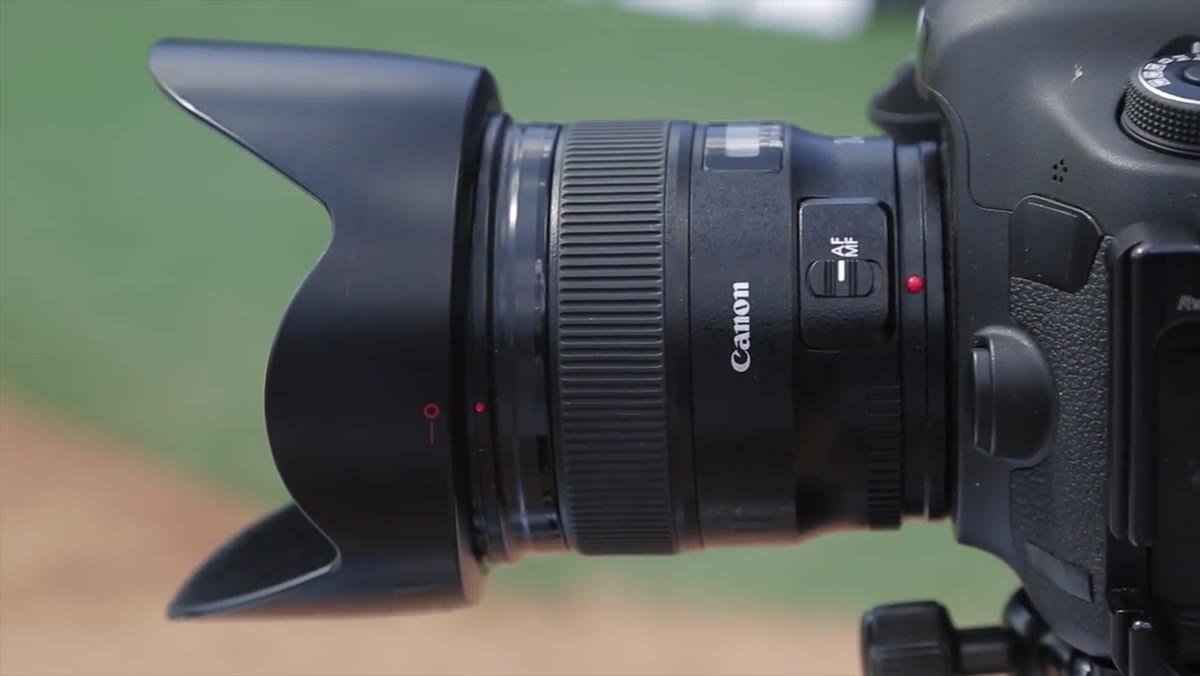 Greengo demonstrating barrel distortion with a round ball at frame edges
Moving to the 24mm lens is where things get interesting and where a lot of beginners get tripped up. Greengo uses a ball to demonstrate barrel distortion: in the center of the frame it looks perfectly round, but move it toward the edges or corners and it starts to stretch and warp. This isn’t a flaw in the specific lens, it’s a characteristic of wide-angle optics in general. The wider you go, the more pronounced this effect becomes. For landscape and travel photography, distortion is often acceptable or even desirable because you want that expansive feeling. For portraits or product shots, it’s a liability. Understanding this before you buy means you won’t be surprised when your $300 wide-angle doesn’t behave like your kit lens at 24mm.
Greengo demonstrating barrel distortion with a round ball at frame edges
Moving to the 24mm lens is where things get interesting and where a lot of beginners get tripped up. Greengo uses a ball to demonstrate barrel distortion: in the center of the frame it looks perfectly round, but move it toward the edges or corners and it starts to stretch and warp. This isn’t a flaw in the specific lens, it’s a characteristic of wide-angle optics in general. The wider you go, the more pronounced this effect becomes. For landscape and travel photography, distortion is often acceptable or even desirable because you want that expansive feeling. For portraits or product shots, it’s a liability. Understanding this before you buy means you won’t be surprised when your $300 wide-angle doesn’t behave like your kit lens at 24mm.
Step 5: See the Full Range Side by Side
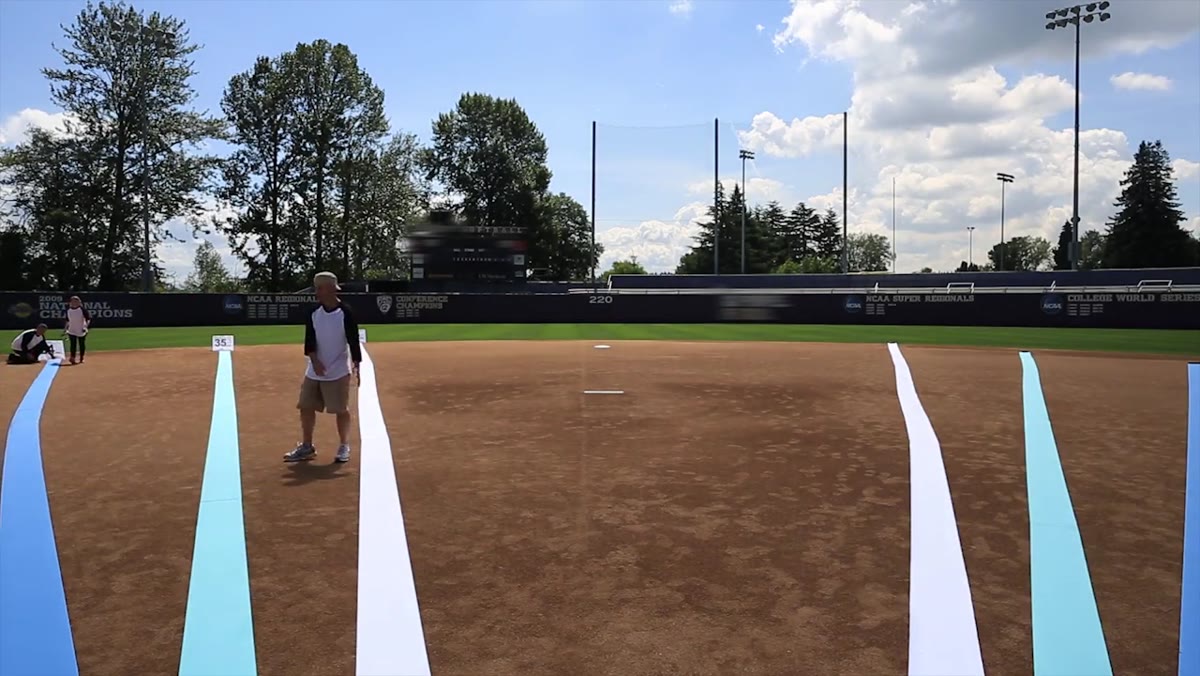 Comparison frame showing 50mm, 35mm, and 24mm field of view simultaneously
This is the moment in the tutorial that makes everything click. Greengo lines up the frame markers for 50mm, 35mm, and 24mm in a single shot so you can see exactly how much more of the scene each wider focal length captures. The difference between 50 and 35 might feel subtle on paper but looks significant in the field. The jump from 35 to 24 is even more dramatic. This visual comparison is something no spec sheet or focal length calculator communicates as well. If you’re deciding between a 35mm and a 50mm prime right now, this single moment in the video will probably make the decision for you based on the type of shooting you do.
Comparison frame showing 50mm, 35mm, and 24mm field of view simultaneously
This is the moment in the tutorial that makes everything click. Greengo lines up the frame markers for 50mm, 35mm, and 24mm in a single shot so you can see exactly how much more of the scene each wider focal length captures. The difference between 50 and 35 might feel subtle on paper but looks significant in the field. The jump from 35 to 24 is even more dramatic. This visual comparison is something no spec sheet or focal length calculator communicates as well. If you’re deciding between a 35mm and a 50mm prime right now, this single moment in the video will probably make the decision for you based on the type of shooting you do.
Step 6: Respect the Telephoto Range for What It Actually Does
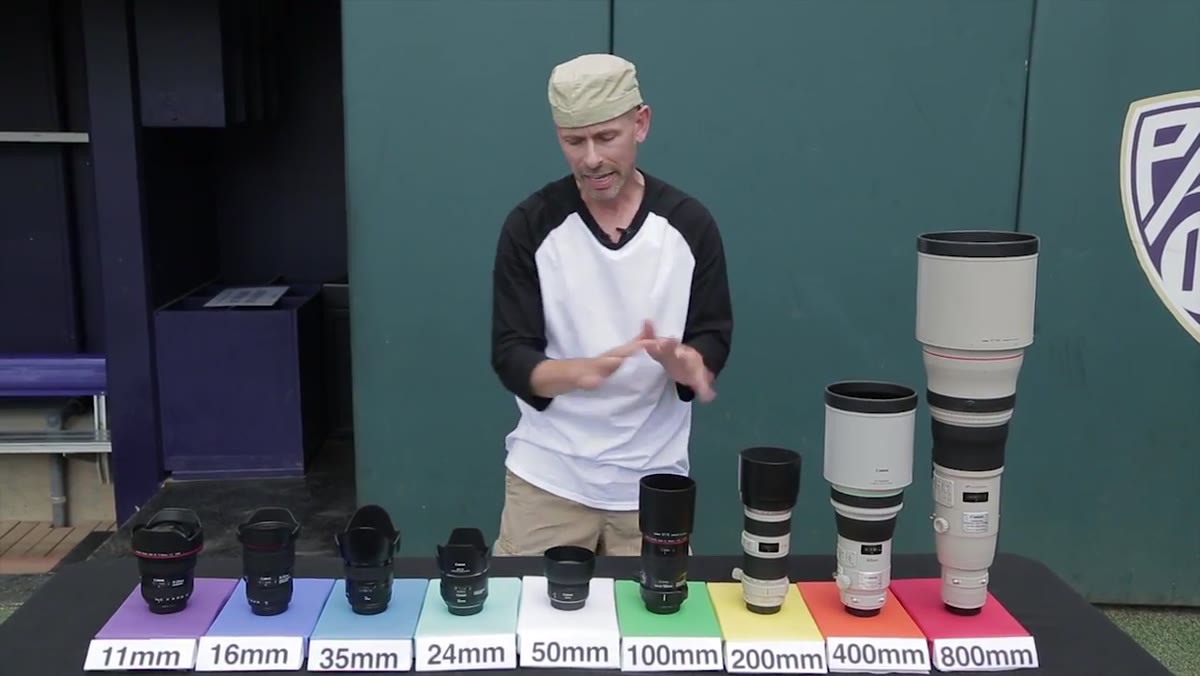 Greengo introducing the telephoto lenses in the lineup
Greengo covers the telephoto end of the spectrum as part of his nine-lens overview. Telephoto lenses compress distance, making background elements appear closer to your subject than they actually are. This is useful for portraits because it flatters facial proportions, and it’s critical for sports and wildlife where you can’t physically get closer to your subject. The tradeoff is size, weight, and typically price. On a tight budget, a 70-300mm zoom covers a huge telephoto range at a reasonable cost, and it’s usually the smarter starting point than trying to buy a fast telephoto prime right away.
Greengo introducing the telephoto lenses in the lineup
Greengo covers the telephoto end of the spectrum as part of his nine-lens overview. Telephoto lenses compress distance, making background elements appear closer to your subject than they actually are. This is useful for portraits because it flatters facial proportions, and it’s critical for sports and wildlife where you can’t physically get closer to your subject. The tradeoff is size, weight, and typically price. On a tight budget, a 70-300mm zoom covers a huge telephoto range at a reasonable cost, and it’s usually the smarter starting point than trying to buy a fast telephoto prime right away.
What I’d Add From My Own Testing
Greengo’s field demonstration confirms something I’ve found in my own budget lens comparisons: the focal length you choose matters more than the price tier of the lens. I’ve run my own side-by-side tests with lenses ranging from $80 third-party options to $600 Canon-branded glass at similar focal lengths, and while the premium lenses win on sharpness and build quality, the compositional behavior at each focal length is nearly identical. A 24mm is a 24mm. If you’re just starting to explore focal lengths, buy the cheapest decent-quality option at the focal length you want to test, and upgrade later if the focal length proves useful for your work. Don’t spend $600 to discover you don’t actually like shooting wide.
The single biggest thing to take away from Greengo’s tutorial is this: focal length is a creative decision, not a technical one. Before you buy your next lens, figure out what you’re trying to see, and work backwards from there. Specs matter less than understanding how a given focal length shapes your images. Watch the full tutorial on YouTube to see the complete nine-lens comparison, including the telephoto range that I didn’t cover fully here. It’s one of the better free resources out there for getting this concept locked in visually.
Comments (2)
Solid advice. Especially the part about taking your time with it.
This saved me so much time on my last edit. Wish I'd found this sooner.
Leave a Comment