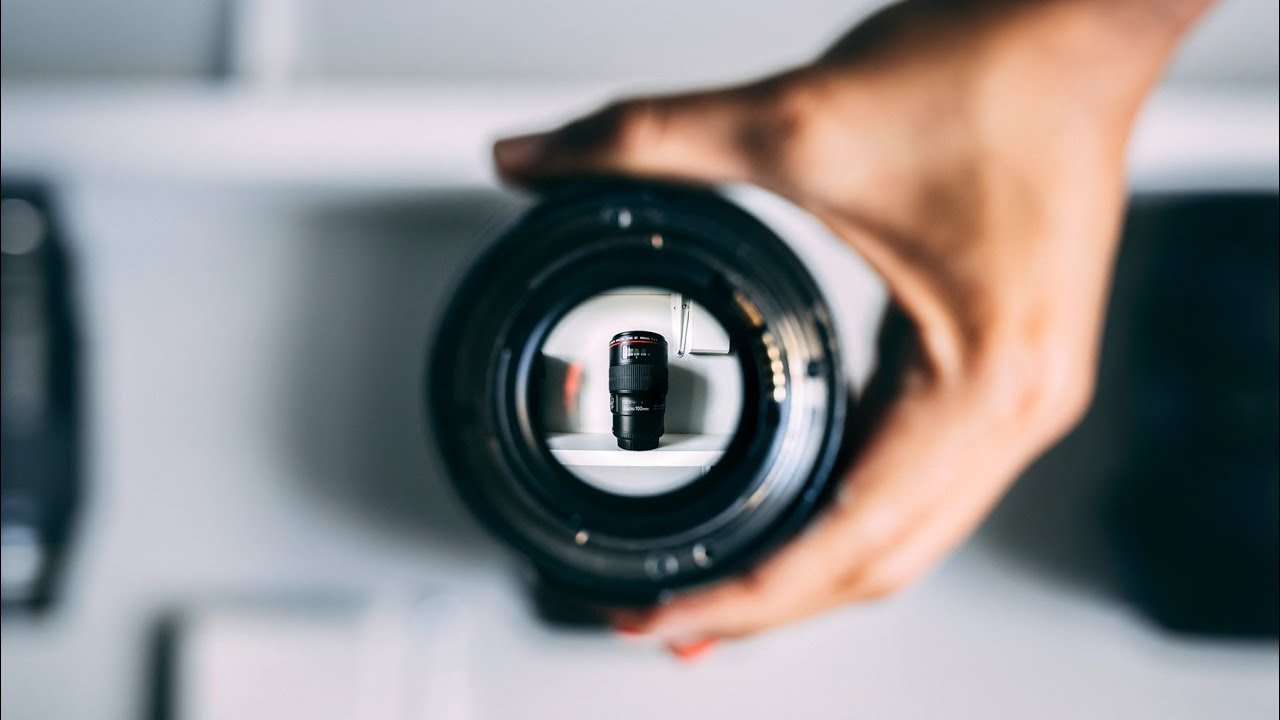
I almost skipped macro lenses entirely. When I was building out my first real kit on a tight budget, “macro” sounded like a niche specialty - something for nature photographers who spend weekends chasing insects through tall grass. I shoot products, events, and the occasional portrait session. What would I do with a macro lens? Turns out, I had the whole thing wrong, and it cost me about two years of shooting before I figured that out.
In this Peter McKinnon tutorial from his Two Minute Tuesday series, McKinnon argues that the macro lens is one of the most versatile tools in a camera bag - not just a close-up specialty item. Watch the full tutorial on YouTube. He’s shot with Canon’s 100mm macro L lens for years across everything from food cinematography to portraits, and his argument is simple: the name “macro” is what scares people off, not the actual capability of the glass. That framing hit me immediately, because I had done exactly that - dismissed the lens category based on a label rather than testing it. This breakdown walks through his reasoning step by step so you can decide whether it belongs in your kit.
Step 1: Reframe What “Macro” Actually Means
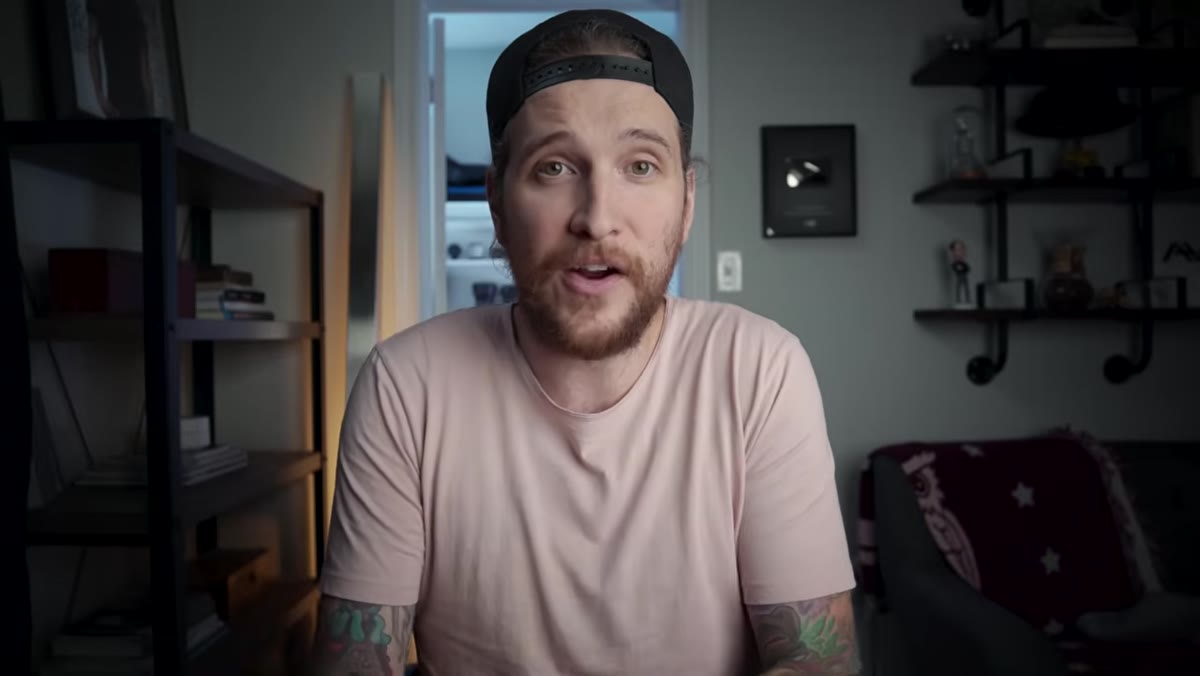
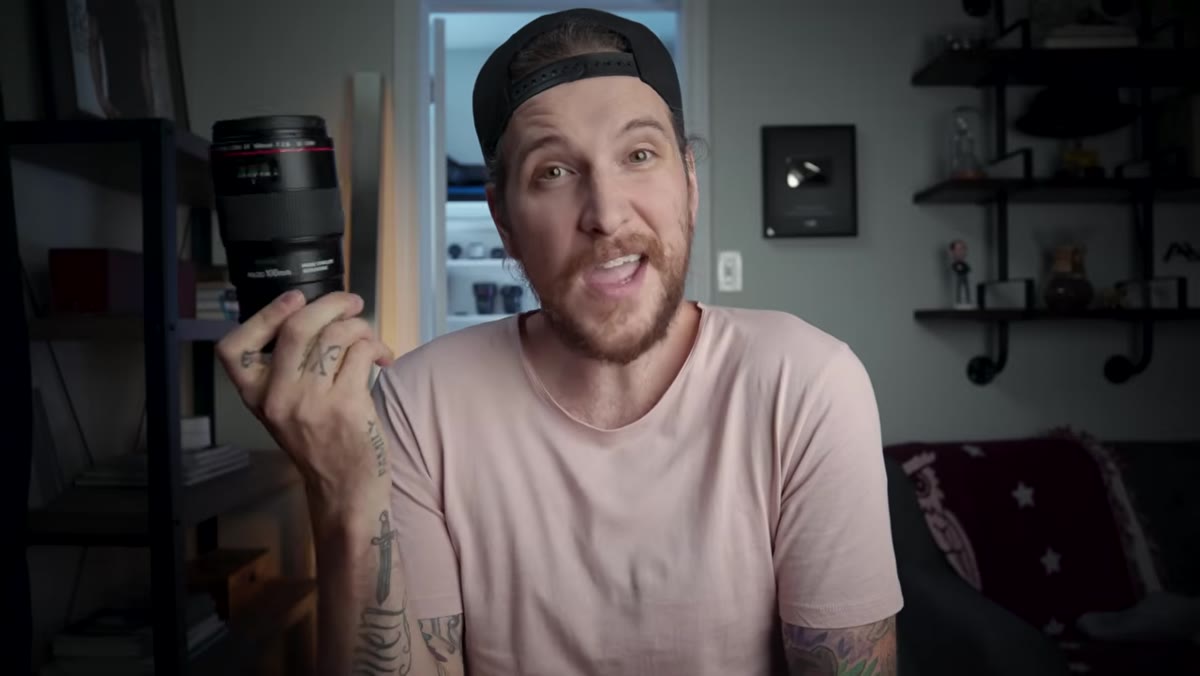
 McKinnon holding macro lens, addressing camera directly
The first thing McKinnon does is attack the assumption head-on. Most photographers hear “macro lens” and picture extreme close-ups of dewdrops or flower stamens. That mental association is the problem. A macro lens is defined by its minimum focusing distance and 1:1 reproduction ratio - but that spec doesn’t prevent it from doing anything else a prime lens in the same focal range can do. Think of it as a 100mm prime that also happens to focus incredibly close. You’re not buying a single-use tool. You’re buying a focal length with an extra superpower attached.
McKinnon holding macro lens, addressing camera directly
The first thing McKinnon does is attack the assumption head-on. Most photographers hear “macro lens” and picture extreme close-ups of dewdrops or flower stamens. That mental association is the problem. A macro lens is defined by its minimum focusing distance and 1:1 reproduction ratio - but that spec doesn’t prevent it from doing anything else a prime lens in the same focal range can do. Think of it as a 100mm prime that also happens to focus incredibly close. You’re not buying a single-use tool. You’re buying a focal length with an extra superpower attached.
Before you write off the category, ask yourself how often you’ve wished you could get closer to a subject without changing lenses or cropping in post. That’s the gap a macro fills without asking you to sacrifice anything.
Step 2: Try Macro Shooting Before You Dismiss It
 Close-up macro shot filling the frame with fine detail
McKinnon makes a point that stuck with me: if you’ve never shot a snowflake with a macro lens, you genuinely don’t know what you’re missing. That sounds like a line, but it’s actually a challenge. The macro range opens up a visual world that your standard kit lens physically cannot access. Textures, surfaces, and small objects become compositions you wouldn’t otherwise see.
Close-up macro shot filling the frame with fine detail
McKinnon makes a point that stuck with me: if you’ve never shot a snowflake with a macro lens, you genuinely don’t know what you’re missing. That sounds like a line, but it’s actually a challenge. The macro range opens up a visual world that your standard kit lens physically cannot access. Textures, surfaces, and small objects become compositions you wouldn’t otherwise see.
If you have access to a macro lens - even a cheap third-party option - spend one afternoon shooting objects around your house or workspace. Shoot watch gears, coffee grounds in a portafilter, the weave of a denim jacket. You don’t need insects. The point is to train your eye to find images in the small-scale details of the subjects you already shoot. Once you’ve done that exercise, the lens starts earning its keep in your bag permanently.
Step 3: Use It as Your Food and Product Shooting Workhorse
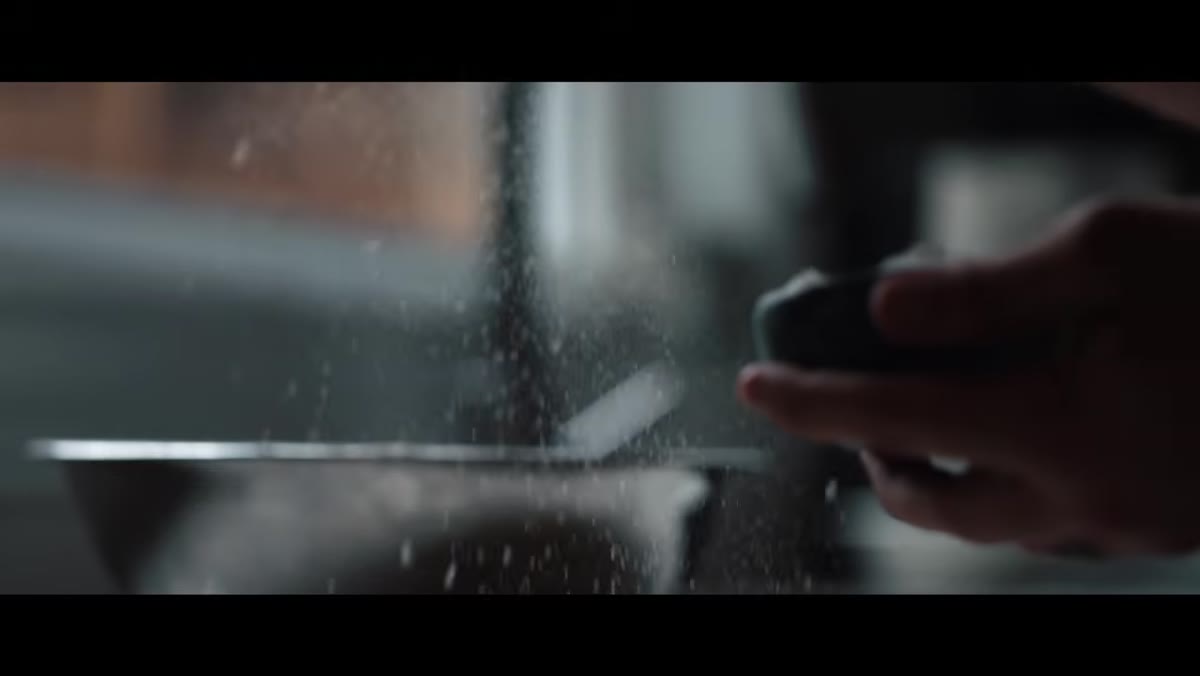
 Behind-the-scenes of food photography shoot in progress
McKinnon references an entire pizza-making video sequence he shot with a macro lens - not a dedicated food lens, not a wide prime. The macro handled everything: tight ingredient shots, medium cooking sequences, and wider scene-setting frames. That versatility is the real argument. A 100mm focal length gives you natural compression, which means backgrounds fall out of focus cleanly and your subject sits in sharp relief without heavy editing.
Behind-the-scenes of food photography shoot in progress
McKinnon references an entire pizza-making video sequence he shot with a macro lens - not a dedicated food lens, not a wide prime. The macro handled everything: tight ingredient shots, medium cooking sequences, and wider scene-setting frames. That versatility is the real argument. A 100mm focal length gives you natural compression, which means backgrounds fall out of focus cleanly and your subject sits in sharp relief without heavy editing.
For product photography specifically, this combination is hard to beat. I ran a comparison last year between a budget 100mm macro and a more expensive portrait lens on a tabletop product shoot, and the macro consistently delivered sharper edge detail in the close-focus range. If your work includes anything on a table - food, gear, jewelry, small goods - a macro lens should be your first call, not your backup.
Step 4: Shoot Portraits With It
 Portrait framing demonstrated with macro lens on camera
This one surprises people. A 100mm focal length is a legitimate portrait length. It creates flattering compression, keeps you at a comfortable working distance from your subject, and produces smooth background separation at wide apertures. McKinnon points this out directly, and it’s something I’ve tested myself. The image quality difference between a dedicated 100mm portrait lens and a 100mm macro is minimal for most portrait use cases - you’re getting both capabilities for the price of one lens.
Portrait framing demonstrated with macro lens on camera
This one surprises people. A 100mm focal length is a legitimate portrait length. It creates flattering compression, keeps you at a comfortable working distance from your subject, and produces smooth background separation at wide apertures. McKinnon points this out directly, and it’s something I’ve tested myself. The image quality difference between a dedicated 100mm portrait lens and a 100mm macro is minimal for most portrait use cases - you’re getting both capabilities for the price of one lens.
The practical upside is that you can move through a shoot fluidly. Tight detail shot of jewelry or an accessory, pull back slightly for a half-body frame, all without swapping glass. That continuity matters in real working conditions.
Step 5: Factor In Stabilization and Handheld Usability
 McKinnon shooting handheld, demonstrating stabilization benefit
McKinnon specifically calls out image stabilization as a major advantage in his Canon 100mm macro L. At macro distances, camera shake is amplified significantly - tiny movements that wouldn’t matter at normal shooting distances can ruin a close-up frame. Stabilization lets you shoot more handheld, which speeds up your workflow and gives you flexibility in tighter spaces where a tripod is impractical.
McKinnon shooting handheld, demonstrating stabilization benefit
McKinnon specifically calls out image stabilization as a major advantage in his Canon 100mm macro L. At macro distances, camera shake is amplified significantly - tiny movements that wouldn’t matter at normal shooting distances can ruin a close-up frame. Stabilization lets you shoot more handheld, which speeds up your workflow and gives you flexibility in tighter spaces where a tripod is impractical.
If you’re shopping in the budget range, check whether your shortlisted macro lens includes stabilization or whether your camera body offers in-body image stabilization (IBIS) that can compensate. That factor alone can determine whether a lens is actually usable for close-up work or just theoretically capable of it.
Step 6: Decide Between the L Version and the Budget Alternative
 Canon EF macro lens shown as budget alternative option
McKinnon mentions two price points: the Canon 100mm L (around $800 USD) and the non-L EF version at roughly $400. He used the non-L version professionally for seven years on commercial product photography work. That’s a meaningful data point. The L series adds weather sealing and a hybrid stabilization system, which matters if you shoot outdoors or in unpredictable conditions. But for controlled studio or indoor use, the standard EF version produces excellent results at half the price.
Canon EF macro lens shown as budget alternative option
McKinnon mentions two price points: the Canon 100mm L (around $800 USD) and the non-L EF version at roughly $400. He used the non-L version professionally for seven years on commercial product photography work. That’s a meaningful data point. The L series adds weather sealing and a hybrid stabilization system, which matters if you shoot outdoors or in unpredictable conditions. But for controlled studio or indoor use, the standard EF version produces excellent results at half the price.
If you’re on a tighter budget and shooting Canon EF, the non-L macro is one of the stronger value propositions in the entire Canon lineup. For other systems, Tamron and Sigma both make highly competitive 90mm and 105mm macro options that undercut first-party pricing significantly while delivering comparable sharpness.
My Take: Check the Used Market First
I’ve bought three macro lenses in the past two years through KEH and eBay. Macro lenses tend to hold up well mechanically because they don’t get the same daily abuse as a workhorse zoom. A used Canon 100mm non-L in “bargain” condition from KEH can drop well under $200 and perform nearly identically to a new copy. That’s the entry point I’d recommend for anyone who wants to test the category before committing. Run it for 60 days across your normal shooting, and if you’re not finding uses for it, you sell it for close to what you paid. The risk is low. The upside, based on my own shooting, is significant.
The real lesson from McKinnon’s video is simple: don’t let a category name make your gear decisions for you. A macro lens is a 100mm prime that also focuses close - and that combination is useful in more shooting situations than most people realize. If you want to see his full breakdown including the footage examples and his specific gear recommendations, go watch it directly: Watch the full tutorial on YouTube.
Comments (1)
The tip about the macro lens is the most und was the missing piece for me. Thank you.
Leave a Comment