If you’ve ever pulled into Arches National Park with a small window of time and absolutely no idea which direction to point your camera, you already know the problem. The park is massive, the light doesn’t wait, and driving around hoping to stumble onto something iconic is a real way to blow your entire golden hour. I’ve made that mistake in places like Rocky Mountain National Park, burned 45 minutes on a dirt road, and come back with nothing worth keeping. Location scouting intel from someone who has already done the legwork is genuinely worth more than a new lens most days.
In this The Slanted Lens tutorial, Watch the full tutorial on YouTube, the creator breaks down one specific, high-yield area of Arches National Park for photographers working with limited time. No fluff, no gear worship. Just where to go and how to work it. I’m pulling out the practical steps here so you can walk in with a plan.
The core idea is simple: if you only have 30 minutes to an hour and you want a genuinely strong arch photograph, one area of the park delivers multiple compositions in a compact space. That’s the kind of efficiency I think about constantly, especially when I’m shooting somewhere new and I can’t afford to waste a single light window.
Step 1: Head Straight to the Windows Area
 Arriving at the Windows area in morning light
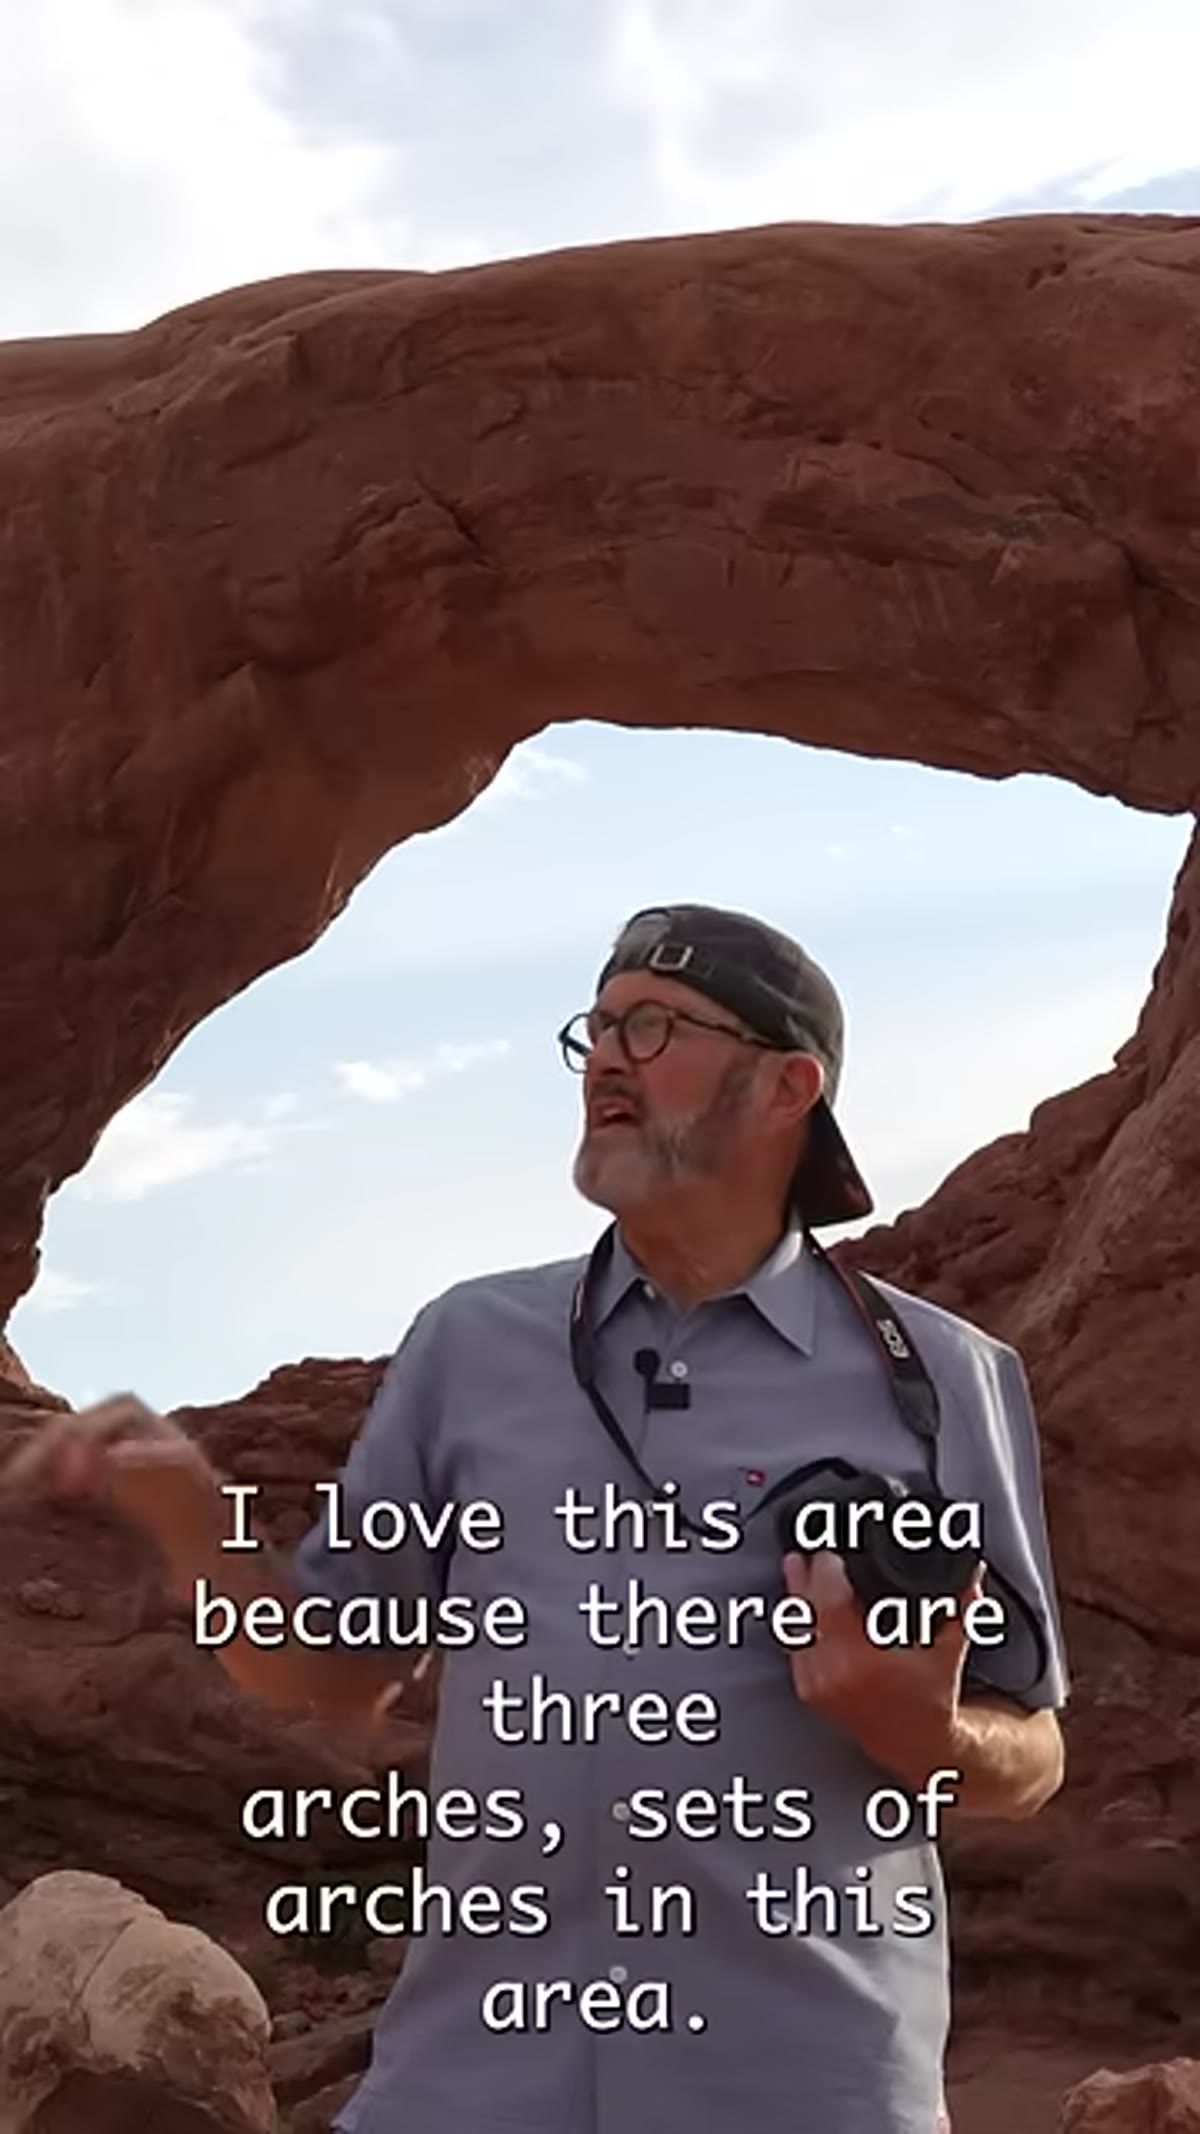
The Windows section is the move if you’re short on time. What makes it worth prioritizing over other parts of the park is density. You get three distinct arch formations within close walking distance of each other, which means you can pivot between compositions without burning time on a drive. For anyone doing a single-day visit or working around a packed travel itinerary, that concentration of subject matter is hard to beat. Arrive early. The soft directional light before and just after sunrise is when this area earns its reputation.
Arriving at the Windows area in morning light
The Windows section is the move if you’re short on time. What makes it worth prioritizing over other parts of the park is density. You get three distinct arch formations within close walking distance of each other, which means you can pivot between compositions without burning time on a drive. For anyone doing a single-day visit or working around a packed travel itinerary, that concentration of subject matter is hard to beat. Arrive early. The soft directional light before and just after sunrise is when this area earns its reputation.
Step 2: Walk Through North Window and Position Behind It
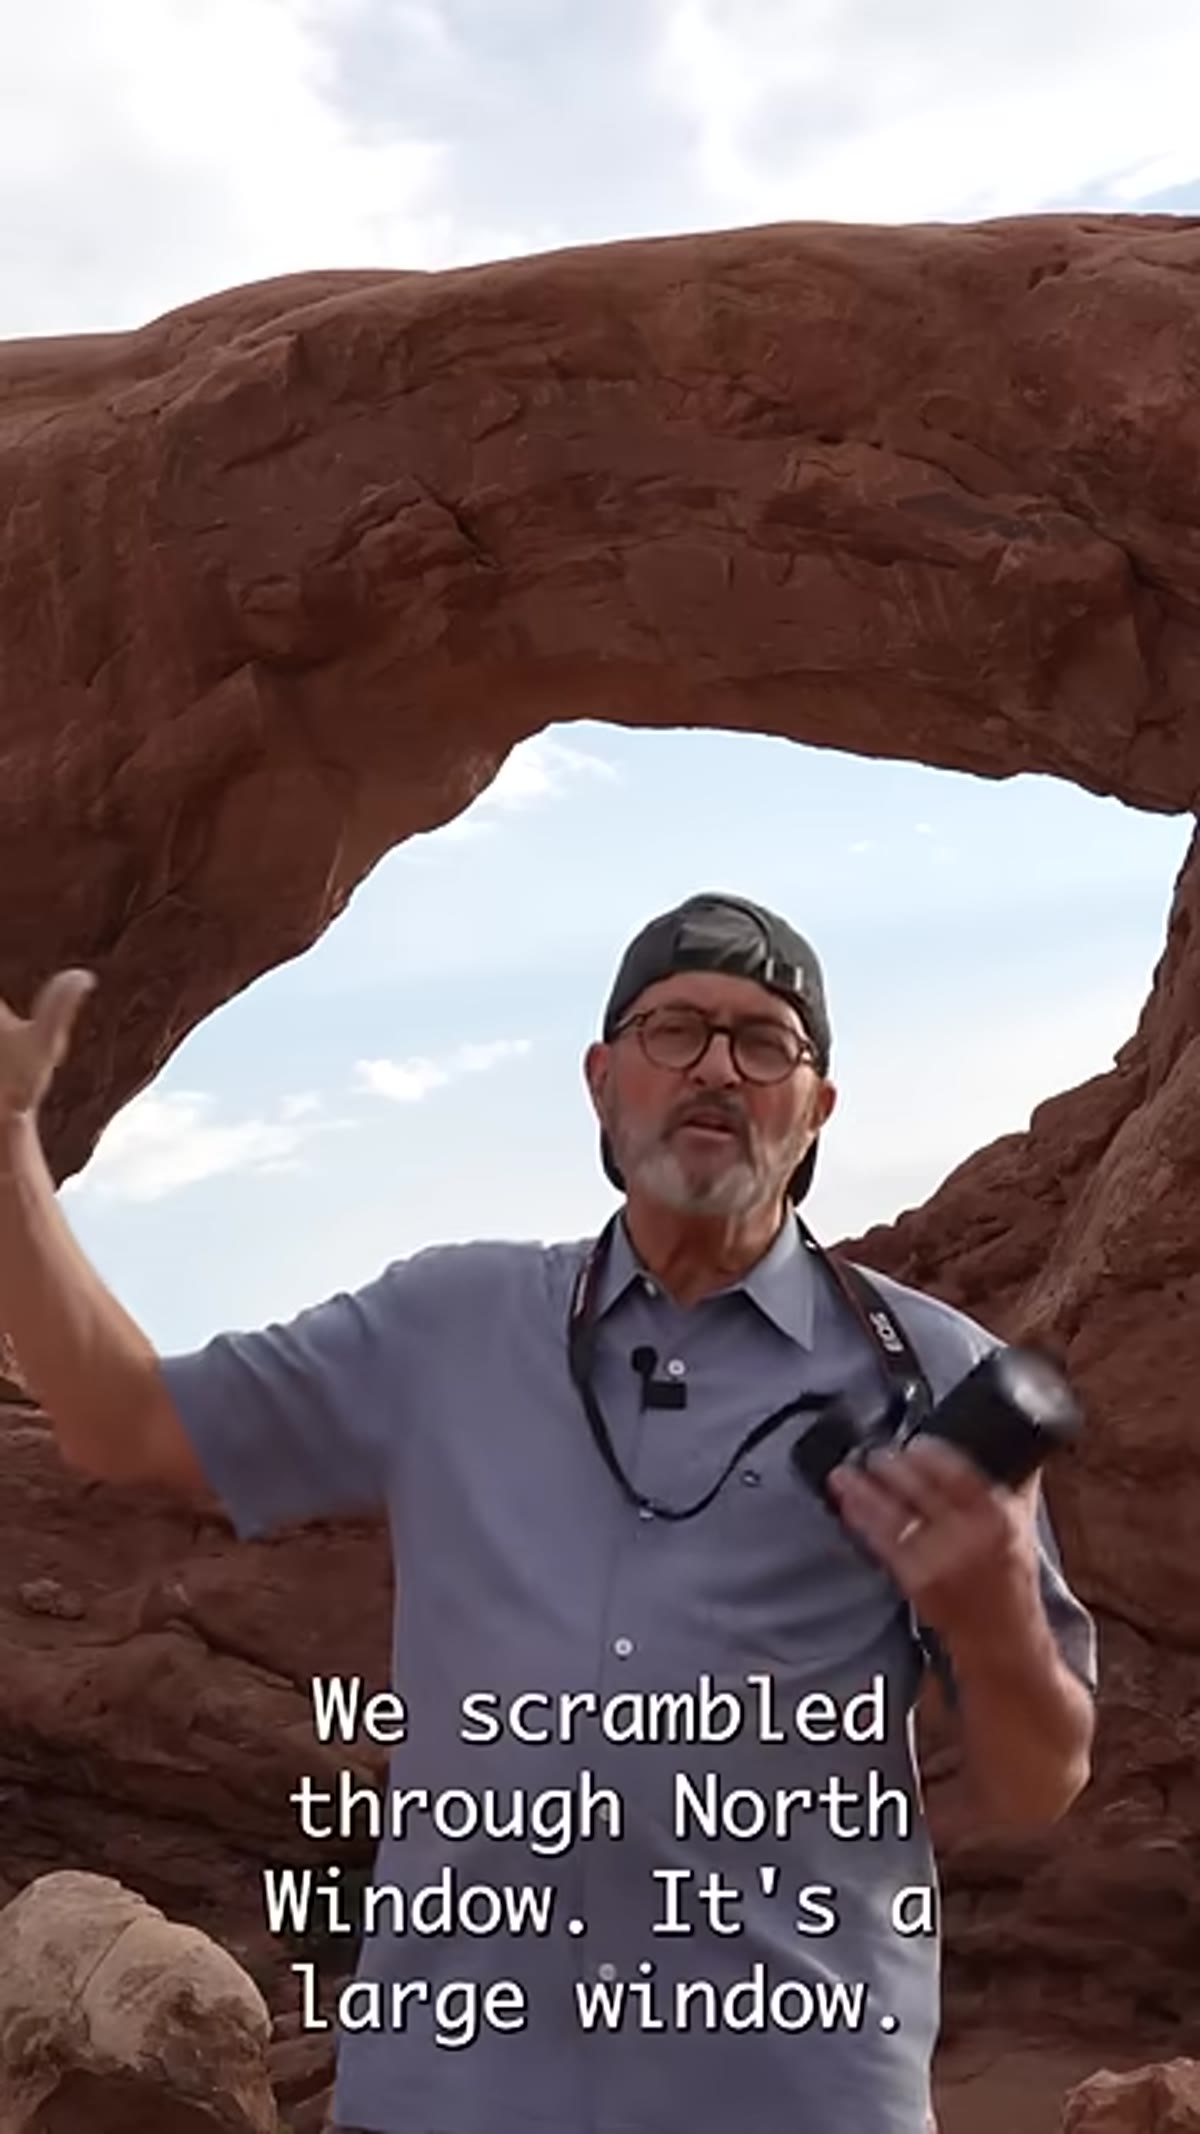 Scrambling through North Window toward the rocks beyond
North Window is the main draw and it will be crowded at sunrise. Tourists arrive specifically to sit inside the arch and watch the sun come up, which sounds picturesque but also means the arch itself is full of people if you try to shoot it straight on. The better move, which The Slanted Lens demonstrates here, is to pass through the arch entirely. Once you’re on the other side, head left and scramble up onto the rocks. You’re not going far. You’re getting elevated just enough to reframe the shot so that North Window becomes your foreground frame rather than your subject.
Scrambling through North Window toward the rocks beyond
North Window is the main draw and it will be crowded at sunrise. Tourists arrive specifically to sit inside the arch and watch the sun come up, which sounds picturesque but also means the arch itself is full of people if you try to shoot it straight on. The better move, which The Slanted Lens demonstrates here, is to pass through the arch entirely. Once you’re on the other side, head left and scramble up onto the rocks. You’re not going far. You’re getting elevated just enough to reframe the shot so that North Window becomes your foreground frame rather than your subject.
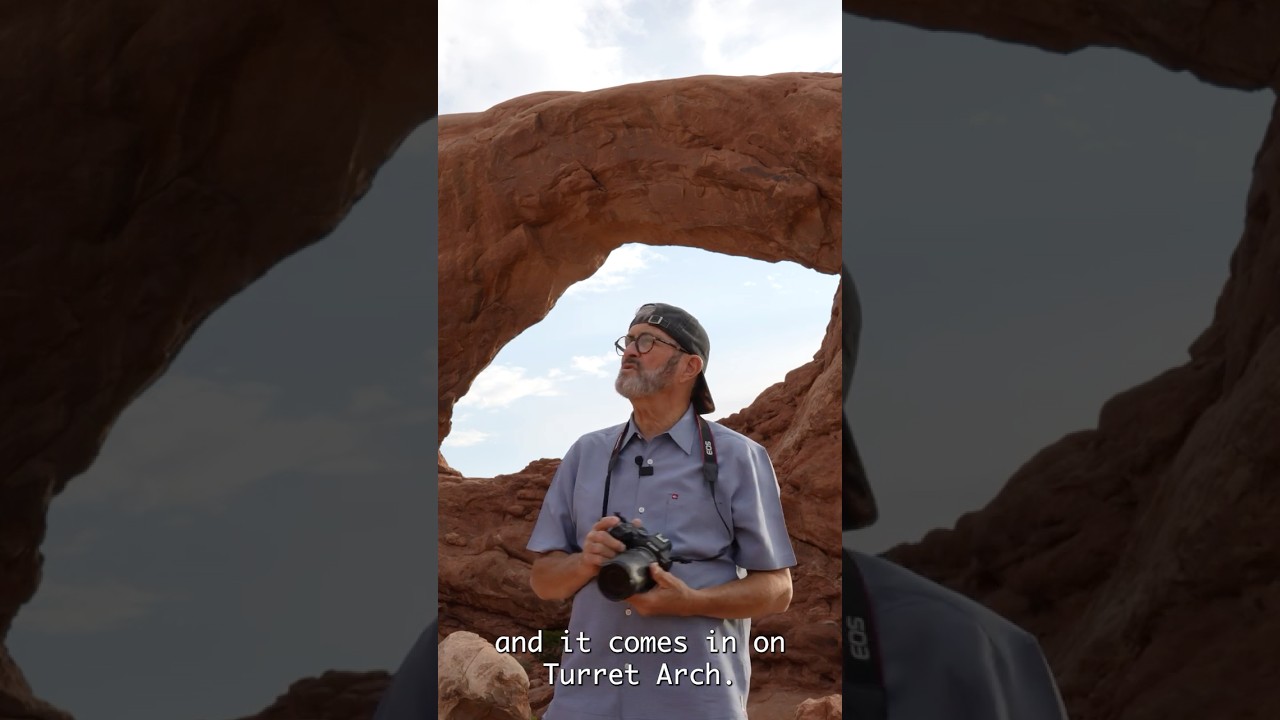
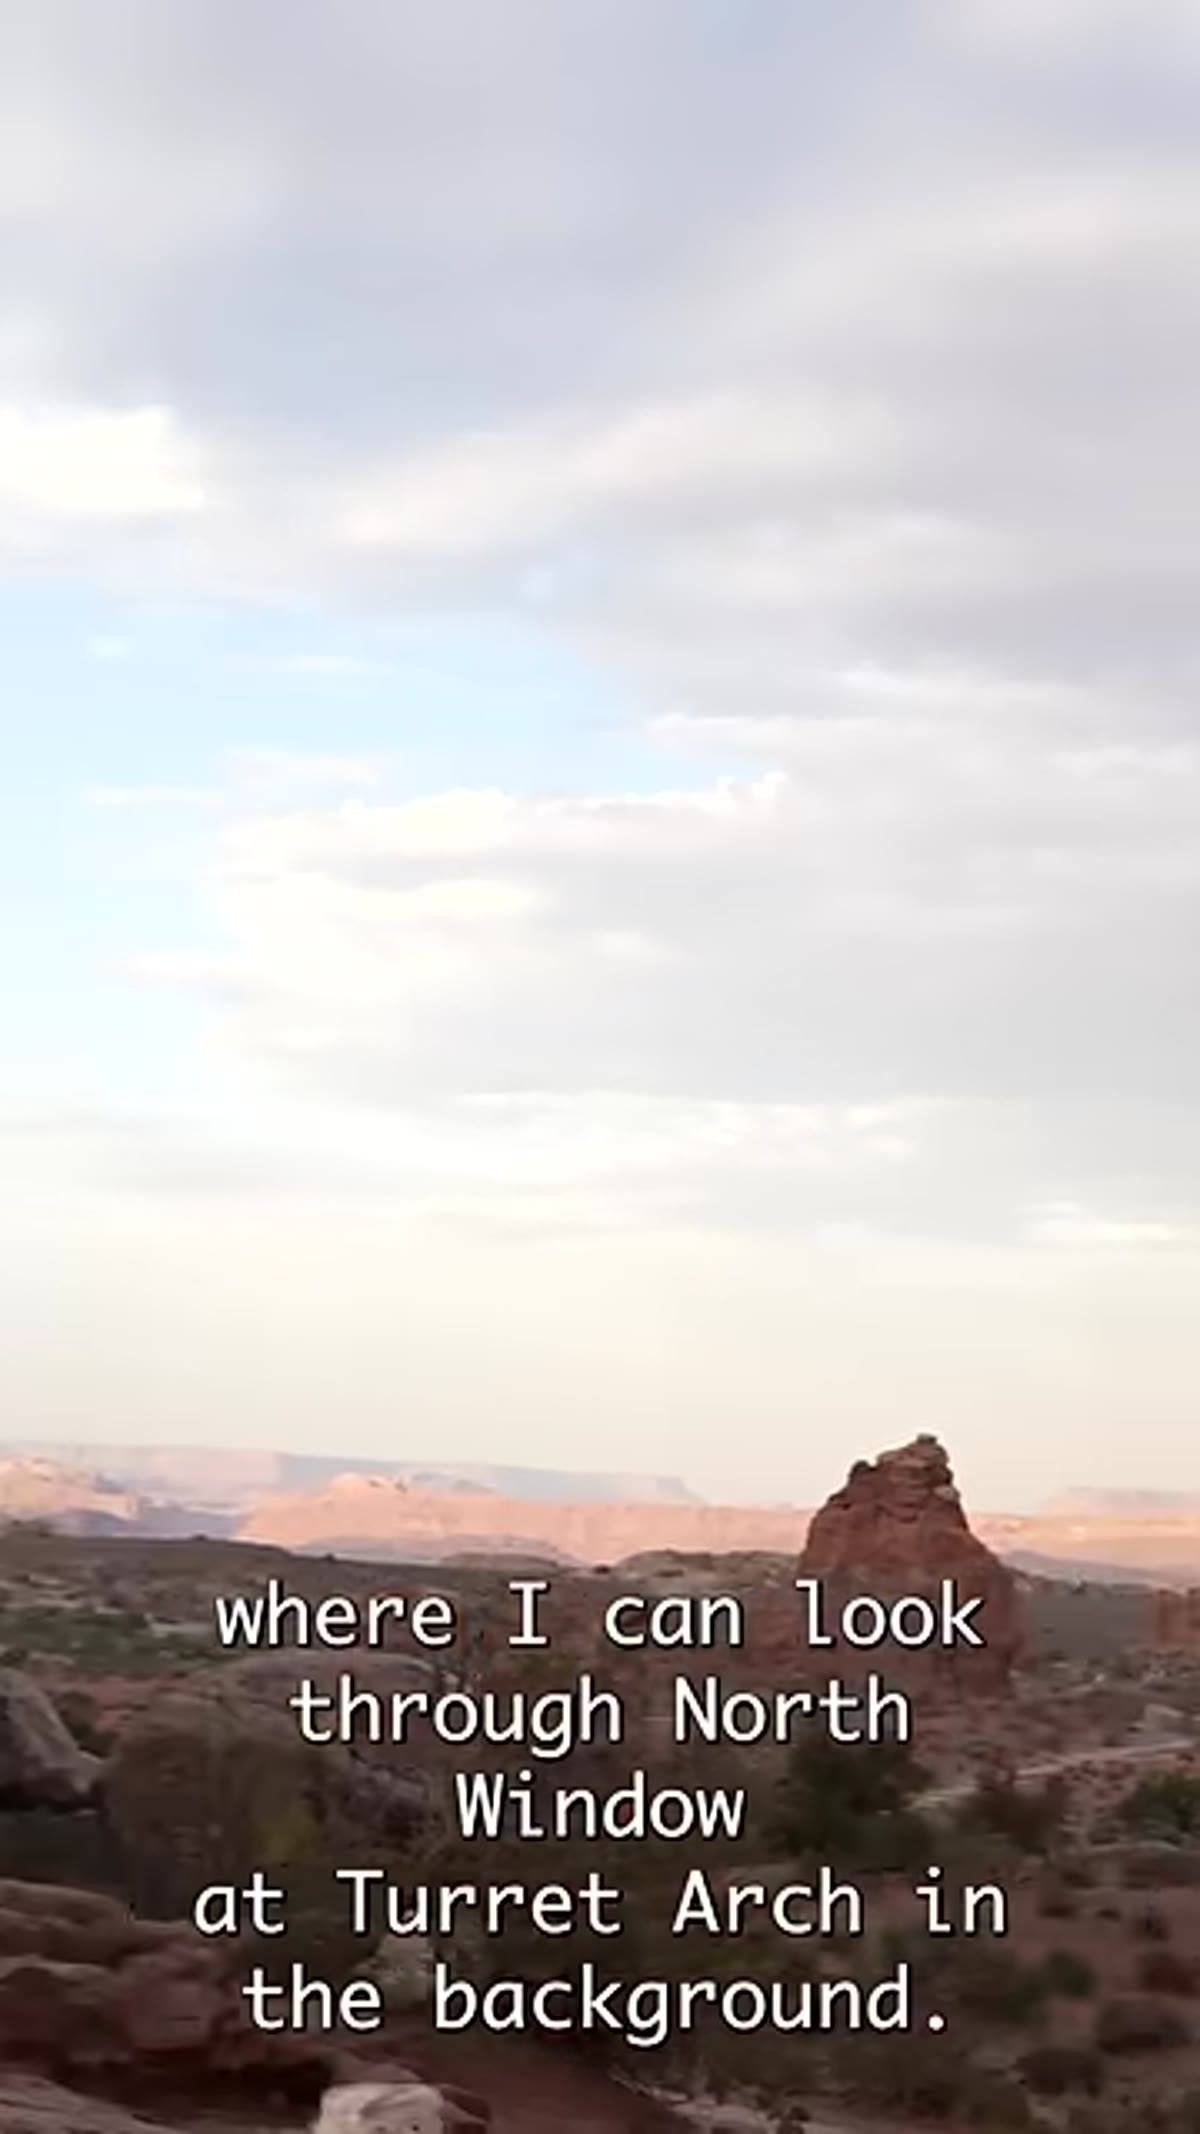
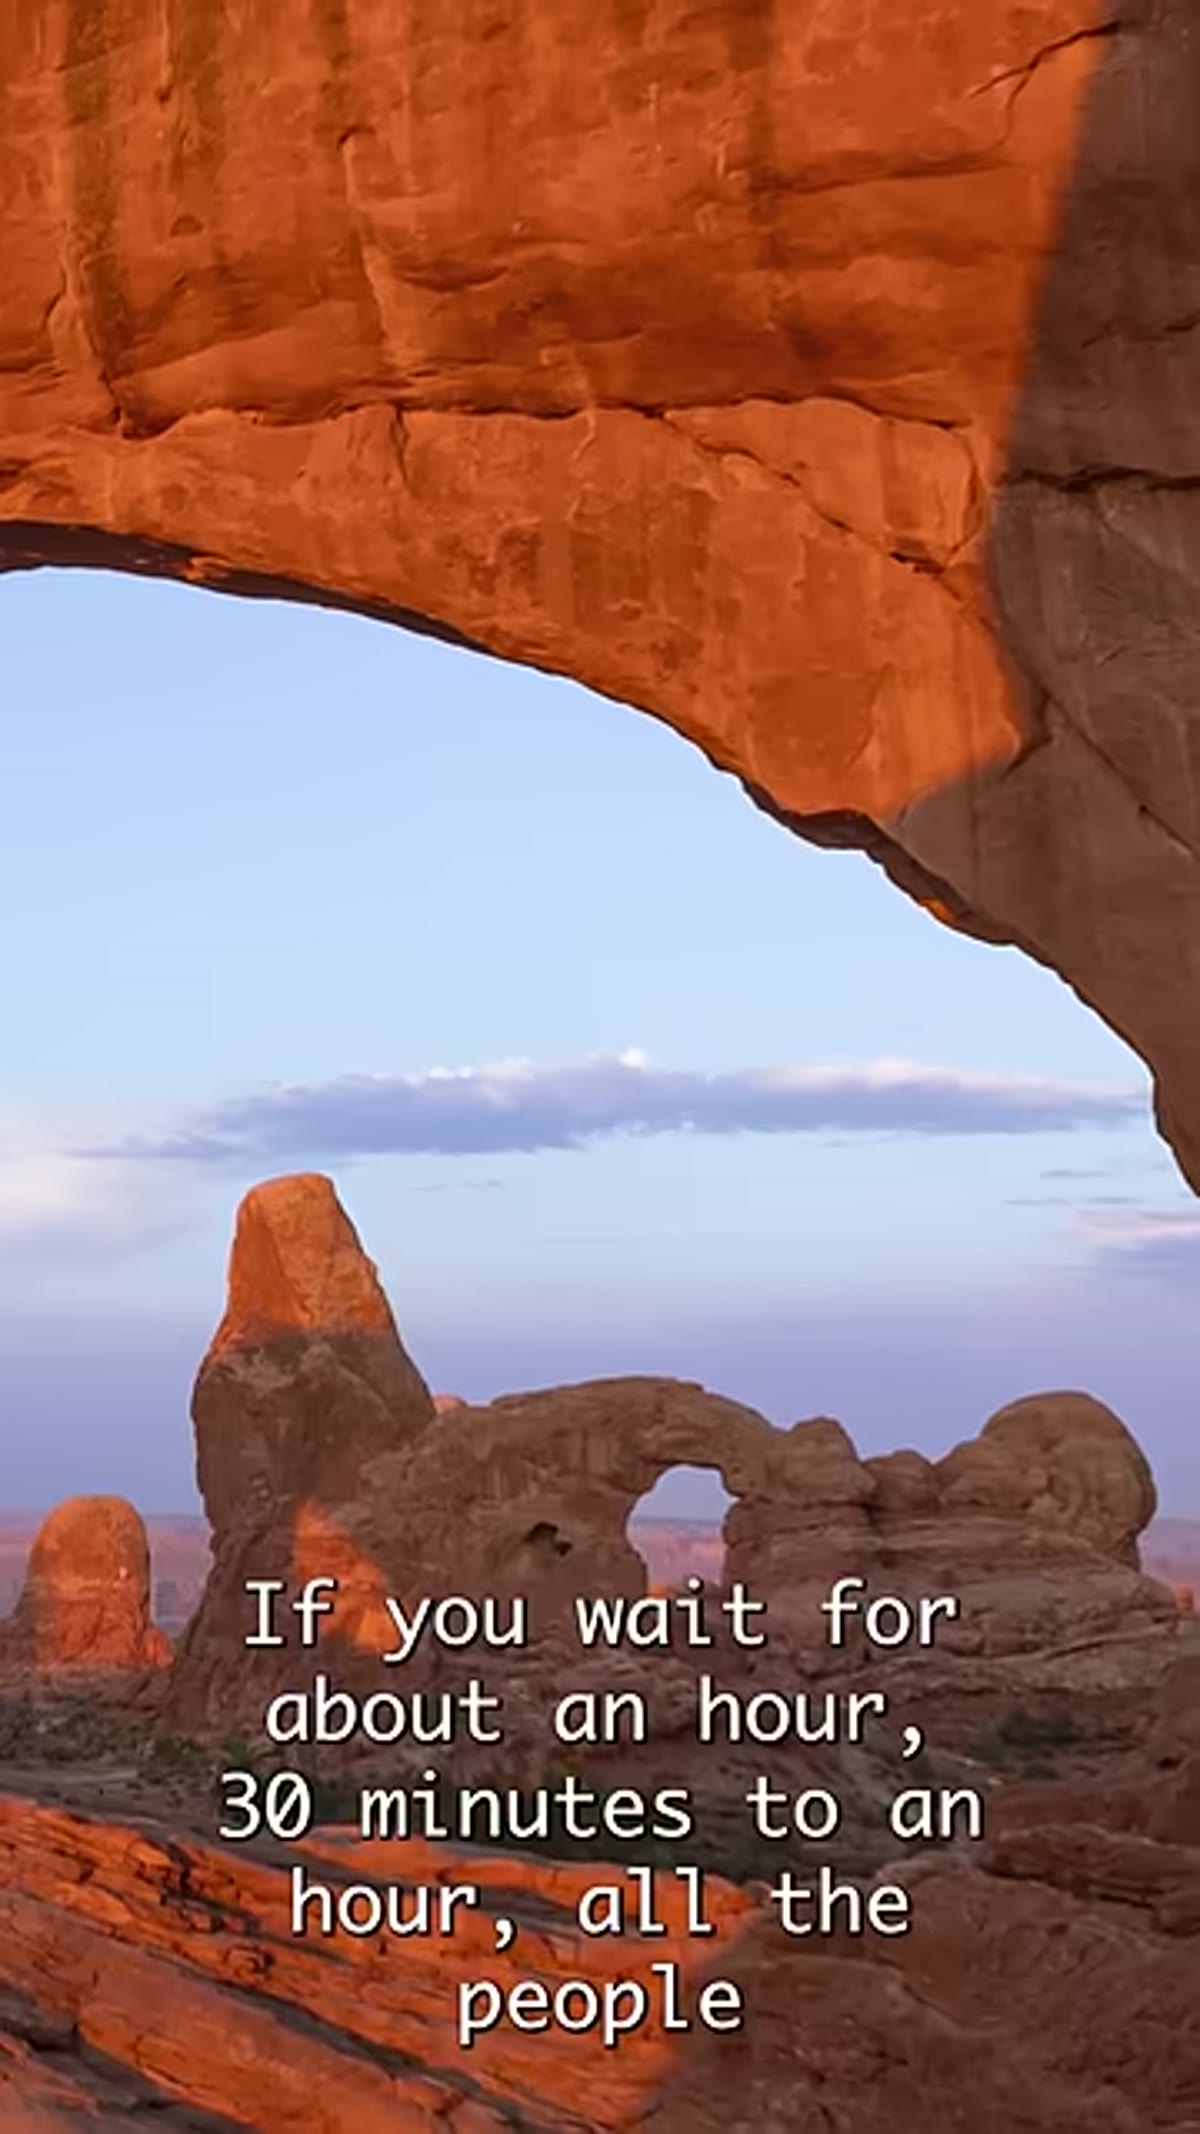
Step 3: Frame Turret Arch Through North Window
 North Window framing Turret Arch in the background
This is the composition the spot is known for among photographers who have done their homework. From your elevated position behind and slightly above North Window, you’re shooting back through the arch opening with Turret Arch sitting in the background. Arch inside arch. It’s a layered image with a natural frame built right into the landscape. Use a focal length that keeps both arches sharp and in frame, something in the 24-50mm range depending on your exact position. Stop down to f/8 or f/11 to hold depth of field across the foreground arch edge and the background arch simultaneously.
North Window framing Turret Arch in the background
This is the composition the spot is known for among photographers who have done their homework. From your elevated position behind and slightly above North Window, you’re shooting back through the arch opening with Turret Arch sitting in the background. Arch inside arch. It’s a layered image with a natural frame built right into the landscape. Use a focal length that keeps both arches sharp and in frame, something in the 24-50mm range depending on your exact position. Stop down to f/8 or f/11 to hold depth of field across the foreground arch edge and the background arch simultaneously.
Step 4: Understand the Seasonal Light Difference on Turret Arch
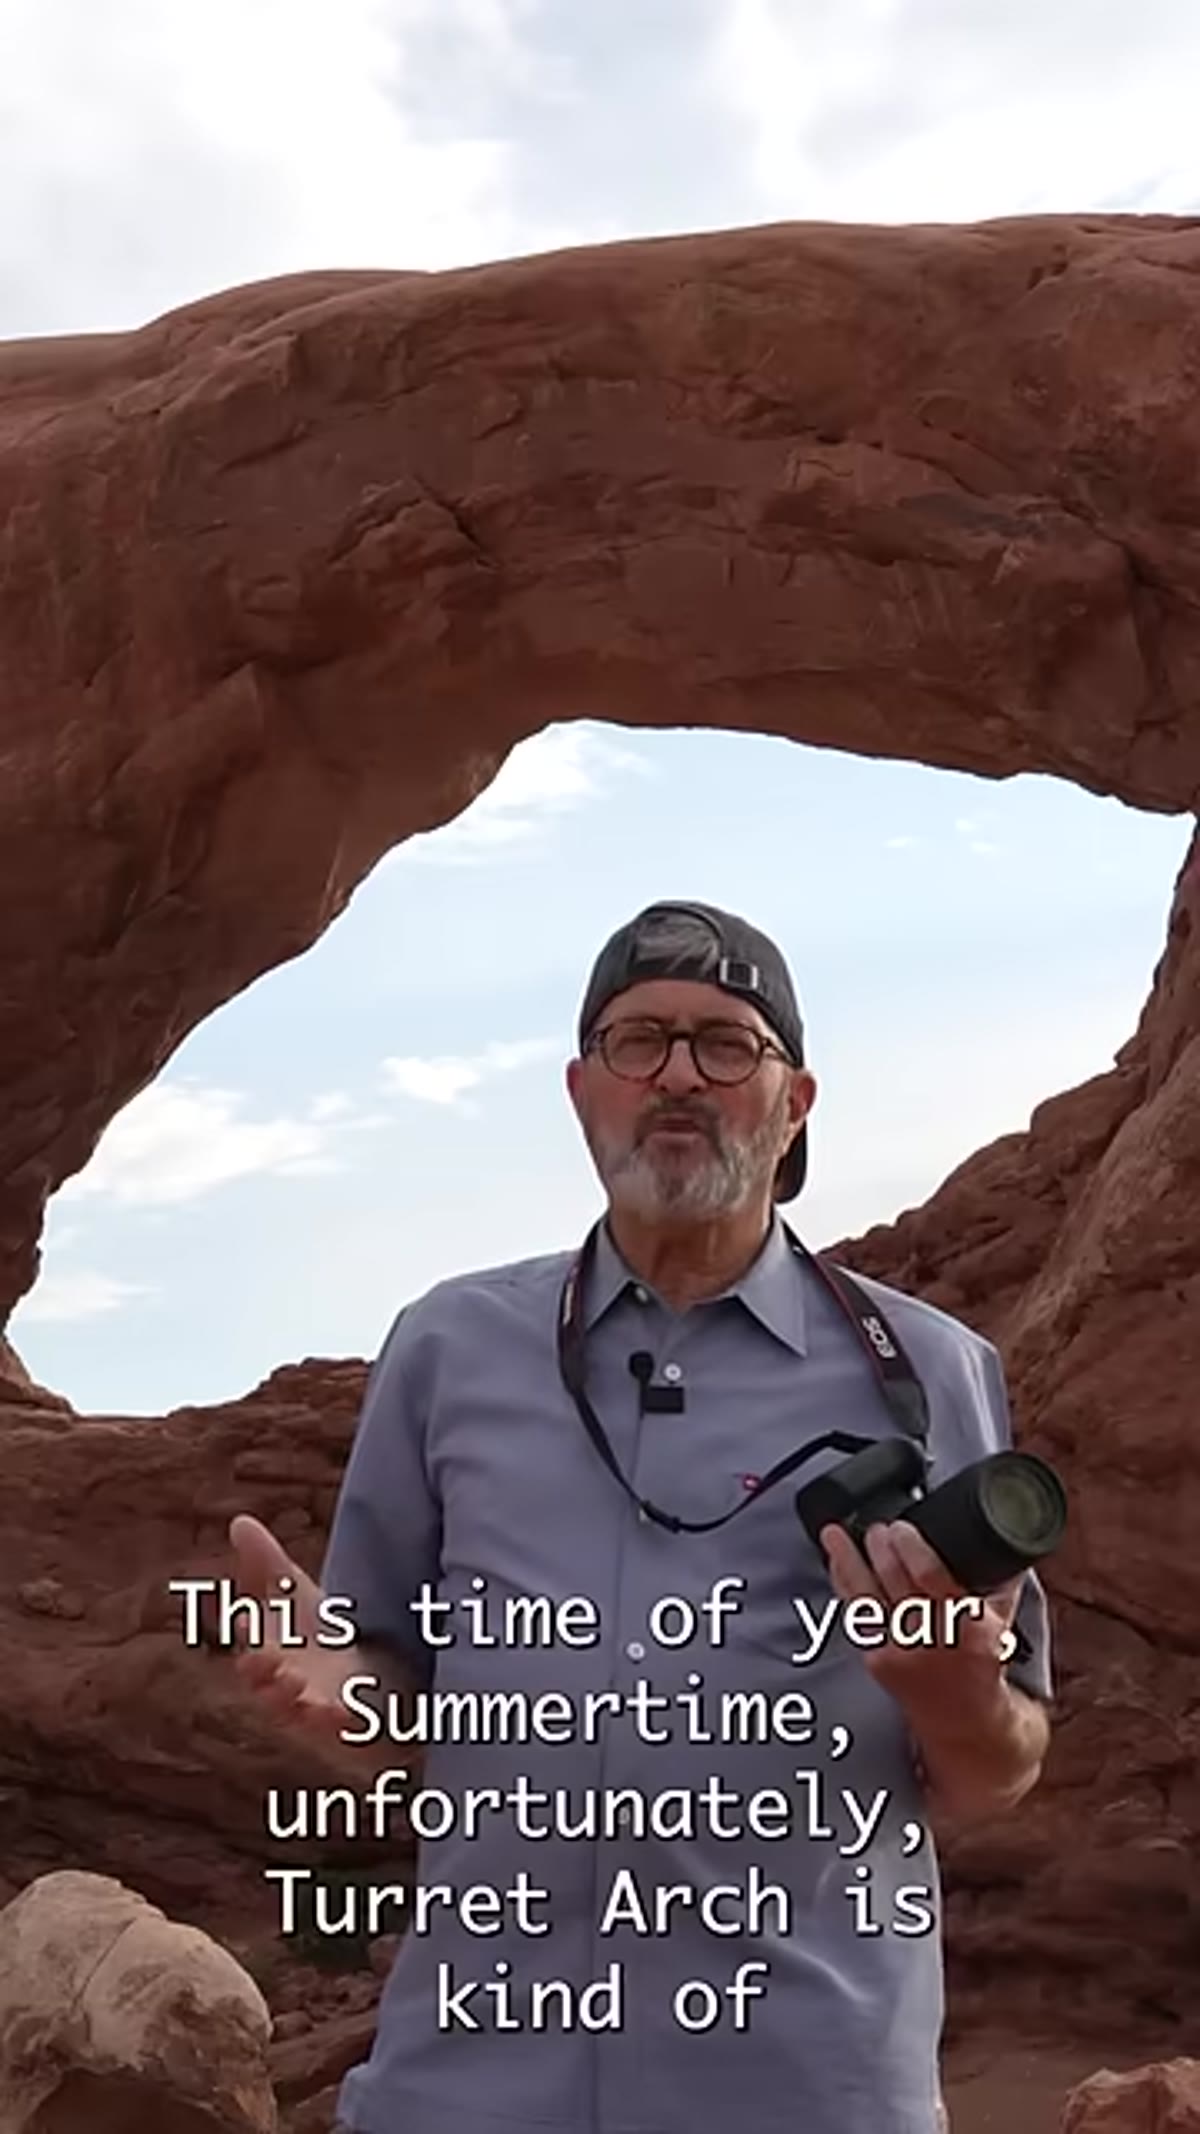 Demonstrating shadow coverage on Turret Arch in summer
Here’s the thing nobody tells you before you book a summer trip: in summer, Turret Arch sits in the shadow of North and South Window Arch during the early morning hours. The geometry of the sun’s path means the foreground arches block direct light from reaching Turret Arch at sunrise. You’ll still get a workable shot, but there will be heavy contrast between the lit sky and the shaded background arch. In spring and fall, the sun swings around far enough that Turret Arch catches direct light while North Window frames it in relative darkness. That version of the shot, warm light on the background arch with a glowing but shadowed frame in front, is the one you’ve probably seen in magazines. If you can control when you visit, shoulder seasons win.
Demonstrating shadow coverage on Turret Arch in summer
Here’s the thing nobody tells you before you book a summer trip: in summer, Turret Arch sits in the shadow of North and South Window Arch during the early morning hours. The geometry of the sun’s path means the foreground arches block direct light from reaching Turret Arch at sunrise. You’ll still get a workable shot, but there will be heavy contrast between the lit sky and the shaded background arch. In spring and fall, the sun swings around far enough that Turret Arch catches direct light while North Window frames it in relative darkness. That version of the shot, warm light on the background arch with a glowing but shadowed frame in front, is the one you’ve probably seen in magazines. If you can control when you visit, shoulder seasons win.
Step 5: Wait Out the Sunrise Crowd for a Cleaner Shot
 The arch area with fewer visitors after sunrise crowds leave
This is straightforward crowd management, but it’s worth stating clearly because most people do the opposite. The tourists who come for the sunrise experience are typically gone within 30 to 60 minutes after the sun clears the horizon. If you arrive at first light, work your compositions while the crowds are present, and then hold your position or loop back after an hour, you’ll often find the space nearly empty. At that point, Turret Arch is picking up enough ambient and reflected light to read clearly in the background year-round. The arch-inside-arch composition works in all seasons once the light balance between foreground and background settles out. Patience here costs you nothing except a little time, and the payoff is a frame without strangers sitting in your shot.
The arch area with fewer visitors after sunrise crowds leave
This is straightforward crowd management, but it’s worth stating clearly because most people do the opposite. The tourists who come for the sunrise experience are typically gone within 30 to 60 minutes after the sun clears the horizon. If you arrive at first light, work your compositions while the crowds are present, and then hold your position or loop back after an hour, you’ll often find the space nearly empty. At that point, Turret Arch is picking up enough ambient and reflected light to read clearly in the background year-round. The arch-inside-arch composition works in all seasons once the light balance between foreground and background settles out. Patience here costs you nothing except a little time, and the payoff is a frame without strangers sitting in your shot.
One Thing I’d Add: Shoot the Transition Light, Not Just the Peak
The tutorial nails the location and the timing, and I want to extend one piece of it from my own experience shooting in high-contrast environments. The moment most people pack up, right when the golden hour shifts into harsher mid-morning light, is actually worth a few extra frames. At Arches specifically, the warm rock tones hold up longer than you’d expect under slightly elevated sun angles. I’ve pulled usable images from 45 minutes past sunrise that I initially thought were a write-off when I was reviewing them on the back screen. Expose for the highlights and pull detail back in post. With a halfway decent kit, even a budget mirrorless body, you’ve got enough dynamic range to work with if the composition is solid. The gear isn’t the variable here. The location knowledge is.
The single most transferable idea in this tutorial is the framing-within-a-frame technique applied to a real, accessible location. You don’t need a drone, you don’t need a permit, and you don’t need a $3,000 wide-angle prime. You need to know to walk through the arch and climb left. That’s it. The rest is showing up with enough time to work the light.
Watch the full tutorial on YouTube to see The Slanted Lens walk through the Windows area in real time and get a feel for the terrain before your visit.
Comments (4)
The before and after really sells it. Incredible difference.
Love how you break down complex stuff into manageable steps.
Printing this out and pinning it next to my monitor. That good.
Simple but effective. Sometimes that's all you need.
Leave a Comment