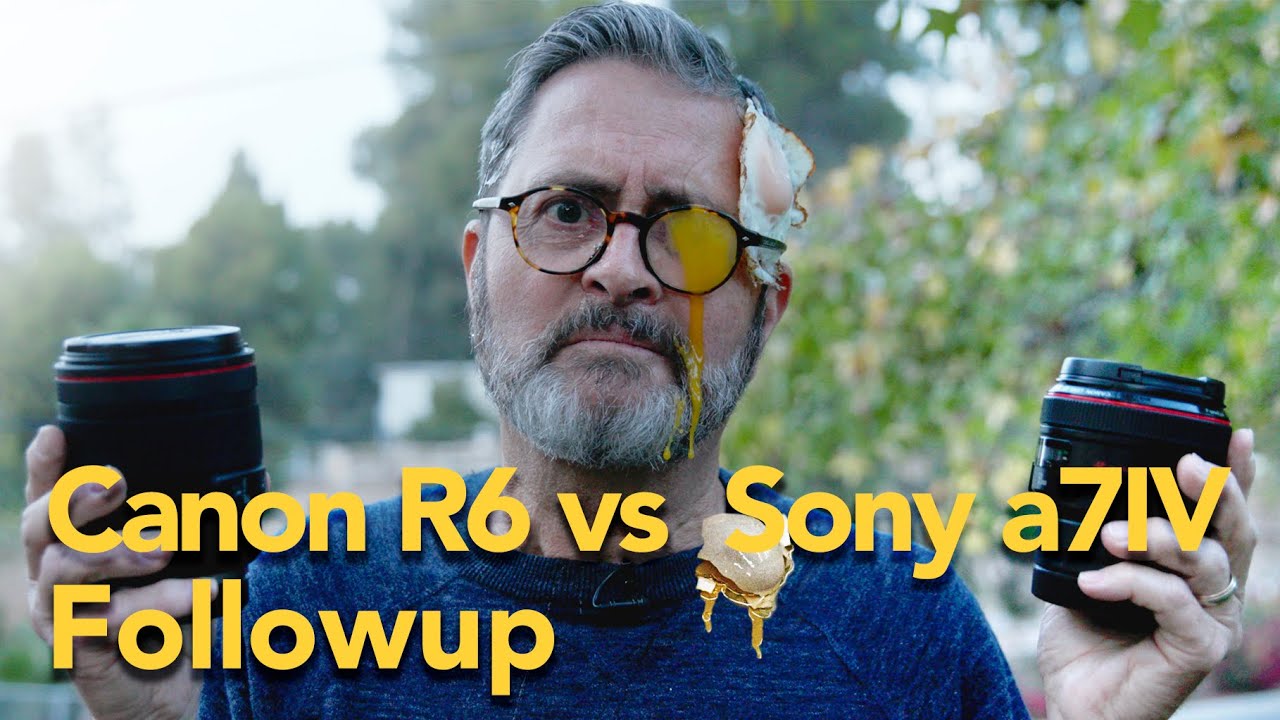
I run a blind test at almost every local photo meetup I attend. I hand people two prints, cover the EXIF, and ask which one came from the expensive camera. More often than not, people pick wrong. The point isn’t that gear doesn’t matter. It’s that the specific gear choice matters a lot more than the price of the gear. That lesson is exactly why a recent follow-up tutorial from The Slanted Lens caught my attention and honestly made me rethink some assumptions I had been carrying around.
Watch the full tutorial on YouTube
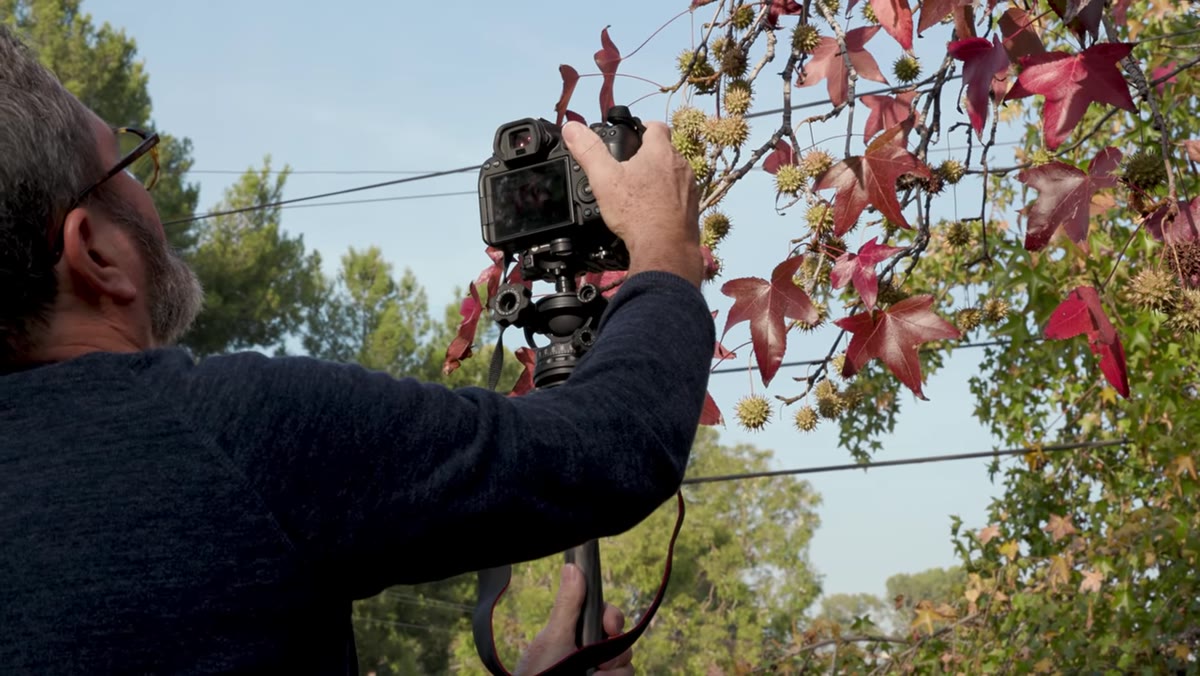
In this The Slanted Lens tutorial, Jay P. Morgan revisits his earlier Canon R6 versus Sony a7 IV comparison after significant viewer pushback. The original shootout used an EF 50mm f/1.2 lens on the R6 via adapter rather than the native RF 50mm f/1.2. Viewers called it an unfair fight, and honestly, they had a point. This follow-up corrects that by testing both bodies with the sharpest native glass available for each system. What comes out of it is a genuinely useful, more honest data set, and it surfaces some practical conclusions that affect how I think about recommending either system to readers on a budget.
Step 1: Acknowledge the Variable That Broke the Original Test
 EF lens and RF lens side by side on table
Before you can trust any camera comparison, you have to audit the variables. The original review paired the Sony a7 IV with its native 50mm f/1.2 G Master while the R6 ran on an adapted EF 50mm f/1.2 instead of the native RF version. That adapter introduces optical compromises, and as this tutorial demonstrates, the performance gap between those two Canon lenses is not subtle. If you are ever setting up your own comparison tests, start by listing every variable that could skew the result, and then eliminate as many as you reasonably can. Lens generation is one of the first things to check.
EF lens and RF lens side by side on table
Before you can trust any camera comparison, you have to audit the variables. The original review paired the Sony a7 IV with its native 50mm f/1.2 G Master while the R6 ran on an adapted EF 50mm f/1.2 instead of the native RF version. That adapter introduces optical compromises, and as this tutorial demonstrates, the performance gap between those two Canon lenses is not subtle. If you are ever setting up your own comparison tests, start by listing every variable that could skew the result, and then eliminate as many as you reasonably can. Lens generation is one of the first things to check.
Step 2: Test the EF vs. RF 50mm 1.2 Back-to-Back First
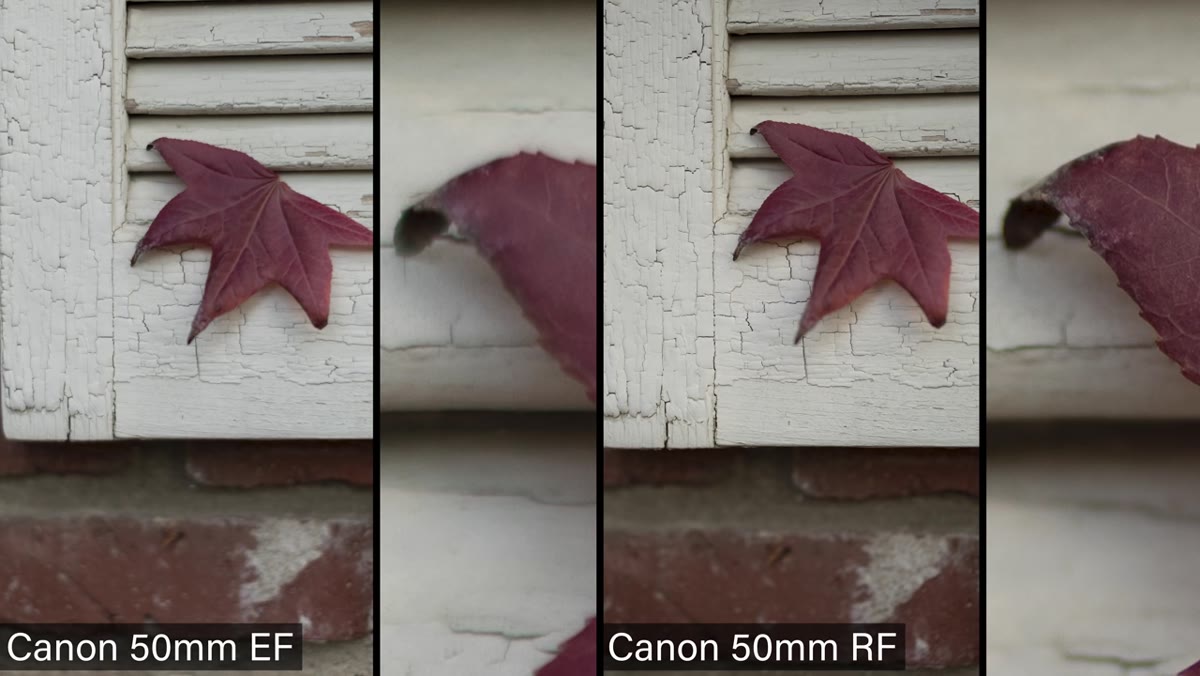
 Brick wall test shot split screen EF versus RF
The tutorial runs a direct brick wall comparison between the EF and RF versions of the Canon 50mm f/1.2 before bringing Sony into the picture at all. This sequencing is smart and worth copying in your own tests. The RF lens is noticeably sharper, enough that Jay P. went and sourced a second EF copy to confirm the result wasn’t a fluke with a soft sample. It wasn’t. Both EF copies performed the same. Shooting a flat, textured surface like a brick wall under consistent light is a fast way to isolate optical sharpness without introducing subject or focus variables. Lock focus on a single point, use a tripod, and shoot at the aperture you plan to use in real work.
Brick wall test shot split screen EF versus RF
The tutorial runs a direct brick wall comparison between the EF and RF versions of the Canon 50mm f/1.2 before bringing Sony into the picture at all. This sequencing is smart and worth copying in your own tests. The RF lens is noticeably sharper, enough that Jay P. went and sourced a second EF copy to confirm the result wasn’t a fluke with a soft sample. It wasn’t. Both EF copies performed the same. Shooting a flat, textured surface like a brick wall under consistent light is a fast way to isolate optical sharpness without introducing subject or focus variables. Lock focus on a single point, use a tripod, and shoot at the aperture you plan to use in real work.
Step 3: Run the Cross-Brand Comparison With Native Glass on Both Sides
 R6 with RF lens versus a7 IV side by side comparison
With the EF variable removed, the tutorial reruns the core comparison: Canon R6 with the RF 50mm f/1.2 versus Sony a7 IV with the Sony 50mm f/1.2 G Master. Same test target, same methodology. This is the version of the test that actually tells you something useful. When you set up a cross-brand comparison yourself, the principle is the same. Use the best native lens available for each system, not whatever you happen to own or can borrow on short notice. If you can’t get native glass for one side, note that clearly in your results and treat the outcome as provisional.
R6 with RF lens versus a7 IV side by side comparison
With the EF variable removed, the tutorial reruns the core comparison: Canon R6 with the RF 50mm f/1.2 versus Sony a7 IV with the Sony 50mm f/1.2 G Master. Same test target, same methodology. This is the version of the test that actually tells you something useful. When you set up a cross-brand comparison yourself, the principle is the same. Use the best native lens available for each system, not whatever you happen to own or can borrow on short notice. If you can’t get native glass for one side, note that clearly in your results and treat the outcome as provisional.
Step 4: Read the Sharpness Result in Context, Not Isolation
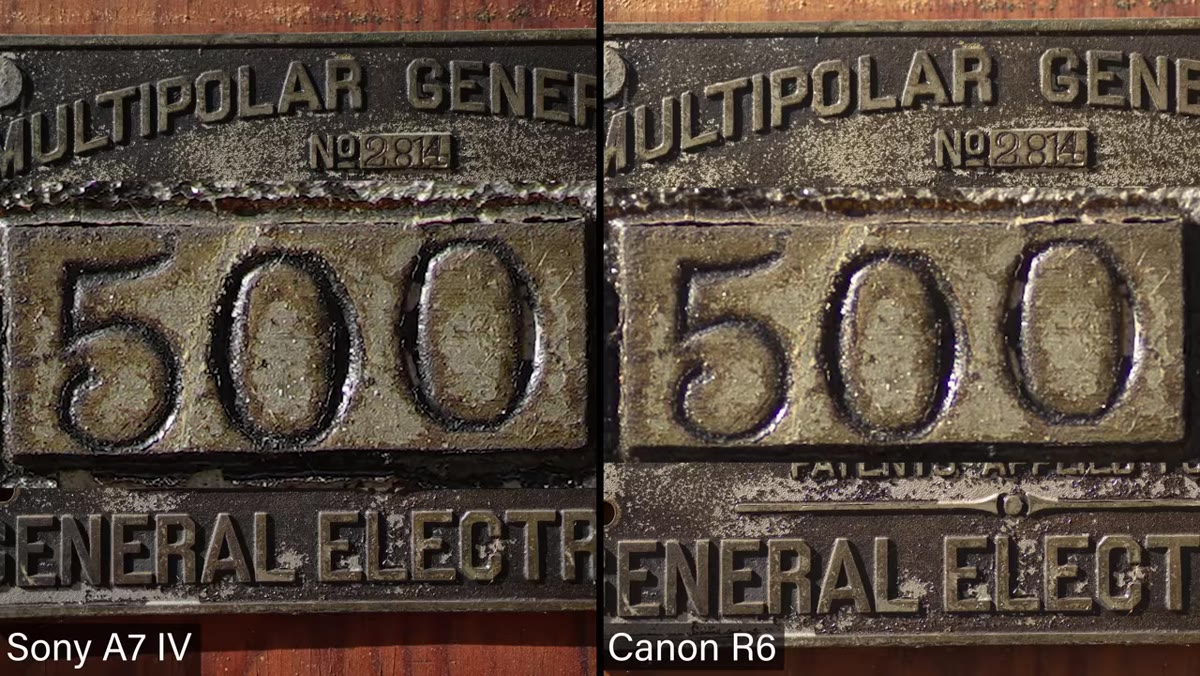
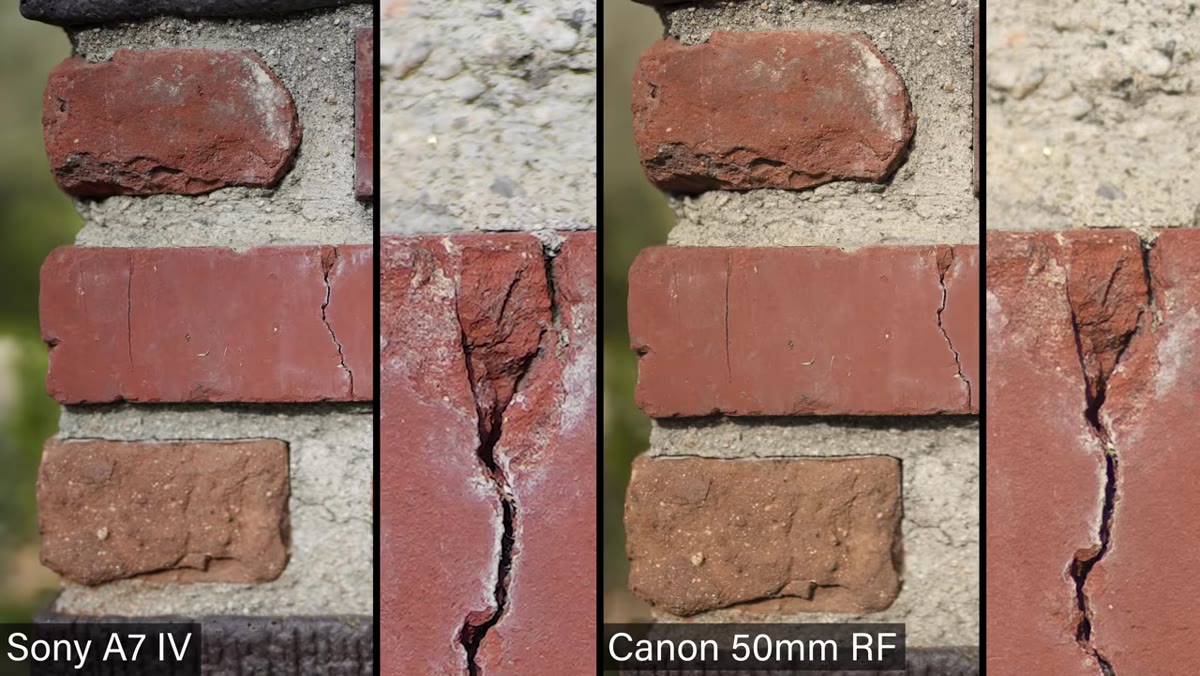 Close crop showing Sony resolving finer detail on test plate
Even with the RF lens correcting the earlier imbalance, the Sony a7 IV still resolves slightly more detail. The tutorial is careful to explain why, and this is the part most gear reviewers gloss over. The R6 carries a 20 megapixel sensor while the a7 IV sits at 33 megapixels. More pixels means more detail per inch when you crop in, regardless of how sharp the lens is. The optical quality of both 50mm lenses at this level is high enough that the remaining sharpness gap is almost certainly a sensor resolution story, not a glass story. When you read comparison results, always ask whether the difference you’re seeing could be explained by sensor resolution alone before you draw conclusions about lens quality.
Close crop showing Sony resolving finer detail on test plate
Even with the RF lens correcting the earlier imbalance, the Sony a7 IV still resolves slightly more detail. The tutorial is careful to explain why, and this is the part most gear reviewers gloss over. The R6 carries a 20 megapixel sensor while the a7 IV sits at 33 megapixels. More pixels means more detail per inch when you crop in, regardless of how sharp the lens is. The optical quality of both 50mm lenses at this level is high enough that the remaining sharpness gap is almost certainly a sensor resolution story, not a glass story. When you read comparison results, always ask whether the difference you’re seeing could be explained by sensor resolution alone before you draw conclusions about lens quality.
Step 5: Factor in Color Rendering as a Practical Workflow Consideration
 Side by side color rendering Sony neutral Canon warmer
The comparison also surfaces a consistent color character difference between the two systems. The Sony output reads cooler and more neutral. The Canon skews slightly warmer. Neither is wrong, but they are different enough to notice without pixel-peeping, and that difference matters if you are mixing footage or stills from both systems in a single project or color-matching across a client delivery. If you’re testing cameras for purchase, include a color rendering check in your workflow. Shoot a color checker or a known reference, and decide whether each camera’s default output fits your editing style or requires correction time you weren’t budgeting.
Side by side color rendering Sony neutral Canon warmer
The comparison also surfaces a consistent color character difference between the two systems. The Sony output reads cooler and more neutral. The Canon skews slightly warmer. Neither is wrong, but they are different enough to notice without pixel-peeping, and that difference matters if you are mixing footage or stills from both systems in a single project or color-matching across a client delivery. If you’re testing cameras for purchase, include a color rendering check in your workflow. Shoot a color checker or a known reference, and decide whether each camera’s default output fits your editing style or requires correction time you weren’t budgeting.
Step 6: Make the Megapixel Decision Based on Your Actual Use Case
 Presenter discussing megapixel tradeoffs for print and crop use
The tutorial lands on a clear personal conclusion: the 20 megapixel ceiling on the R6 is a real limitation for anyone who needs to crop aggressively or deliver large prints. Wildlife photographers, anyone shooting for billboard or large-format print, or photographers who prefer to frame loosely and crop in post will feel that constraint. If your primary output is web, social, or standard print sizes and your subjects cooperate with tight framing, 20 megapixels may genuinely be enough. This is a decision you should make before you buy, not after. Pull up your last 50 deliverables and check what percentage involved heavy cropping. That number tells you more than any benchmark chart.
Presenter discussing megapixel tradeoffs for print and crop use
The tutorial lands on a clear personal conclusion: the 20 megapixel ceiling on the R6 is a real limitation for anyone who needs to crop aggressively or deliver large prints. Wildlife photographers, anyone shooting for billboard or large-format print, or photographers who prefer to frame loosely and crop in post will feel that constraint. If your primary output is web, social, or standard print sizes and your subjects cooperate with tight framing, 20 megapixels may genuinely be enough. This is a decision you should make before you buy, not after. Pull up your last 50 deliverables and check what percentage involved heavy cropping. That number tells you more than any benchmark chart.
My Take: Budget the Lens Into the Body Price From Day One
I keep a running spreadsheet of every lens I have tested, and the single biggest pattern it reveals is that photographers routinely underestimate how much the lens shapes the final image. The R6 body is priced more accessibly than the a7 IV, but if a fair comparison requires the RF 50mm f/1.2, you need to factor that lens cost into the total system price. The RF 50mm f/1.2 retails around $2,300. That changes the math considerably compared to buying a used R6 body and assuming the adapted EF glass you already own will perform equivalently. When I evaluate any camera deal, I price the complete kit, not just the body. The body is just the back of the lens.
The single most useful thing this tutorial demonstrates is that testing methodology determines what you actually learn. Use a bad variable, get a bad answer. Correct the variable, get a clearer picture. The R6 is a genuinely capable camera with excellent autofocus and strong ergonomics. The a7 IV’s sensor resolution advantage is real and consistent across fair tests. Neither conclusion changes the other.
Watch the full tutorial on YouTube to see the actual side-by-side crops and judge the sharpness difference yourself. Some things are easier to evaluate with your own eyes than any description can convey.
Comments
Leave a Comment