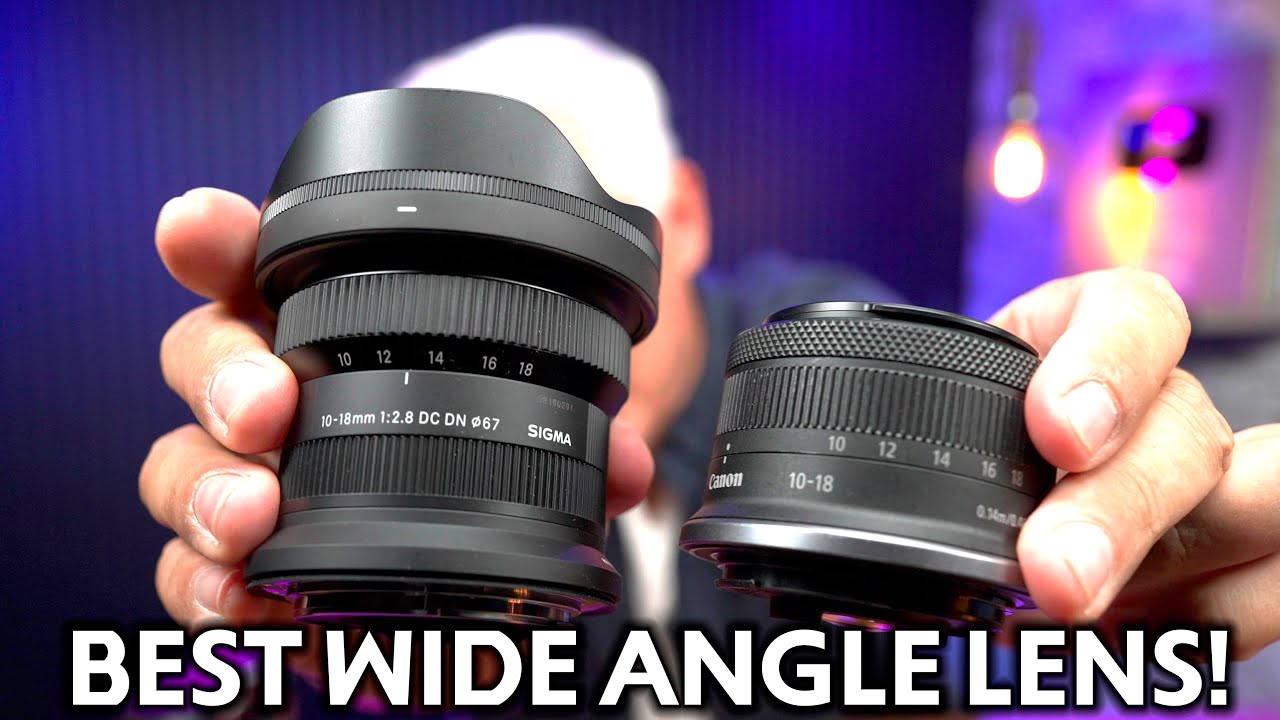
I’ve spent an embarrassing number of hours building spreadsheets that compare budget lenses side by side. Fast apertures, corner sharpness, autofocus reliability - I track all of it. So when a single lens shows up that checks nearly every box for APS-C shooters, I pay attention. That lens right now is the Sigma 10-18mm f/2.8, and the clearest breakdown I’ve seen of why it matters comes from Tony and Chelsea Northrup. Watch the full tutorial on YouTube before or after reading this - their real-world footage from Boston alone is worth your time.
The core problem this tutorial solves is one I hear constantly from APS-C shooters: low-light wide angle shots look noisy and soft, and everyone assumes the fix is buying a full-frame body. Tony dismantles that assumption directly. The real gap in most APS-C kits isn’t the sensor - it’s the slow kit-style wide lens sitting in front of it. This tutorial walks through exactly what changes when you swap to a faster option, and the difference is visible and immediate.
Step 1: Understand Why f/2.8 Changes Everything at Wide Angles
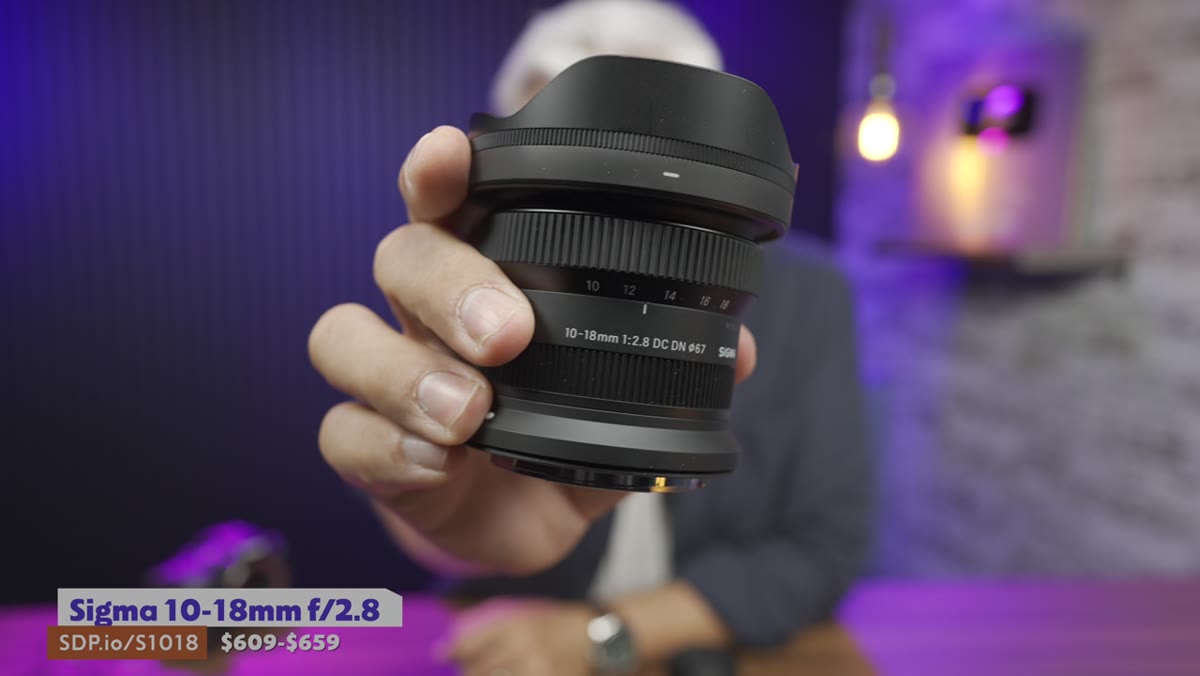 Side by side comparison of Canon 10-18 vs Sigma in dim restaurant lighting
Most wide zoom lenses for APS-C cameras top out around f/4.5 to f/6.3. That’s a significant handicap in anything less than bright daylight. The Sigma 10-18mm opens to f/2.8 across the entire zoom range, which translates to roughly two full stops of extra light - about four times the light-gathering capability compared to a variable aperture kit alternative. In a restaurant, a club, a dimly lit street at dusk, that difference is the gap between a clean image and a grainy mess. Tony demonstrates this live in a low-light interior, and the signal-to-noise improvement is not subtle.
Side by side comparison of Canon 10-18 vs Sigma in dim restaurant lighting
Most wide zoom lenses for APS-C cameras top out around f/4.5 to f/6.3. That’s a significant handicap in anything less than bright daylight. The Sigma 10-18mm opens to f/2.8 across the entire zoom range, which translates to roughly two full stops of extra light - about four times the light-gathering capability compared to a variable aperture kit alternative. In a restaurant, a club, a dimly lit street at dusk, that difference is the gap between a clean image and a grainy mess. Tony demonstrates this live in a low-light interior, and the signal-to-noise improvement is not subtle.
The practical takeaway here is that you don’t need to upgrade your camera body to shoot cleaner in the dark. A faster lens on your existing APS-C body does the same work. For anyone who has been saving toward a full-frame upgrade for low-light reasons, run the numbers first - a new lens may solve the problem for a fraction of the price.
Step 2: Match the Lens to Your Shooting Environment
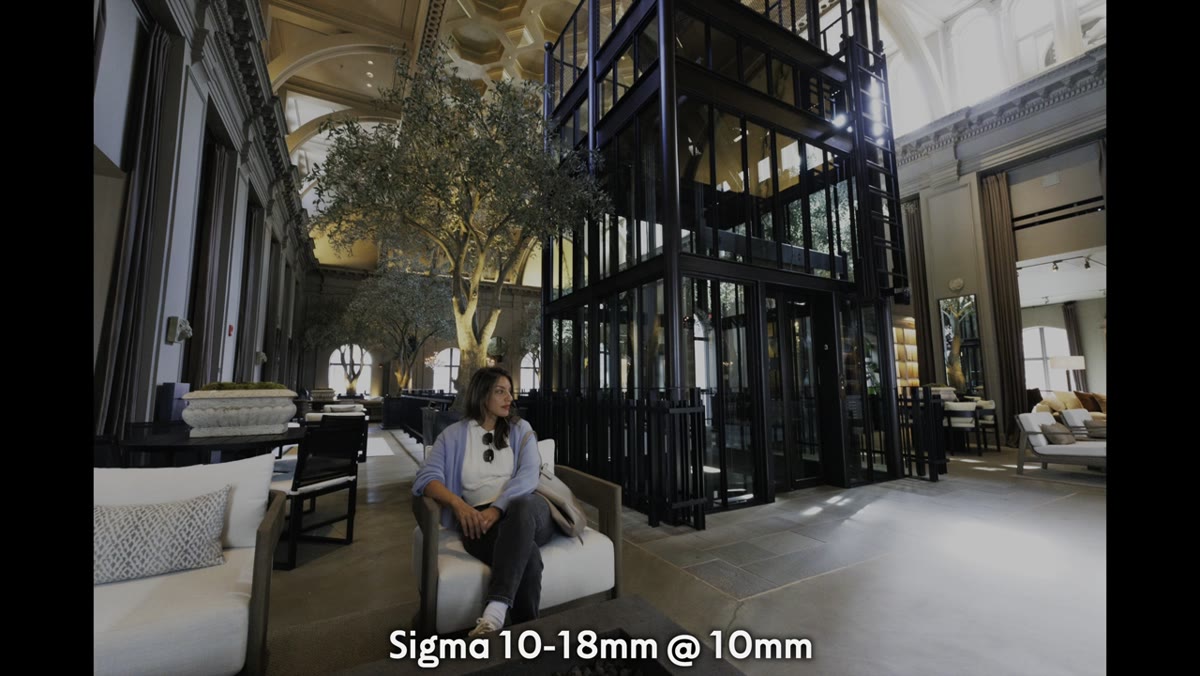 Tony walking narrow Boston street with camera around neck
The 10-18mm range on APS-C works out to roughly 15-29mm in full-frame equivalent terms, depending on your crop factor. Tony frames this not just as a specialty architecture lens but as a genuine walkaround option for travel. His example is Boston’s tight, historic streets - the kind of scene where you physically cannot back up far enough to fit a building in frame with a standard zoom.
Tony walking narrow Boston street with camera around neck
The 10-18mm range on APS-C works out to roughly 15-29mm in full-frame equivalent terms, depending on your crop factor. Tony frames this not just as a specialty architecture lens but as a genuine walkaround option for travel. His example is Boston’s tight, historic streets - the kind of scene where you physically cannot back up far enough to fit a building in frame with a standard zoom.
The same logic applies to any dense urban environment. European city centers, old town districts, cramped interiors - these are places where 10mm on the wide end stops being a gimmick and starts being a necessity. If your travel photography has ever felt limited by not being able to get enough of a scene in frame, this focal range is the direct solution. The lens is also light enough to hang around your neck for a full day of walking without it becoming a burden, which matters more than spec sheets suggest.
Step 3: Know Your Camera’s Stabilization Situation Before You Buy
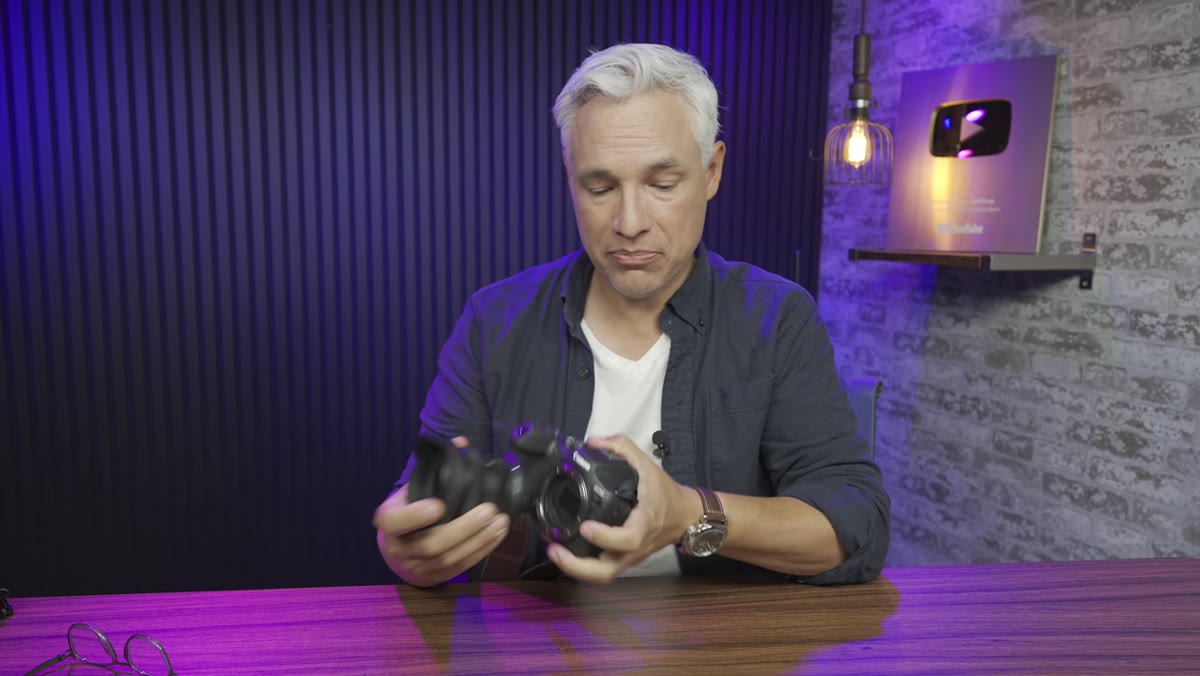 Handheld long exposure shot at 1 second shutter speed on R7
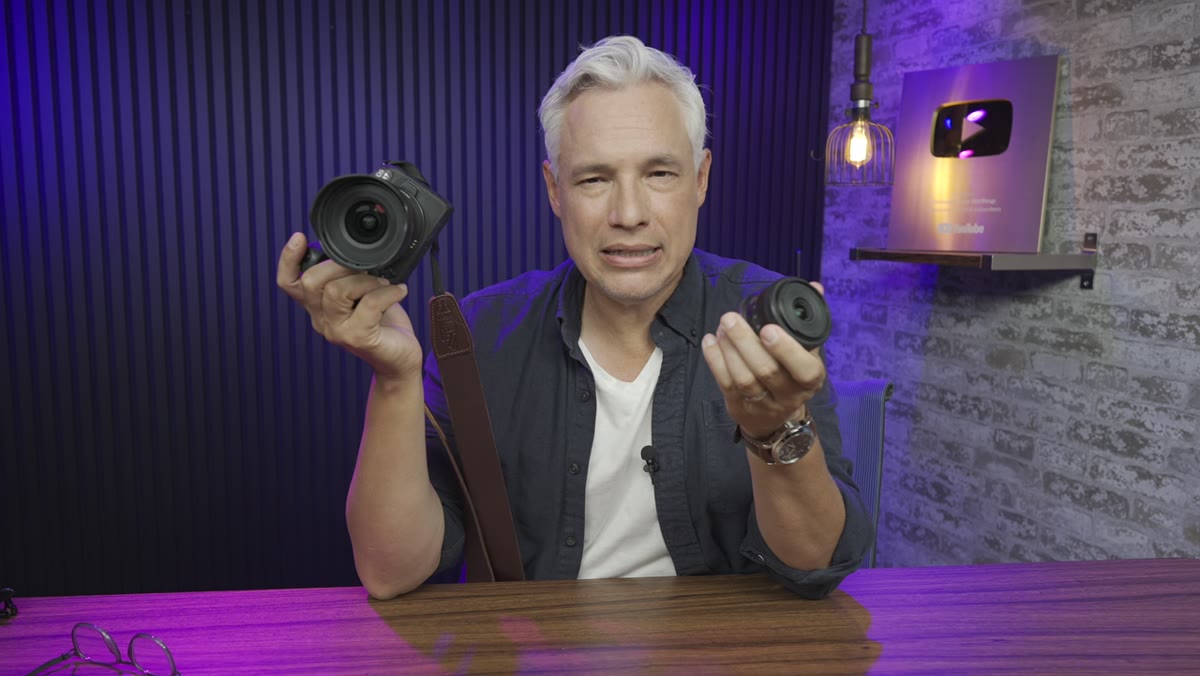
This is where Tony adds an important caveat that a lot of first-look reviews gloss over. The Sigma 10-18mm has no optical image stabilization built into the lens. On a camera body with in-body image stabilization - like the Canon R7 Tony uses - that’s a non-issue. He demonstrates reliable handheld shots at shutter speeds as slow as one second, which is genuinely impressive for a walking-around lens.
Handheld long exposure shot at 1 second shutter speed on R7
This is where Tony adds an important caveat that a lot of first-look reviews gloss over. The Sigma 10-18mm has no optical image stabilization built into the lens. On a camera body with in-body image stabilization - like the Canon R7 Tony uses - that’s a non-issue. He demonstrates reliable handheld shots at shutter speeds as slow as one second, which is genuinely impressive for a walking-around lens.
The problem comes if you’re shooting on a Canon R10, R50, or R100. Those bodies do not have sensor stabilization, and without it you’re exposed to camera shake on any slower shutter speed. In that specific situation, the slower Canon 10-18mm with its built-in stabilization may actually give you sharper handheld results in low light, even though it loses on aperture. Check your body’s spec sheet before pulling the trigger. IBIS support is the deciding factor for a meaningful chunk of APS-C shooters.
Step 4: Use It as a Wide Video Solution on Cropped Full-Frame Bodies
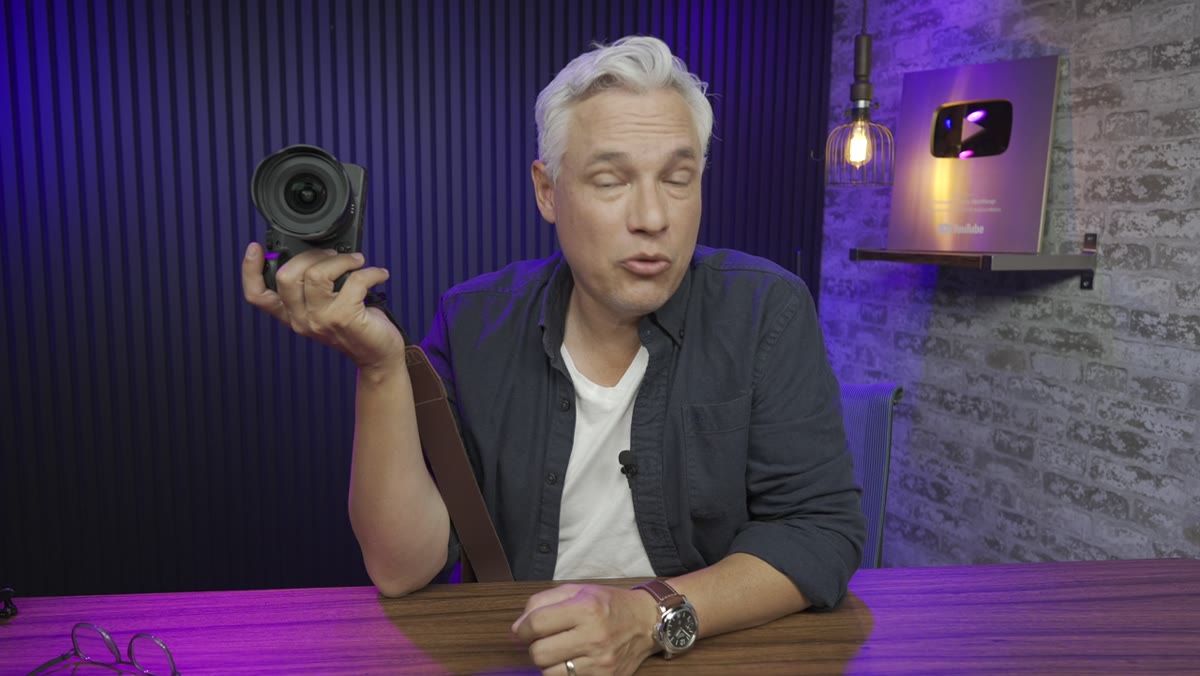 Canon RP shooting 4K with 1.6x crop mode demonstrated
Here’s a use case that surprised me and will probably surprise you too if you’re coming at this from a stills-first perspective. Several full-frame Canon bodies - the RP being the example Tony walks through - only output 4K video using a significant 1.6x sensor crop. Attach a standard wide or even ultra-wide full-frame lens, and that crop eats your field of view completely. You end up with something that looks like a medium telephoto rather than wide angle footage.
Canon RP shooting 4K with 1.6x crop mode demonstrated
Here’s a use case that surprised me and will probably surprise you too if you’re coming at this from a stills-first perspective. Several full-frame Canon bodies - the RP being the example Tony walks through - only output 4K video using a significant 1.6x sensor crop. Attach a standard wide or even ultra-wide full-frame lens, and that crop eats your field of view completely. You end up with something that looks like a medium telephoto rather than wide angle footage.
Drop the Sigma 10-18mm on one of those bodies in crop video mode and you recover a genuinely wide perspective. It’s an unconventional cross-format application, but it works. If you already own a full-frame body that crops hard for its best video modes, this APS-C lens is a smarter and cheaper solution than hunting for a full-frame ultra-wide that won’t break the bank.
Step 5: Compare Sharpness Against the Canon Alternative
 Corner sharpness comparison at f/4.5 and f/6.3 on test chart
Tony ran sharpness tests on a 33-megapixel Canon R7, which is a demanding resolution for any lens to resolve cleanly. At 10mm in the center of the frame, the Sigma and Canon 10-18mm are essentially indistinguishable. Neither one has a meaningful edge there. The difference shows up at the corners, and it shows up at the long end of the zoom range. At 18mm, the Sigma resolves noticeably more detail in the corners even when both lenses are stopped down to equivalent apertures.
Corner sharpness comparison at f/4.5 and f/6.3 on test chart
Tony ran sharpness tests on a 33-megapixel Canon R7, which is a demanding resolution for any lens to resolve cleanly. At 10mm in the center of the frame, the Sigma and Canon 10-18mm are essentially indistinguishable. Neither one has a meaningful edge there. The difference shows up at the corners, and it shows up at the long end of the zoom range. At 18mm, the Sigma resolves noticeably more detail in the corners even when both lenses are stopped down to equivalent apertures.
For landscape work, architecture, or any composition where the edges of the frame matter as much as the center, corner sharpness is not a minor footnote. It’s the difference between a frame you can deliver at full resolution and one that falls apart the moment a client zooms in.
One Thing the Tutorial Doesn’t Cover: Filters
Tony focuses the video tightly on the shooting experience, which is the right call. What he doesn’t get into is filter compatibility. Ultra-wide lenses with protruding front elements often can’t take standard screw-on filters, which is a real limitation for anyone who shoots long exposure landscapes or wants to manage glare with a polarizer. Before buying, verify the filter situation for your specific shooting style. It’s a minor practical issue in a lens that otherwise earns its recommendation.
The single most important point this tutorial makes is also the one most APS-C shooters are slowest to accept: your sensor is probably not the weakest link in your low-light images. The lens in front of it almost certainly is. The Sigma 10-18mm f/2.8 is the most direct fix for that problem in the wide angle range, and it costs a fraction of what a body upgrade would run you.
Watch the full tutorial on YouTube for Tony’s full Boston travel footage and the live low-light comparison - seeing it in motion makes the f/2.8 advantage more obvious than any still screenshot can.
Comments (1)
Love how you break down complex stuff into manageable steps.
Leave a Comment