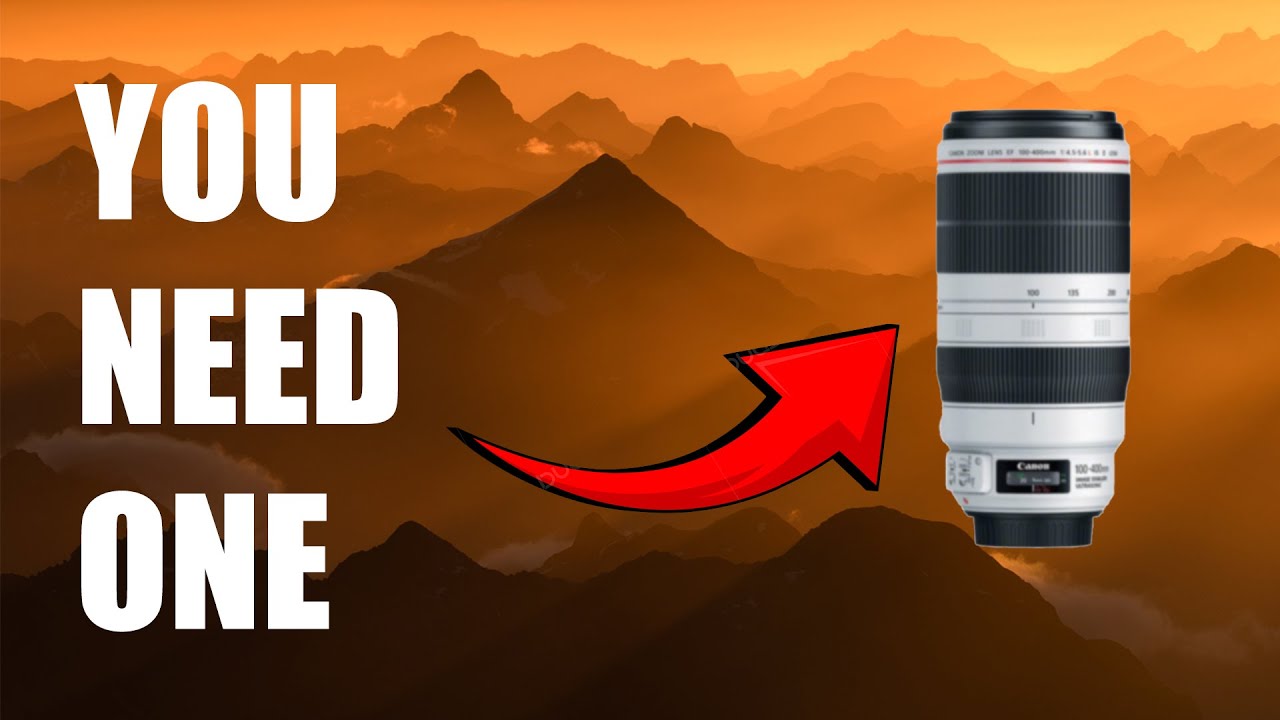
I’ll be upfront: I spent years dismissing telephoto lenses for landscape work. My logic was simple - wide glass captures the scene, and scene is what landscape photography is about. Then I started actually stress-testing that assumption against my own portfolio, and the images I kept coming back to, the ones that felt different from everything else on my hard drive, were almost never the ultra-wide shots. That pattern bothered me enough that I went looking for someone who could explain it better than I had thought it through myself.
That’s where this William Patino tutorial landed at exactly the right moment. Watch the full tutorial on YouTube - it runs lean and practical, which is exactly what I needed. Patino shoots with the Sony 100-400mm, but he’s clear from the jump that the brand is irrelevant. The focal length range is the point. And once he starts walking through how he thinks about using it, the logic clicks hard.
What follows is my breakdown of his method, step by step, with some notes from my own experience field-testing longer glass on a budget. If you’ve been treating the 70-200 as your telephoto ceiling for landscapes, this is worth your time.
Step 1: Recognize Why Your Wide-Angle Default Is Costing You Shots
 Wide angle lens options listed against landscape context
Most of us default to wide when we arrive at a location. The environment is big, the light is moving, and going wide feels like the safe play. Patino names this habit directly and it’s worth sitting with: when you go wide and jam a lot into the frame without a clear subject, you haven’t made a composition decision. You’ve avoided making one. The 24-70 is a workhorse lens, and a 12-24 or 16-35 earns its place in any landscape bag. But leaning on them by default means you’re reacting to the scene instead of reading it.
Wide angle lens options listed against landscape context
Most of us default to wide when we arrive at a location. The environment is big, the light is moving, and going wide feels like the safe play. Patino names this habit directly and it’s worth sitting with: when you go wide and jam a lot into the frame without a clear subject, you haven’t made a composition decision. You’ve avoided making one. The 24-70 is a workhorse lens, and a 12-24 or 16-35 earns its place in any landscape bag. But leaning on them by default means you’re reacting to the scene instead of reading it.
The fix isn’t to leave your wide glass at home. It’s to add a longer reach so you actually have a choice to make. That decision point is where better images get made.
Step 2: Understand What the 100-400 Range Actually Buys You Over a 70-200
 Patino discussing 70-200 vs 100-400 focal range comparison
Patino makes a point here I’ve tested myself and it holds: once you’ve shot with a 100-400, going back to 70-200 feels like working with your hands tied. The extra reach isn’t just about magnification. It changes which compositional options are available to you. Distant ridgelines, compressed mountain layers, a single tree isolated against a gradient sky - these shots exist at 300-400mm in ways they simply don’t at 200mm.
Patino discussing 70-200 vs 100-400 focal range comparison
Patino makes a point here I’ve tested myself and it holds: once you’ve shot with a 100-400, going back to 70-200 feels like working with your hands tied. The extra reach isn’t just about magnification. It changes which compositional options are available to you. Distant ridgelines, compressed mountain layers, a single tree isolated against a gradient sky - these shots exist at 300-400mm in ways they simply don’t at 200mm.
If you’re shopping on a budget, this is actually good news. Third-party 100-400mm options from Sigma and Tamron compete hard on price, and the used market for this focal range is strong right now. You don’t need Sony’s version to get the benefit Patino is describing.
Step 3: Shift Your Mindset From “Zooming In” to “Removing Clutter”
 Patino explaining the concept of isolating a scene within a scene
This is the mental reframe at the center of the whole tutorial and it’s worth writing on a sticky note. Patino frames the telephoto not as a tool that zooms in on a subject, but as a tool that removes everything that isn’t the subject. That sounds like the same thing said two different ways, but it isn’t. When you think about zooming in, you’re thinking about your target. When you think about removing distractions, you’re scanning the entire scene asking what’s getting in the way.
Patino explaining the concept of isolating a scene within a scene
This is the mental reframe at the center of the whole tutorial and it’s worth writing on a sticky note. Patino frames the telephoto not as a tool that zooms in on a subject, but as a tool that removes everything that isn’t the subject. That sounds like the same thing said two different ways, but it isn’t. When you think about zooming in, you’re thinking about your target. When you think about removing distractions, you’re scanning the entire scene asking what’s getting in the way.
Stand at a busy overlook and look at what a 400mm frame leaves out - power lines, other photographers, parking lots, uninteresting foreground. What remains is often what you actually came to photograph. The lens does the editing work your brain was struggling to do.
Step 4: Train Yourself to Find the Scene Within the Scene
 Patino analyzing landscape details to identify a compressed composition
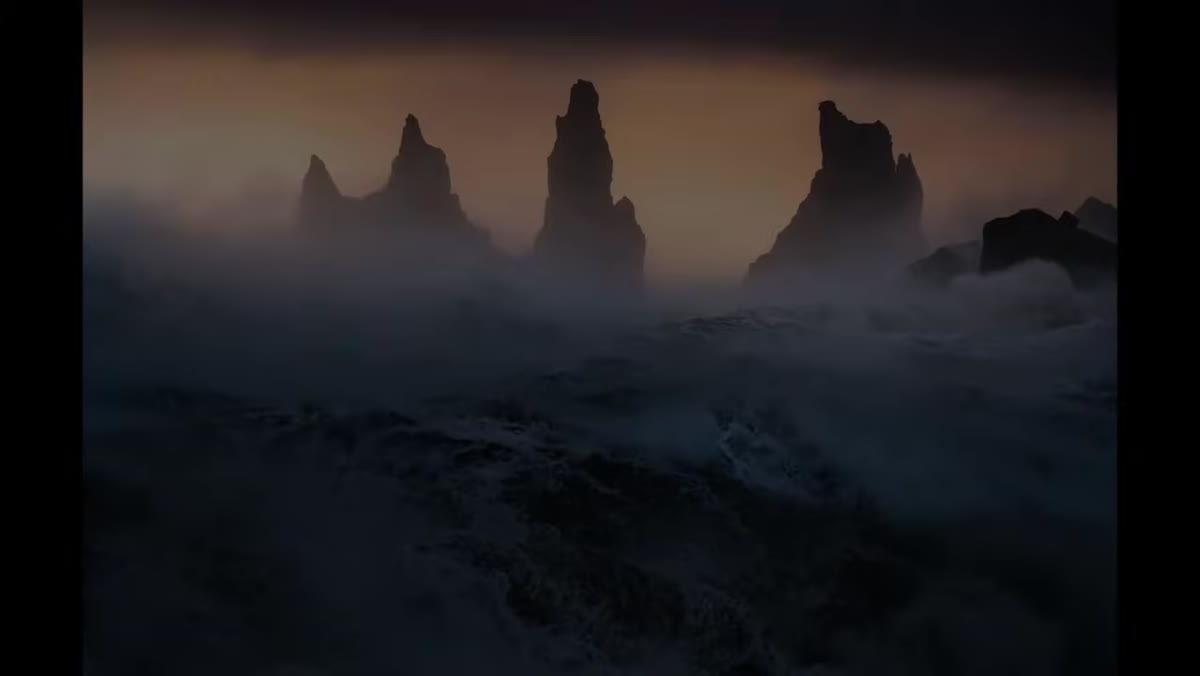
Patino’s specific language here is “the scene within the scene” and it’s a useful practice to make deliberate. Before you raise the camera, take 60 seconds to scan the landscape in sections, the way you’d read a paragraph, from left to right and top to bottom. You’re looking for smaller frames hiding inside the larger view: a gap in a ridgeline that frames a distant peak, a repeating pattern in a hillside that becomes abstract at compression, two tonal layers that line up cleanly at a long focal length but disappear when you go wide.
Patino analyzing landscape details to identify a compressed composition
Patino’s specific language here is “the scene within the scene” and it’s a useful practice to make deliberate. Before you raise the camera, take 60 seconds to scan the landscape in sections, the way you’d read a paragraph, from left to right and top to bottom. You’re looking for smaller frames hiding inside the larger view: a gap in a ridgeline that frames a distant peak, a repeating pattern in a hillside that becomes abstract at compression, two tonal layers that line up cleanly at a long focal length but disappear when you go wide.
This takes practice and it feels slow at first. Stick with it. The images that result look nothing like the standard wide-angle shots from the same location, which is the whole point.
Step 5: Build Depth With Layered Foregrounds Even at Long Focal Lengths
 Patino describing layered composition technique with telephoto
The common knock on telephoto landscapes is that they look flat or two-dimensional. Patino’s answer is compositional: look for layered elements between your position and your main subject. A telephoto lens compresses distance, which means those layers stack up visually in ways a wide lens separates and spreads apart. That compression is a feature, not a bug, if you use it intentionally.
Patino describing layered composition technique with telephoto
The common knock on telephoto landscapes is that they look flat or two-dimensional. Patino’s answer is compositional: look for layered elements between your position and your main subject. A telephoto lens compresses distance, which means those layers stack up visually in ways a wide lens separates and spreads apart. That compression is a feature, not a bug, if you use it intentionally.
In practice this means identifying a foreground element, a midground element, and your background subject before you lock in your framing. Rock formations, water, vegetation - anything with texture or shape that sits progressively closer to where you’re standing. The resulting image reads as three-dimensional because the viewer’s eye travels through the layers to land on your subject.
My Addition: The Budget Argument for Doing This Now
I run a spreadsheet on every budget lens I’ve tested - it’s a habit I can’t shake - and the 100-400mm category has genuinely good value options right now that didn’t exist a few years ago. The Sigma 100-400mm Contemporary and the Tamron 100-400mm both regularly show up in deals under $700 used, sometimes under $600 if you catch the right listing. For landscape work where you’re mostly shooting off a tripod in good light, image stabilization requirements are lower and you can afford to go slightly older generation without sacrificing much.
The investment pays off faster than you’d expect, because it doesn’t just add shots to your portfolio. It changes how you see locations you’ve already shot a dozen times. I’ve gone back to spots near Denver that I thought I had exhausted and pulled completely different images out of them just by changing the focal length and changing the question I was asking the landscape.
The single most important thing Patino teaches in this video is also the simplest: your telephoto isn’t there to get closer. It’s there to get clearer. Use it to make the decision about what matters in a frame, not just to magnify what’s already in front of you. That one shift in how you think about the tool is worth more than any spec comparison.
Watch the full tutorial on YouTube - Patino shows this with actual field examples that reinforce everything above, and it’s worth seeing his specific framing choices in context.
Comments
Leave a Comment