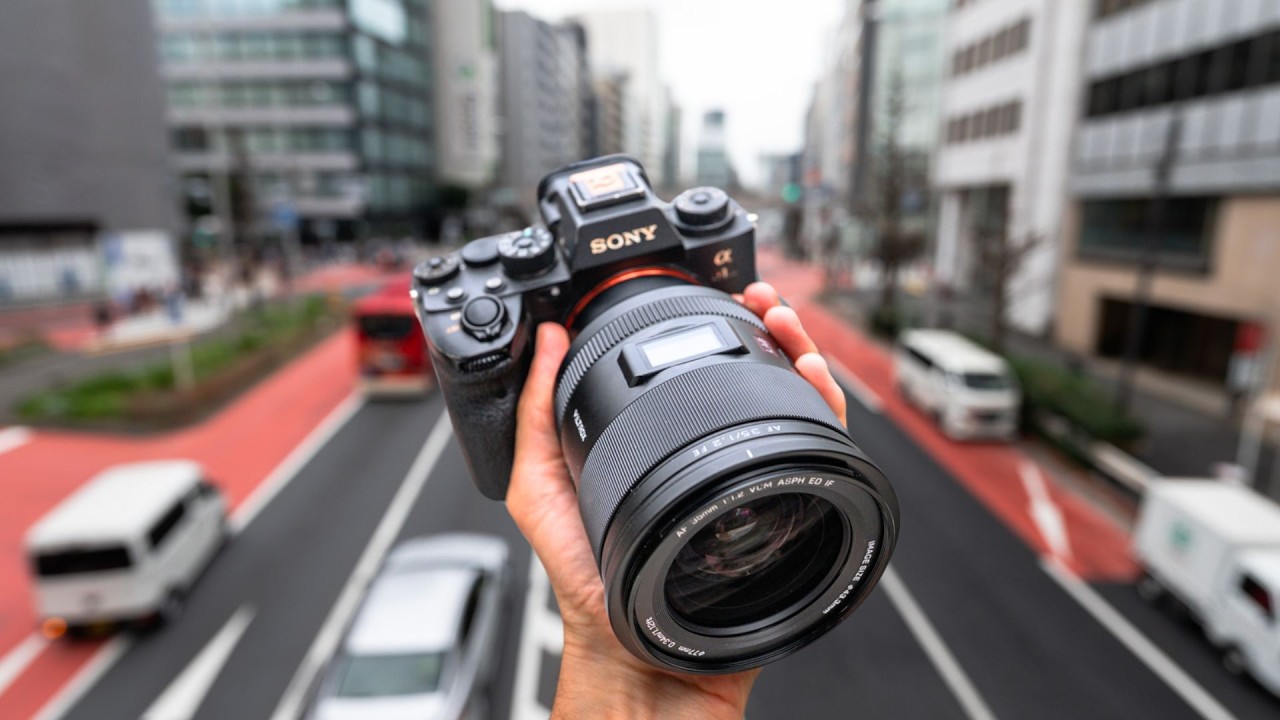
I’ve got a spreadsheet with every budget lens I’ve ever tested, and the column I always sort by first is “value vs. flagship equivalent.” That single ratio has saved me — and plenty of readers — from spending money they didn’t need to spend. So when I came across Pierre T. Lambert’s hands-on field test of the Viltrox 35mm f/1.2, I paid close attention. Pierre is a travel and adventure photographer who shoots in real conditions, not just a controlled studio, which means his opinion carries actual weight. Watch the full tutorial on YouTube before or after reading this breakdown.
The specific problem this tutorial solves is one I hear constantly from intermediate shooters: “I want f/1.2 subject separation without spending two grand.” The Sony 50mm f/1.2 sits around $2,000. The Sony 35mm f/1.4 is nearly $1,400. Neither of those is an impulse buy. Pierre came into this test skeptical — his words, not mine — and that skepticism is exactly the right frame for evaluating a third-party lens at this price point. What follows is a step-by-step breakdown of what he tested, how he tested it, and what you should actually pay attention to if you’re considering pulling the trigger.
Step 1: Understand What You’re Getting for $999
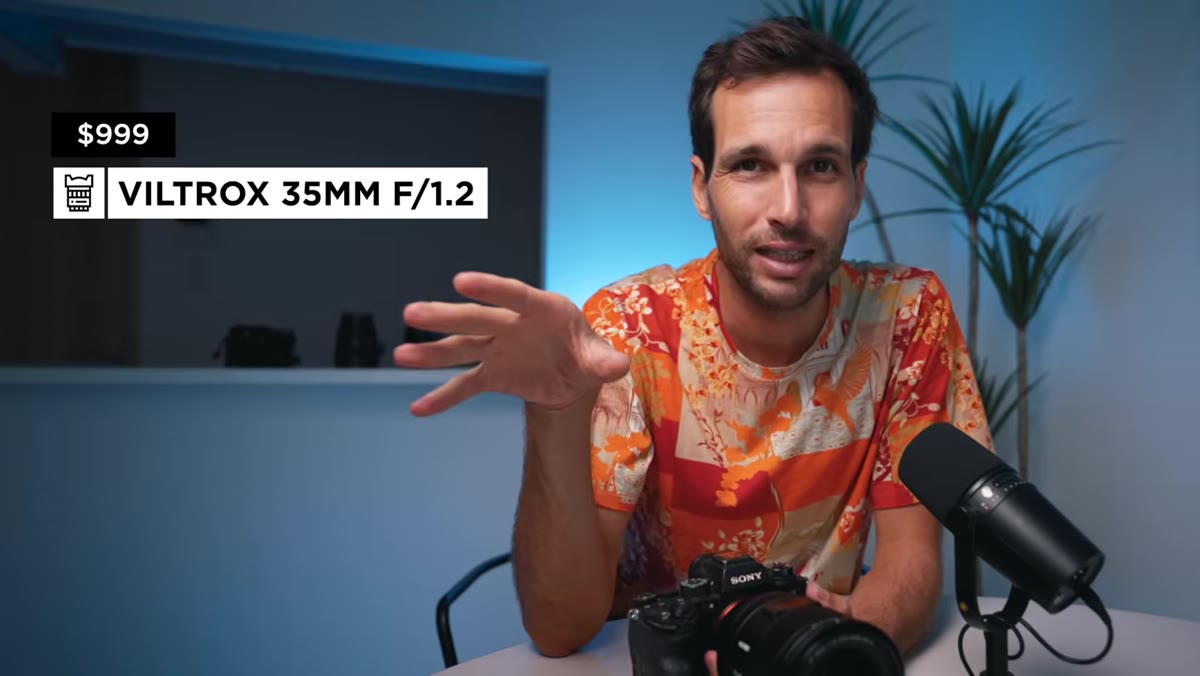 Price comparison graphic showing Viltrox vs Sony lens costs
Before you ever mount this lens, do the math. The Viltrox 35mm f/1.2 retails at $999 USD. The Sony 35mm f/1.4 costs $1,398. The Sony 50mm f/1.2 runs close to $2,000. You are getting an f/1.2 aperture at the 35mm focal length for less than the slower Sony alternative at the same focal length. That is not a minor discount. That is a category difference in who can afford to shoot at f/1.2. If your budget has a ceiling, this is the number that matters most before anything else.
Price comparison graphic showing Viltrox vs Sony lens costs
Before you ever mount this lens, do the math. The Viltrox 35mm f/1.2 retails at $999 USD. The Sony 35mm f/1.4 costs $1,398. The Sony 50mm f/1.2 runs close to $2,000. You are getting an f/1.2 aperture at the 35mm focal length for less than the slower Sony alternative at the same focal length. That is not a minor discount. That is a category difference in who can afford to shoot at f/1.2. If your budget has a ceiling, this is the number that matters most before anything else.
Pierre also notes that the lens weighs in at around 920 grams, so it is not a lightweight travel option. Factor that into your kit planning, especially if you are already carrying a full-frame mirrorless body.
Step 2: Get Familiar with the Physical Controls Before You Shoot
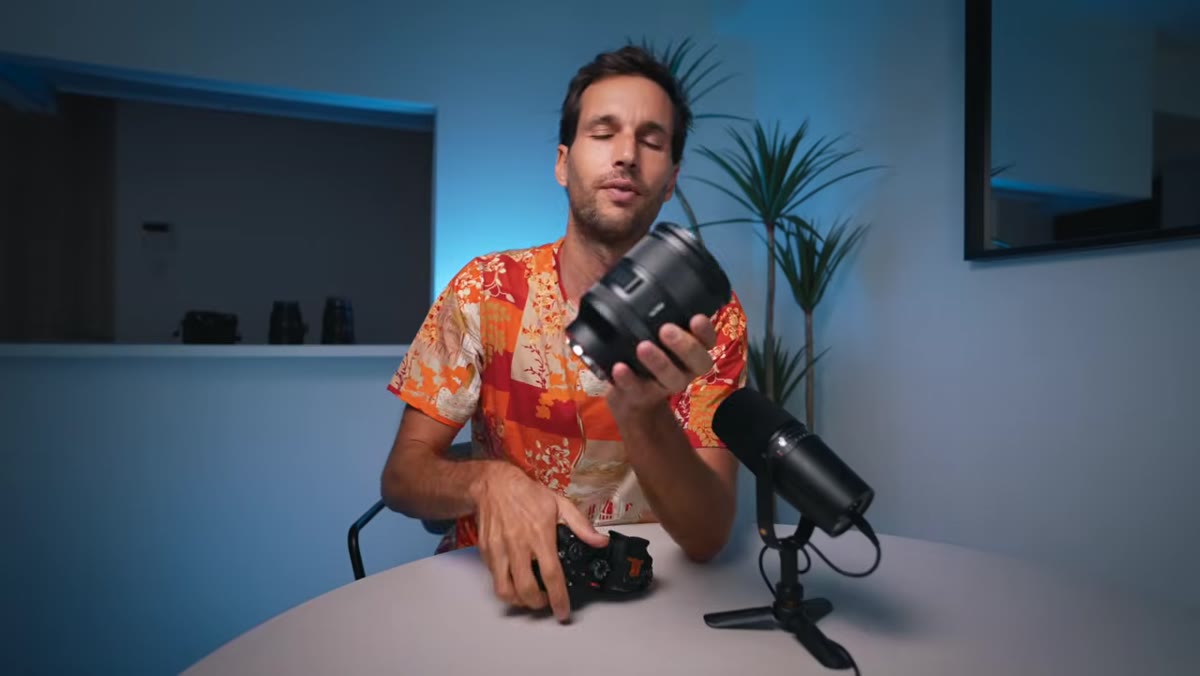 Aperture ring and function buttons visible on lens body
This lens has an aperture ring with two modes: clicked stops for photography and a smooth, de-clicked rotation for video work. Switching between them is mechanical and fast. Pierre programs the two customizable function buttons on the lens barrel for eye-tracking autofocus, which he covers more deeply in a separate autofocus tutorial. You can map these buttons through the Viltrox app or directly through your camera body’s menu system, depending on your setup.
Aperture ring and function buttons visible on lens body
This lens has an aperture ring with two modes: clicked stops for photography and a smooth, de-clicked rotation for video work. Switching between them is mechanical and fast. Pierre programs the two customizable function buttons on the lens barrel for eye-tracking autofocus, which he covers more deeply in a separate autofocus tutorial. You can map these buttons through the Viltrox app or directly through your camera body’s menu system, depending on your setup.
The lens also includes an AF/MF switch on the barrel. Get comfortable flipping between them before you head out, because fumbling for controls in the field costs you shots. Spend five minutes at home memorizing the button positions so your hands know where to go without looking.
Step 3: Use the Built-In OLED Display Instead of Guessing Focus Distance
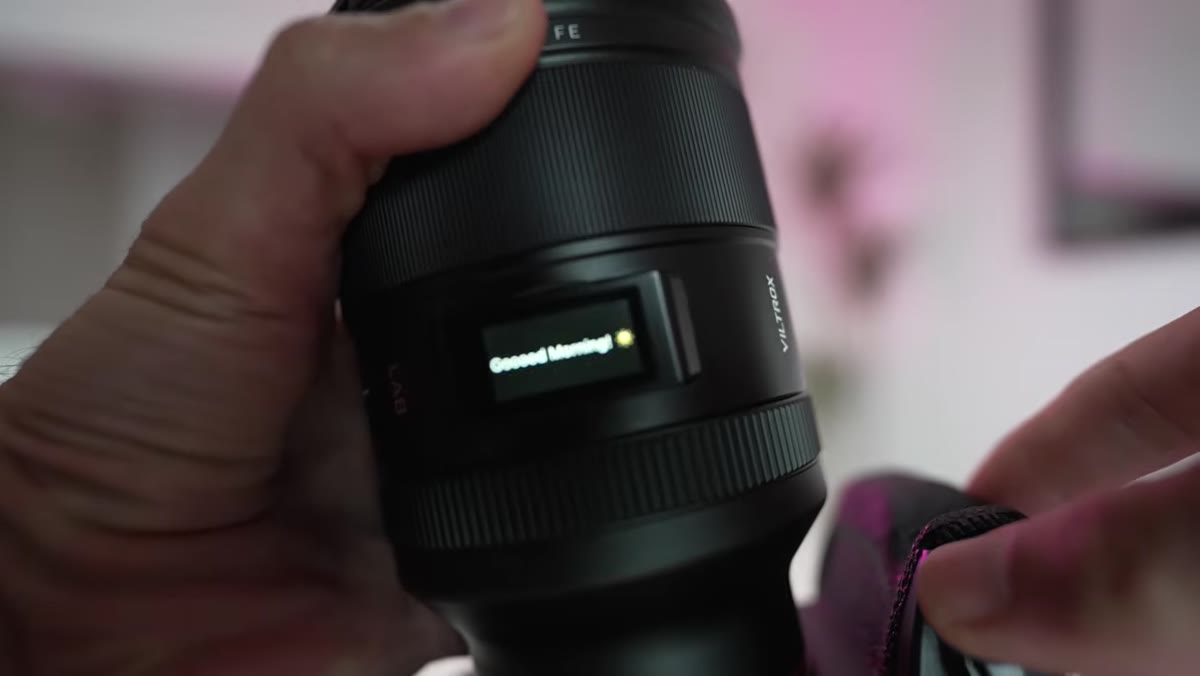 Small lens display showing manual focus distance reading
One of the more unusual features here is a small OLED screen on the lens body. In manual focus mode, it displays your current focus distance numerically, with a minimum focusing distance of 0.34 meters. This replaces the traditional printed distance scale you would find on most lenses, and it is actually more readable at a glance, especially in low light. Pierre mentions he customized the startup screen to display a personal message, which is a minor thing but signals how much configurability Viltrox has built into the firmware.
Small lens display showing manual focus distance reading
One of the more unusual features here is a small OLED screen on the lens body. In manual focus mode, it displays your current focus distance numerically, with a minimum focusing distance of 0.34 meters. This replaces the traditional printed distance scale you would find on most lenses, and it is actually more readable at a glance, especially in low light. Pierre mentions he customized the startup screen to display a personal message, which is a minor thing but signals how much configurability Viltrox has built into the firmware.
If you shoot manual focus at all, treat this display as a focus confirmation tool rather than just a novelty. It is especially useful for close-up work where a few centimeters of error ruins the shot.
Step 4: Shoot Wide Open at f/1.2 to Test Subject Separation
 Portrait shot showing blurred background with sharp subject
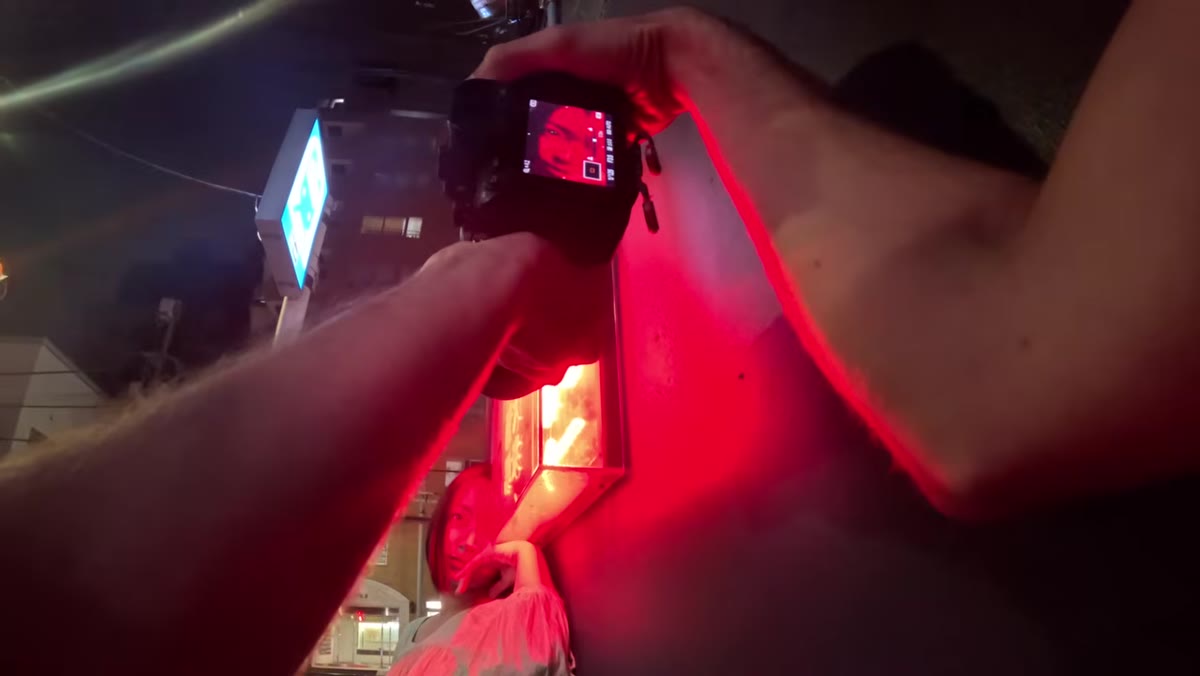
Pierre’s field test prioritized portraits and street scenes specifically because f/1.2 is most useful when you need to isolate a subject from a busy environment. The bokeh at this aperture is strong enough to make a chaotic background disappear while keeping your subject sharp. He shot this in real outdoor locations, not a clean studio, which gives you a honest look at how the lens handles real-world contrast and clutter behind the subject.
Portrait shot showing blurred background with sharp subject
Pierre’s field test prioritized portraits and street scenes specifically because f/1.2 is most useful when you need to isolate a subject from a busy environment. The bokeh at this aperture is strong enough to make a chaotic background disappear while keeping your subject sharp. He shot this in real outdoor locations, not a clean studio, which gives you a honest look at how the lens handles real-world contrast and clutter behind the subject.
Try this yourself by finding a textured background – brick walls, crowded streets, dense foliage – and shooting a subject at f/1.2 from about one meter away. The separation should be dramatic. If it looks muddy or the background is pulling attention, you are either too far from your subject or stopping down without realizing it.
Step 5: Test Lens Flare Intentionally at Stopped-Down Apertures
 Street scene shot at f/8 showing visible lens flare from sun
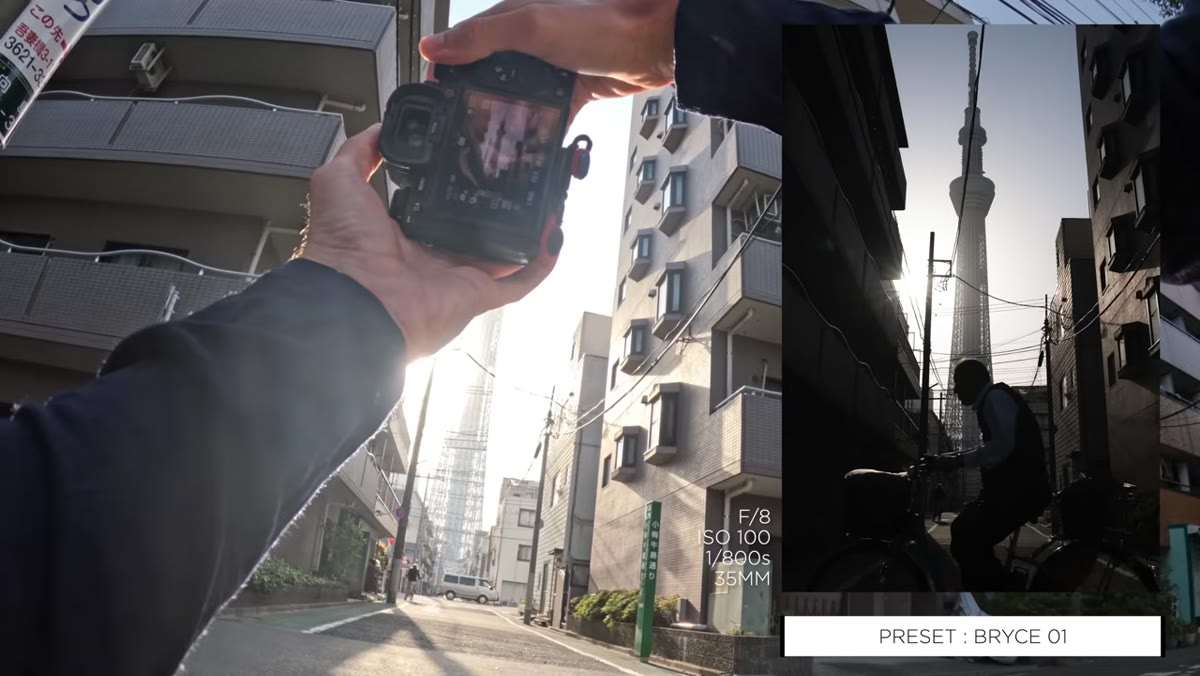
Pierre deliberately shot at f/8 to capture lens flare in a street scene with direct sunlight in frame. This is worth replicating on your own because flare character is highly lens-specific, and knowing how a lens flares tells you whether you can use it creatively or whether you have to avoid shooting into the light entirely. Some lenses produce ugly, distracting artifacts. Others produce clean starbursts or warm color blooms that actually add mood to an image.
Street scene shot at f/8 showing visible lens flare from sun
Pierre deliberately shot at f/8 to capture lens flare in a street scene with direct sunlight in frame. This is worth replicating on your own because flare character is highly lens-specific, and knowing how a lens flares tells you whether you can use it creatively or whether you have to avoid shooting into the light entirely. Some lenses produce ugly, distracting artifacts. Others produce clean starbursts or warm color blooms that actually add mood to an image.
Stop down to f/8 or f/11, point toward a light source at the edge of the frame, and take a few shots. What you see is what you get. No amount of lens hood will fully eliminate flare, so you want to know the character before you are on a paid shoot and caught off guard.
Step 6: Check Weather Sealing Before You Commit to Outdoor Work
 Close-up of weather sealing ring at lens mount
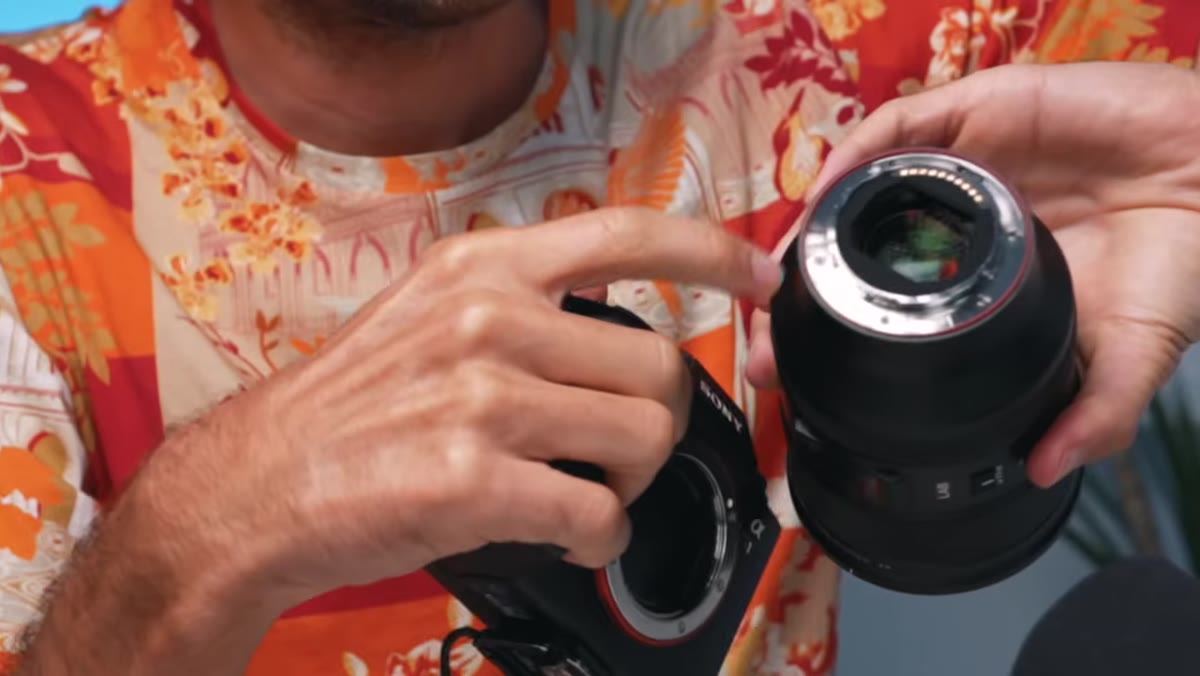
Pierre shoots in demanding conditions – rain, dust, changing weather – and specifically called out the rubber weather sealing ring at the lens mount as a notable inclusion at this price. For under $1,000, weather sealing is not something you automatically expect on a third-party prime. Sony’s own lenses include it, and matching that feature at a lower cost matters if outdoor shooting is a significant part of your workflow.
Close-up of weather sealing ring at lens mount
Pierre shoots in demanding conditions – rain, dust, changing weather – and specifically called out the rubber weather sealing ring at the lens mount as a notable inclusion at this price. For under $1,000, weather sealing is not something you automatically expect on a third-party prime. Sony’s own lenses include it, and matching that feature at a lower cost matters if outdoor shooting is a significant part of your workflow.
This is not a full weather seal like you would get on a professional-grade lens, but it provides a meaningful layer of protection against light moisture. Do not submerge it, but do not shelter it from every cloud either.
What I’d Add From My Own Testing Experience
Pierre’s enthusiasm for the value equation aligns exactly with what I have found across dozens of budget lens reviews. Third-party manufacturers have closed the gap significantly in the last three years, and Viltrox specifically has been iterating fast. The detail I would emphasize beyond Pierre’s walkthrough is the autofocus reliability in low light, which he teases but does not fully unpack in this particular video. Based on my experience with comparable Viltrox glass, AF performance in dim conditions has historically been the weakest variable, even when sharpness and bokeh punch above their price point. Before committing to this lens for event or wedding work, I would run dedicated low-light AF tests in conditions similar to your actual shooting environment. Do not let strong daylight performance be the only data point you use.
The single most important takeaway from Pierre’s test is this: at $999, the Viltrox 35mm f/1.2 is not trying to beat Sony’s equivalent at every metric – it is making f/1.2 accessible to photographers who previously could not justify the price of entry. That is a genuinely different value proposition than “almost as good for less money.” If wide aperture creative control has been out of your budget, this lens changes the math.
Watch the full tutorial on YouTube to see Pierre’s actual field footage and the behind-the-scenes shooting process that produced the sample images.
Comments
Leave a Comment