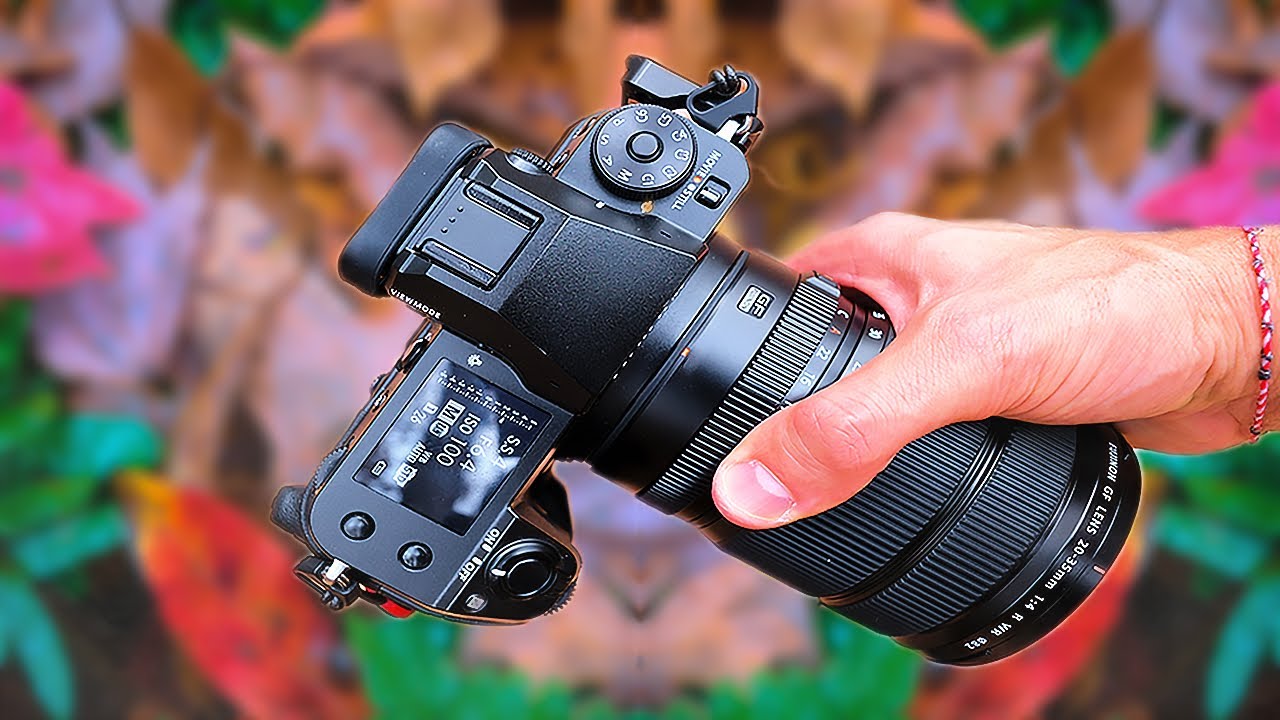
Every year around late November I hit a wall. Fall color is gone but snow hasn’t committed yet, and I’m standing outside with a wide angle lens pointed at a bunch of gray-brown trees wondering why I even drove out here. I’ve wasted more Saturday mornings than I want to count chasing scenes that peaked two weeks earlier. So when I came across Watch the full tutorial on YouTube from landscape photographer Mark Denney, where he talks about why he basically stopped reaching for his wide angle lens and what he does instead during that awkward fall-to-winter gap, I felt like someone finally put words to a problem I’d been ignoring.
What Denney describes isn’t a workaround or a consolation prize. It’s a genuine shift in how he thinks about subject matter and scale. He shoots at a low-elevation local spot, notices the color is past peak, and instead of packing up he gets down on the ground and starts thinking small. That pivot, from sweeping landscapes to intimate macro details, is something I wish someone had handed me as a checklist when I was starting out. Here’s how he does it, broken down so you can go try it this weekend.
Step 1: Accept the Season for What It Is
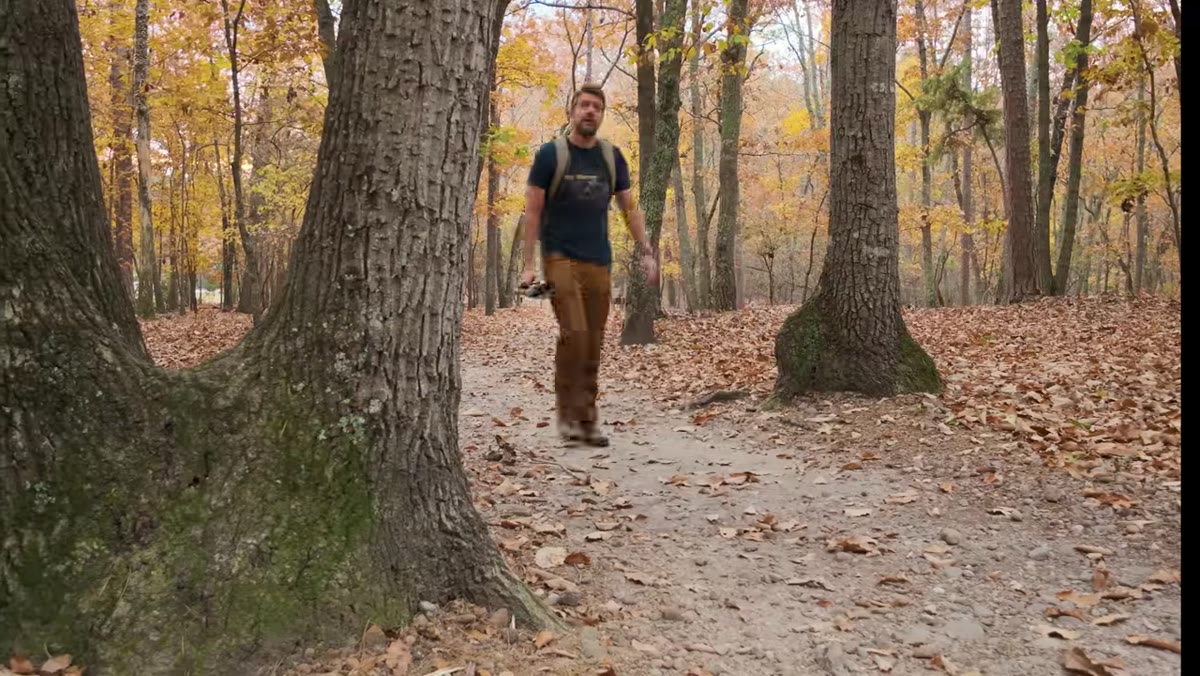 Overcast woodland path with muted post-peak fall color
Denney opens by admitting he feels the post-fall slump too. The key move here isn’t motivational, it’s logistical. He picks a location at lower elevation specifically because fall color lingers longer there. If you’re in a mountainous area like I am here in Denver, that means dropping from your usual alpine spots down into foothills or valley floors. Think about elevation when you’re scouting this time of year. A location 1,500 feet lower can give you an extra two to three weeks of usable color. Check what’s left before you assume the season is over.
Overcast woodland path with muted post-peak fall color
Denney opens by admitting he feels the post-fall slump too. The key move here isn’t motivational, it’s logistical. He picks a location at lower elevation specifically because fall color lingers longer there. If you’re in a mountainous area like I am here in Denver, that means dropping from your usual alpine spots down into foothills or valley floors. Think about elevation when you’re scouting this time of year. A location 1,500 feet lower can give you an extra two to three weeks of usable color. Check what’s left before you assume the season is over.
Step 2: Ditch the Wide Angle Zoom
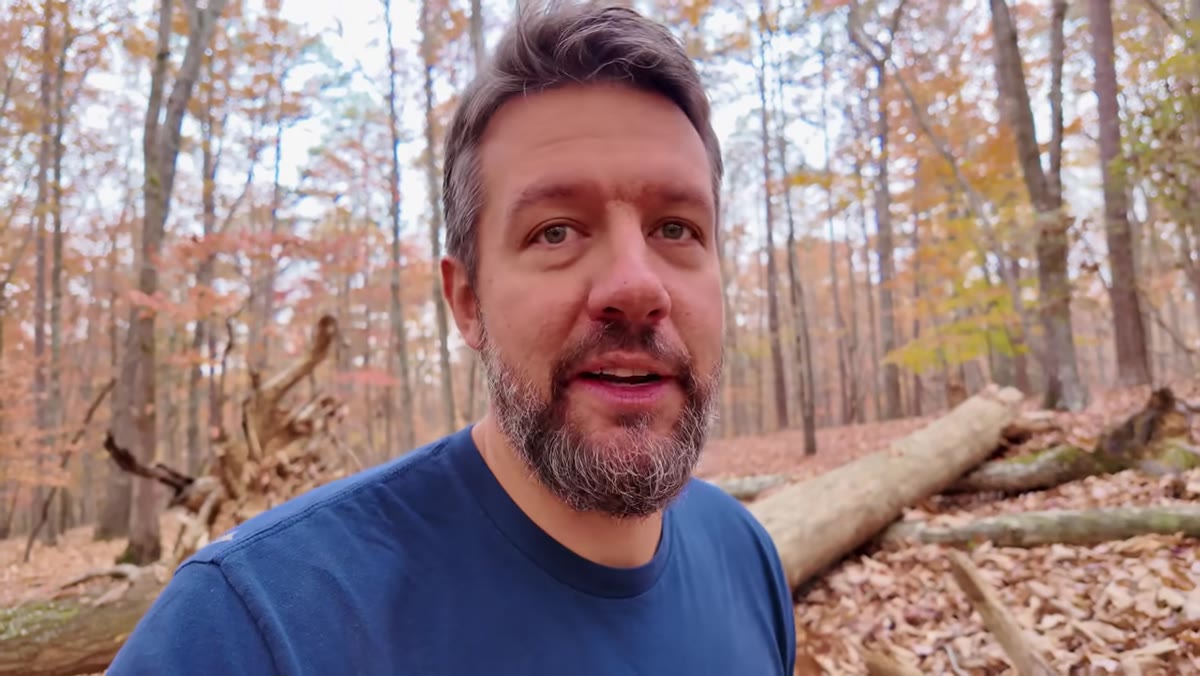
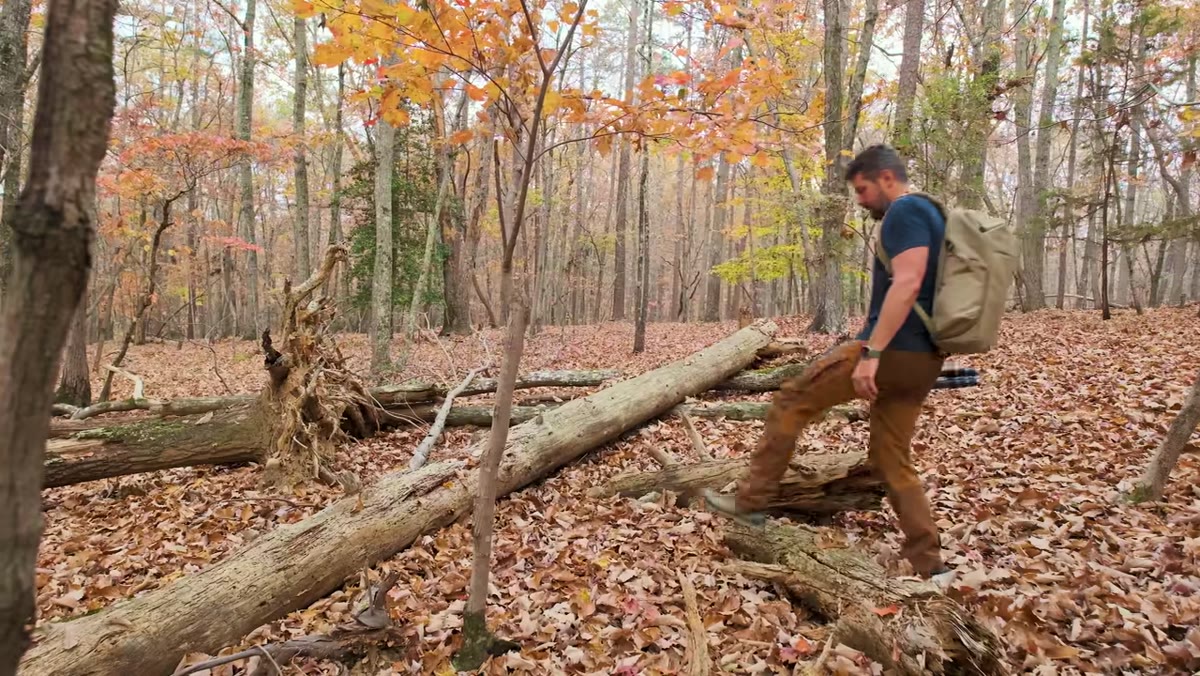 Photographer walking through sparse woodland, lens bag visible
This is the core confession of the whole video. Denney explains that when he moved from a 55mm prime into wide angle zoom lenses for landscape work, his photography actually got worse. He struggled with the focal length and didn’t understand why for a long time. The honest answer, which he eventually works out, is that wide angles are punishing when scenes lack strong foreground interest. If the light isn’t dramatic, if the landscape isn’t structured, a wide angle just amplifies how empty everything looks. For the transition season specifically, leave it in the bag. It’s not the right tool for what’s actually in front of you.
Photographer walking through sparse woodland, lens bag visible
This is the core confession of the whole video. Denney explains that when he moved from a 55mm prime into wide angle zoom lenses for landscape work, his photography actually got worse. He struggled with the focal length and didn’t understand why for a long time. The honest answer, which he eventually works out, is that wide angles are punishing when scenes lack strong foreground interest. If the light isn’t dramatic, if the landscape isn’t structured, a wide angle just amplifies how empty everything looks. For the transition season specifically, leave it in the bag. It’s not the right tool for what’s actually in front of you.
Step 3: Shift Your Gaze to the Ground
 Colorful fallen leaves scattered across forest floor
Instead of scanning at eye level for a grand composition, Denney’s approach is to look beneath trees that still hold some color. His reasoning is simple: whatever color is left on the branches eventually falls, and it lands in concentrated patches directly under the canopy. Walk up to a tree that still has a decent amount of fall color and look straight down. You’ll almost always find a scatter of leaves that are vibrant, textured, and easy to isolate into a tight composition. This is the part that sounds obvious until you realize you’ve never actually done it deliberately.
Colorful fallen leaves scattered across forest floor
Instead of scanning at eye level for a grand composition, Denney’s approach is to look beneath trees that still hold some color. His reasoning is simple: whatever color is left on the branches eventually falls, and it lands in concentrated patches directly under the canopy. Walk up to a tree that still has a decent amount of fall color and look straight down. You’ll almost always find a scatter of leaves that are vibrant, textured, and easy to isolate into a tight composition. This is the part that sounds obvious until you realize you’ve never actually done it deliberately.
Step 4: Rent a Macro Lens Instead of Buying One
 Close-up of a single fallen leaf with small water droplets on surface
Denney mentions that he doesn’t own a macro lens. He rents one for about a month each year during this transition period because he doesn’t shoot enough macro to justify the purchase. That is exactly the kind of honest gear math I respect. If you’re only going to use a macro lens for four weeks annually, renting makes complete sense financially. I track rental costs across a few platforms in a spreadsheet I keep updated, and for a decent macro lens you’re usually looking at $40 to $70 for a week, sometimes less if you catch a promo. That’s a fraction of the $400 to $900 you’d spend buying one outright. Rent first. Decide later.
Close-up of a single fallen leaf with small water droplets on surface
Denney mentions that he doesn’t own a macro lens. He rents one for about a month each year during this transition period because he doesn’t shoot enough macro to justify the purchase. That is exactly the kind of honest gear math I respect. If you’re only going to use a macro lens for four weeks annually, renting makes complete sense financially. I track rental costs across a few platforms in a spreadsheet I keep updated, and for a decent macro lens you’re usually looking at $40 to $70 for a week, sometimes less if you catch a promo. That’s a fraction of the $400 to $900 you’d spend buying one outright. Rent first. Decide later.
Step 5: Find One Subject and Work It Closely
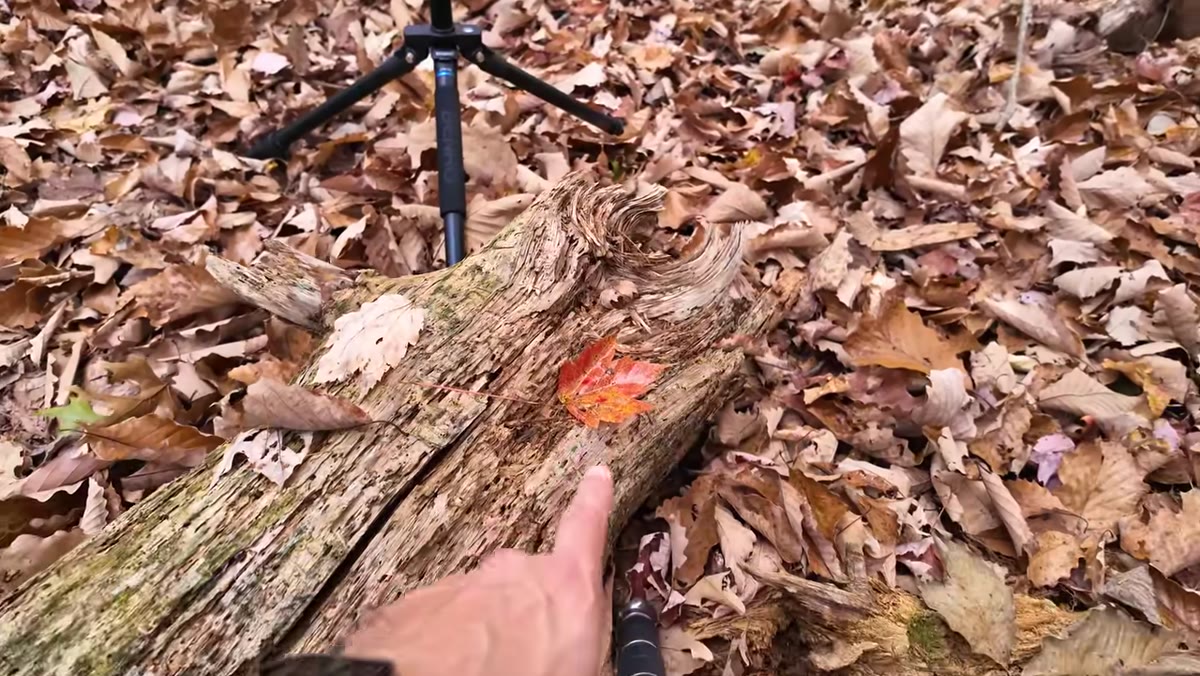 Single leaf isolated on ground with soft background bokeh
Denney demonstrates with a single leaf he finds on the ground. It’s got a small pool of water on it, not perfectly photogenic, but it gives him something specific to work with. The technique here is to stop hunting for the perfect subject and start committing to whatever is in front of you. Get the macro lens close. Look for small details: water droplets, texture variations, color gradients across a single leaf. Change your angle. Shoot straight down, then try a low side angle. The same subject gives you multiple usable frames if you slow down and actually explore it instead of moving on after one shot.
Single leaf isolated on ground with soft background bokeh
Denney demonstrates with a single leaf he finds on the ground. It’s got a small pool of water on it, not perfectly photogenic, but it gives him something specific to work with. The technique here is to stop hunting for the perfect subject and start committing to whatever is in front of you. Get the macro lens close. Look for small details: water droplets, texture variations, color gradients across a single leaf. Change your angle. Shoot straight down, then try a low side angle. The same subject gives you multiple usable frames if you slow down and actually explore it instead of moving on after one shot.
Step 6: Let Light Through the Canopy Do the Work
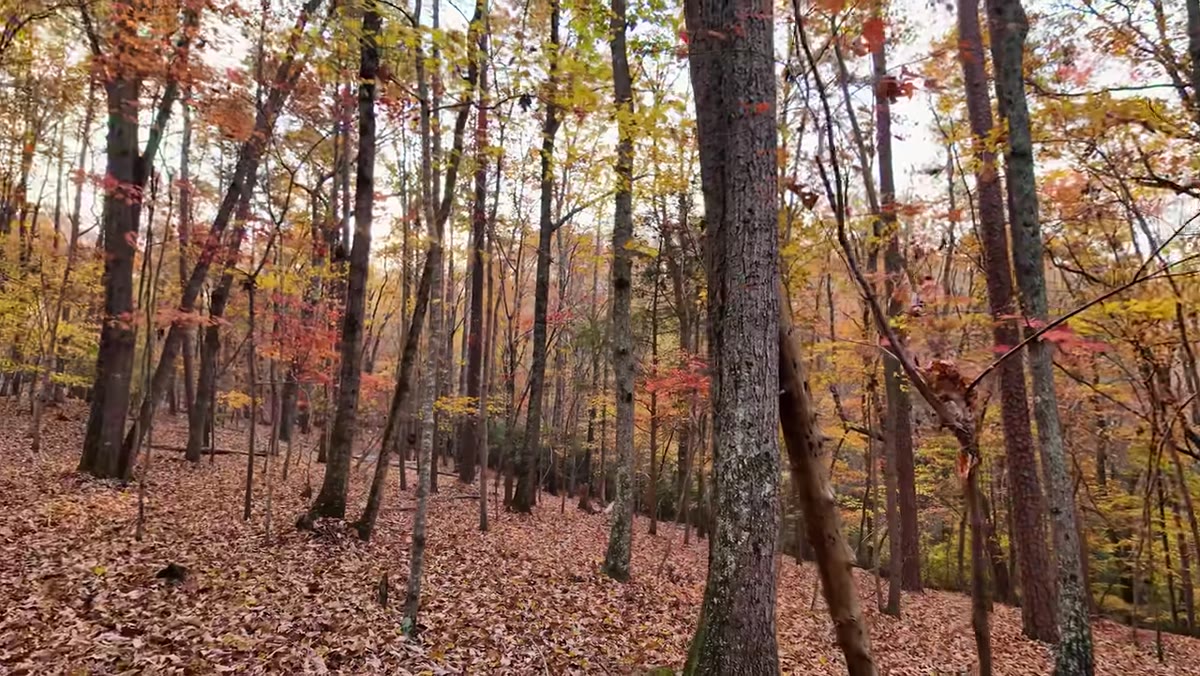 Dappled light filtering through sparse tree canopy above forest floor
One thing Denney notes while walking is how nice the light looks filtering through the canopy. This is easy to miss when you’re thinking big-picture about composition. In macro shooting, dappled canopy light creates natural spotlighting on small subjects and produces soft, out-of-focus backgrounds without any effort. Position yourself so your subject is in a small pool of direct light while the background stays in shade. You get separation, warmth, and depth for free. No diffuser, no reflector, no extra gear.
Dappled light filtering through sparse tree canopy above forest floor
One thing Denney notes while walking is how nice the light looks filtering through the canopy. This is easy to miss when you’re thinking big-picture about composition. In macro shooting, dappled canopy light creates natural spotlighting on small subjects and produces soft, out-of-focus backgrounds without any effort. Position yourself so your subject is in a small pool of direct light while the background stays in shade. You get separation, warmth, and depth for free. No diffuser, no reflector, no extra gear.
What I’d Add: The Budget Macro Entry Point
Denney rents a proper macro lens and that’s a smart call for dedicated macro work. But if you just want to test the approach before committing to a rental, extension tubes are worth knowing about. A set of three extension tubes for most major mounts runs $20 to $35 on Amazon, and they let you convert any lens you already own into a close-focusing one. They’re not true macro, you lose autofocus on most systems, and minimum focusing distances vary by lens. But for shooting leaves on the ground on a calm day, manual focus is completely manageable. I’ve tested this with a standard 50mm and gotten shots that honestly held up in comparison to dedicated macro work when the subject was cooperative. It’s not a permanent solution, but it gets you shooting this weekend without spending anything significant.
The biggest thing I took from Mark Denney’s tutorial is that creative blocks during transitional seasons are usually a gear and scale problem, not a location problem. You don’t need better scenery. You need a different lens and a reason to look at what’s six inches in front of your feet. That reframe alone is worth twenty minutes of your time.
Watch the full tutorial on YouTube to see Denney walk through the actual location and demonstrate his process in real time.
Comments (3)
Simple but effective. Sometimes that's all you need.
Quality content like this is rare. Keep it up.
Excellent tutorial. I'd add that from a compositing standpoint, this technique is incredibly versatile.
Leave a Comment