
I have a spreadsheet with every budget lens I’ve tested over the past four years. Primes, zooms, vintage glass, Chinese third-party copies of Japanese classics. I thought I had a pretty solid mental map of what a lens can do to an image. Then I watched Pierre T. Lambert take a tilt lens out onto the streets of Chicago and I realized there’s a whole category of optical weirdness I had mostly ignored. Not because tilt lenses are new, but because I assumed they were either too expensive or too niche to matter for most shooters.
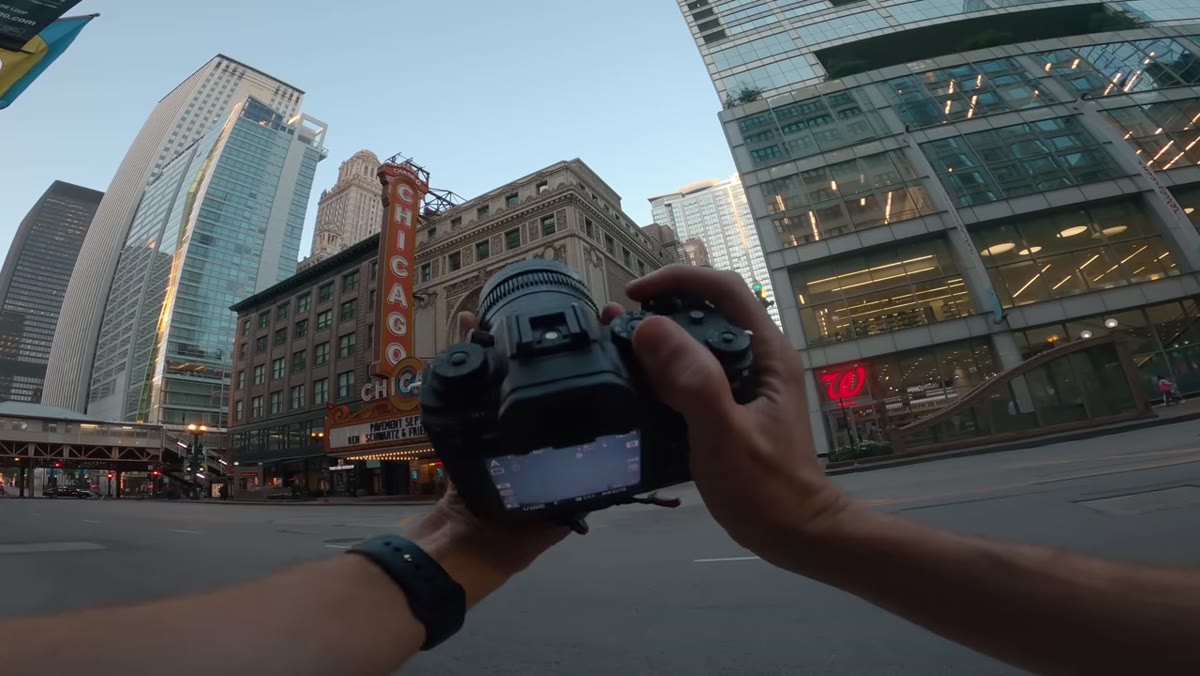
In this Pierre T. Lambert tutorial, he shoots handheld street photography with a 50mm f/1.4 tilt lens for the first time, figuring it out in real time. That rawness is actually what makes it useful. You’re not watching a polished explainer. You’re watching a working photographer genuinely puzzle through a tool that doesn’t behave like anything else in the bag. That process of discovery maps directly onto what you’ll experience if you pick one of these up, which is increasingly easy to do on a budget if you know where to look.
The core promise of a tilt lens is this: it lets you physically shift the focal plane rather than keeping it parallel to your sensor. The result is images where sharpness runs diagonally through the frame, or pools in one small zone while everything else melts away, in ways that a standard fast prime simply cannot replicate. Here’s how Lambert works through it.
Step 1: Understand the Two Axes of Control
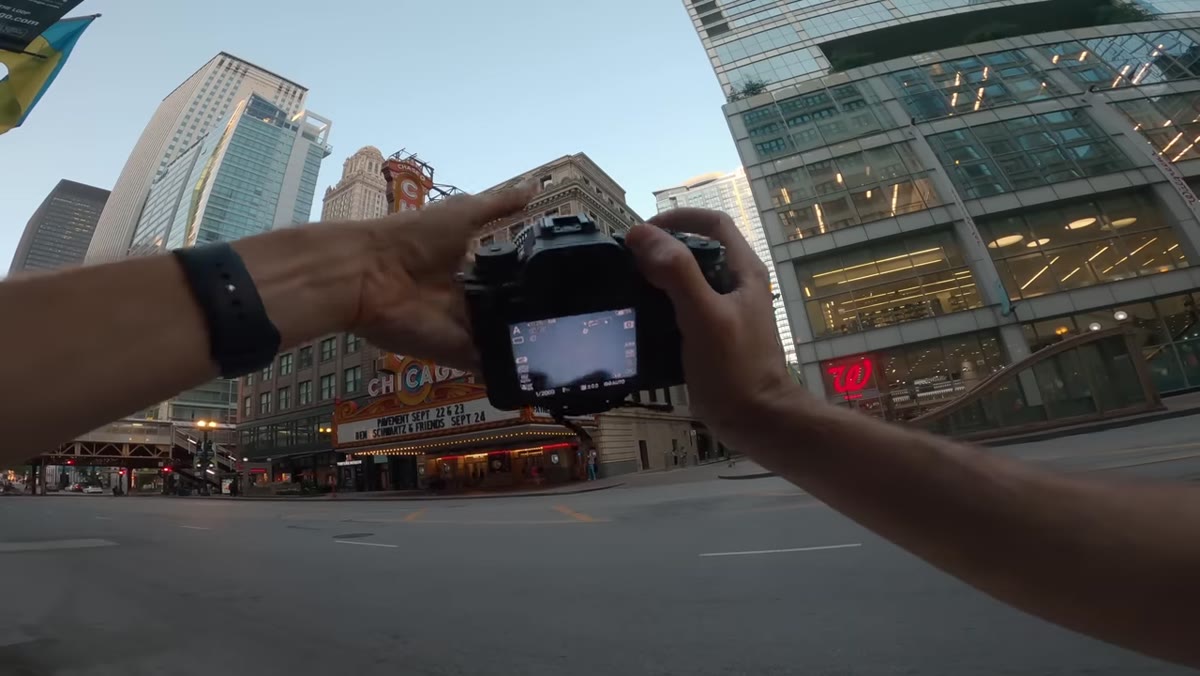 Hands demonstrating the tilt lens rotation and shift axes
Before you shoot a single frame, you need to know what the two physical controls on a tilt lens actually do. The rotation ring changes which direction the tilt is applied, letting you orient the tilted plane horizontally for landscape and street shots or vertically for portraits. The tilt itself adjusts the angle between the lens axis and the sensor plane. At zero degrees, the lens behaves like a normal prime. As you increase the tilt angle, the focal plane tips away from parallel, and the in-focus zone becomes a narrow wedge rather than a flat band across the frame.
Hands demonstrating the tilt lens rotation and shift axes
Before you shoot a single frame, you need to know what the two physical controls on a tilt lens actually do. The rotation ring changes which direction the tilt is applied, letting you orient the tilted plane horizontally for landscape and street shots or vertically for portraits. The tilt itself adjusts the angle between the lens axis and the sensor plane. At zero degrees, the lens behaves like a normal prime. As you increase the tilt angle, the focal plane tips away from parallel, and the in-focus zone becomes a narrow wedge rather than a flat band across the frame.
Lambert spends his first few minutes just rotating the lens mount and watching what changes in his viewfinder. Do this before you go out. Mount the lens indoors, point it at something with depth, and slowly dial in tilt while watching where focus lives and where it falls off. That five minutes of kitchen-table experimentation will save you a lot of confusion on the street.
Step 2: Start at Zero Tilt to Calibrate Your Eye
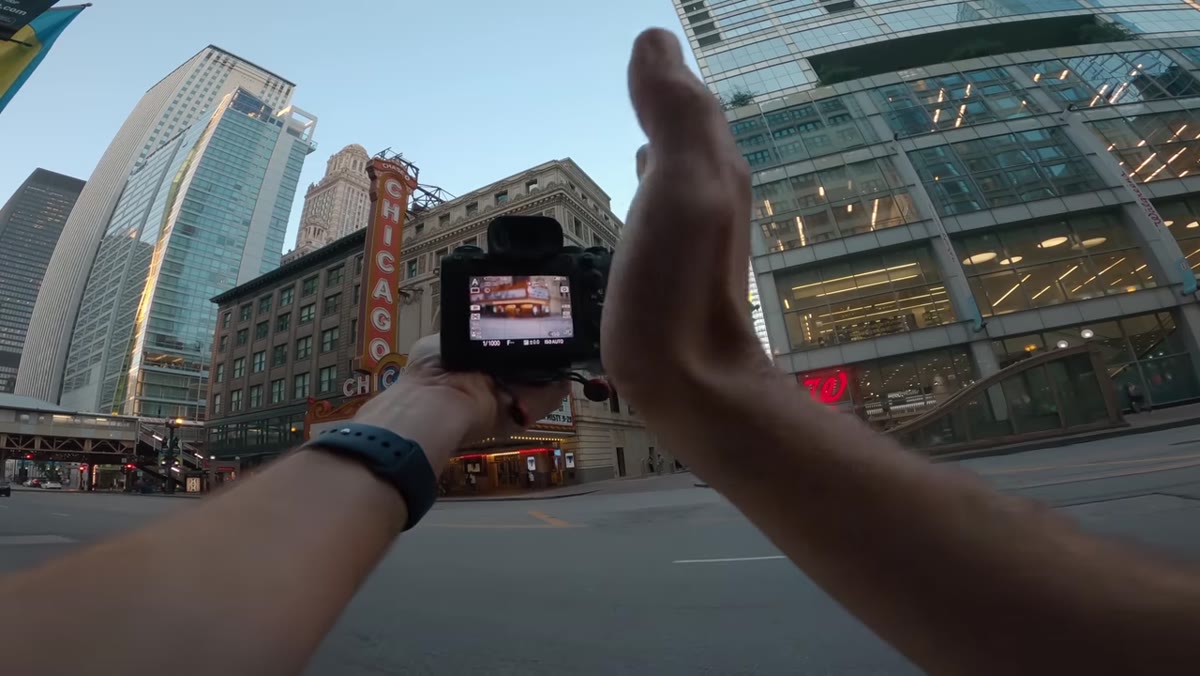 Viewfinder or LCD showing normal lens behavior at zero tilt
Lambert’s first street frames are shot with the tilt dialed back to zero so he has a reference point. This matters more than it sounds. A tilt lens is still a lens, and at zero tilt it functions like a standard manual prime. Getting a few normal shots first gives you something to compare against when you start pushing the tilt. It also helps you nail your base exposure and focus distance before you add another variable.
Viewfinder or LCD showing normal lens behavior at zero tilt
Lambert’s first street frames are shot with the tilt dialed back to zero so he has a reference point. This matters more than it sounds. A tilt lens is still a lens, and at zero tilt it functions like a standard manual prime. Getting a few normal shots first gives you something to compare against when you start pushing the tilt. It also helps you nail your base exposure and focus distance before you add another variable.
One practical note: these lenses are fully manual focus, no exceptions. If you’re used to autofocus street shooting, build in extra time to pre-focus or zone focus. Lambert shoots at f/4 for much of this session, which gives him enough depth of field to land focus even when the tilt is introducing some unpredictability.
Step 3: Apply Tilt for the Selective Focus Effect
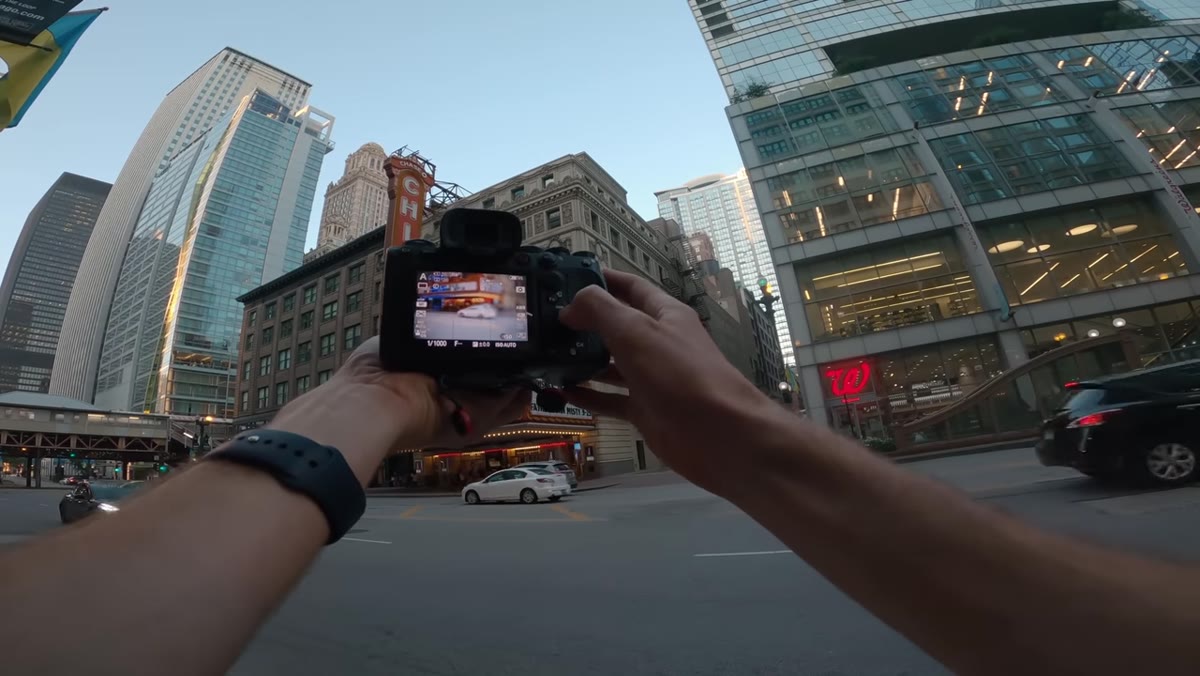 Side-by-side demonstration of in-focus and out-of-focus zones with tilt applied
This is the shot that stops people mid-scroll on Instagram. With tilt applied, one side or one diagonal strip of your frame snaps into sharp focus while everything adjacent falls into a smooth, almost surreal blur. Lambert points the lens at a street scene and shows how a scooter on one side of the frame can be razor sharp while a subject two feet away in the same plane goes completely soft.
Side-by-side demonstration of in-focus and out-of-focus zones with tilt applied
This is the shot that stops people mid-scroll on Instagram. With tilt applied, one side or one diagonal strip of your frame snaps into sharp focus while everything adjacent falls into a smooth, almost surreal blur. Lambert points the lens at a street scene and shows how a scooter on one side of the frame can be razor sharp while a subject two feet away in the same plane goes completely soft.
The technique is to pick your sharpest subject first, focus on it normally, then adjust tilt until the blur falls where you want it. Don’t try to predict where the tilt will land from the outside. Watch your live view or look through the viewfinder and move the tilt while the scene is in front of you. It’s a physical, tactile process, not a setting you dial in precisely.
Step 4: Use the Miniature Effect on Elevated or Wide Scenes
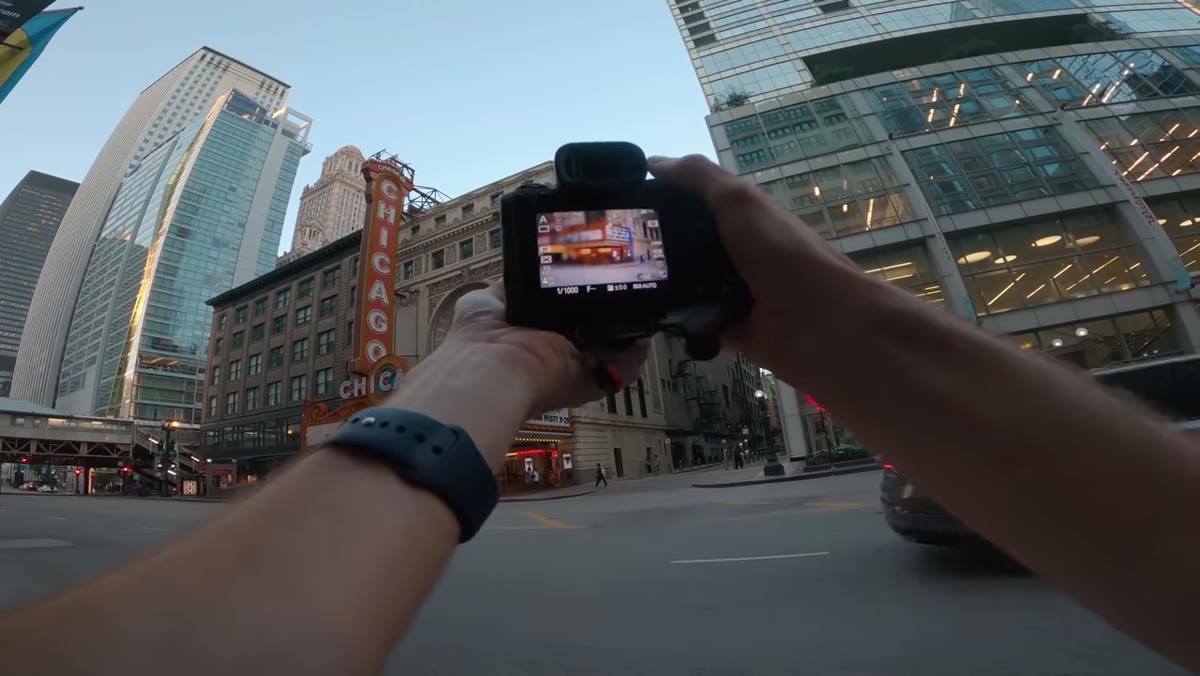 Wide street scene showing miniature tilt-shift effect on architecture
One of the most recognizable tilt lens effects is the fake miniature look, where a real scene starts to resemble a scale model. Lambert gets this on a wider street shot of Chicago buildings. The effect works best when you’re slightly above your subject or shooting across a scene with real depth, because the tilt creates the illusion of extreme shallow depth of field that our brains associate with macro photography of tiny objects.
Wide street scene showing miniature tilt-shift effect on architecture
One of the most recognizable tilt lens effects is the fake miniature look, where a real scene starts to resemble a scale model. Lambert gets this on a wider street shot of Chicago buildings. The effect works best when you’re slightly above your subject or shooting across a scene with real depth, because the tilt creates the illusion of extreme shallow depth of field that our brains associate with macro photography of tiny objects.
For street photographers, intersections shot from a second-floor window or elevated crosswalk are ideal. Architectural subjects with lots of horizontal lines work well too. The effect doesn’t require heavy tilt, a subtle adjustment of five to eight degrees is often enough to sell it.
Step 5: Shift Orientation for Portrait Applications
 Photographer rotating lens mount to vertical orientation for portrait framing
Lambert notes that by rotating the tilt axis 90 degrees, the same lens becomes a portrait tool with a very different character. Instead of the focal plane tipping horizontally across a landscape scene, it now tips vertically through a standing subject. The result is a portrait where, say, one eye is sharp and the other falls off, or a face is sharp while the background and foreground both dissolve simultaneously.
Photographer rotating lens mount to vertical orientation for portrait framing
Lambert notes that by rotating the tilt axis 90 degrees, the same lens becomes a portrait tool with a very different character. Instead of the focal plane tipping horizontally across a landscape scene, it now tips vertically through a standing subject. The result is a portrait where, say, one eye is sharp and the other falls off, or a face is sharp while the background and foreground both dissolve simultaneously.
For portraits, Lambert suggests this can be more flattering and more interesting than standard fast-prime bokeh because the blur is asymmetrical and directional. Try shooting at f/2 or f/2.8 rather than wide open, since the tilt already does heavy lifting on the separation and you don’t want the focus window to become unworkably thin.
What I’d Add: The Budget Entry Point Is Real
Lambert doesn’t name the specific lens he’s using in the clip, but 50mm tilt lenses are more accessible than most people think. Chinese-manufactured tilt adapters and dedicated tilt lenses for mirrorless systems have come down significantly in price, and several options sit under $200 new, with used copies appearing regularly on eBay and MPB for less. I’ve been tracking a few in my usual morning deal sweep and the price gap between these and a genuine Canon or Nikon tilt-shift (which runs $1,000 to $2,500) is substantial enough that budget shooters shouldn’t write off the category.
The tradeoff at the lower price points is build quality and the sharpness of the in-focus zone, not the tilt mechanism itself. The optical weirdness works just as well on a $150 third-party version. If you’re using it specifically for the creative focal plane effects Lambert demonstrates here, the budget option is a completely reasonable starting point.
The single most important thing this tutorial reinforced for me is that creative optical effects don’t require software. The tilt lens does something in-camera that Lightroom cannot replicate, because the blur falloff follows actual optical physics rather than an algorithm’s guess at depth. If you’ve been sleeping on tilt lenses the way I had, this video is worth your time.
Watch the full tutorial on YouTube
Comments (2)
This is the kind of content that keeps me coming back.
Tried this technique this morning. Game changer for real.
Leave a Comment