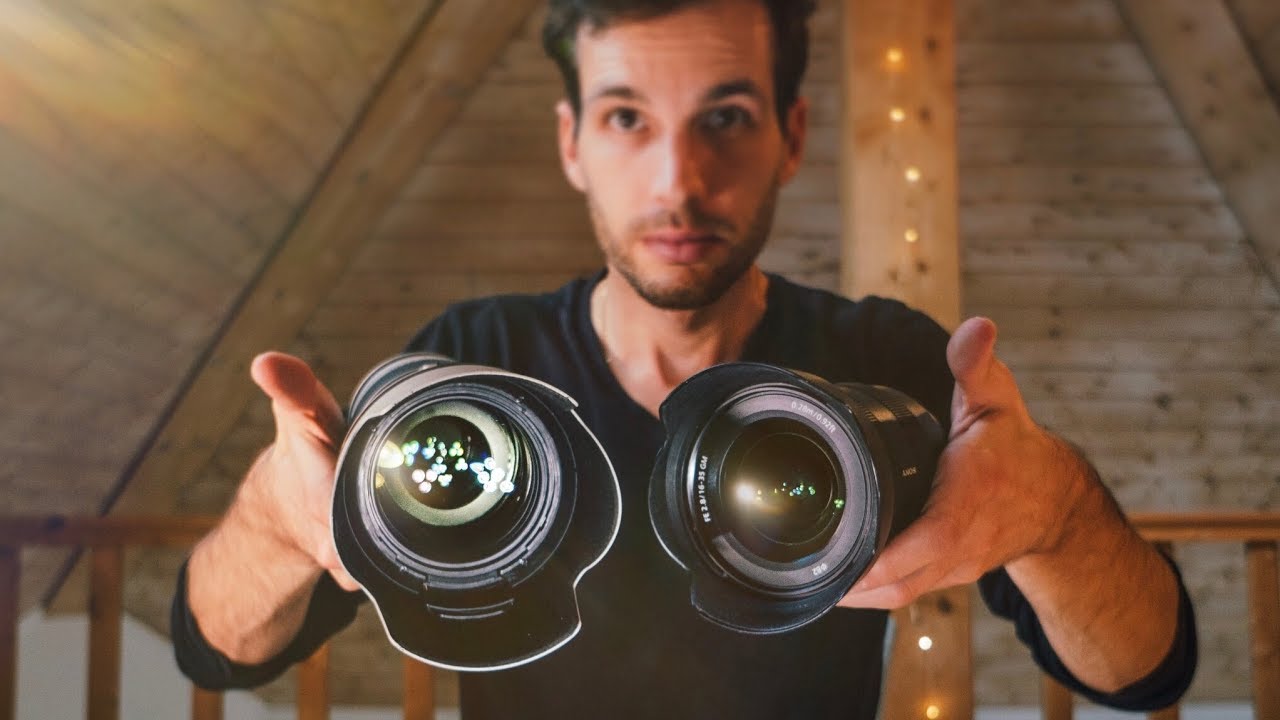
There’s a question I get more than any other: “What lenses should I actually carry?” Not what’s on the spec sheet. Not what a camera store employee suggests because it moves margin. What actually works when you’re out in the field trying to cover a wide range of subjects without blowing your back out or your budget. In this Pierre T. Lambert tutorial, he answers that question from a very specific and useful vantage point: a full year of shooting around the world, covering landscape, portrait, street, and lifestyle work with just two lenses. Watch the full tutorial on YouTube
What makes this worth breaking down is that Pierre doesn’t just praise the gear. He also cops to the idea that choosing these particular lenses may have been a mistake for his use case, at least partially. That kind of honest self-assessment is rare in gear content, and it maps directly to something I’ve been saying for years: the best lens isn’t the most expensive one, it’s the one that fits how you actually shoot. I’ve tested enough budget glass to know that the real skill is matching focal range and aperture to your real-world workflow, not chasing the flagship label. Here’s exactly how Pierre breaks it down.
Step 1: Define Your Coverage Before You Pick Glass
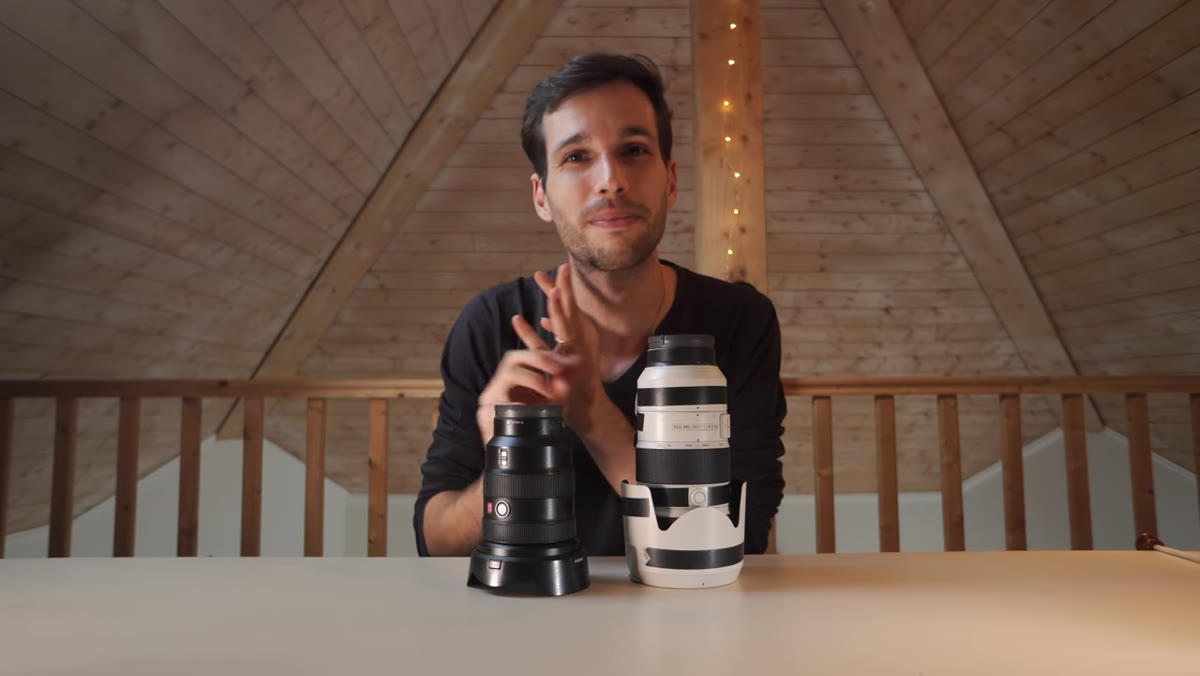 Pierre holds up the 16-35mm and 70-200mm side by side
Pierre’s starting point isn’t a lens recommendation. It’s a use case. He was preparing for extended travel photography that would demand everything from ultra-wide landscape shots to compressed portrait work, all without the option to run back to a gear closet. Before he even names the lenses, he frames the decision around what he needed to cover. That’s the actual lesson here. Sit down and list the types of shooting you’ll do in a given month. Landscape, street, portrait, event? Each of those has a focal length sweet spot, and your lens kit should map to that list, not to a YouTuber’s shelf.
Pierre holds up the 16-35mm and 70-200mm side by side
Pierre’s starting point isn’t a lens recommendation. It’s a use case. He was preparing for extended travel photography that would demand everything from ultra-wide landscape shots to compressed portrait work, all without the option to run back to a gear closet. Before he even names the lenses, he frames the decision around what he needed to cover. That’s the actual lesson here. Sit down and list the types of shooting you’ll do in a given month. Landscape, street, portrait, event? Each of those has a focal length sweet spot, and your lens kit should map to that list, not to a YouTuber’s shelf.
Step 2: Understand What the 16-35mm f/2.8 Actually Gives You
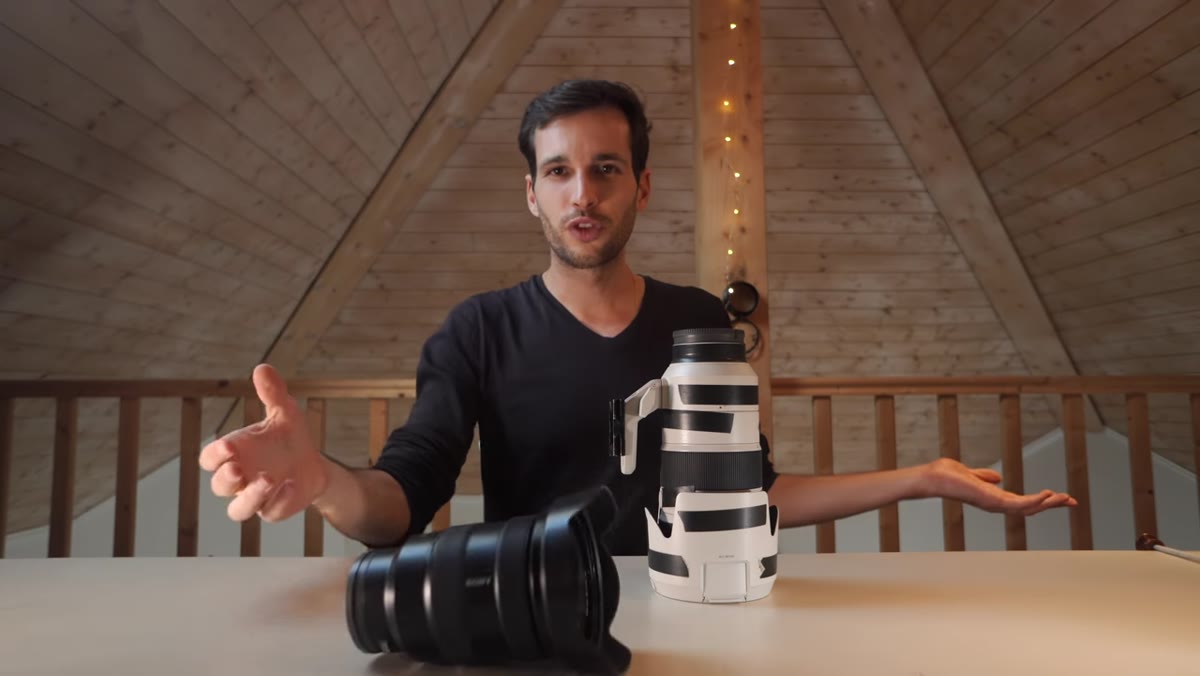 Close-up of the Sony 16-35mm G Master lens
The Sony 16-35mm f/2.8 G Master is Pierre’s workhorse, and he estimates it’s on his camera about 85 percent of the time. The reason is flexibility within a single mount. At 16mm on a full-frame sensor, you’re capturing sweeping environmental context, great for landscapes and vlogging where you want the viewer to feel placed in a scene. Pull back to 35mm and you’re in street portrait territory, a focal length that flatters subjects without the distortion that plagues wider primes. The constant f/2.8 aperture across the entire zoom range is the technical detail that matters most here. You’re not losing light or depth-of-field control as you zoom, which means one lens handles both the wide establishing shot and the tighter character shot without a settings overhaul between frames.
Close-up of the Sony 16-35mm G Master lens
The Sony 16-35mm f/2.8 G Master is Pierre’s workhorse, and he estimates it’s on his camera about 85 percent of the time. The reason is flexibility within a single mount. At 16mm on a full-frame sensor, you’re capturing sweeping environmental context, great for landscapes and vlogging where you want the viewer to feel placed in a scene. Pull back to 35mm and you’re in street portrait territory, a focal length that flatters subjects without the distortion that plagues wider primes. The constant f/2.8 aperture across the entire zoom range is the technical detail that matters most here. You’re not losing light or depth-of-field control as you zoom, which means one lens handles both the wide establishing shot and the tighter character shot without a settings overhaul between frames.
Step 3: Use the Wide End as a Storytelling Tool, Not Just a Landscape Tool
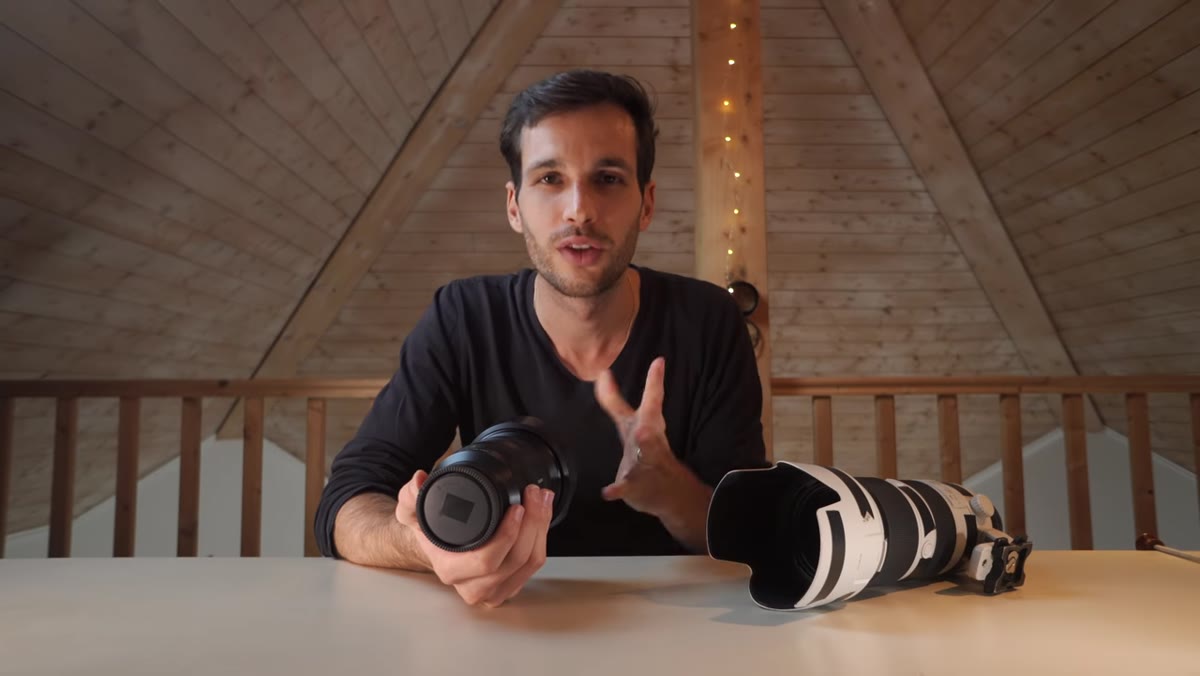 Pierre describing wide-angle use in street and video contexts
Pierre makes a point that a lot of photographers miss: 16mm isn’t just for scenery. When you’re shooting street or travel video and you want the environment to be part of the story, wide focal lengths pull the viewer into the frame in a way that a standard zoom simply can’t replicate. The distortion at the edges can actually work for you in urban environments, creating a sense of energy and scale. The practical takeaway is to stop treating your widest focal length as a “only when I need the whole mountain” option. Try shooting environmental portraits at 16-24mm and see how the background becomes part of the subject’s story rather than just compression blur.
Pierre describing wide-angle use in street and video contexts
Pierre makes a point that a lot of photographers miss: 16mm isn’t just for scenery. When you’re shooting street or travel video and you want the environment to be part of the story, wide focal lengths pull the viewer into the frame in a way that a standard zoom simply can’t replicate. The distortion at the edges can actually work for you in urban environments, creating a sense of energy and scale. The practical takeaway is to stop treating your widest focal length as a “only when I need the whole mountain” option. Try shooting environmental portraits at 16-24mm and see how the background becomes part of the subject’s story rather than just compression blur.
Step 4: Know What the 70-200mm f/2.8 Is Actually For
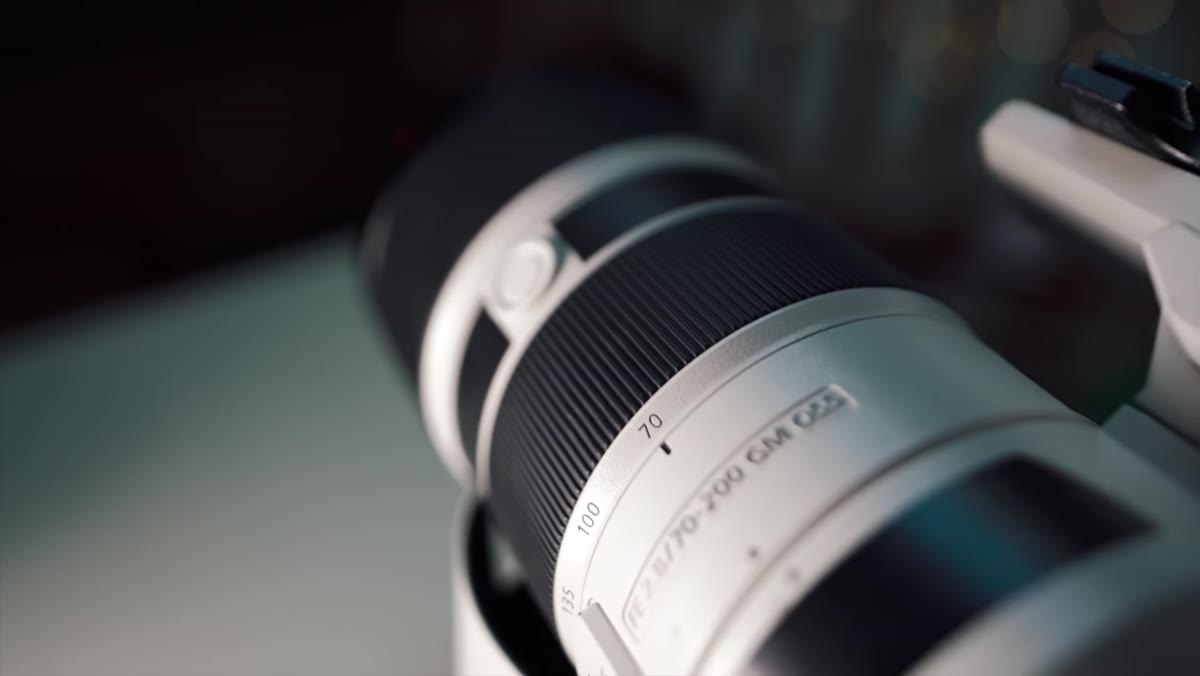 Pierre holding the 70-200mm lens, discussing its range
The 70-200mm f/2.8 is the lens Pierre describes as the one zoom he’d keep if forced to choose a single long-range option for the rest of his career. The reason isn’t mysterious. At 200mm and f/2.8, the background compression is dramatic, subject isolation is extreme, and you can work from a distance that keeps candid subjects natural and unaware. Pierre points out that this is especially useful when you want to be “in the action” photographically without physically intruding on a scene. Street shooters know this well. A long lens from across the street reads a scene differently than a wide lens in someone’s face, and neither approach is wrong, they’re just different languages.
Pierre holding the 70-200mm lens, discussing its range
The 70-200mm f/2.8 is the lens Pierre describes as the one zoom he’d keep if forced to choose a single long-range option for the rest of his career. The reason isn’t mysterious. At 200mm and f/2.8, the background compression is dramatic, subject isolation is extreme, and you can work from a distance that keeps candid subjects natural and unaware. Pierre points out that this is especially useful when you want to be “in the action” photographically without physically intruding on a scene. Street shooters know this well. A long lens from across the street reads a scene differently than a wide lens in someone’s face, and neither approach is wrong, they’re just different languages.
Step 5: Acknowledge the Trade-Off You’re Signing Up For
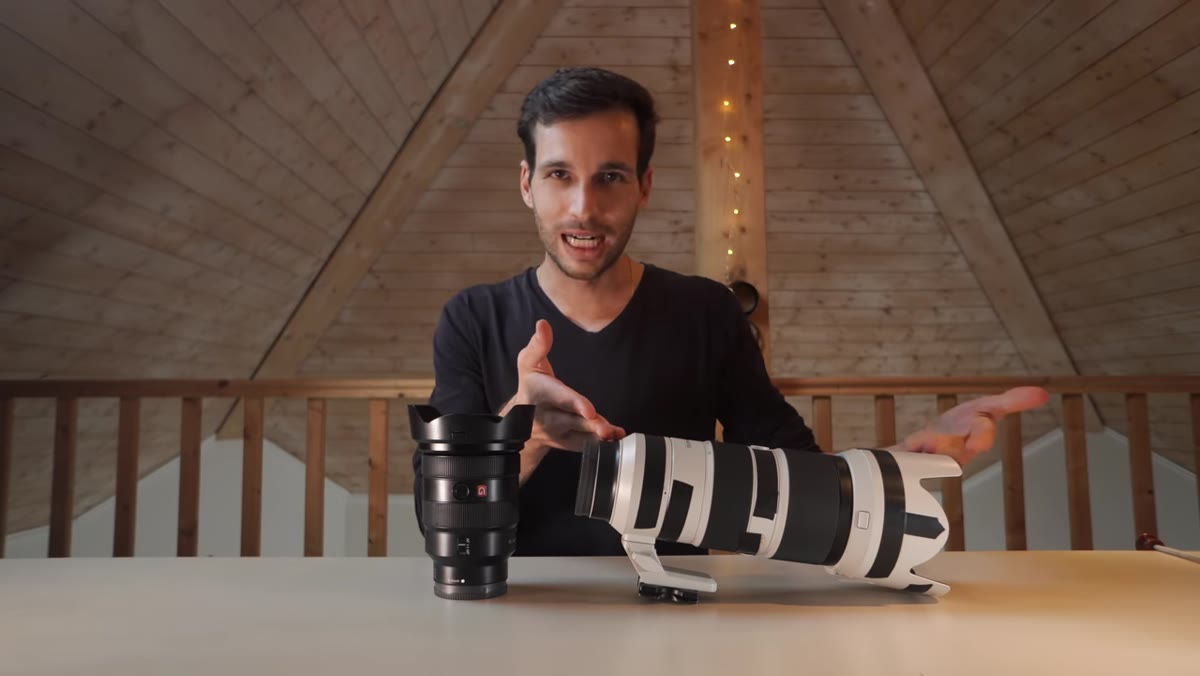 Pierre gesturing at the size and weight of both lenses together
Here’s where Pierre earns real credibility: he admits the setup is heavy, physically demanding, and that for his specific travel shooting style, carrying two large f/2.8 zooms may have been the wrong call. Both lenses together represent significant weight and bulk, especially over a full year of travel. This is the “mistake” he teases in the title. The lesson isn’t that these lenses are bad. They’re optically excellent. The lesson is that maximum optical performance and maximum travel practicality are often in direct conflict, and you need to decide which one you’re optimizing for before you spend the money.
Pierre gesturing at the size and weight of both lenses together
Here’s where Pierre earns real credibility: he admits the setup is heavy, physically demanding, and that for his specific travel shooting style, carrying two large f/2.8 zooms may have been the wrong call. Both lenses together represent significant weight and bulk, especially over a full year of travel. This is the “mistake” he teases in the title. The lesson isn’t that these lenses are bad. They’re optically excellent. The lesson is that maximum optical performance and maximum travel practicality are often in direct conflict, and you need to decide which one you’re optimizing for before you spend the money.
Step 6: Consider Whether a Prime or Smaller Zoom Covers Your Real Needs
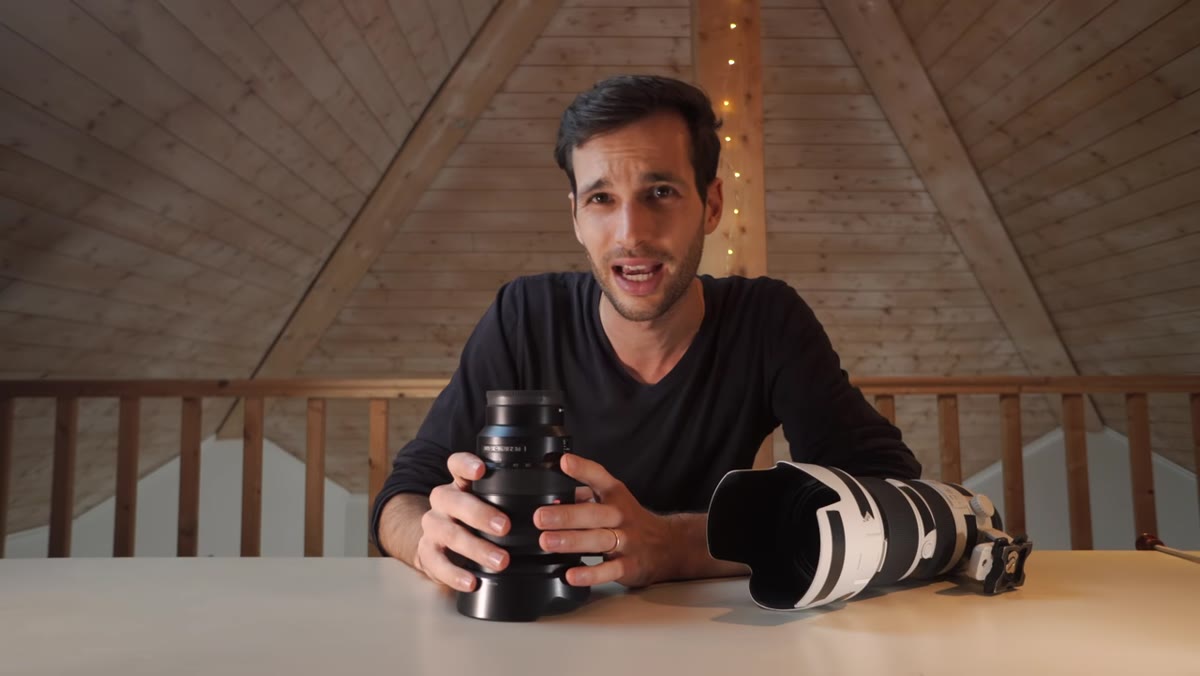 Pierre talking through what he might change about his lens selection
Pierre suggests that depending on your shooting style, a pair of fast primes or a smaller zoom range might serve you better than two professional-grade f/2.8 zooms. If 90 percent of your shots happen between 24mm and 85mm, you’re carrying glass you’re not using. The smarter move is to honestly audit your existing photos by focal length. Most phones and cameras log this in EXIF data, and most photo library apps can filter by it. Look at where your focal length clusters. That cluster is where your money should go.
Pierre talking through what he might change about his lens selection
Pierre suggests that depending on your shooting style, a pair of fast primes or a smaller zoom range might serve you better than two professional-grade f/2.8 zooms. If 90 percent of your shots happen between 24mm and 85mm, you’re carrying glass you’re not using. The smarter move is to honestly audit your existing photos by focal length. Most phones and cameras log this in EXIF data, and most photo library apps can filter by it. Look at where your focal length clusters. That cluster is where your money should go.
What I’d Add: The Budget Version of This Two-Lens Strategy
I haven’t shot on Sony G Masters. My spreadsheet is full of third-party glass from Viltrox, Sigma, and Tamron, and most of it performs well above its price point. The Tamron 17-28mm f/2.8 and 70-180mm f/2.8 are a legitimate answer to the exact setup Pierre describes, covering comparable ranges at roughly half the weight and a third of the cost. I’ve compared shots from the Tamron 70-180mm against the Sony equivalent at meetups and most people can’t reliably tell them apart at typical viewing sizes. The principle Pierre is teaching, two zooms with constant f/2.8 covering wide to telephoto, is sound. The brand you execute it with should match your budget, not your ego.
The single most important thing Pierre demonstrates in this video isn’t which lenses to buy. It’s that your lens kit should be built around documented, real-world usage patterns, not wishful thinking about the shooting you might do someday. Audit your EXIF data, match your glass to your actual range, and be honest about the size and weight you’re willing to carry.
Watch the full tutorial on YouTube to hear Pierre walk through both lenses in his own words, including what he’d change after a full year on the road.
Comments (2)
The tip about two lenses one year of world t was the missing piece for me. Thank you.
This is the kind of content that keeps me coming back.
Leave a Comment