I’ve tracked lens prices on spreadsheets longer than most people track their finances, and the question I field more than any other is still: “Which lens should I get for landscapes?” It’s the kind of question that sounds simple but hides a real trap. Ask ten photographers and you’ll get ten different answers, most of them shaped by sunk cost and brand loyalty more than actual field experience. So when I came across a tutorial where a respected landscape photographer walks through selling off nearly his entire lens collection and explains exactly what he kept and why, I stopped what I was doing and watched it twice.
In this Mark Denney tutorial, Watch the full tutorial on YouTube, he doesn’t just recommend two focal lengths and call it a day. He explains the decision-making process behind a deliberate, two-year gear reduction, including a surprising admission about one choice he now regrets. That combination of transparency and real-world reasoning is rare in gear content, and it maps directly onto questions I’ve been asking myself about how to guide readers toward leaner, smarter kits.
Whether you’re building your first landscape setup or thinking about trimming what you already own, the logic here applies at every budget level. The specific lenses Denney chose are expensive, but the framework for choosing them is free.
Step 1: Accept That Focal Length Preference Is Personal, But Patterns Exist
 Common landscape focal lengths listed on screen
Before you touch your gear bag, Denney’s first move is to set realistic expectations. He acknowledges that landscape photographers tend to cluster around a handful of focal lengths: something in the 10-24mm range, a 16-35mm, a 24-70mm, maybe a 24-105mm, and a 70-200mm. None of these are wrong. But defaulting to “get all of them eventually” is exactly how you end up owning six lenses and using two.
Common landscape focal lengths listed on screen
Before you touch your gear bag, Denney’s first move is to set realistic expectations. He acknowledges that landscape photographers tend to cluster around a handful of focal lengths: something in the 10-24mm range, a 16-35mm, a 24-70mm, maybe a 24-105mm, and a 70-200mm. None of these are wrong. But defaulting to “get all of them eventually” is exactly how you end up owning six lenses and using two.
The exercise here is honest self-assessment. Look back at your last 50 keepers and note what focal length each was shot at. If you’ve never done this, your camera’s EXIF data will do it for you. Lightroom’s Library Filter lets you sort by focal length in about 30 seconds. This step costs nothing and tells you more than any gear review ever will.
Step 2: Understand Why Prime Lenses Failed Him in the Field
 Cliff edge scenario described, no zoom possible
Denney spent real time with prime lenses and came away with a specific, repeatable problem: physical constraints in the landscape made “zooming with your feet” impossible. Standing at a cliff edge, knee-deep in a stream, or on a narrow mountain ledge, you simply can’t reposition. A prime gives you one option, and sometimes that option doesn’t exist.
Cliff edge scenario described, no zoom possible
Denney spent real time with prime lenses and came away with a specific, repeatable problem: physical constraints in the landscape made “zooming with your feet” impossible. Standing at a cliff edge, knee-deep in a stream, or on a narrow mountain ledge, you simply can’t reposition. A prime gives you one option, and sometimes that option doesn’t exist.
This isn’t a knock on primes as a category. They’re sharp, lightweight, and often cheaper than equivalent zooms. But Denney’s point is that landscape photography, more than most genres, puts you in situations where your environment controls your position. If your composition depends on moving your body and your body can’t move safely, a fixed focal length becomes a liability. File that away as a practical constraint, not a preference.
Step 3: Decide Between Wide Options by Looking at What You Actually Use
 16-35mm vs 10-24mm usage comparison discussed
Denney had both a 10-24mm and a 16-35mm in his kit. The 10-24mm sounds like the obvious landscape lens, big and dramatic. But when he went back through his images, the vast majority of his 16-35mm shots landed between 19mm and 35mm. He was almost never reaching for anything wider than 19mm, which made the 10-24mm feel redundant.
16-35mm vs 10-24mm usage comparison discussed
Denney had both a 10-24mm and a 16-35mm in his kit. The 10-24mm sounds like the obvious landscape lens, big and dramatic. But when he went back through his images, the vast majority of his 16-35mm shots landed between 19mm and 35mm. He was almost never reaching for anything wider than 19mm, which made the 10-24mm feel redundant.
The practical takeaway is to run the same audit on your own shooting. If you own a wide zoom and rarely push it to its widest end, you might be carrying extra glass, extra weight, and extra cost for a range you don’t actually use. Denney’s decision to keep the 16-35mm wasn’t sentimental. It was data-driven, and that’s the kind of logic that holds up when you’re packing a bag at 4am for a sunrise shoot.
Step 4: Appreciate What a Wide Zoom Actually Does for Composition
 Wide landscape image showing immersive field of view
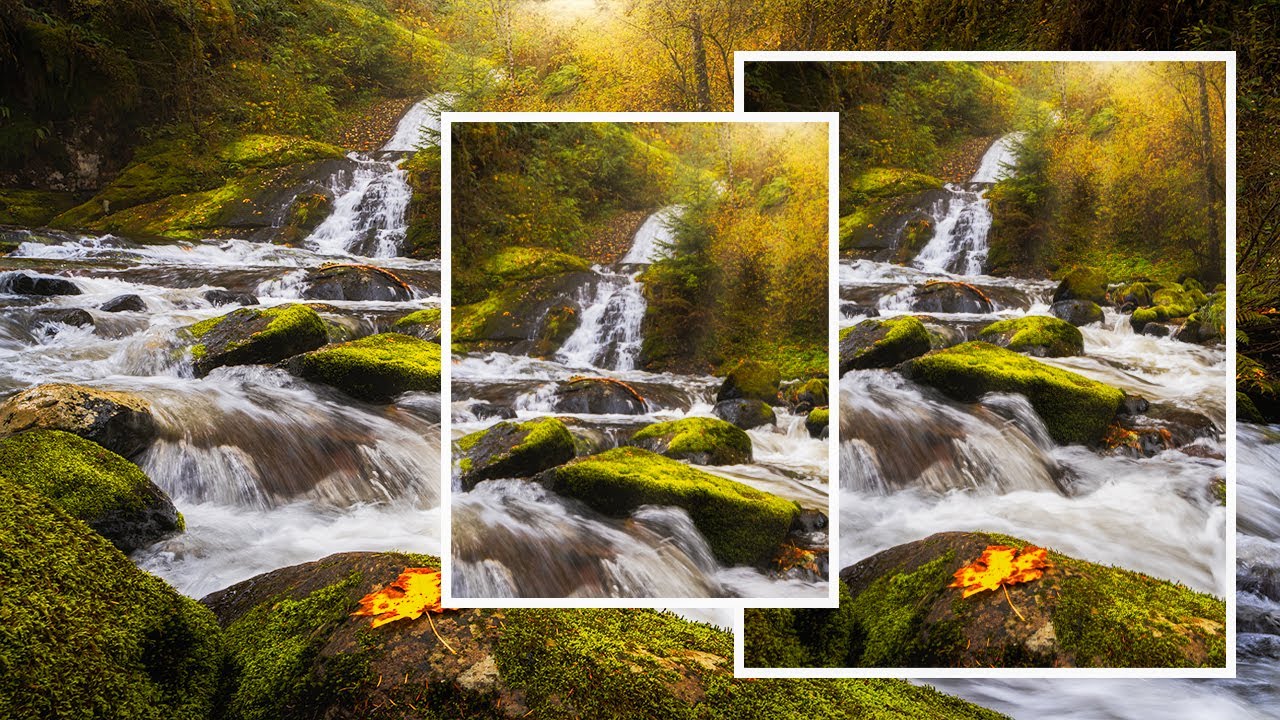
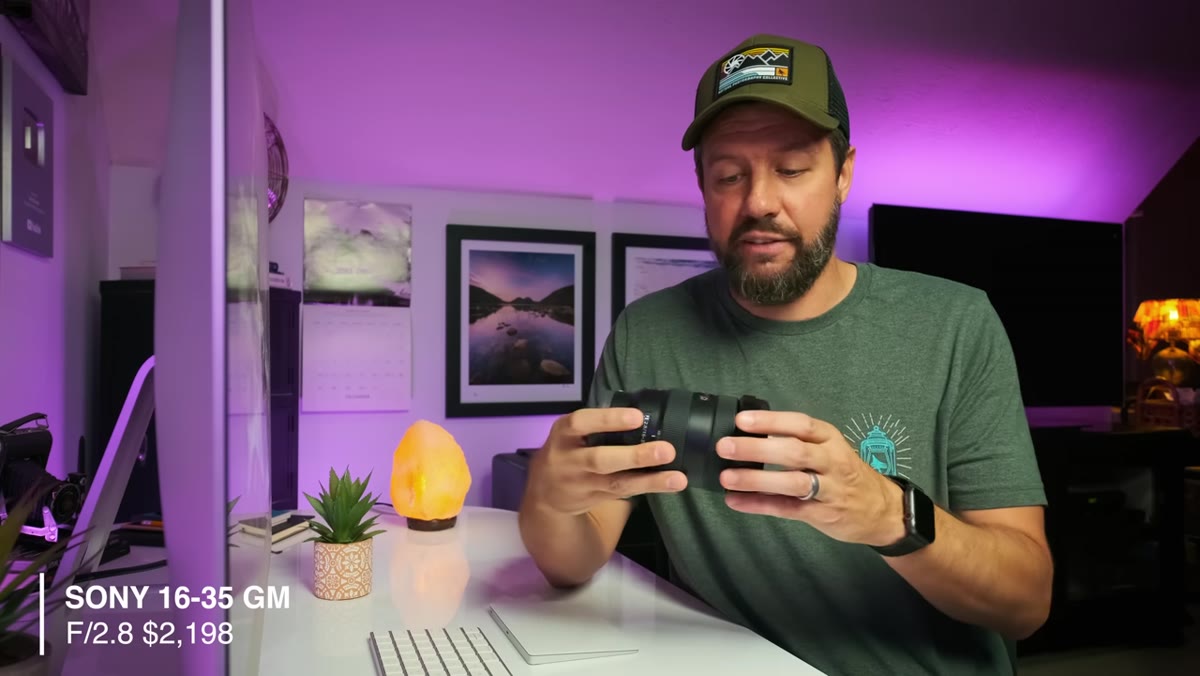
The 16-35mm range Denney kept, specifically a Sony G Master at f/2.8, gives him what he calls immersive compositions: images with wide left-to-right real estate that pull the viewer into the scene. This focal length sits close to what the human eye perceives naturally, which is why wide landscape shots at this range often feel believable rather than distorted.
Wide landscape image showing immersive field of view
The 16-35mm range Denney kept, specifically a Sony G Master at f/2.8, gives him what he calls immersive compositions: images with wide left-to-right real estate that pull the viewer into the scene. This focal length sits close to what the human eye perceives naturally, which is why wide landscape shots at this range often feel believable rather than distorted.
For readers shopping on a budget, this doesn’t mean you need a G Master. It means you need something in this range that you can trust optically. There are solid third-party options from Tamron and Sigma that cover 17-28mm or 16-28mm territory at a fraction of the cost. The focal length logic still applies. The price tag is a separate conversation.
Step 5: Recognize the Value of the “Less Obvious” Second Lens
 Second lens described as uncommon for landscape work
Denney’s second lens choice is the one that most landscape photographers wouldn’t expect. He describes it explicitly as a focal length that isn’t commonly associated with outdoor landscape work. The tutorial builds toward this reveal intentionally, and it challenges the assumption that landscape photography lives entirely in the wide-angle world.
Second lens described as uncommon for landscape work
Denney’s second lens choice is the one that most landscape photographers wouldn’t expect. He describes it explicitly as a focal length that isn’t commonly associated with outdoor landscape work. The tutorial builds toward this reveal intentionally, and it challenges the assumption that landscape photography lives entirely in the wide-angle world.
The lesson isn’t about copying his exact choice. It’s about questioning the conventional wisdom that landscapes require wide glass above everything else. Telephoto compression, for example, can turn a distant mountain range into something visually dramatic in a way that a 16mm shot simply cannot replicate. If you’ve been ignoring longer focal lengths because “that’s not what landscape photographers use,” Denney’s two-year experiment is a good reason to reconsider.
What I’d Add From My Own Testing
I’ve run enough budget lens comparisons to know that the framework Denney uses, audit your actual usage, eliminate redundancy, prioritize zoom range over fixed focal length in unpredictable environments, works at every price point. The two-lens approach he landed on costs several thousand dollars. But the same logic applies to a $350 kit lens and a $200 used telephoto.
Where I’d push back slightly: Denney’s regret about selling certain gear suggests that the “less is more” philosophy has a real floor. Before you sell anything, run your EXIF audit, shoot a full season with your intended two-lens combo, and only then let go of the rest. Selling gear on principle without field confirmation is how you end up buying the same lens twice, which I know from personal experience and at least three entries in my own spreadsheet.
The single most useful thing Denney’s tutorial gives you is permission to stop accumulating and start auditing. Two well-chosen zoom lenses, matched to how you actually shoot, will outperform a bag full of glass you rotate through without intention.
Watch the full tutorial on YouTube to see Denney’s complete breakdown, including the second lens reveal and his honest take on what he wishes he had done differently.
Comments
Leave a Comment