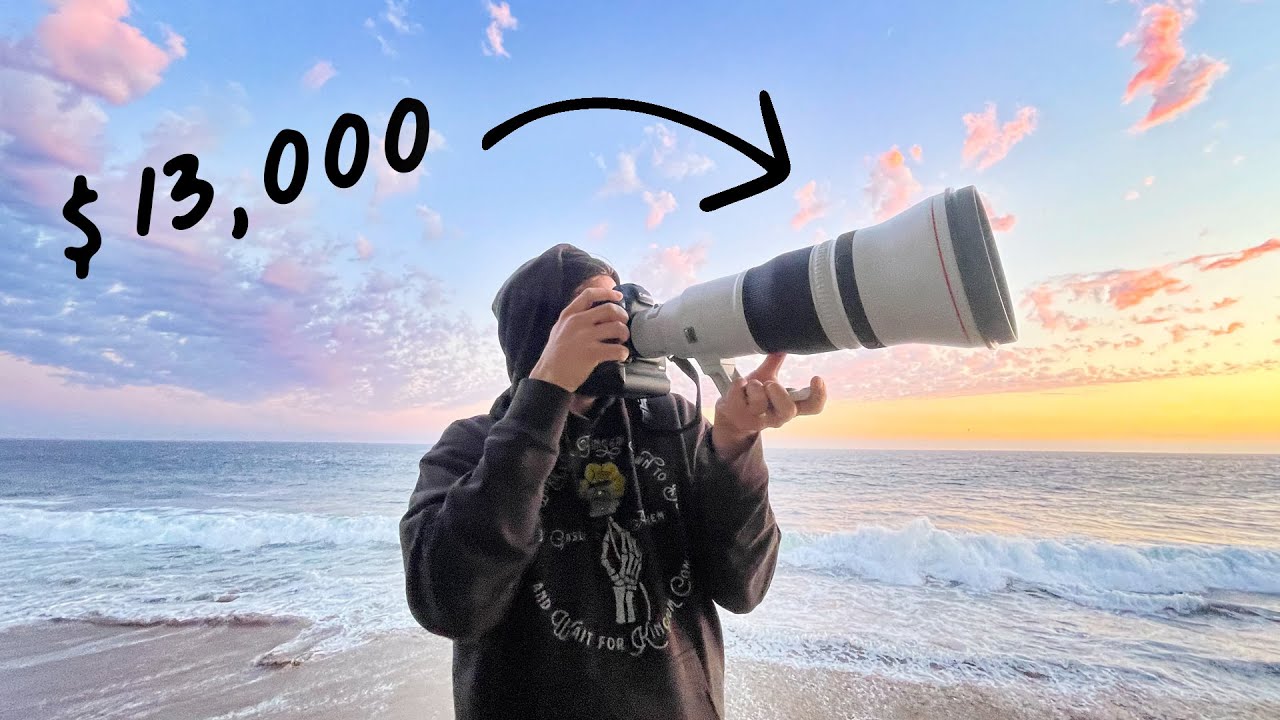
I spend most of my time telling people they don’t need expensive gear. That’s not a bit or a brand position. I genuinely believe it. I shot a wedding on a $300 kit that ended up in print, and I’ve run blind tests where nobody could pick the $2,000 camera from the $500 one. So when I came across a tutorial where someone rents a $13,000 Canon 600mm telephoto just to chase dolphins in Malibu, my first instinct was to roll my eyes.
Then I watched it. And I learned something useful.
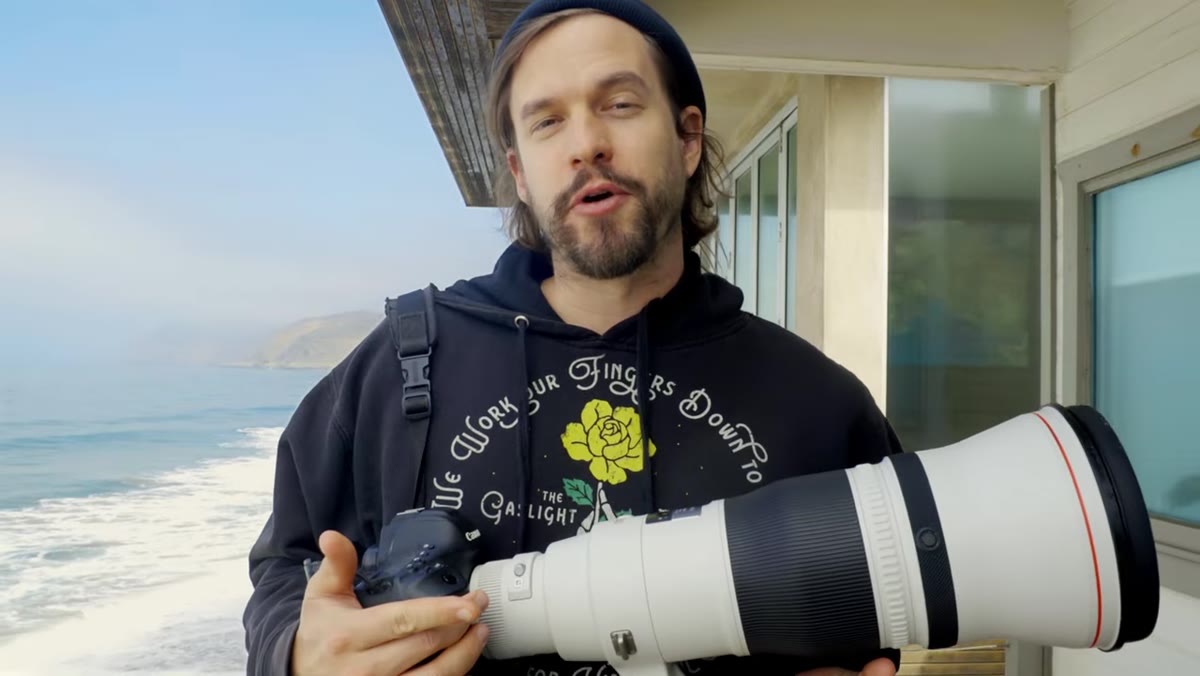
In this Mango Street tutorial, Rachel takes a lens she has zero experience with, points it at unpredictable wildlife, and documents what actually happens. There are no dolphins for most of the video. There’s a lot of waiting. What makes it worth your time is not the gear flex. It’s what shooting at 600mm forces you to confront about your instincts as a photographer, your patience, and whether long glass is something you actually need or just something you think you want.
Step 1: Understand What 600mm Actually Means Before You Pick It Up
 Side-by-side comparison of 85mm vs 600mm framing on coastline
Before Rachel fires a single frame, she does something smart: she shoots the same scene at 85mm so you have a reference point for what 600mm compression actually looks like. Don’t skip this step if you’re testing any new focal length. Pick a fixed object at distance, shoot it at your widest lens, then at the telephoto. The difference is not just magnification. The spatial compression at 600mm flattens the scene in a way that changes how subjects relate to their background entirely.
Side-by-side comparison of 85mm vs 600mm framing on coastline
Before Rachel fires a single frame, she does something smart: she shoots the same scene at 85mm so you have a reference point for what 600mm compression actually looks like. Don’t skip this step if you’re testing any new focal length. Pick a fixed object at distance, shoot it at your widest lens, then at the telephoto. The difference is not just magnification. The spatial compression at 600mm flattens the scene in a way that changes how subjects relate to their background entirely.
If you’re renting a super-telephoto for the first time, do this comparison before you head out to your actual shoot location. It recalibrates your eye and stops you from chimping every shot wondering why things look “off.”
Step 2: Accept That Your Longest Previous Focal Length Is Not Preparation Enough
 Photographer scanning coastline with 600mm mounted on tripod
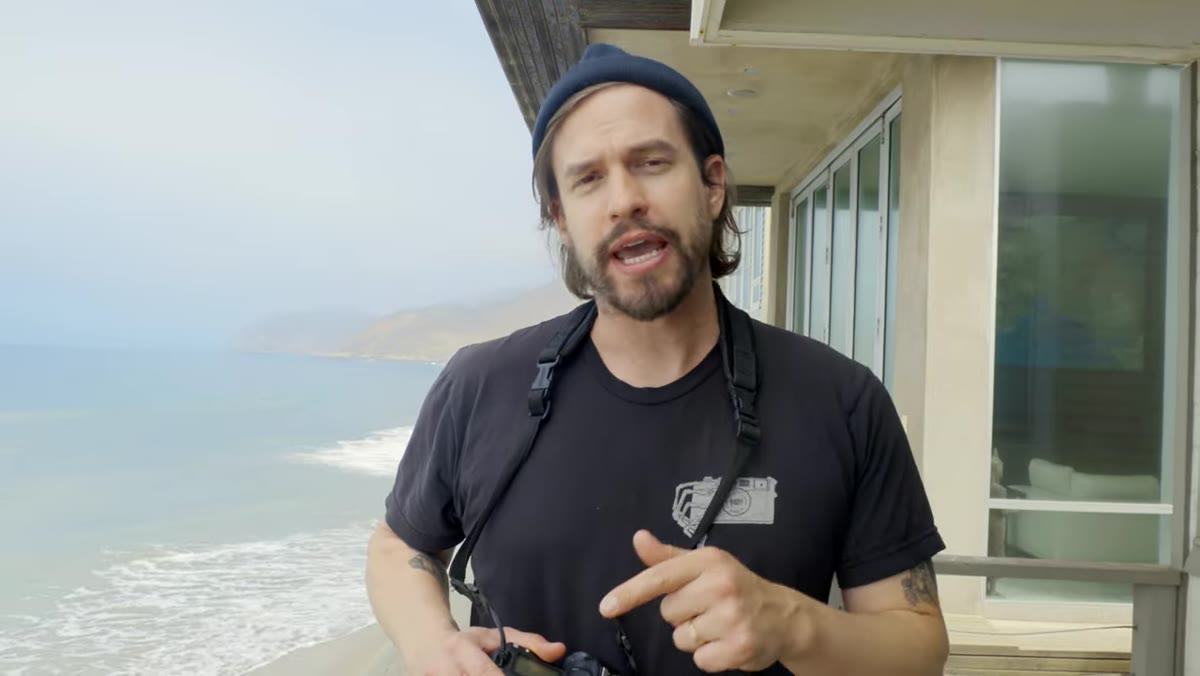
Rachel is honest here in a way most gear videos aren’t. She mentions her longest previous focal length was 400mm, used for portraits, and she acknowledges that wildlife at 600mm is a completely different discipline. This matters. Shooting portraits at 400mm means your subject is cooperative, stationary, and probably looking at you. Wildlife gives you none of that.
Photographer scanning coastline with 600mm mounted on tripod
Rachel is honest here in a way most gear videos aren’t. She mentions her longest previous focal length was 400mm, used for portraits, and she acknowledges that wildlife at 600mm is a completely different discipline. This matters. Shooting portraits at 400mm means your subject is cooperative, stationary, and probably looking at you. Wildlife gives you none of that.
If you’re making a similar jump, build in extra time. Your first hour with an unfamiliar super-telephoto will be spent just figuring out how to track a moving subject in the frame. The magnification amplifies every micro-movement of your hands and your subject. Plan to burn through a lot of mediocre frames before you get anything usable, and don’t measure your session by keepers-per-hour the way you would in a controlled shoot.
Step 3: Find Static Subjects First to Dial In Your Settings
 Sea lion resting on rocks, lens locked on stationary subject
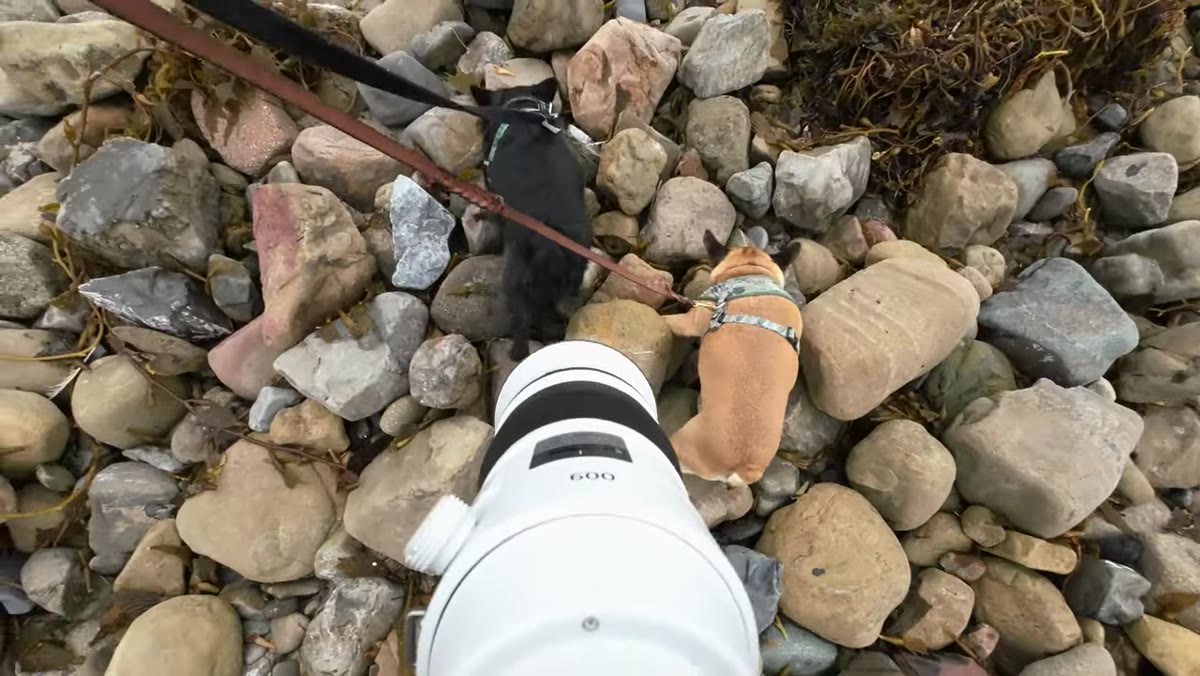
About halfway through the search for dolphins, Rachel lands on “Jeff,” a sea lion parked on some rocks. This is the move. When you’re learning a new focal length in an unpredictable environment, start with whatever isn’t moving. Use that time to lock in your exposure triangle. At 600mm in bright coastal light, you need a shutter speed fast enough to counteract both subject movement and camera shake. A general starting rule is 1/focal length for static subjects, so minimum 1/600s, but for wildlife that’s still moving even a little, push to 1/1000s or faster.
Sea lion resting on rocks, lens locked on stationary subject
About halfway through the search for dolphins, Rachel lands on “Jeff,” a sea lion parked on some rocks. This is the move. When you’re learning a new focal length in an unpredictable environment, start with whatever isn’t moving. Use that time to lock in your exposure triangle. At 600mm in bright coastal light, you need a shutter speed fast enough to counteract both subject movement and camera shake. A general starting rule is 1/focal length for static subjects, so minimum 1/600s, but for wildlife that’s still moving even a little, push to 1/1000s or faster.
Use that stationary subject to also check your autofocus behavior. Is your camera hunting? Is subject tracking staying locked? Better to find out on a resting sea lion than on a dolphin that gives you a two-second window.
Step 4: Shoot Wide Open and Let the Lens Do the Compression Work
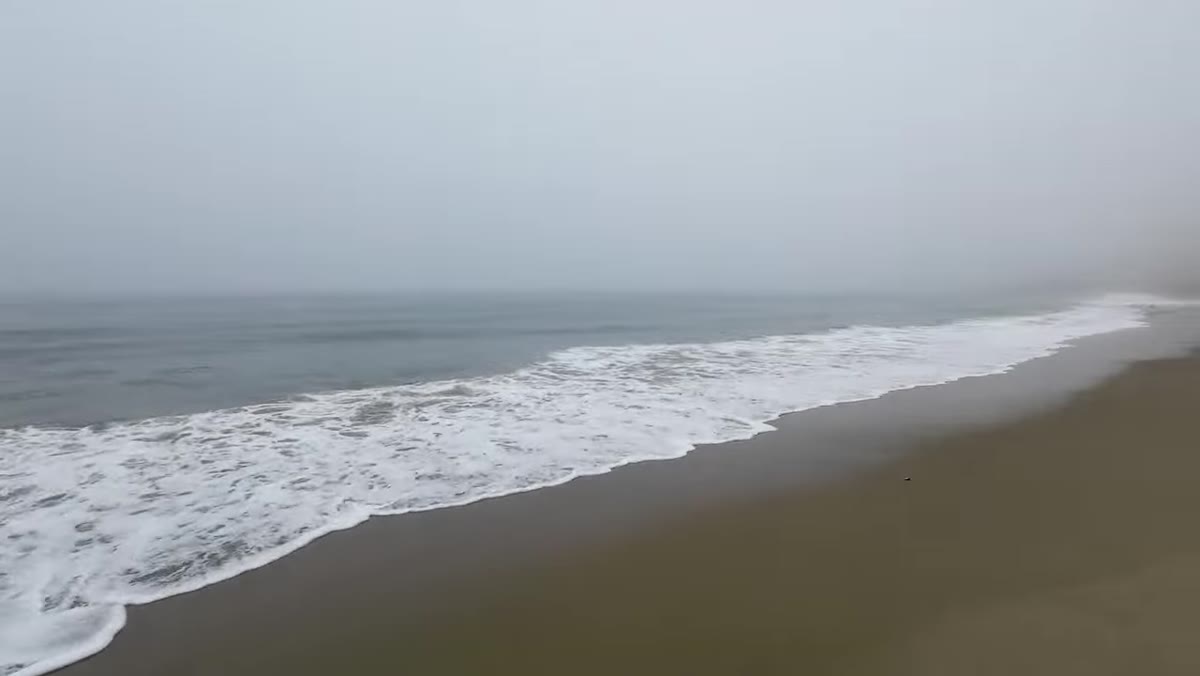 Tight frame of pelican with heavily blurred ocean background
One of the clearest things the footage demonstrates is what wide aperture does at this focal length. At f/4 or f/5.6 on a 600mm, the background doesn’t just blur, it dissolves. Subjects lift off completely from their environment. For wildlife specifically, this is what makes the difference between a snapshot and a frame that looks intentional.
Tight frame of pelican with heavily blurred ocean background
One of the clearest things the footage demonstrates is what wide aperture does at this focal length. At f/4 or f/5.6 on a 600mm, the background doesn’t just blur, it dissolves. Subjects lift off completely from their environment. For wildlife specifically, this is what makes the difference between a snapshot and a frame that looks intentional.
If you’re renting a prime super-telephoto, you’re paying for that optical quality. Shoot wide open, especially in the early part of your session. You can always stop down later if you want more of the environment in focus, but you can’t recreate that separation in post. Lightroom won’t give you what f/4 at 600mm gives you optically.
Step 5: Extend Your Time Window. Wildlife Does Not Respect Your Rental Period
 Text or scene indicating lens rental extension decision
Here’s the part of the video most photographers will relate to even if they’ve never touched a telephoto: Rachel extends the rental by a day because the dolphins simply haven’t shown up. This is a real cost-benefit decision you will face if you’re renting gear for a specific purpose. Build buffer time into your rental window from the start, because the shot you’re chasing may not cooperate with your original schedule.
Text or scene indicating lens rental extension decision
Here’s the part of the video most photographers will relate to even if they’ve never touched a telephoto: Rachel extends the rental by a day because the dolphins simply haven’t shown up. This is a real cost-benefit decision you will face if you’re renting gear for a specific purpose. Build buffer time into your rental window from the start, because the shot you’re chasing may not cooperate with your original schedule.
On the budget side: most rental platforms charge less per day when you book multiple days upfront versus extending day-by-day. Check the pricing structure before you finalize. One extra day booked in advance can cost less than the extension fee charged at the last minute.
Step 6: Review Footage Critically Against Your Normal Work
 Photographer reflecting on experience shooting outside usual style
At the end of the session, Rachel is clear that 600mm pushed her well outside her normal 24-35mm comfort zone. The honest takeaway in the video is that it was a good experience without being a conversion moment. She doesn’t come back saying she needs to own this lens.
Photographer reflecting on experience shooting outside usual style
At the end of the session, Rachel is clear that 600mm pushed her well outside her normal 24-35mm comfort zone. The honest takeaway in the video is that it was a good experience without being a conversion moment. She doesn’t come back saying she needs to own this lens.
Watch your footage or review your RAW files with that same honesty. Ask whether the shots you got justify the cost of the glass, not just in dollars but in the learning curve. Did the focal length serve the subject, or were you just chasing a number?
The Budget Reality Check This Video Won’t Give You
I’ve tested a lot of telephoto glass at various price points, and the honest version of this conversation is about rental math. A 600mm prime in the $13,000 range is a specialist tool for professional wildlife photographers who use it constantly. For everyone else, the calculus is different.
If you want to experiment with super-telephoto work, a 100-400mm or 150-600mm zoom in the $700-$1,500 range will cover most of what you actually need, and you won’t be sick with anxiety every time it’s near salt water. The reach-to-cost curve gets steep fast above 500mm, and the use cases narrow at the same rate. Rent before you buy anything in this range. Always.
The single most useful thing this video demonstrates is not what the lens can do. It’s what patience and flexibility look like when the shoot doesn’t go to plan, and how a photographer adapts their process instead of blaming the gear or the conditions. That’s replicable at any budget.
Watch the full tutorial on YouTube and pay attention to the moments where nothing is happening. That’s where the real lesson is.
Comments (2)
Applied this to my portfolio shots and the improvement is noticeable.
Quality content like this is rare. Keep it up.
Leave a Comment