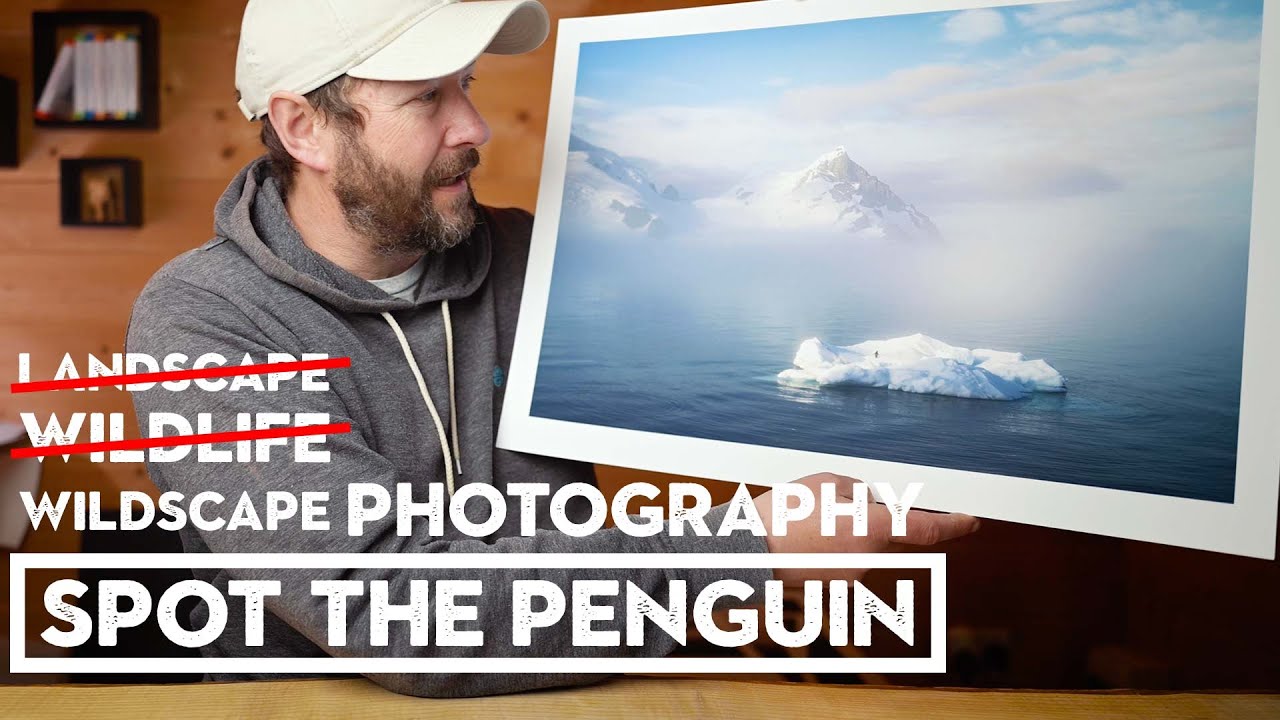
I’ve spent years arguing that technique beats gear, and most of the time I believe it. But every once in a while I watch someone work through a genuinely difficult photographic problem and realize the technique conversation goes a lot deeper than camera settings. That’s what happened when I sat down with Watch the full tutorial on YouTube - Nigel Danson’s breakdown of shooting wildlife in Antarctica as a landscape photographer. He’s not a wildlife shooter by trade. He went in knowing that, and he built a whole approach around it anyway.
What struck me immediately is that Danson wasn’t trying to become a wildlife photographer for this trip. He wanted to make landscapes that happened to include animals, what he calls “wildscape” photography. That framing matters. It changes every decision you make in the field, from where you position yourself to what counts as a keeper. If you’ve ever tried to photograph wildlife and come home with a card full of technically sharp bird portraits that feel completely lifeless, this reframe might be exactly what you need.
The other thing worth flagging before we get into the steps: Danson was shooting from zodiacs and boats that never stopped moving, in a location he’d never visited, with animals that had no interest in his compositional needs. These are genuinely hard conditions. The techniques he developed aren’t theoretical. They were stress-tested in one of the most uncontrolled shooting environments on the planet.
Step 1: Define Your Intention Before You Arrive
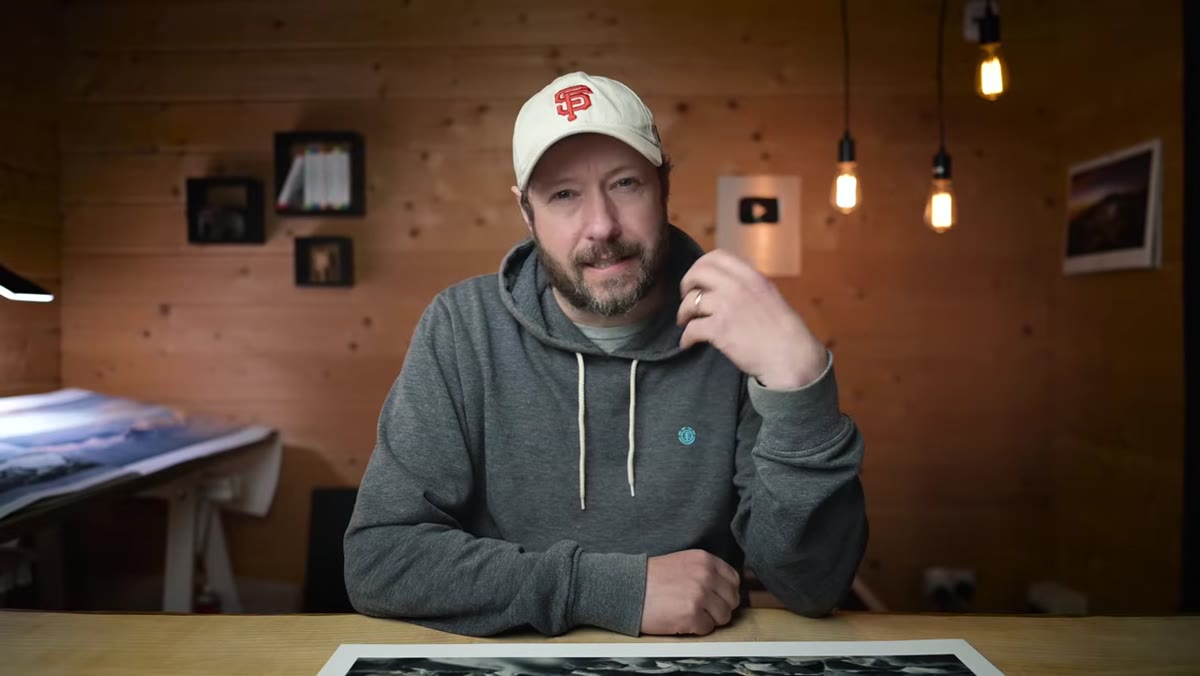 Danson explaining he didn’t want to shoot animal portraits
Danson made a deliberate choice before the trip even started: he avoided looking at other photographers’ Antarctica work. He didn’t want his eye pre-loaded with someone else’s vision. More specifically, he decided he was not primarily interested in animal portraits. He wanted the animal to be a meaningful element inside a landscape, not the entire subject.
Danson explaining he didn’t want to shoot animal portraits
Danson made a deliberate choice before the trip even started: he avoided looking at other photographers’ Antarctica work. He didn’t want his eye pre-loaded with someone else’s vision. More specifically, he decided he was not primarily interested in animal portraits. He wanted the animal to be a meaningful element inside a landscape, not the entire subject.
That sounds simple, but it changes your whole shooting posture. When you’re hunting for a portrait, you close in tight and wait for eye contact. When you’re hunting for a wildscape, you’re scanning for background first - layered terrain, interesting light, a sense of place - and then asking whether an animal could complete that scene. Set your intention before you lift the camera.
Step 2: Read the Landscape First, Then Wait for the Animal to Enter It
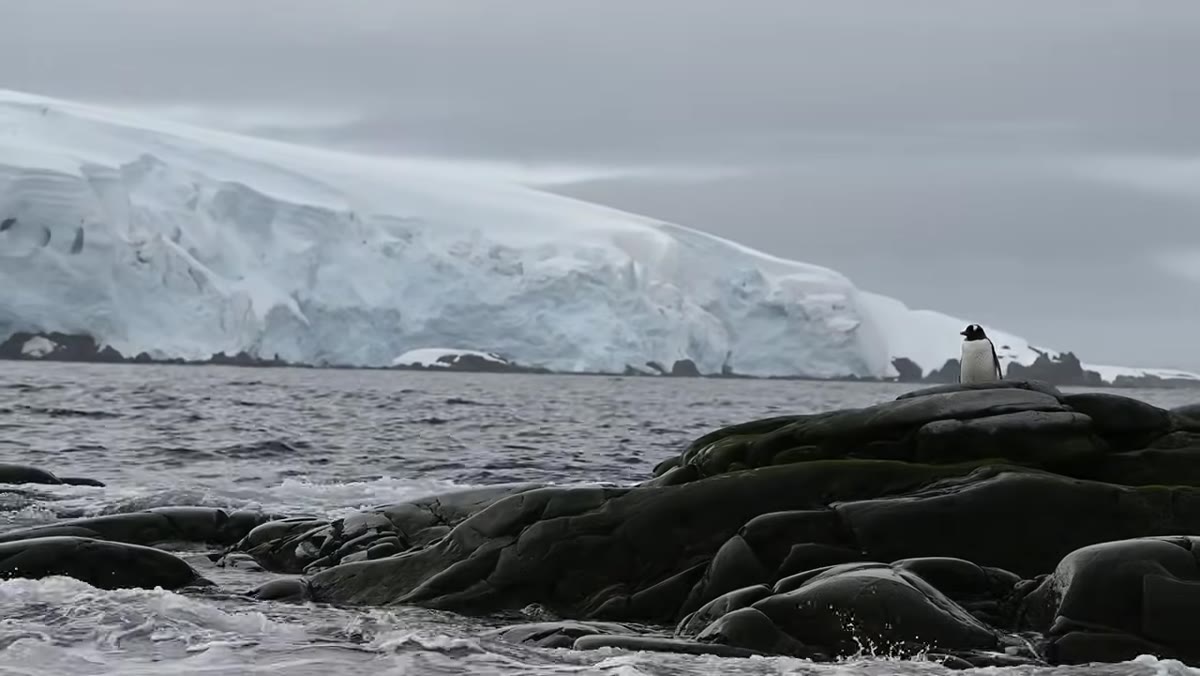
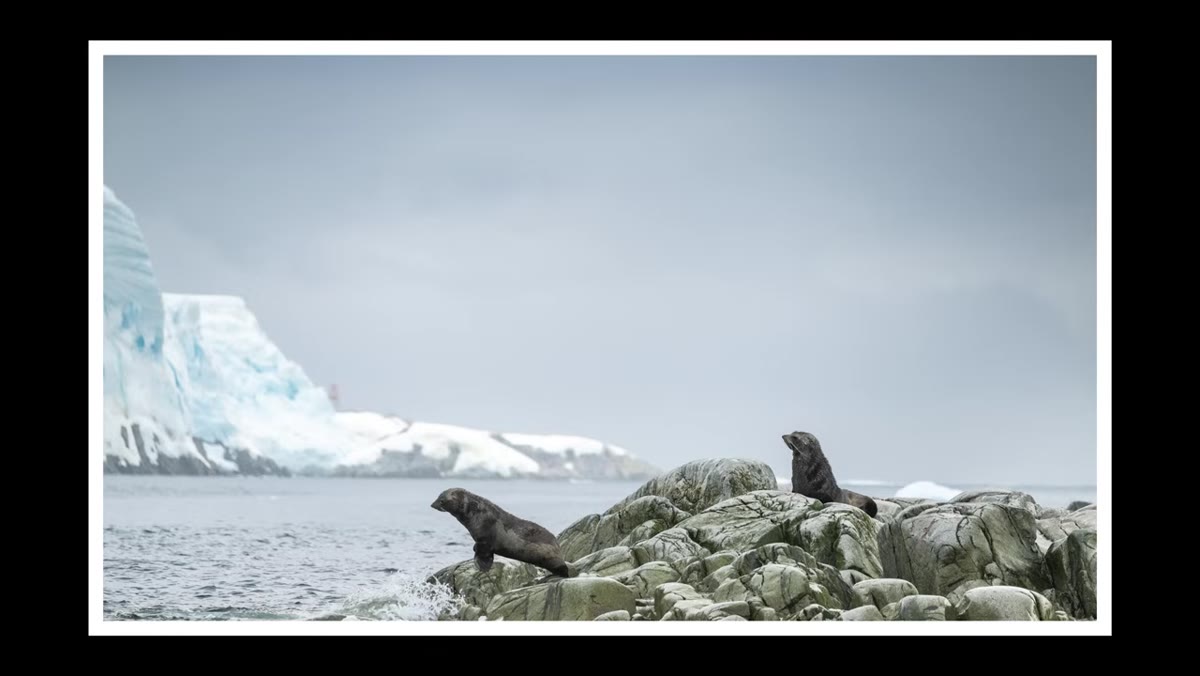
 Seal on rocks at Melchior Islands with layered background
At the Melchior Islands, Danson spotted a seal and recognized that if it moved to a specific spot on the rocks, the background would stack beautifully: sea, rock, snow in clean horizontal layers. He didn’t chase the seal. He found the composition first, identified the position where the animal would complete it, and then waited.
Seal on rocks at Melchior Islands with layered background
At the Melchior Islands, Danson spotted a seal and recognized that if it moved to a specific spot on the rocks, the background would stack beautifully: sea, rock, snow in clean horizontal layers. He didn’t chase the seal. He found the composition first, identified the position where the animal would complete it, and then waited.
This is the core discipline of the whole approach. You’re essentially pre-building the frame and treating the animal like a moving element that will eventually hit its mark, or won’t. In this case it worked. The result was a layered, environmental image that Danson notes would still hold up as a decent landscape photograph even with the seal removed. That’s your quality test: if the background is boring without the animal, you haven’t done the landscape work yet.
Step 3: Solve for Height Before You Solve for Framing
 Penguin shot from zodiac showing background isolation problems
One of the most consistent problems Danson ran into from the zodiacs was background isolation. He could see a penguin in a potentially strong position, but the camera angle from a floating platform left the bird merged with a cluttered or distracting background line. Height - or the lack of it - was controlling the shot.
Penguin shot from zodiac showing background isolation problems
One of the most consistent problems Danson ran into from the zodiacs was background isolation. He could see a penguin in a potentially strong position, but the camera angle from a floating platform left the bird merged with a cluttered or distracting background line. Height - or the lack of it - was controlling the shot.
In a fixed location you solve this by moving. On a zodiac your options are standing versus sitting, and that’s roughly it. Danson’s takeaway is that you need to mentally account for your height constraint before you commit to a location. If you can’t get low enough or high enough to clean up the background, the shot probably isn’t there. Identify height as a variable early, not after you’ve already missed the moment.
Step 4: Know When to Switch to Portrait Mode and Why
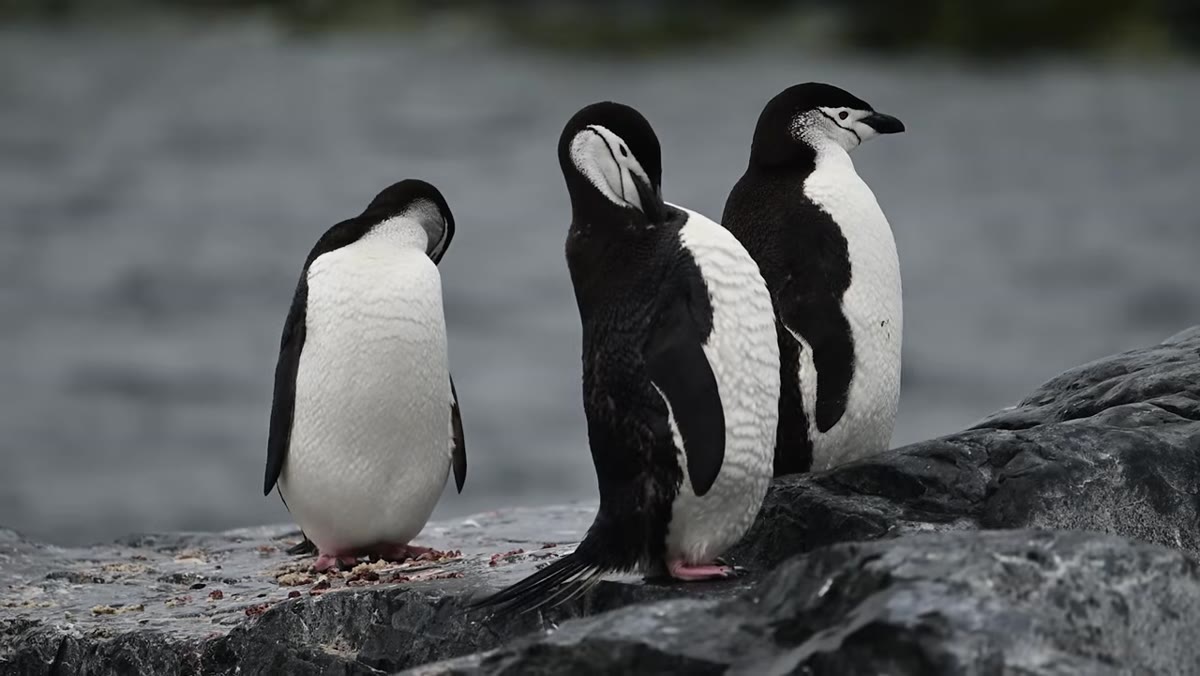 Close penguin portrait shots from zodiac
Danson came in with a bias against portrait-style animal shots, but he was honest enough to work with what the conditions gave him. When the landscape compositions weren’t cooperating - wrong angle, moving platform, animals in the wrong spot - he shifted into tighter portrait work and focused on capturing character and behavior instead of environment.
Close penguin portrait shots from zodiac
Danson came in with a bias against portrait-style animal shots, but he was honest enough to work with what the conditions gave him. When the landscape compositions weren’t cooperating - wrong angle, moving platform, animals in the wrong spot - he shifted into tighter portrait work and focused on capturing character and behavior instead of environment.
This isn’t giving up on your vision. It’s making sure you come home with something. The discipline is knowing which mode you’re in so you’re not shooting half-committed portraits while hoping they magically become landscapes in post. Pick one intention per moment, execute it fully, then reassess.
Step 5: Let Behavior Tell You When to Shoot
 Discussion of waiting for animal behavior to match the scene
The hardest part of the wildscape approach is that you need two things to align simultaneously: the landscape has to be right, and the animal’s behavior has to be right. Danson references his friend Morton, who spends multiple days on a single animal just to get one specific shot. That’s the extreme version, but the underlying logic applies even when you’re on a tour boat hitting six locations in a week.
Discussion of waiting for animal behavior to match the scene
The hardest part of the wildscape approach is that you need two things to align simultaneously: the landscape has to be right, and the animal’s behavior has to be right. Danson references his friend Morton, who spends multiple days on a single animal just to get one specific shot. That’s the extreme version, but the underlying logic applies even when you’re on a tour boat hitting six locations in a week.
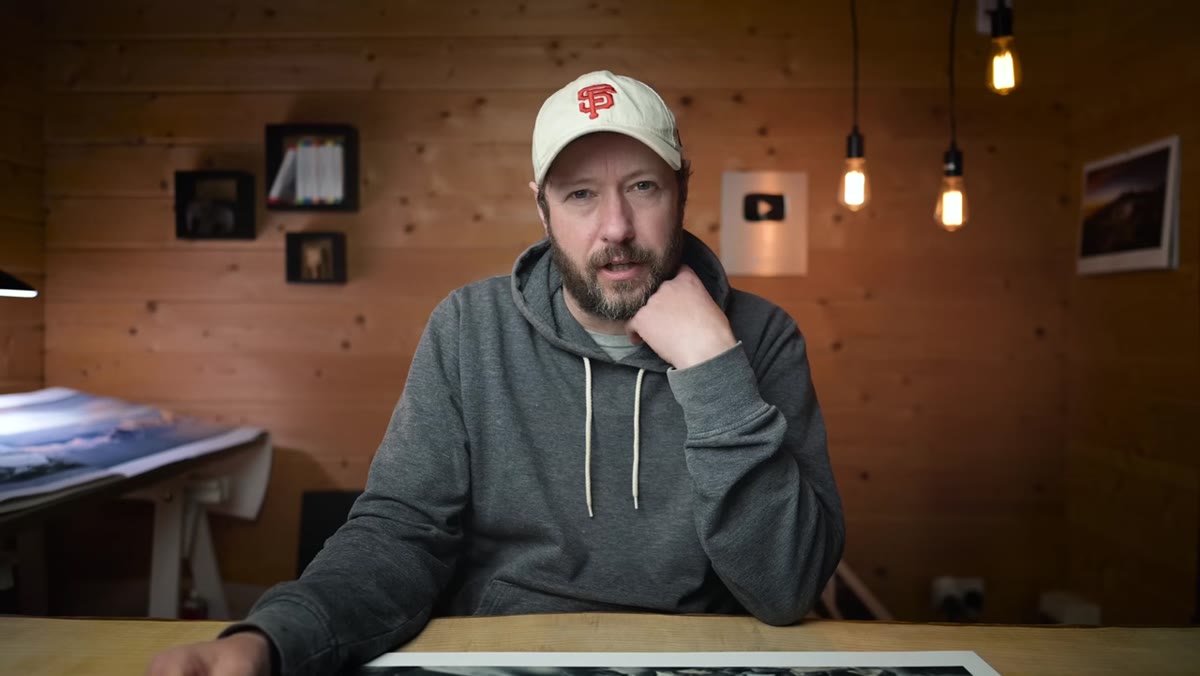
Watch the animal long enough to understand its movement patterns before you commit to a composition. Is it walking in a consistent direction? Does it return to the same resting spot? Does it tend to pause and look up at predictable intervals? That behavioral read is what lets you anticipate rather than react, and anticipation is the only way to get a genuinely composed wildscape rather than a lucky snapshot.
What I’d Add From My Own Testing
Danson was working with a Nikon Z9 and a 100-400mm lens, and the autofocus capability of that body clearly gave him confidence to concentrate on composition rather than tracking. Most of us aren’t shooting with a Z9. But the compositional principles here cost nothing, and they transfer completely to whatever body you’re holding.
Where I’d push back slightly on the setup: a longer reach might have helped him get cleaner background separation from the zodiac without needing to change his position. A 500mm or 600mm prime compresses the background more aggressively. If you’re doing this kind of trip on a budget, renting a longer lens for the week is worth pricing out. I’ve seen 150-600mm third-party zooms available for rent at rates that make a lot more sense than buying before you know if wildlife shooting is your thing.
The biggest thing I take from this whole video is that Danson’s competitive advantage wasn’t his camera body. It was the decade of landscape composition instinct he brought to a new genre. You already have whatever instincts you’ve built. The question is whether you’re applying them aggressively enough when the subject happens to move.
Watch the full tutorial on YouTube to see the actual prints Danson walks through, including the shots that didn’t work and why. Seeing the failures alongside the keepers is where the real instruction lives.
Comments (4)
The tip about what a landscape photographer was the missing piece for me. Thank you.
Great article! I actually covered something related on my site — the landscape angle is really complementary to this.
Bookmarked. Coming back to this one for sure.
Solid advice. Especially the part about taking your time with it.
Leave a Comment