I’ll be honest with you. Most “what’s in my bag” videos are just excuse to show off expensive gear with zero explanation of why any of it was chosen. So when I came across William Patino’s breakdown of his landscape photography kit, I was ready to scroll past. I didn’t. Because Patino actually explains the reasoning behind every piece of gear he carries, and that reasoning holds up whether you’re spending $500 or $5,000.
What grabbed me is that his decision-making framework maps directly onto the questions I get from readers every week: Do I need a higher resolution body? Which focal lengths actually get used? Is a good bag worth the splurge? In this William Patino tutorial, he answers all of that from over a decade of real field use, not spec sheets. Watch the full tutorial on YouTube
Here’s the full walkthrough with my take layered in.
Step 1: Choose a Bag Built for the Elements
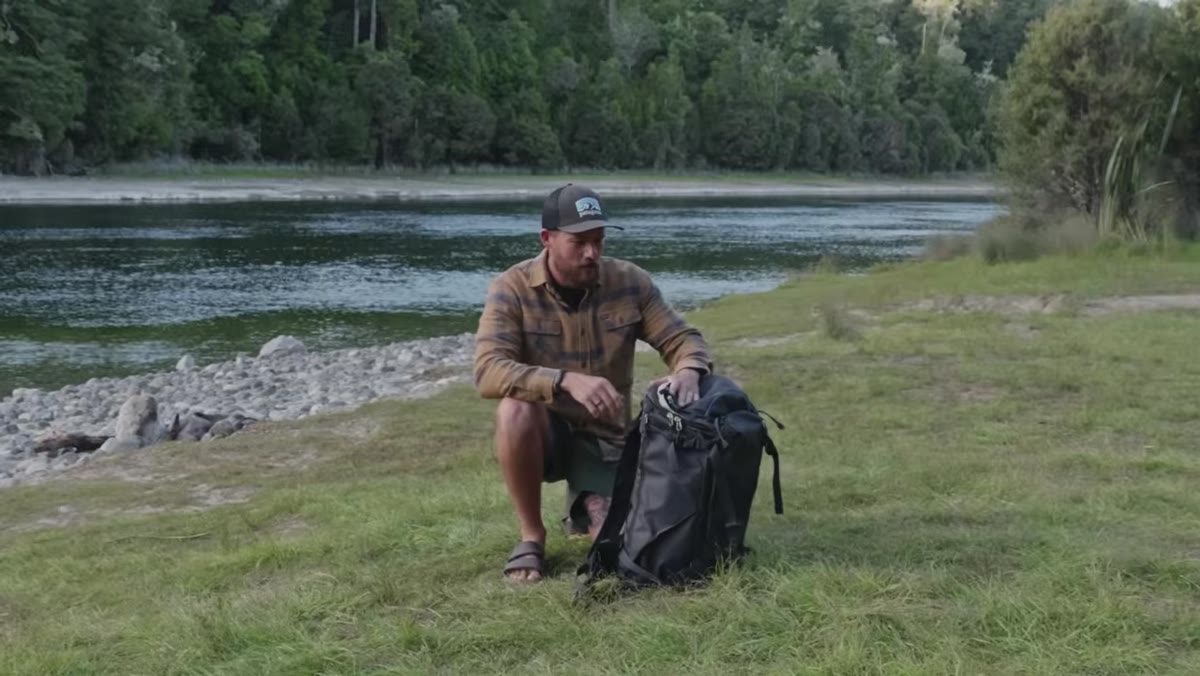 F-stop Arna camera bag shown from the outside
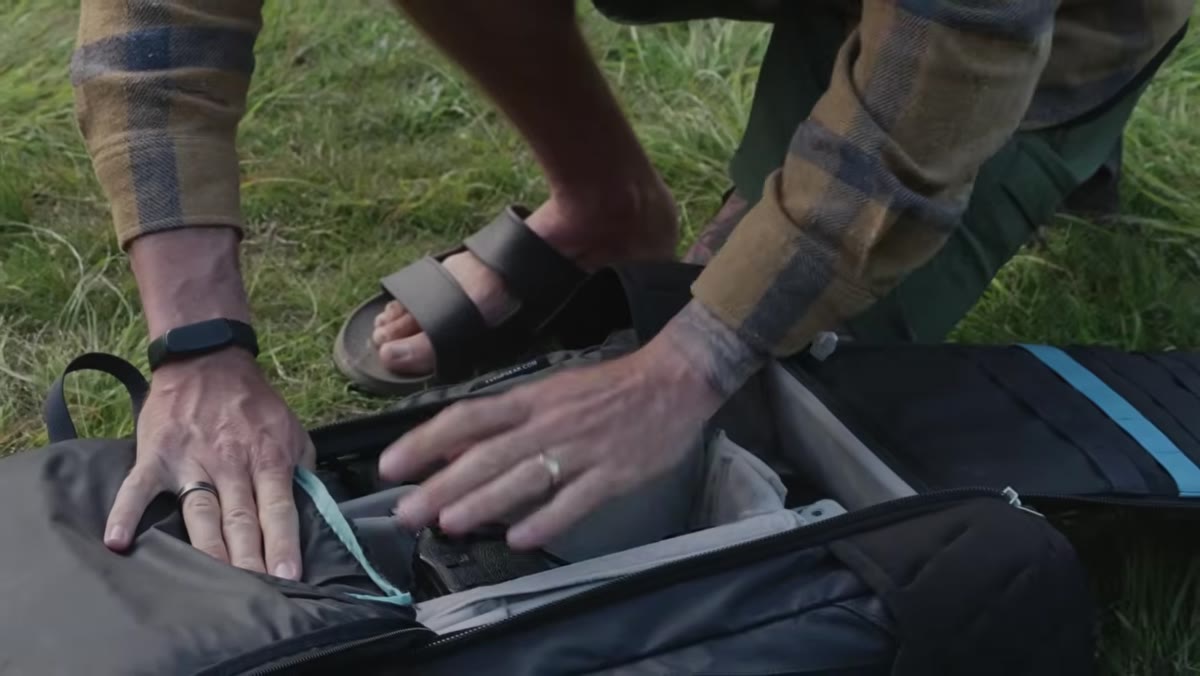
Patino has been running the same brand of bag for over a decade, currently on his second unit of the F-stop Arna after getting five to six years out of the first one. The key design feature he calls out is back-access entry, which means when he drops the bag on the ground in wet or muddy conditions, the camera compartment stays clean. The front of the bag takes the abuse, not your gear.
F-stop Arna camera bag shown from the outside
Patino has been running the same brand of bag for over a decade, currently on his second unit of the F-stop Arna after getting five to six years out of the first one. The key design feature he calls out is back-access entry, which means when he drops the bag on the ground in wet or muddy conditions, the camera compartment stays clean. The front of the bag takes the abuse, not your gear.
The other feature worth noting is the ICU (Internal Camera Unit) system. These modular inserts drop into the main compartment and let you configure the padding and dividers around your specific lenses and body rather than trying to squeeze your kit into a pre-set layout. If your gear changes, you swap the insert rather than the whole bag.
Step 2: Match Your Camera Body to Your Shooting Conditions
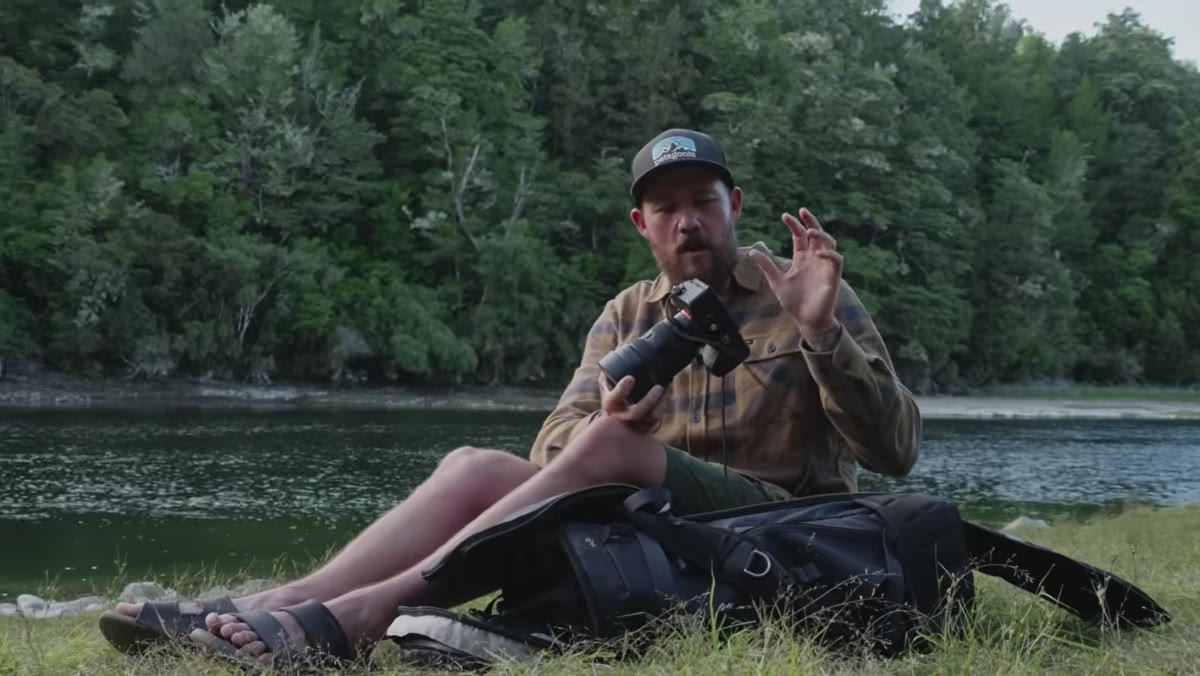 Sony A7R5 camera body held up to camera
Patino shoots with the Sony A7R5, but the specific model matters less than the three criteria he used to pick it: high resolution for large prints and cropping flexibility, wide dynamic range for handling the harsh contrast of sunrise and sunset, and in-body image stabilization (IBIS) because he shoots handheld. That last point is worth sitting with. He skips the tripod entirely and leans on IBIS instead.
Sony A7R5 camera body held up to camera
Patino shoots with the Sony A7R5, but the specific model matters less than the three criteria he used to pick it: high resolution for large prints and cropping flexibility, wide dynamic range for handling the harsh contrast of sunrise and sunset, and in-body image stabilization (IBIS) because he shoots handheld. That last point is worth sitting with. He skips the tripod entirely and leans on IBIS instead.
He name-checks the Canon R5 and Nikon Z8 as comparable options, which tells you he is not brand-loyal, he is spec-loyal. If you are shopping for a landscape body right now, run those three criteria against whatever is in your budget. High megapixel count, good dynamic range scores, and IBIS will serve you better than chasing any particular brand badge.
Step 3: Pick an Ultra-Wide for Your Environment
 Sony 12-24mm f/2.8 lens shown on desk
His go-to ultra-wide is the Sony 12-24mm f/2.8, but he’s upfront that 12mm is a specialist focal length that most photographers won’t need. He used a 16-35mm for years before making the jump, and he frames the 12-24mm as a situational upgrade rather than a starting point.
Sony 12-24mm f/2.8 lens shown on desk
His go-to ultra-wide is the Sony 12-24mm f/2.8, but he’s upfront that 12mm is a specialist focal length that most photographers won’t need. He used a 16-35mm for years before making the jump, and he frames the 12-24mm as a situational upgrade rather than a starting point.
If you are building a landscape kit from scratch, the 16-35mm range is where he recommends starting. It’s wide enough for big scenes and foreground interest without the distortion challenges that come with pushing into 12mm territory. The f/2.8 aperture is less critical for landscape work than it would be for low-light or event shooting, so there’s real money to be saved by going with an f/4 version of a similar range.
Step 4: Use a Mid-Range Zoom as Your Workhorse
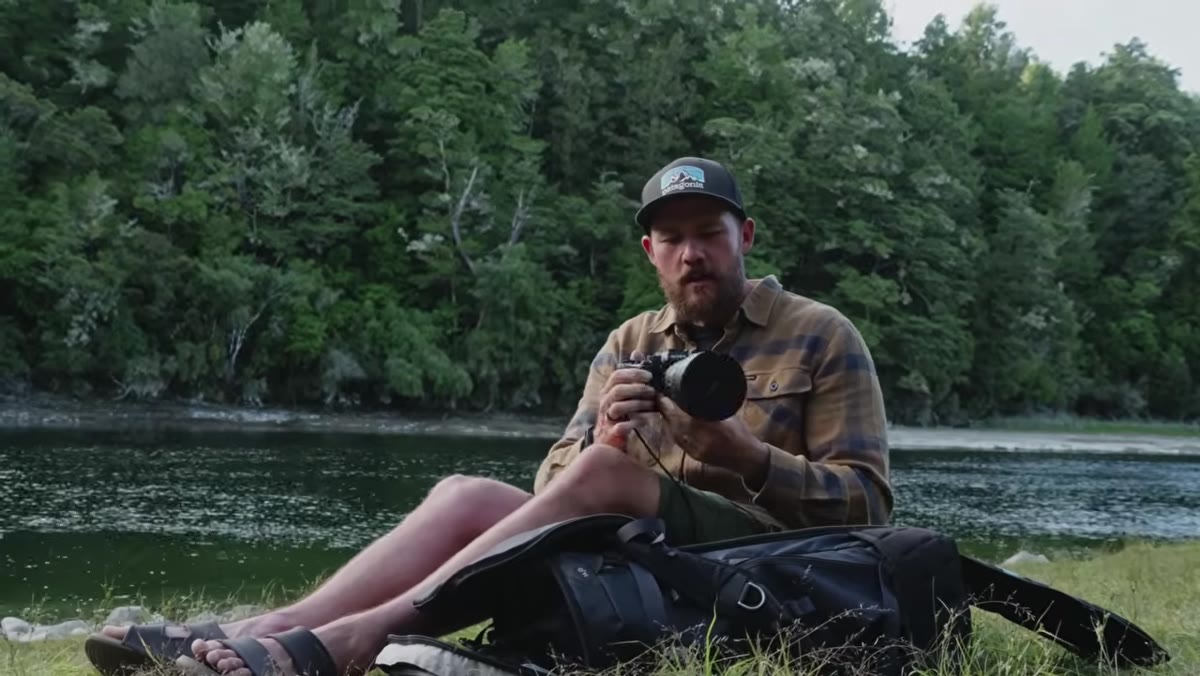
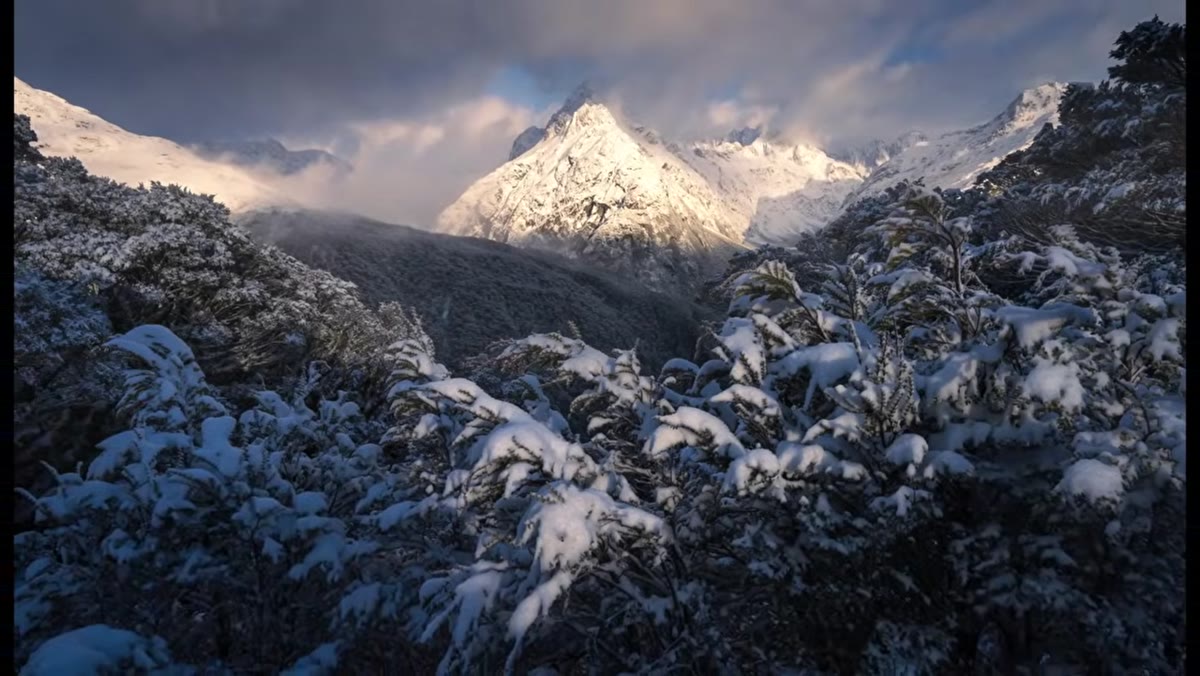 Mid-range zoom lens handled and discussed
The middle lens in Patino’s kit handles the focal lengths that get used most often in landscape work, roughly 24-70mm or similar. This is the lens that stays on the camera the longest on any given shoot because it covers natural perspective scenes, detail shots, and environmental portraits if you are shooting with people in the frame.
Mid-range zoom lens handled and discussed
The middle lens in Patino’s kit handles the focal lengths that get used most often in landscape work, roughly 24-70mm or similar. This is the lens that stays on the camera the longest on any given shoot because it covers natural perspective scenes, detail shots, and environmental portraits if you are shooting with people in the frame.
His advice here mirrors what I have seen consistently in the field: your mid-range zoom is not glamorous, but it is the lens that does the actual work. Don’t underbuy here. If you are allocating a lens budget, the ultra-wide gets the attention and the telephoto gets the hype, but the mid-range gets the shots.
Step 5: Add a Telephoto for Compression and Isolation
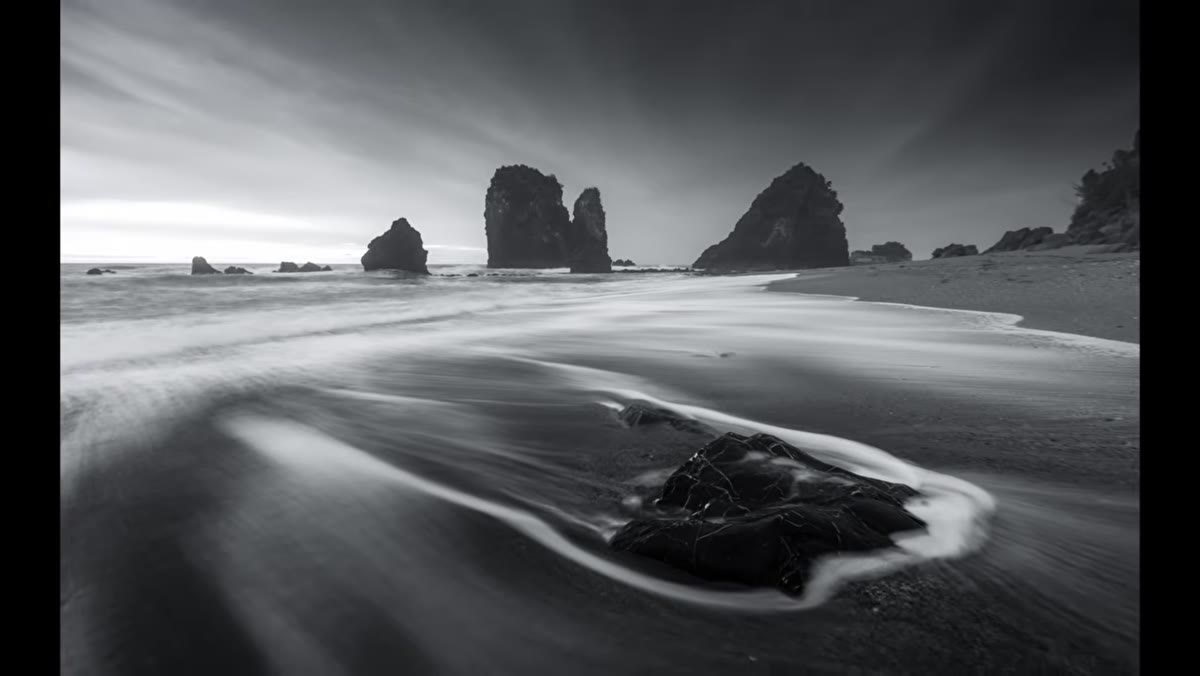 Telephoto lens shown for compression landscapes
The third lens in the bag is a telephoto, and Patino uses it for the compression effect that makes distant mountain layers and rolling landscapes look stacked and dramatic. This is the creative tool of the kit, not the practical one. Wide shots establish the scene, the mid-range captures it, and the telephoto gives you the cinematic isolation that makes a landscape image feel intentional rather than documentary.
Telephoto lens shown for compression landscapes
The third lens in the bag is a telephoto, and Patino uses it for the compression effect that makes distant mountain layers and rolling landscapes look stacked and dramatic. This is the creative tool of the kit, not the practical one. Wide shots establish the scene, the mid-range captures it, and the telephoto gives you the cinematic isolation that makes a landscape image feel intentional rather than documentary.
You do not need a fast telephoto for this kind of shooting. A 70-300mm f/4.5-5.6 or even a budget 100-400mm will get you the compression effect just as effectively as a $2,000 prime. The technique matters more than the glass here, and this is one area where I have personally confirmed the gap between budget and pro gear closes significantly.
Step 6: Build Your Kit Around a Logic, Not a List
 Full kit laid out showing body, three lenses, bag
The through-line of Patino’s kit is intentionality. Every item has a job, a backup plan exists for conditions that go wrong, and nothing is in the bag just because it was recommended on a forum. He carries a second body for aerial work and knows exactly when it comes out and why.
Full kit laid out showing body, three lenses, bag
The through-line of Patino’s kit is intentionality. Every item has a job, a backup plan exists for conditions that go wrong, and nothing is in the bag just because it was recommended on a forum. He carries a second body for aerial work and knows exactly when it comes out and why.
That kind of clarity is what separates a working kit from a collection. Before adding anything to your bag, ask whether it solves a specific problem you have actually run into in the field.
My Take: The Budget Version of This Framework Works
I have been testing budget gear long enough to say with confidence that the three-lens system Patino describes does not require his price points to function. I have shot the ultra-wide, mid-range, telephoto structure with lenses totaling under $600 and come back with usable landscape images. The framework is sound. What changes at higher price points is headroom, not core capability.
Where I would push back slightly is on skipping the tripod entirely. IBIS is impressive on bodies like the A7R5, but at the kind of shutter speeds you need for silky water or star trails, there is no stabilization system that replaces a solid support. If you are shooting pure golden-hour handheld work, Patino’s approach is legitimate. If your landscape work includes long exposures, budget $40 for a decent travel tripod before you spend anything extra on glass.
The most important idea in this tutorial is one Patino states early and the rest of the video proves: gear selection is a system, not a shopping list. Know what you are optimizing for, whether that is resolution, dynamic range, portability, or durability, and build everything else around those anchors.
Watch the full tutorial on YouTube to see Patino’s example images alongside each piece of gear. Seeing the output next to the tool that made it is genuinely useful context.
Comments (2)
Simple but effective. Sometimes that's all you need.
Finally someone explains this in a way that actually makes sense.
Leave a Comment